To prune Gerbera Daisies, remove dead or fading flowers and damaged leaves by cutting them at the base with clean, sharp scissors or pruning shears to encourage new growth and more blooms.
This article offers crucial pruning tips for Gerbera Daisies, focusing on maintaining vibrant blooms and health through understanding growth patterns, optimal timing, and correct pruning techniques. It provides a comprehensive guide to ensure abundant flowering, highlighting the importance of proper care practices for these colorful plants.
Understanding Gerbera Daisy Growth Patterns
In order to effectively prune and trim your Gerbera Daisies, it’s crucial to have an understanding of their unique growth patterns. By knowing how these beautiful flowers grow and develop, you can make informed decisions to ensure their health and vitality.
Let’s explore the growth patterns of Gerbera Daisies in more detail:
Foliage Growth
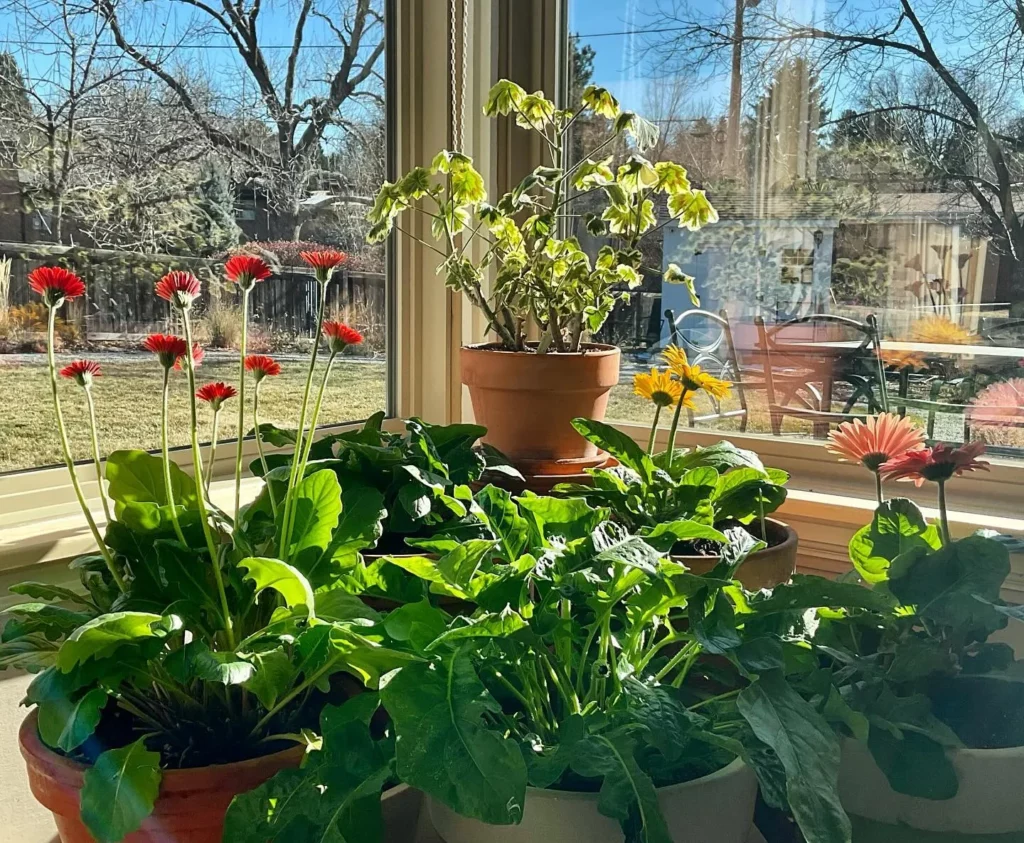
Gerbera Daisies are known for their lush and vibrant foliage. The leaves of these daisies grow in a rosette pattern, forming a circular cluster at the base of the plant. These leaves are typically long and deeply lobed, with serrated edges that add to their visual appeal.
The foliage growth of Gerbera Daisies is continuous throughout the growing season. New leaves emerge from the center of the rosette, gradually expanding outward. As the plant matures, more leaves are produced, creating a dense and lush canopy.
Flower Production
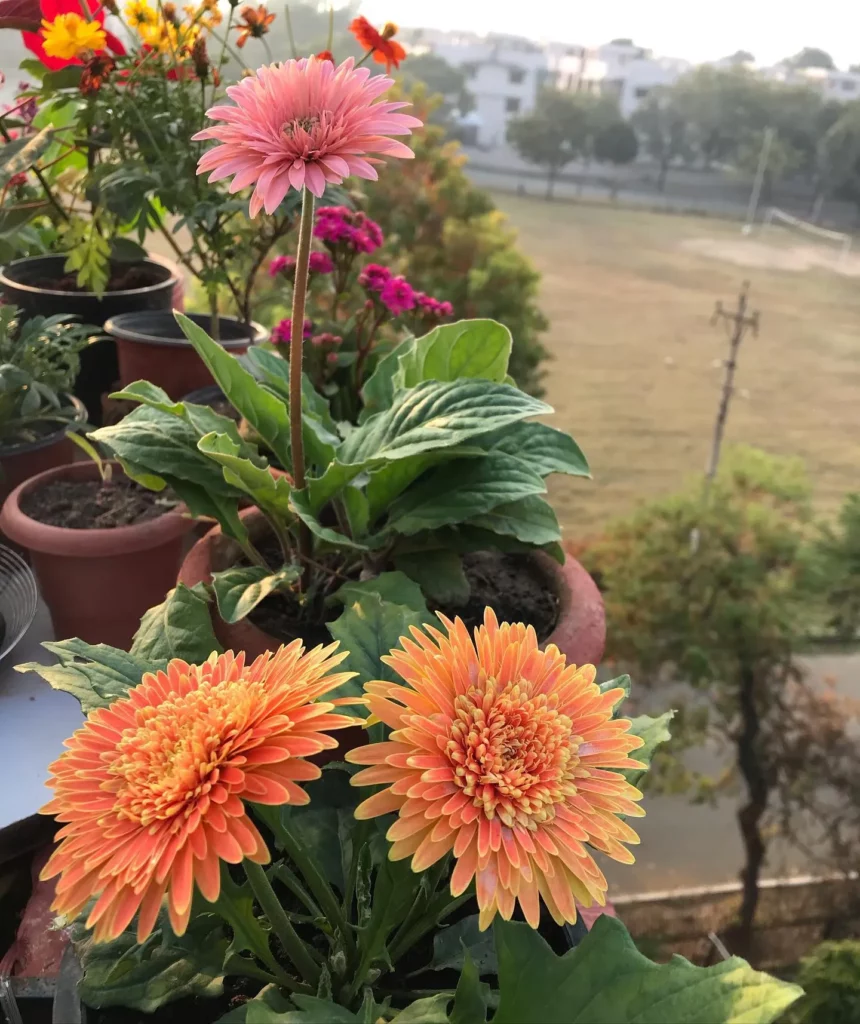
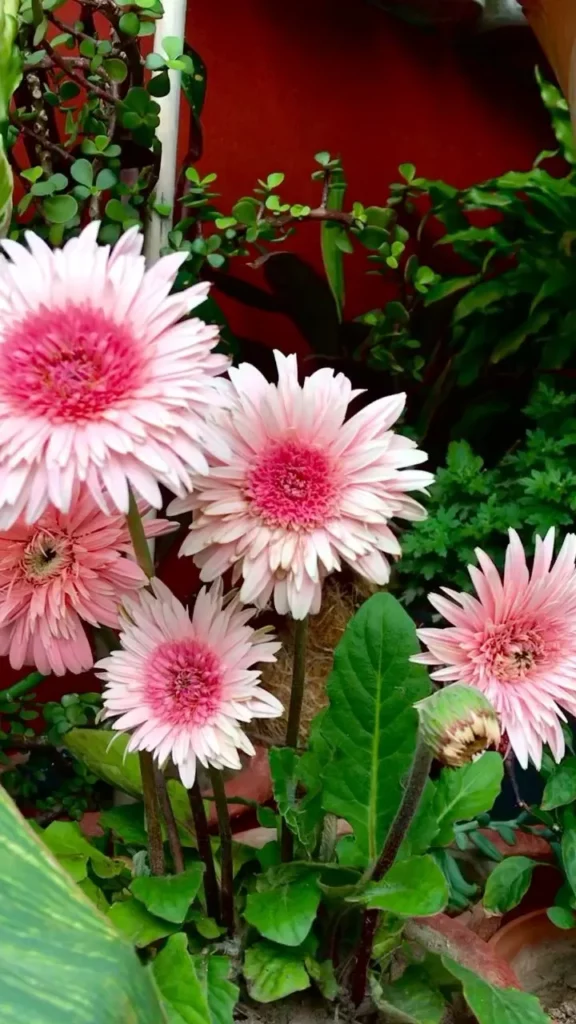
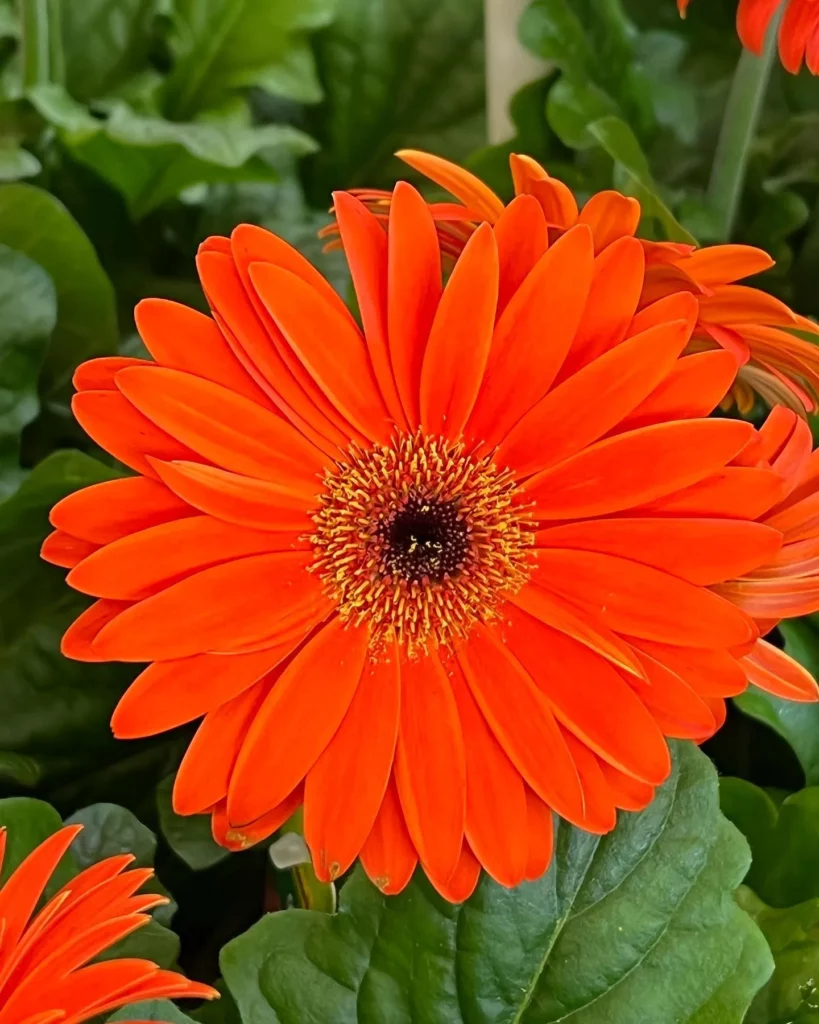
The main attraction of Gerbera Daisies is, of course, their beautiful and colorful flowers. These daisies are known for their large, daisy-like blooms that come in a wide range of vibrant hues, including red, orange, yellow, pink, and white.
Gerbera Daisies produce flowers on long, slender stems that emerge from the center of the foliage rosette. Each stem typically bears a single flower, although some varieties may produce multiple blooms on a single stem.
When to Prune Gerbera Daisies
Timing is crucial when it comes to pruning Gerbera Daisies. Pruning at the right time ensures optimal blooming and helps maintain the overall health of your plants.
In this section, I will discuss the best times to prune your Gerbera Daisies, taking into account their growth cycles and specific needs.
Gerbera Daisies should be pruned after they have finished flowering. This is typically in the late summer or early fall. Pruning at this time allows the plants to recover and produce new growth before the colder months arrive.
It’s important to note that Gerbera Daisies are sensitive to cold temperatures, so pruning them too late in the season may leave them vulnerable to frost damage. It’s recommended to prune before the first frost is expected in your area.
When pruning Gerbera Daisies, you should remove any spent flowers, dead or diseased foliage, and leggy stems. This encourages the plant to focus its energy on producing new blooms and healthy growth.
- Remove spent flowers: Cut the stem just above the first set of healthy leaves.
- Trim dead or diseased foliage: Cut them back to healthy growth or ground level.
- Prune leggy stems: Trim them back to encourage branching and compact growth.
Tools Needed for Pruning Gerbera Daisies

When it comes to pruning Gerbera Daisies, having the right tools is essential. The proper tools not only make the job easier but also ensure that you can achieve the best results.
Here are the essential tools you’ll need to trim your daisies properly:
- Pruning Shears: A good pair of pruning shears is a must-have for cutting branches and stems. Look for sharp, bypass pruning shears that can make clean cuts without crushing the plant.
- Hand Pruners: Hand pruners are ideal for smaller pruning tasks, such as deadheading spent flowers or removing small branches. Opt for pruners with a comfortable grip and a locking mechanism for safety.
- Sharpening Tools: Keeping your pruning tools sharp is crucial for clean and efficient pruning. Invest in a sharpening tool or a sharpening stone to maintain the sharpness of your shears and pruners.
- Gloves: Protect your hands from thorns, scratches, and potential irritants by wearing a pair of sturdy gardening gloves. Look for gloves made of materials like leather or synthetic leather for durability and dexterity.
- Disinfectant: To prevent the spread of diseases between plants, it’s important to disinfect your pruning tools before and after each use. Prepare a solution of 1 part bleach to 9 parts water and soak your tools for a few minutes.
- Pruning Saw: For thicker branches that cannot be easily cut with pruning shears, a pruning saw is essential. Choose a pruning saw with a sturdy blade and a comfortable handle for easy maneuverability.
- Ladder: If your Gerbera Daisies are tall or hard to reach, a sturdy ladder will come in handy during pruning. Make sure the ladder is stable and secure before climbing on it to avoid accidents.
Step-by-Step Guide to Pruning Gerbera Daisies
Pruning Gerbera Daisies is a crucial step in maintaining their health and promoting abundant flower production. Follow this step-by-step guide to ensure your daisies bloom beautifully throughout the season.
- Start with the right tools: Before you begin pruning, gather the necessary tools including sharp pruning shears, gloves, and disinfectant. Clean and disinfect your pruning shears to prevent the spread of diseases.
- Identify dead or spent blooms: Inspect your Gerbera Daisies and identify any dead or spent blooms. These blooms are no longer productive and should be removed to redirect the plant’s energy towards new growth.
- Remove dead blooms: Using your sharp pruning shears, cut the stem just above the base of the plant, removing the dead bloom and any attached foliage. Make clean, angled cuts to encourage healing and prevent water from collecting on the cut surface.
- Prune for shape: If your Gerbera Daisy has become leggy or unevenly shaped, you can prune it to achieve a more uniform appearance. Carefully trim back the longer stems, taking care to maintain the overall shape of the plant.
- Cut back damaged leaves: Inspect the foliage of your daisy and remove any damaged or diseased leaves. Cutting them back will not only improve the plant’s appearance but also prevent the spread of diseases.
- Inspect for overcrowding: Gerbera Daisies can sometimes become overcrowded, leading to poor airflow and increased risk of diseases. If you notice overcrowding, selectively remove some of the outer leaves or thin out the plant by dividing it.
Techniques for Trimming Gerbera Daisy Foliage
When it comes to maintaining the overall health and appearance of your Gerbera Daisies, trimming the foliage is a crucial task. Not only does it help promote a neat and well-groomed look, but it also contributes to the plant’s overall vitality.
In this section, I will explore various techniques you can employ to trim the leaves and stems of your Gerbera Daisies effectively.
1. Regular Pinching
One technique commonly used to maintain compact and bushy Gerbera Daisies is regular pinching. This involves using your fingers or a pair of sharp, clean pruners to pinch off the tips of the stems.
By doing so, you stimulate branching and encourage more foliage growth, resulting in a fuller and more vibrant plant.
2. Feathering
Feathering is a technique that involves selectively removing leaves from the lower portion of the Gerbera Daisy plant. This method allows better air circulation and light penetration, reducing the risk of fungal diseases.
Start by identifying old or yellowing leaves and gently pull them away from the stem. Be careful not to damage the healthy foliage.
3. Strategic Trimming
If you notice any damaged, diseased, or pest-infested leaves or stems on your Gerbera Daisies, it’s important to remove them promptly.
Using clean and sharp pruners, carefully trim away the affected parts to prevent the spread of diseases and maintain the overall health of the plant.
4. Thinning
If your Gerbera Daisy plant becomes overcrowded with foliage, thinning can help create a healthier and more visually appealing appearance.
Identify areas where the foliage is densely packed and carefully remove a few leaves or stems, creating space between individual plants. Thinning also helps improve air circulation, reducing the risk of diseases.
How to Deadhead Gerbera Daisies
Deadheading is an essential practice for ensuring that your Gerbera Daisies bloom for as long as possible. By removing spent flowers, you stimulate continuous growth and encourage the development of new blooms.
In this section, I will guide you through the process of effectively deadheading your Gerbera Daisies for maximum blooming.
To deadhead your Gerbera Daisies, follow these simple steps:
- Start by examining your plant for any faded or wilted flowers.
- Locate the base of the flower stem, just above the first set of leaves.
- Using a sharp pair of pruning shears, make a clean cut at a 45-degree angle, removing the dead flower and the stem.
- Continue to inspect the plant regularly and repeat this process as new flowers fade.
Dealing with Diseased or Damaged Gerbera Daisies
Gerbera Daisies are beautiful and vibrant flowers that can bring life to any garden or flower arrangement. However, like any living organisms, they are not immune to diseases or damage.
When faced with diseased or damaged Gerbera Daisies, it’s crucial to take immediate action to prevent further harm and ensure the well-being of your plants.
There are several common issues that can affect Gerbera Daisies, including fungal diseases, pests, and physical damage. It’s essential to identify the problem accurately to determine the appropriate course of action.
Here are some tips to help you deal with diseased or damaged Gerbera Daisies:
- Inspect your Gerbera Daisies regularly: Regular inspection is key to catching any signs of disease or damage early on. Look for discoloration, spots, wilting leaves, abnormal growth, or any other unusual symptoms.
- Isolate infected or damaged plants: If you notice any signs of disease or damage, it’s crucial to isolate the affected plants. This will prevent the spread of diseases or pests to other healthy plants.
- Consult a professional or use reputable resources: If you’re unsure about the cause of the issue or how to treat it, don’t hesitate to seek advice from a professional gardener or horticulturist. Alternatively, reliable online resources can provide valuable guidance.
- Apply appropriate treatments: Depending on the nature of the problem, there are various treatments available for diseased or damaged Gerbera Daisies. This may include using fungicides for fungal diseases, insecticides for pests, or implementing appropriate care practices for physical damage.
- Practice good plant care: Maintaining optimal growing conditions for your Gerbera Daisies is crucial to prevent diseases and reduce the risk of damage. This includes providing adequate sunlight, proper watering, well-draining soil, and regular fertilization.
Overwintering Gerbera Daisies – Preparing for Cold Seasons
Overwintering Gerbera Daisies is crucial in regions with cold winters. As temperatures drop, it’s important to take the necessary steps to ensure the survival of your daisies and set them up for a successful return in the following growing season.
Here’s a simple guide to help you prepare your Gerbera Daisies for the dormant period:
- Choose a suitable location: Start by identifying a suitable location for overwintering your daisies. Ideally, it should be a cool and dark area such as a basement or an unheated garage. The temperature should remain consistently above freezing but not exceed 50°F (10°C).
- Prepare the plants: Trim back the foliage of your Gerbera Daisies to a height of about 2-3 inches (5-7 cm). Remove any dead or diseased leaves and flowers. This will help reduce the risk of pests and diseases during the dormant period.
- Pot or container preparation: If your Gerbera Daisies are planted in pots or containers, ensure they have proper drainage. Remove any excess soil from the pots to prevent waterlogged conditions. Inspect the containers for cracks or damage and replace them if necessary.
- Bring them indoors: Carefully dig up your Gerbera Daisies, taking care not to damage the roots. Place them in clean pots or containers filled with well-draining soil or a suitable potting mix. Water the plants thoroughly but avoid overwatering.
- Reduce watering and fertilization: During the dormant period, Gerbera Daisies require less water and nutrients. Water the plants sparingly, allowing the soil to dry out slightly between waterings. Avoid fertilizing the plants during this time.
- Control temperature and humidity: Maintain a cool and consistent temperature for your overwintering daisies. Avoid exposing them to extreme cold or heat. Humidity should also be kept low to prevent fungal growth and rot.
- Monitor and inspect: Regularly check on your Gerbera Daisies during the dormant period. Look for signs of pests, diseases, or excessive moisture. Address any issues promptly to ensure the health and well-being of your plants.
- Prepare for spring: As winter comes to an end, gradually acclimate your Gerbera Daisies to the outdoor conditions. Start by moving them to a sheltered area with indirect sunlight, then gradually expose them to longer periods of sunlight over the course of a week or two.
Pruning vs Trimming – Understanding the Difference
When it comes to caring for your Gerbera Daisies, knowing the difference between pruning and trimming is essential. While these terms are often used interchangeably, they have distinct meanings and serve different purposes for your daisies’ health and growth.
- Pruning: Pruning involves the selective removal of specific parts of the plant, such as branches or stems. It is a more extensive process that aims to shape the overall structure of the plant, remove dead or diseased parts, and promote healthy growth. Pruning is typically done during specific times of the year, depending on your daisies’ growth cycles and the desired outcome.
- Trimming: Trimming, on the other hand, is a less invasive process that focuses on maintaining the appearance of the plant by removing small, overgrown, or damaged portions. It involves tidying up the foliage, cutting back excessive growth, and encouraging a compact, neat look. Trimming can be done as needed throughout the year to keep your daisies looking their best.
Final Tips for Gerbera Daisy Pruning and Trimming Success
As we wrap up this guide on Gerbera Daisy pruning and trimming, here are some final tips to ensure your efforts result in successful and thriving plants.
By following these suggestions, you’ll be able to enjoy a continuous display of vibrant blooms throughout the season.
Firstly, proper sanitation practices are key to maintaining the health of your Gerbera Daisies. After each pruning or trimming session, make sure to clean and disinfect your tools using a solution of one part bleach to nine parts water.
This helps prevent the spread of diseases and ensures that your daisies remain healthy and disease-free.
In addition to regular pruning, adequate maintenance routines are crucial for the optimal growth of Gerbera Daisies. This includes removing any fallen or decaying leaves from the base of the plants, as these can attract pests and promote fungal infections.
Regularly check for signs of pests or diseases and take prompt action if needed.
Finally, remember to provide your Gerbera Daisies with the necessary care and attention they require. This includes regular watering, ensuring they receive adequate sunlight, and providing a well-balanced fertilizer formulated specifically for flowering plants.
With consistent care and attention, your Gerbera Daisies will reward you with a beautiful and abundant display of colorful blooms.
By implementing these final tips and incorporating the knowledge and techniques shared throughout this article, you’ll be well-equipped to successfully prune and trim your Gerbera Daisies.
Enjoy the process of nurturing these stunning plants and witness the rewarding results of your efforts in their healthy growth and abundant blooming.