16 Easy Christmas Cookies
Sixteen easy Christmas cookies, from classic cutouts and buttery drop cookies to festive no bake treats, perfect for cookie trays, swaps and holiday gifts.

Christmas baking is my favorite tradition, and every December our kitchen turns into a little cookie factory. This list rounds up sixteen easy Christmas cookies that home bakers can count on, including classic cutouts for decorating, buttery drop cookies, jam thumbprints and a few no bake treats for when the oven is full. Every recipe uses simple pantry ingredients. My best planning tip is to make and freeze cookie dough in early December, then bake a different kind each night so your tray fills up without one marathon day.
1) Classic Sugar Cookie Cutouts
1) Classic Sugar Cookie Cutouts
These cutout cookies hold their shape in the oven, so stars stay pointy and trees keep their branches. The dough is buttery with a soft center and just a hint of almond. A simple glaze icing dries smooth and firm, which makes the cookies easy to stack and gift.
Ingredients
- For the cookies
- 3 cups all purpose flour
- 1/2 teaspoon baking powder
- 1/2 teaspoon salt
- 1 cup unsalted butter, softened
- 1 cup granulated sugar
- 1 large egg
- 2 teaspoons vanilla extract
- 1/2 teaspoon almond extract
- For the icing
- 3 cups powdered sugar
- 3 to 4 tablespoons milk
- 1 tablespoon light corn syrup
- Gel food coloring and sprinkles
Instructions
- Whisk the flour, baking powder and salt in a bowl. Beat the butter and sugar on medium speed until fluffy, about 2 minutes, then beat in the egg, vanilla and almond extract.
- Mix in the dry ingredients on low just until a soft dough forms. Divide it in half, flatten each half into a disk, wrap and chill for 1 hour.
- Heat the oven to 350F and line baking sheets with parchment. Roll one disk between two sheets of parchment to 1/4 inch thick.
- Cut out shapes with floured cookie cutters and place them 1 inch apart on the sheets. Reroll the scraps once.
- Bake 8 to 10 minutes, just until the edges are set but not brown. Cool on the pan 5 minutes, then move to a wire rack and cool completely.
- Whisk the powdered sugar, milk and corn syrup into a smooth icing that slowly ribbons off a spoon. Tint portions with gel coloring.
- Spread or pipe the icing onto the cookies, add sprinkles while it is wet and let the cookies dry for at least 4 hours or overnight before stacking.
Decorating sugar cookies is the one holiday project my whole family does together, flour mess and all. This dough is forgiving enough for little hands to roll and cut.
Rolling the dough between parchment means you need no extra flour, which keeps the cookies tender. The baked, undecorated cookies freeze well for up to 3 months.
2) Soft Gingerbread Cookies

2) Soft Gingerbread Cookies
These gingerbread cookies are soft and chewy with a warm kick of ginger, cinnamon and cloves. Dark brown sugar and molasses give them a deep, caramel sweetness and that classic dark color you expect from a holiday bakery. The chilled dough rolls out cleanly and keeps crisp edges for decorating.
Ingredients
- 3 cups all purpose flour
- 1 tablespoon ground ginger
- 1 1/2 teaspoons ground cinnamon
- 1/4 teaspoon ground cloves
- 1/4 teaspoon ground nutmeg
- 1 teaspoon baking soda
- 1/2 teaspoon salt
- 3/4 cup unsalted butter, softened
- 3/4 cup packed dark brown sugar
- 1/2 cup unsulphured molasses
- 1 large egg
- 2 teaspoons vanilla extract
- Royal icing or powdered sugar glaze for decorating
Instructions
- Whisk the flour, ginger, cinnamon, cloves, nutmeg, baking soda and salt together in a bowl.
- Beat the butter and brown sugar on medium speed until creamy, about 2 minutes. Beat in the molasses, egg and vanilla until smooth, scraping the bowl.
- Add the dry ingredients on low speed and mix until a thick, sticky dough forms. Divide it in half, wrap each half in plastic and chill at least 1 1/2 hours, until firm.
- Heat the oven to 350F and line baking sheets with parchment. Roll the dough on a lightly floured counter to 1/4 inch thick.
- Cut out gingerbread people and other shapes and place them 1 inch apart on the sheets. Gather and reroll the scraps, chilling briefly if the dough softens.
- Bake 8 to 10 minutes. For soft cookies, pull them when the centers look slightly puffy and the edges are just set. Bake 2 minutes longer for crisper cookies.
- Cool 5 minutes on the pan, then transfer to a rack. Decorate with icing once completely cool.
The smell of gingerbread baking is what Christmas smells like to me. My kids love giving each little gingerbread person a different outfit.
Wrapped well, the dough keeps in the fridge for 4 days, so you can split the work across two evenings. Store baked cookies with a slice of bread to keep them soft.
3) Snickerdoodles
3) Snickerdoodles
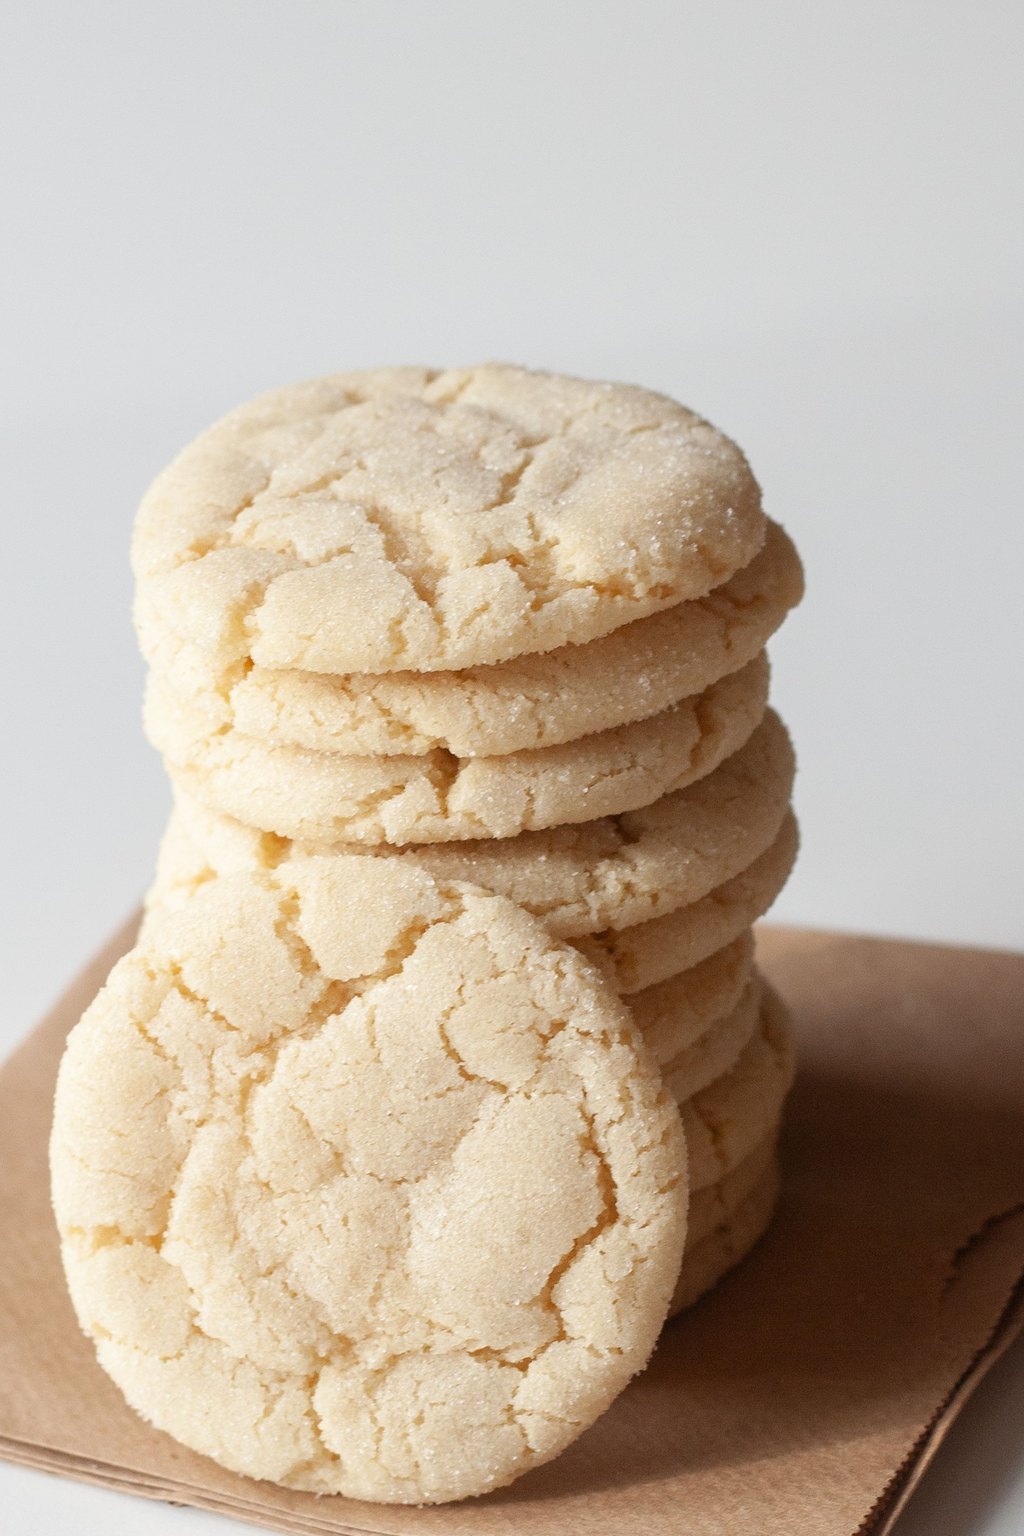
Snickerdoodles are soft, pillowy sugar cookies with crackly tops, rolled in a sweet, fragrant coating of cinnamon sugar before baking. Cream of tartar gives them their signature tang and chewy texture. Pulling them from the oven while the centers still look puffy keeps them tender for days.
Ingredients
- 2 3/4 cups all purpose flour
- 2 teaspoons cream of tartar
- 1 teaspoon baking soda
- 1/2 teaspoon salt
- 1 cup unsalted butter, softened
- 1 1/2 cups granulated sugar
- 2 large eggs
- 1 teaspoon vanilla extract
- 1/4 cup granulated sugar for rolling
- 1 tablespoon ground cinnamon for rolling
Instructions
- Heat the oven to 375F and line two baking sheets with parchment.
- Whisk the flour, cream of tartar, baking soda and salt in a bowl.
- Beat the butter and 1 1/2 cups sugar on medium speed until light and fluffy, about 3 minutes. Beat in the eggs one at a time, then the vanilla.
- Add the dry ingredients on low speed and mix just until combined. If the dough feels very soft, chill it for 15 minutes.
- Stir the 1/4 cup sugar and cinnamon together in a shallow bowl. Roll the dough into 1 1/4 inch balls and roll each ball in the cinnamon sugar until fully coated.
- Place the balls 2 inches apart on the sheets. Bake 9 to 11 minutes, until the edges are set and the centers are puffed and just starting to crack. They will look slightly underdone.
- Cool on the pan for 5 minutes, which lets the centers settle into soft, crinkly tops, then move to a wire rack to cool completely.
Snickerdoodles were the first cookie I ever baked on my own, and they are still a favorite. They need no chilling or decorating, which makes them perfect for busy December nights.
Roll the dough balls in cinnamon sugar and freeze them on a sheet pan, then bag them. Bake from frozen, adding about 2 minutes.
4) Peanut Butter Blossoms
4) Peanut Butter Blossoms
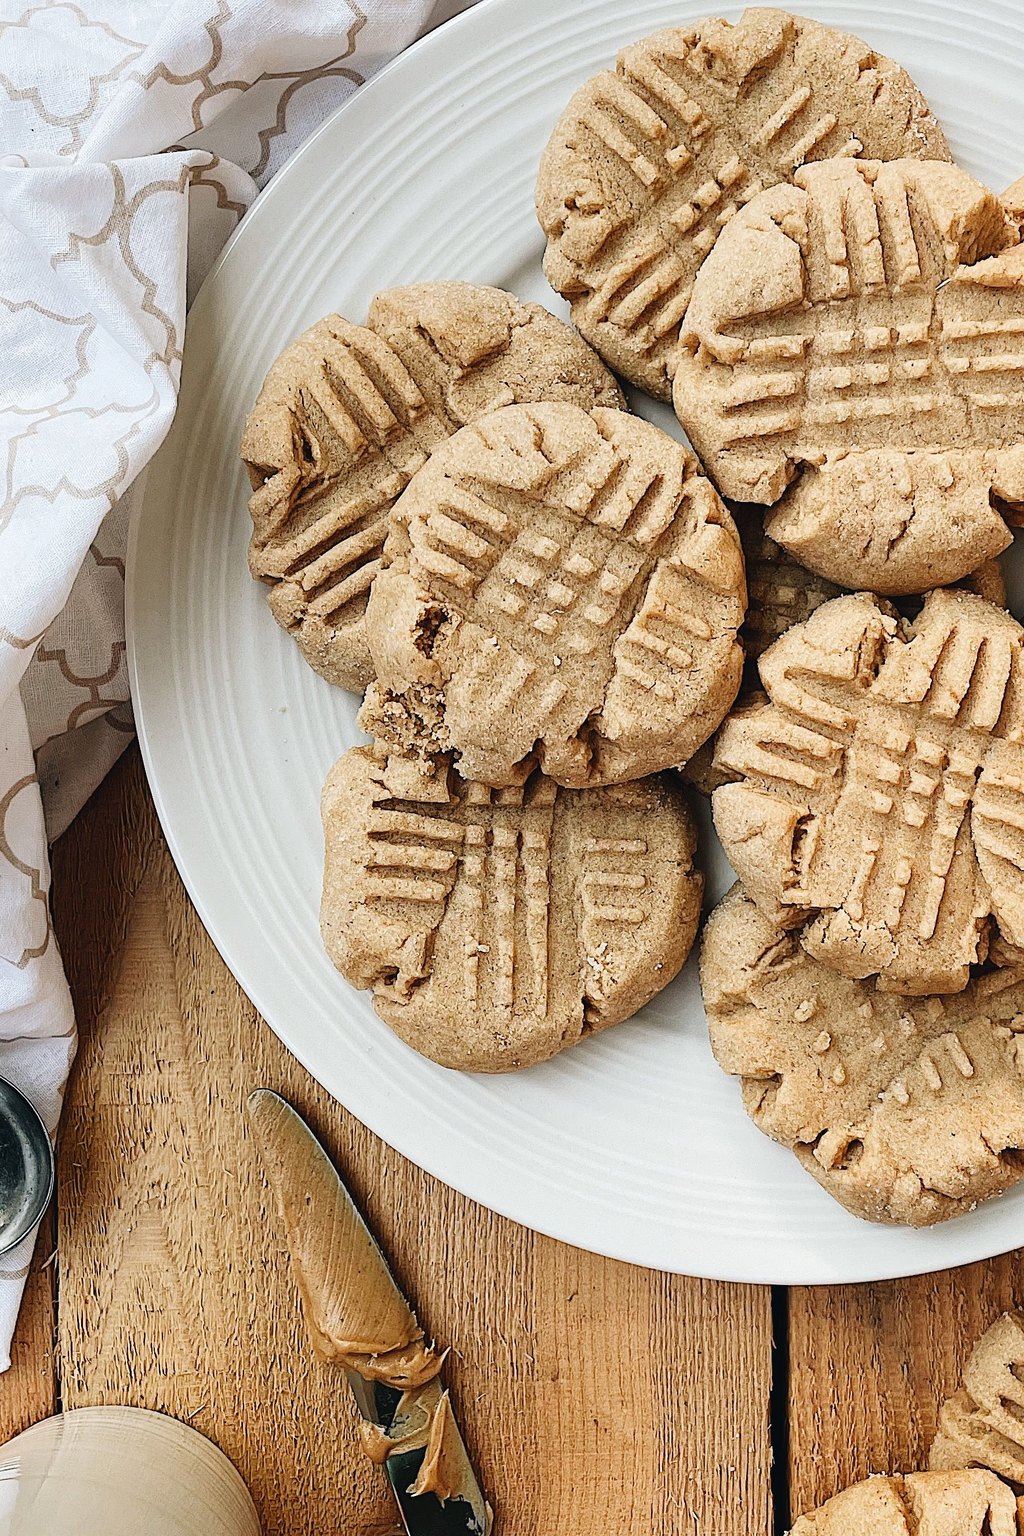
Peanut butter blossoms are soft, sugar coated peanut butter cookies crowned with a chocolate kiss. The candy goes on the moment the cookies leave the oven so it softens slightly and sticks. The combination of salty peanut butter and creamy milk chocolate is a classic for good reason.
Ingredients
- 1 3/4 cups all purpose flour
- 1 teaspoon baking soda
- 1/2 teaspoon salt
- 1/2 cup unsalted butter, softened
- 1/2 cup creamy peanut butter
- 1/2 cup granulated sugar
- 1/2 cup packed light brown sugar
- 1 large egg
- 2 tablespoons milk
- 1 teaspoon vanilla extract
- 1/3 cup granulated sugar for rolling
- 36 milk chocolate kisses, unwrapped
Instructions
- Heat the oven to 375F and line baking sheets with parchment. Unwrap the chocolate kisses and set them aside.
- Whisk the flour, baking soda and salt in a bowl.
- Beat the butter and peanut butter until smooth, then add both sugars and beat until fluffy, about 2 minutes. Beat in the egg, milk and vanilla.
- Mix in the dry ingredients on low speed until a soft dough forms.
- Shape the dough into 1 inch balls, roll them in granulated sugar until evenly coated and place them 2 inches apart on the sheets.
- Bake 8 to 10 minutes, until the cookies are lightly golden at the edges and the tops have small cracks.
- Immediately press a chocolate kiss into the center of each hot cookie so the edges crack around it. Cool on the pan 5 minutes, then move to a rack. Let the chocolate set completely, about 1 hour, before stacking.
No Christmas cookie tray in my family is complete without blossoms. My kids fight over who gets to press in the chocolates.
Chill the unwrapped chocolates for 10 minutes before pressing them in. Cold candies hold their pointy tops instead of melting into puddles.
5) Snowball Cookies
5) Snowball Cookies
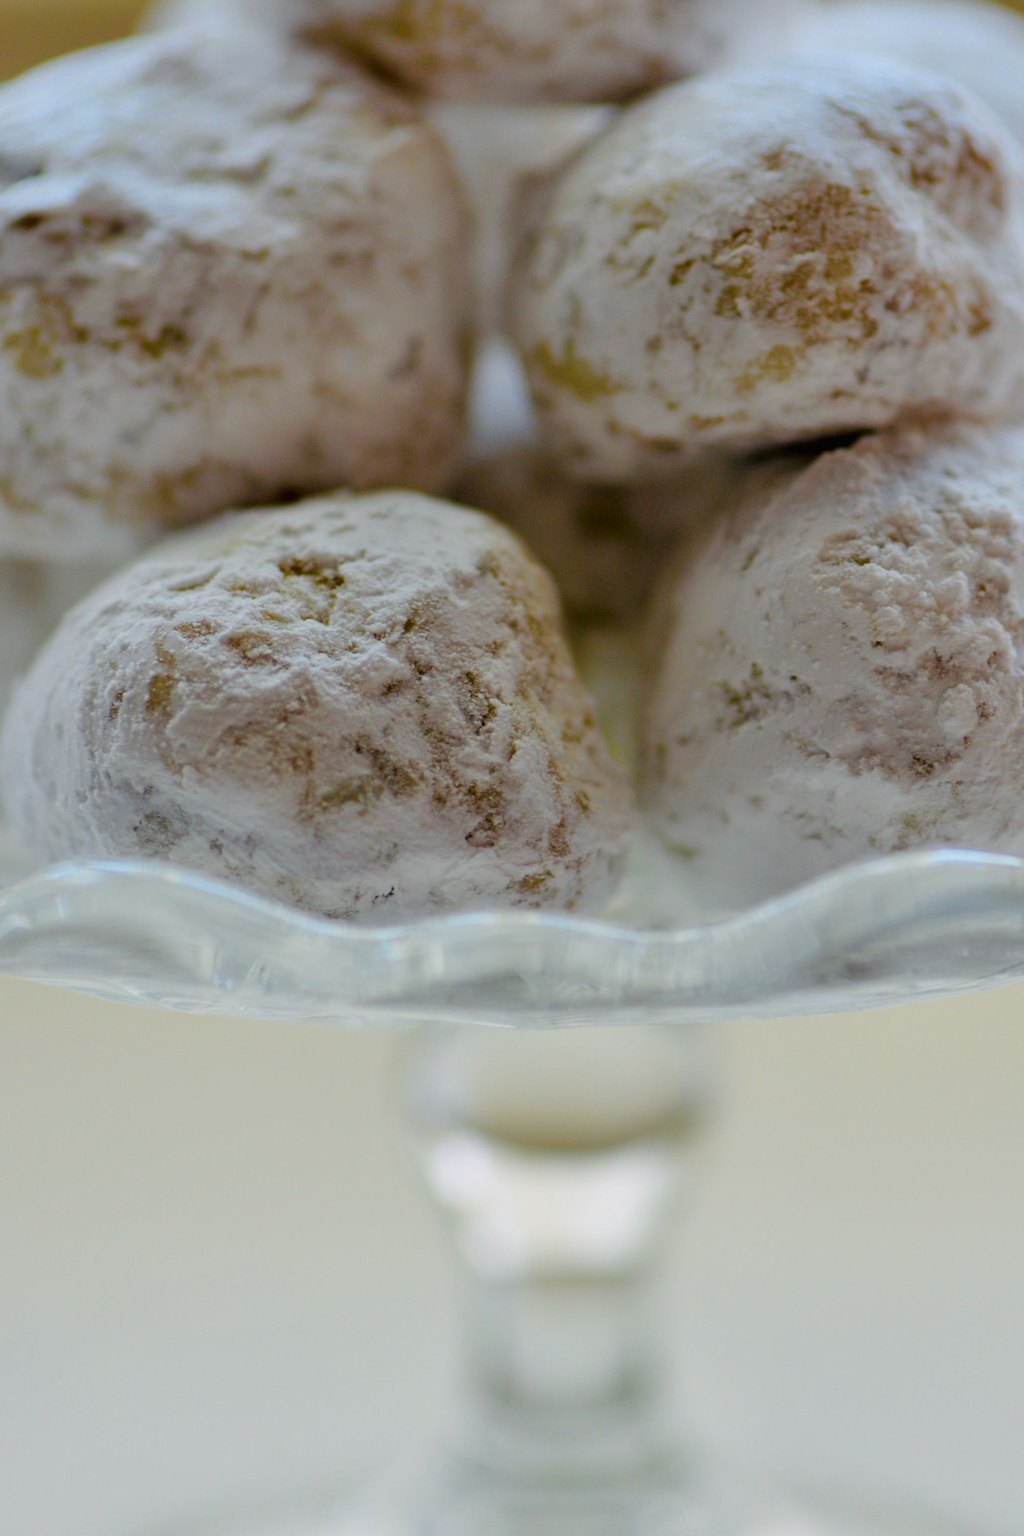
Snowball cookies are tender, buttery little bites full of finely chopped toasted nuts and covered in a thick layer of powdered sugar. They have a melt in your mouth texture that is close to shortbread. A double roll in powdered sugar, once warm and once cool, gives them their snowy look.
Ingredients
- 1 cup unsalted butter, softened
- 1/2 cup powdered sugar
- 1 teaspoon vanilla extract
- 2 1/4 cups all purpose flour
- 1/4 teaspoon salt
- 3/4 cup finely chopped pecans or walnuts
- 1 1/2 cups powdered sugar for rolling
- Parchment paper for the pans
- 1 small bowl for the sugar coating
- 1 wire cooling rack
Instructions
- Heat the oven to 350F and line two baking sheets with parchment.
- Beat the butter, 1/2 cup powdered sugar and vanilla on medium speed until creamy and light, about 2 minutes.
- Add the flour and salt on low speed and mix until the dough comes together. Stir in the chopped nuts by hand.
- Roll the dough into 1 inch balls and place them 1 inch apart on the sheets. They barely spread.
- Bake 12 to 14 minutes, until the bottoms are lightly golden but the tops are still pale.
- Cool the cookies on the pan for 5 minutes. While they are still warm, roll each one gently in powdered sugar and set it on a wire rack.
- Once the cookies are completely cool, roll them in powdered sugar a second time for a thick, snowy coat. The first warm coating melts slightly and acts like glue for the second layer.
These go by many names, including Russian tea cakes and Mexican wedding cookies, but in my house they are simply snowballs. They are the cookie my dad always reaches for first.
Toast the nuts at 350F for 6 minutes before chopping for a deeper flavor. The cookies keep in a tin for 2 weeks and freeze for 3 months.
6) Jam Thumbprint Cookies

6) Jam Thumbprint Cookies
Thumbprint cookies are buttery, tender rounds with a jewel of jam baked into the center. Using only egg yolks makes the dough rich and keeps the cookies from spreading, so each one keeps a neat, round shape. Filling the wells partway through baking keeps the jam glossy instead of dried out.
Ingredients
- 1 cup unsalted butter, softened
- 2/3 cup granulated sugar
- 2 large egg yolks
- 1 teaspoon vanilla extract
- 1/2 teaspoon almond extract
- 2 1/4 cups all purpose flour
- 1/2 teaspoon salt
- 1/2 cup raspberry or strawberry jam
- 1/2 cup powdered sugar for drizzle
- 1 tablespoon milk for drizzle
Instructions
- Heat the oven to 350F and line two baking sheets with parchment.
- Beat the butter and sugar on medium speed until light, about 2 minutes. Beat in the egg yolks, vanilla and almond extract.
- Add the flour and salt on low and mix just until a soft dough forms.
- Roll the dough into 1 inch balls and place them 2 inches apart on the sheets. Press your thumb or the back of a 1/2 teaspoon measure into each ball to make a deep well.
- Bake 8 minutes, then take the pans out and gently press the wells again if they have puffed. Fill each well with about 1/2 teaspoon jam.
- Return the cookies to the oven for 5 to 7 minutes more, until the edges are lightly golden and the jam is bubbling.
- Cool on the pan 5 minutes, then move to a rack. Whisk the powdered sugar and milk into a thin glaze and drizzle it over the cooled cookies.
I love how a plate of thumbprints looks like little ornaments with red and purple jam. They are an easy way to add color to a cookie tray without any decorating.
Use a thick, seedless jam so it holds its shape in the oven. Mix up the flavors with apricot, raspberry and cherry for a pretty assortment.
7) Chocolate Crinkle Cookies
7) Chocolate Crinkle Cookies
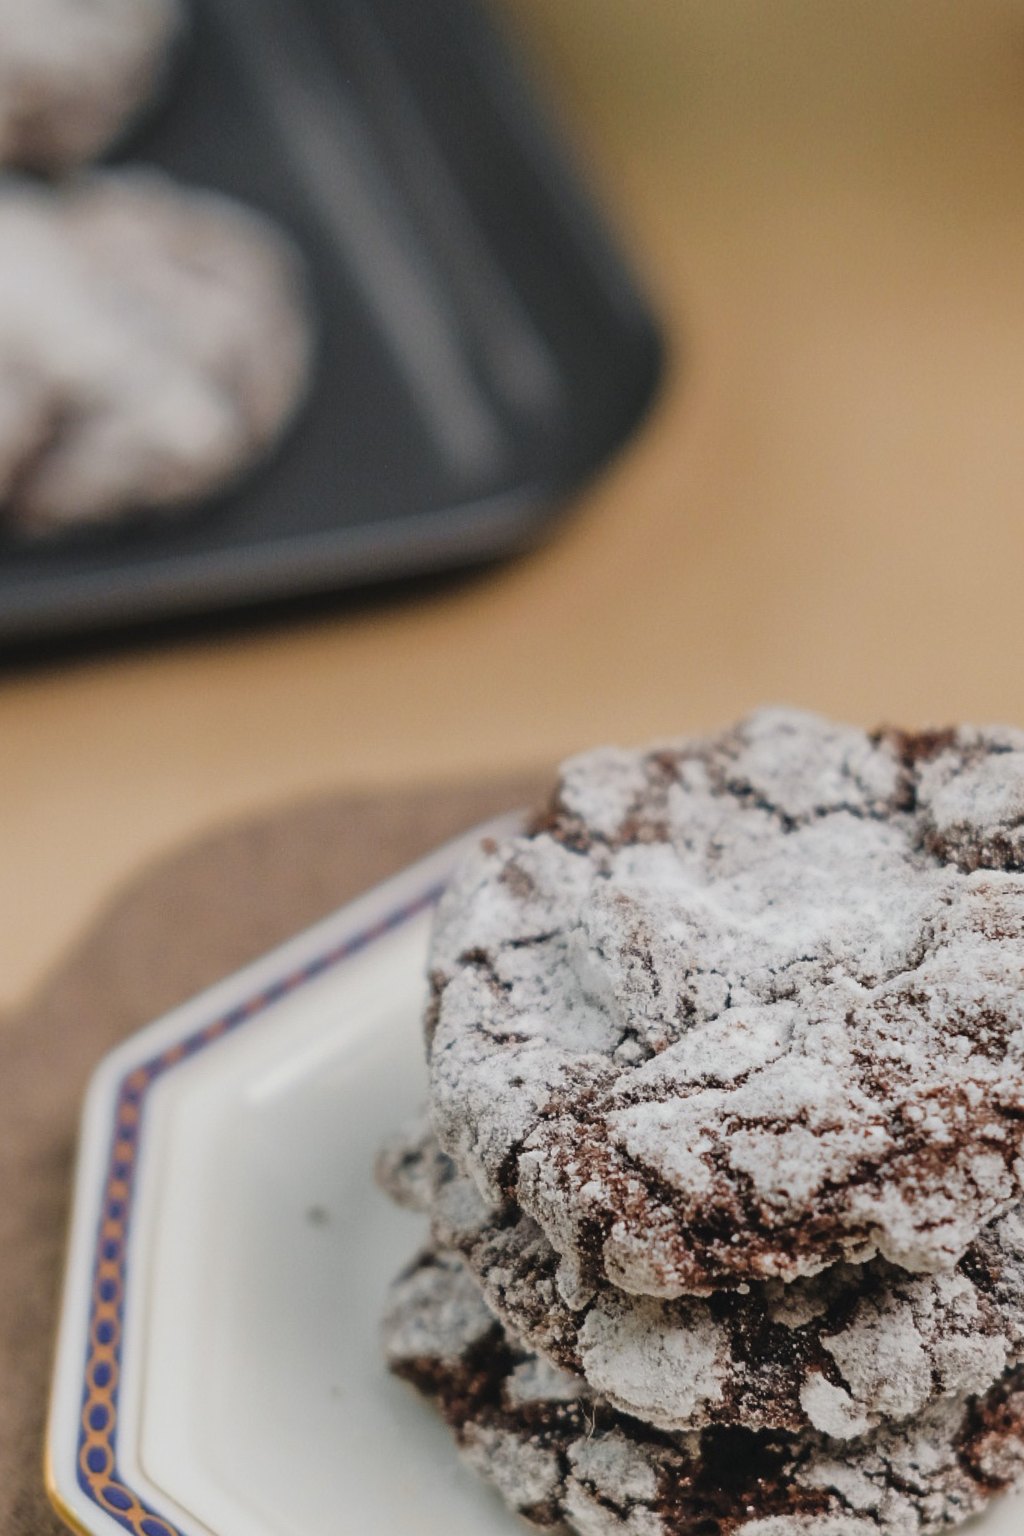
Chocolate crinkles taste like a rich brownie in cookie form, with soft, fudgy centers and thin, crisp edges. As they bake, the dark dough spreads and cracks through a snowy powdered sugar shell. Using oil instead of butter keeps them soft and moist for days after baking.
Ingredients
- 1 cup unsweetened cocoa powder
- 2 cups granulated sugar
- 1/2 cup vegetable oil
- 4 large eggs
- 2 teaspoons vanilla extract
- 2 cups all purpose flour
- 2 teaspoons baking powder
- 1/2 teaspoon salt
- 1/2 cup granulated sugar for rolling
- 1 cup powdered sugar for rolling
Instructions
- Whisk the cocoa powder, 2 cups sugar and oil together in a large bowl until it looks like wet sand.
- Whisk in the eggs one at a time, then the vanilla, until the batter is smooth and glossy.
- Stir the flour, baking powder and salt together, add them to the cocoa mixture and stir just until combined. The dough will be very soft.
- Cover the bowl and chill at least 4 hours or overnight, until the dough is firm enough to scoop.
- Heat the oven to 350F and line baking sheets with parchment. Put the granulated sugar and powdered sugar in two separate shallow bowls.
- Scoop the dough into 1 inch balls. Roll each one in granulated sugar first, then heavily in powdered sugar, and place 2 inches apart on the sheets.
- Bake 10 to 12 minutes, until the cookies have spread and cracked and the edges are set but the centers still look soft. Cool 5 minutes on the pan, then move to a rack.
These are the cookies people always ask me to bring to the neighborhood swap. They look like they took real effort, yet the dough mixes in one bowl.
The long chill is not optional because the dough is too soft to roll at first. Make it the night before and bake in the morning.
8) Spritz Cookies
8) Spritz Cookies
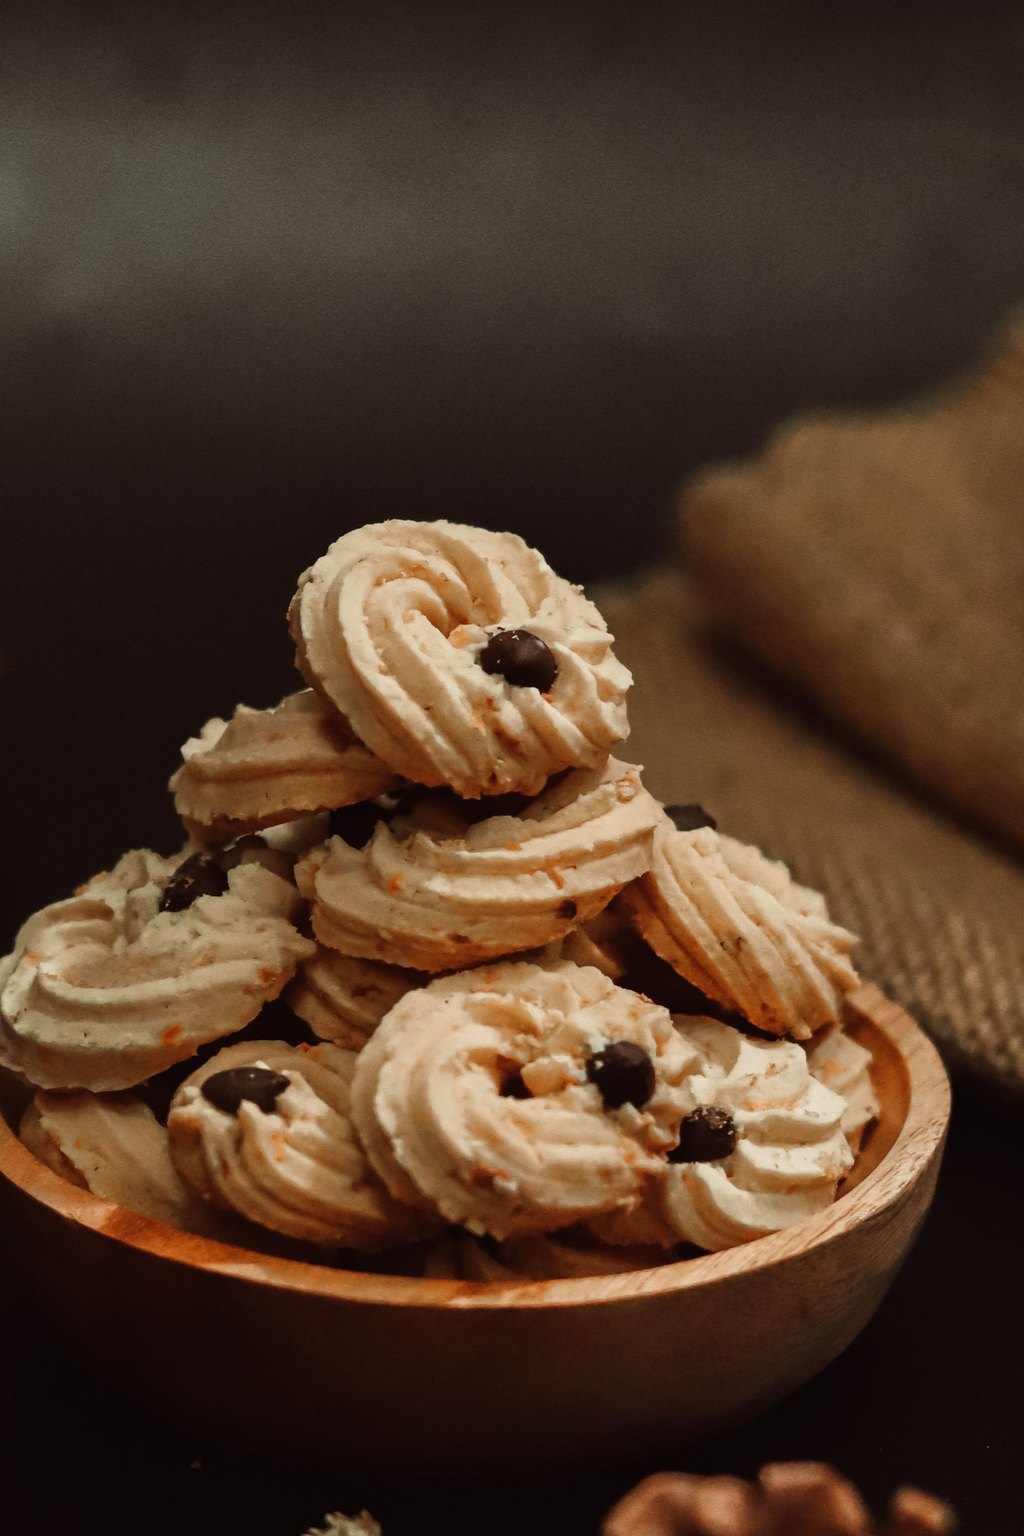
Spritz cookies are crisp, buttery little shapes pressed straight onto the baking sheet with a cookie press. A touch of almond extract gives them a classic bakery flavor. The dough needs no chilling, so you can turn out dozens of trees and wreaths in under an hour.
Ingredients
- 1 cup unsalted butter, softened
- 2/3 cup granulated sugar
- 1 large egg
- 1 teaspoon vanilla extract
- 1/2 teaspoon almond extract
- 2 1/4 cups all purpose flour
- 1/4 teaspoon salt
- Green and red gel food coloring
- Colored sugar and sprinkles
- 1 cookie press
Instructions
- Heat the oven to 375F. Do not line or grease the baking sheets, because the dough needs to stick to a bare cool pan to release from the press.
- Beat the butter and sugar on medium speed until light and fluffy, about 3 minutes. Beat in the egg, vanilla and almond extract.
- Add the flour and salt on low speed and mix until a smooth, soft dough forms. Tint portions of the dough with gel coloring if you like.
- Fill the cookie press with dough and fit it with a tree, wreath or flower disk.
- Hold the press straight up against the cold baking sheet and squeeze out one cookie at a time, spacing them 1 inch apart. Decorate with colored sugar or sprinkles.
- Bake 7 to 9 minutes, until the edges are just barely golden. Cool on the pan for 2 minutes, then move to a wire rack.
- Let the baking sheets cool completely before pressing the next batch, since warm pans keep the dough from sticking.
My grandmother’s cookie press still lives in my drawer, and pulling it out each December feels like a hug from her. Spritz cookies are the fastest way to fill a big tray.
If the dough will not stick to the pan, chill the sheet for 5 minutes. Store spritz in a tin at room temperature for up to 2 weeks.
9) No Bake Chocolate Oatmeal Cookies
9) No Bake Chocolate Oatmeal Cookies
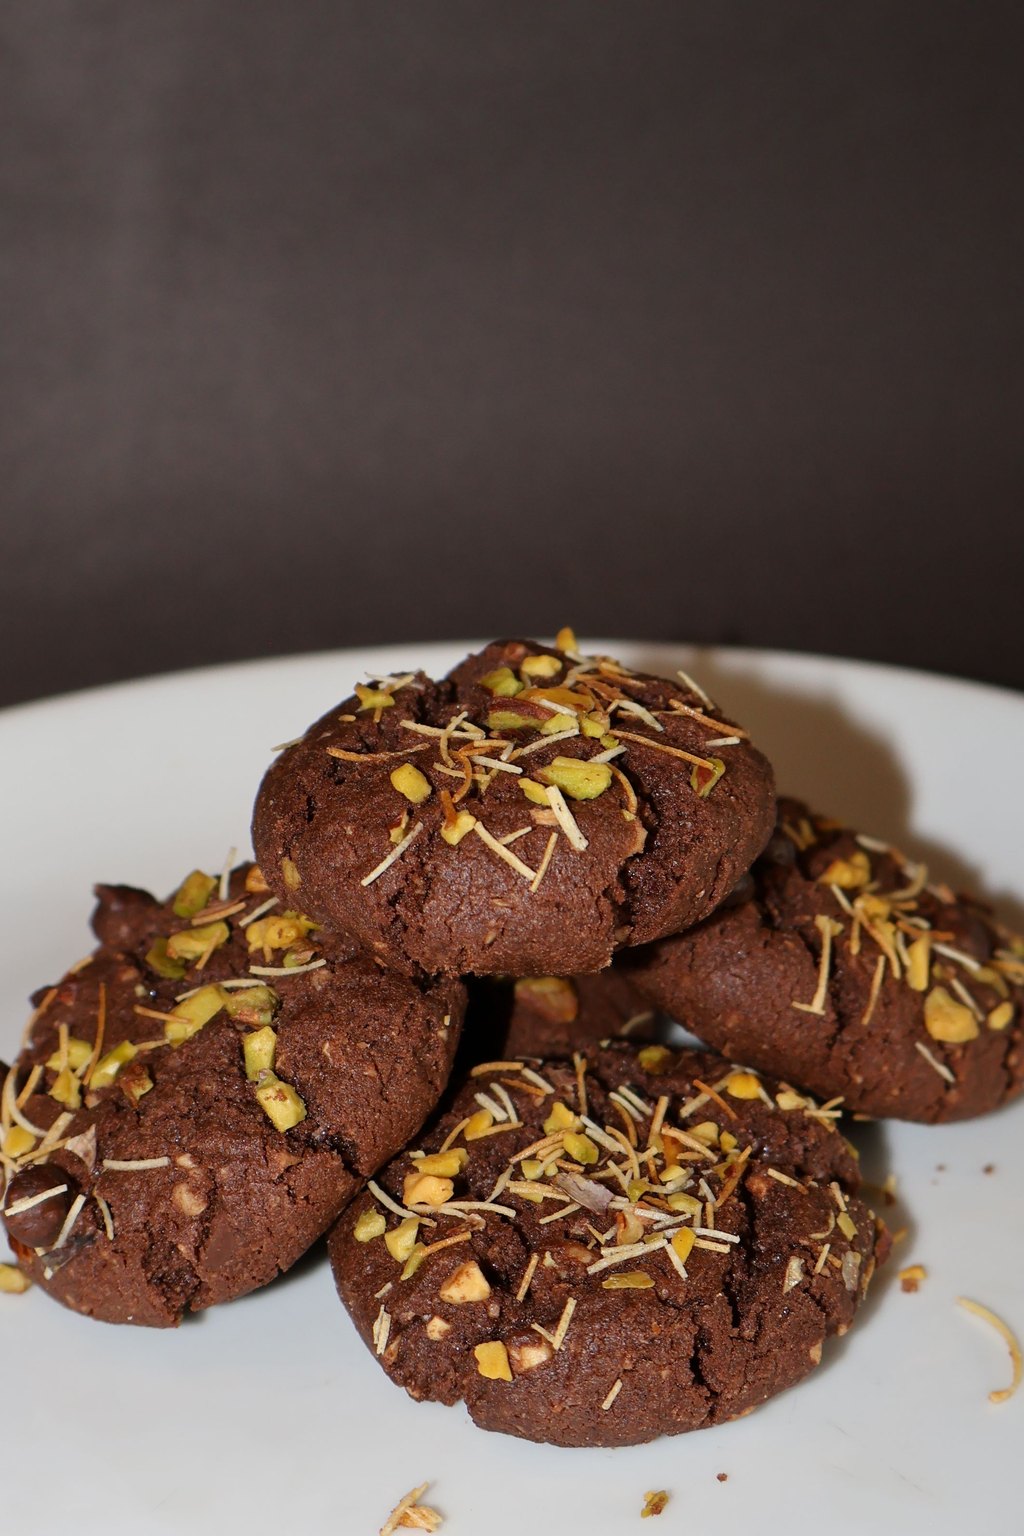
These no bake cookies are fudgy, chewy mounds of chocolate, peanut butter and oats. They set up from a quick boiled syrup, so there is no oven involved at all. Boiling the mixture for exactly one minute is the key to cookies that are firm but never dry.
Ingredients
- 2 cups granulated sugar
- 1/2 cup unsalted butter
- 1/2 cup whole milk
- 1/4 cup unsweetened cocoa powder
- 1/2 cup creamy peanut butter
- 1 teaspoon vanilla extract
- 1/4 teaspoon salt
- 3 cups quick cooking oats
- 2 tablespoons holiday sprinkles
- Wax paper or parchment paper for the counter
Instructions
- Lay out two long sheets of wax paper or parchment on the counter and have all your ingredients measured, because this recipe moves fast.
- Combine the sugar, butter, milk and cocoa powder in a medium saucepan over medium heat. Stir until the butter melts and the mixture comes to a full rolling boil.
- Once it reaches a rolling boil that you cannot stir down, set a timer and boil for exactly 1 minute without stirring. This timing is what makes the cookies set properly.
- Remove the pan from the heat and stir in the peanut butter, vanilla and salt until smooth.
- Stir in the oats until they are completely coated.
- Working quickly, drop heaping tablespoons of the mixture onto the paper. Scatter sprinkles on top while they are warm.
- Let the cookies set at room temperature for about 30 minutes, until firm enough to lift cleanly off the paper. Store them in an airtight container for up to 5 days.
When the oven is full of other trays, these save the day. They were a staple of my childhood, and my kids love them just as much.
If the cookies stay sticky, the mixture did not boil long enough. If they turn crumbly, it boiled too long, so keep that timer handy.
10) Brown Sugar Shortbread Cookies
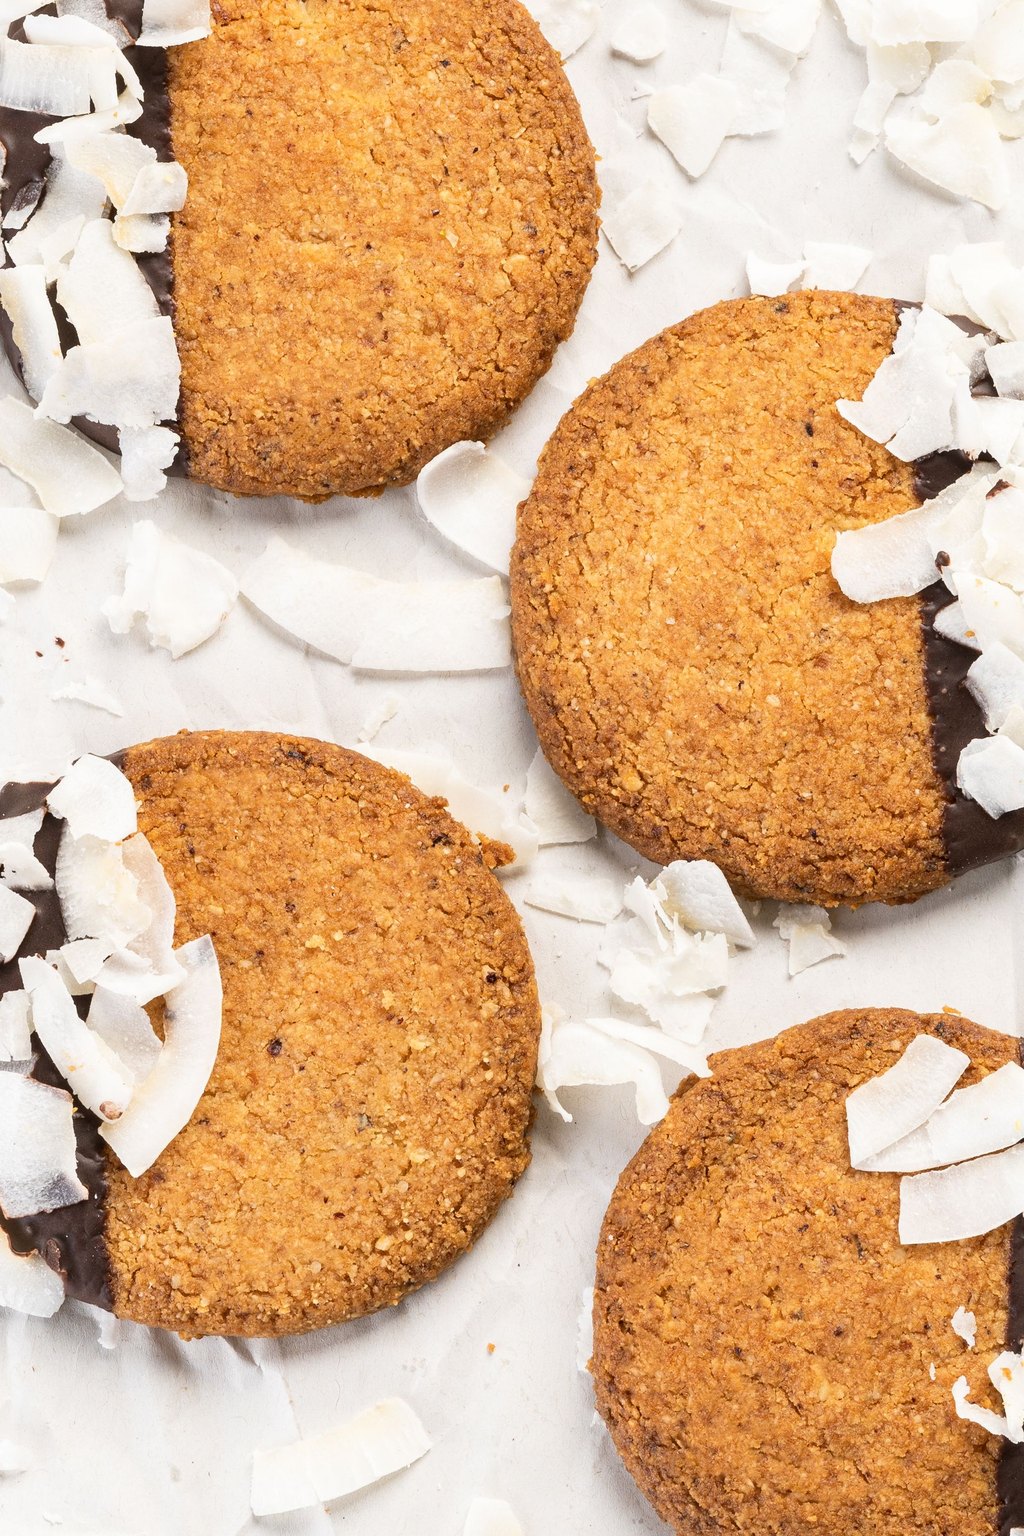
10) Brown Sugar Shortbread Cookies
This shortbread is rich and sandy with a deep caramel note from brown sugar. Baking at a lower temperature keeps the cookies pale, tender and crisp all the way through. A dip in chocolate and a sprinkle of peppermint turns a simple slice and bake cookie into a holiday treat.
Ingredients
- 1 cup salted butter, softened
- 1/2 cup packed light brown sugar
- 1/4 cup powdered sugar
- 1 teaspoon vanilla extract
- 2 cups all purpose flour
- 1/4 teaspoon salt
- 2 tablespoons turbinado sugar for sprinkling
- 4 ounces semisweet chocolate for dipping
- 1 teaspoon coconut oil
- 2 tablespoons crushed peppermint candies
Instructions
- Beat the butter, brown sugar, powdered sugar and vanilla on medium speed until smooth and creamy, about 2 minutes.
- Add the flour and salt on low speed and mix just until the dough holds together when pinched. Do not overmix.
- Shape the dough into a log about 2 inches across, roll it in turbinado sugar, wrap in plastic and chill until firm, about 45 minutes.
- Heat the oven to 325F and line baking sheets with parchment. Slice the log into 1/4 inch rounds and place them 1 inch apart.
- Bake 14 to 16 minutes, until the edges are lightly golden and the centers look dry. Cool on the pan 5 minutes, then on a rack.
- Melt the chocolate with the coconut oil in 30 second bursts, stirring until smooth. Dip half of each cookie into the chocolate and sprinkle with crushed peppermint.
- Set the cookies on parchment until the chocolate firms, about 30 minutes in a cool room.
Shortbread has only a handful of ingredients, so it is my go to when I am short on time and pantry staples. The log of dough is a lifesaver in a busy week.
Wrap the dough log in plastic and foil and freeze it for up to 3 months. Slice straight from the freezer and add a minute to the bake time.
11) Chocolate Peppermint Cookies
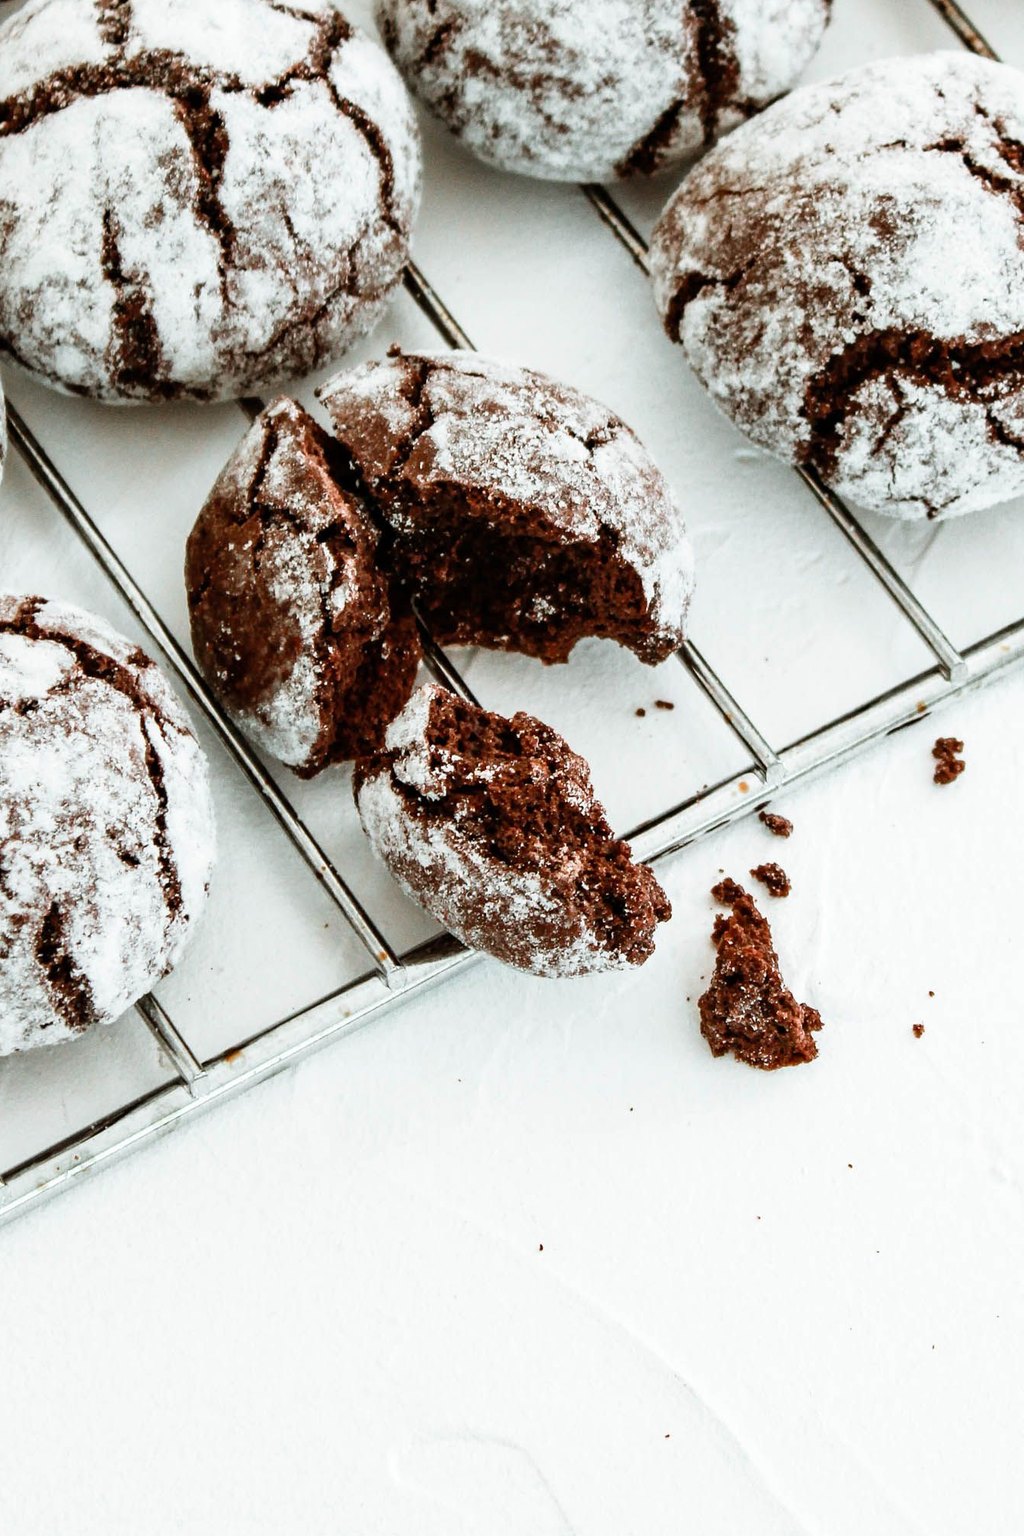
11) Chocolate Peppermint Cookies
These are soft, fudgy double chocolate cookies loaded with chocolate chips and a cool, refreshing burst of peppermint in every bite. Peppermint extract flavors the dough while crushed candy adds a sparkly, crunchy top. Pulling them while the centers are still soft keeps them chewy instead of cakey.
Ingredients
- 1 3/4 cups all purpose flour
- 1/2 cup unsweetened cocoa powder
- 1 teaspoon baking soda
- 1/2 teaspoon salt
- 1 cup unsalted butter, softened
- 3/4 cup packed light brown sugar
- 1/2 cup granulated sugar
- 2 large eggs
- 1 teaspoon vanilla extract
- 1/2 teaspoon peppermint extract
- 1 1/2 cups semisweet chocolate chips
- 1/2 cup crushed peppermint candies
Instructions
- Heat the oven to 350F and line two baking sheets with parchment.
- Whisk the flour, cocoa powder, baking soda and salt together in a bowl.
- Beat the butter, brown sugar and granulated sugar on medium speed until creamy, about 2 minutes. Beat in the eggs one at a time, then the vanilla and peppermint extract.
- Add the dry ingredients on low speed and mix just until combined. Stir in the chocolate chips by hand.
- Scoop 1 1/2 tablespoon mounds of dough onto the sheets, 2 inches apart.
- Bake 9 to 11 minutes, until the edges are set and the tops look just barely dry. The centers should still be soft.
- Right out of the oven, press a pinch of crushed peppermint onto the top of each cookie. Cool on the pan 5 minutes, then move to a rack. Store in an airtight container once cool, since the candy softens in humid air.
Chocolate and peppermint is the flavor of the season at my house, and these are the cookies my teenager requests every year. They are also a great drop cookie for beginners.
Crush the peppermint candies in a zip top bag with a rolling pin. Sift out the fine dust so the pieces stay crunchy.
12) Cranberry White Chocolate Oatmeal Cookies
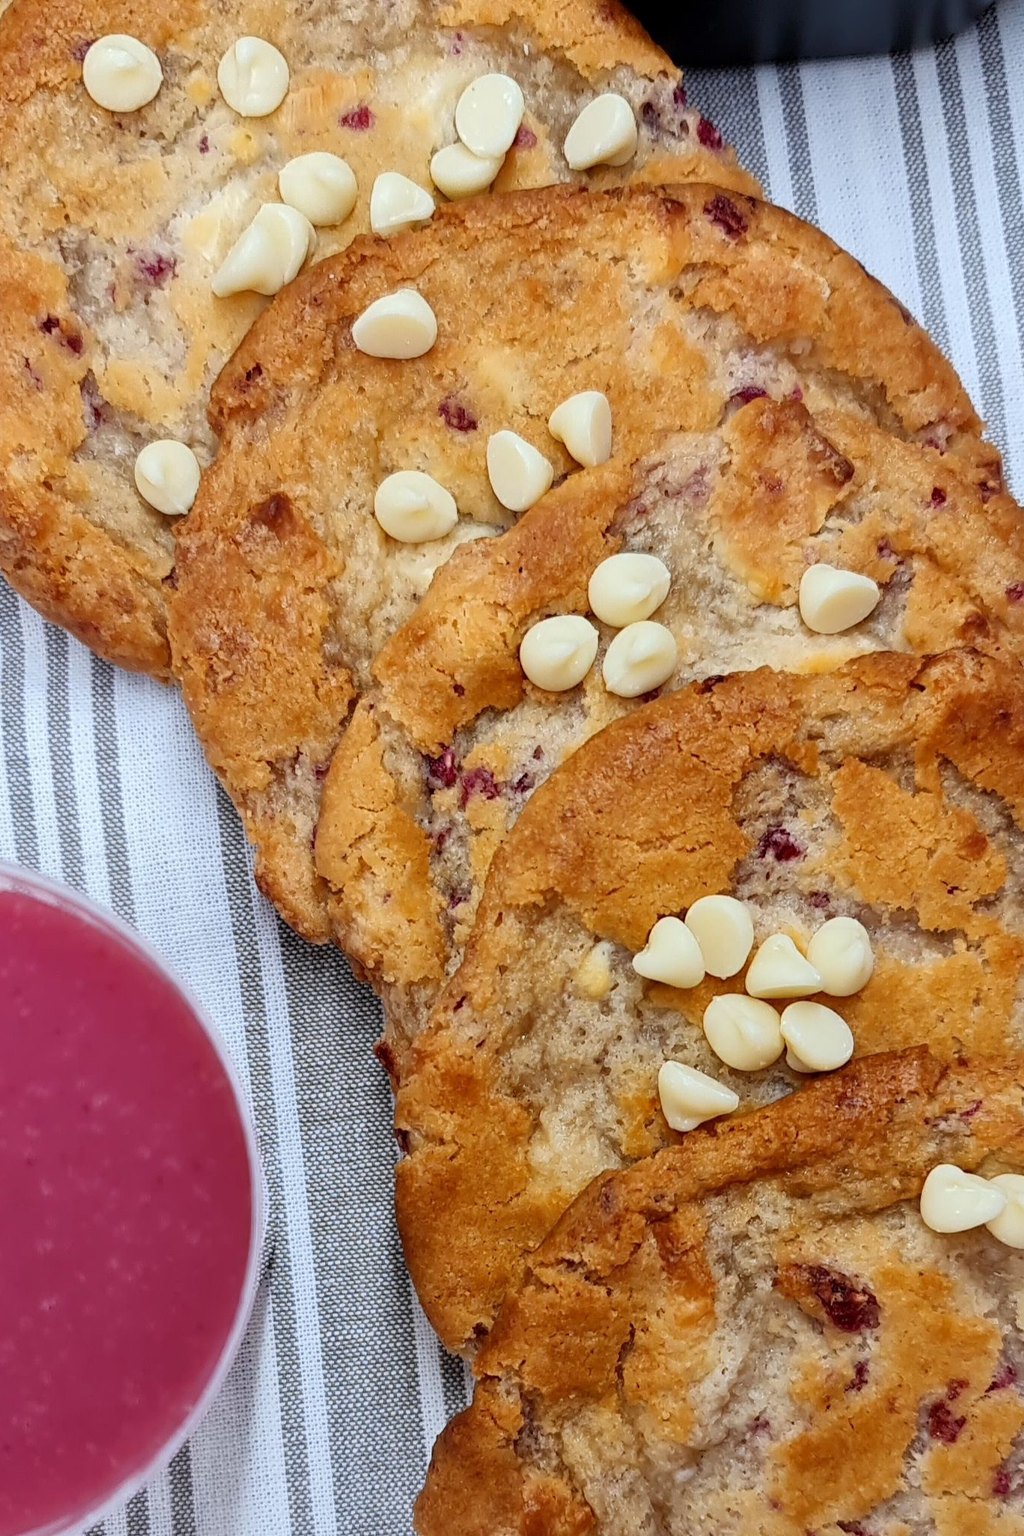
12) Cranberry White Chocolate Oatmeal Cookies
These oatmeal cookies are chewy and hearty with tart dried cranberries and sweet pockets of white chocolate. The bright red and creamy white flecks make them look festive on a holiday tray with zero decorating. A little cinnamon warms up the flavor and pairs beautifully with the fruit.
Ingredients
- 1 1/2 cups all purpose flour
- 1 teaspoon baking soda
- 1 teaspoon ground cinnamon
- 1/2 teaspoon salt
- 1 cup unsalted butter, softened
- 1 cup packed light brown sugar
- 1/2 cup granulated sugar
- 2 large eggs
- 2 teaspoons vanilla extract
- 3 cups old fashioned rolled oats
- 1 cup dried cranberries
- 1 cup white chocolate chips
Instructions
- Heat the oven to 350F and line two baking sheets with parchment.
- Whisk the flour, baking soda, cinnamon and salt together in a bowl.
- Beat the butter, brown sugar and granulated sugar on medium speed until fluffy, about 2 minutes. Beat in the eggs and vanilla.
- Add the flour mixture on low speed and mix until just combined. Stir in the oats, cranberries and white chocolate chips by hand until evenly distributed.
- Scoop 2 tablespoon mounds of dough onto the sheets, 2 inches apart, and flatten them slightly with your palm so they bake evenly. Press a few extra cranberries and chips onto the tops for a bakery look.
- Bake 10 to 12 minutes, until the edges are golden and the centers look set but still soft.
- Cool on the pan for 5 minutes so the cookies firm up, then move them to a wire rack to cool completely. Store in an airtight container at room temperature for up to 5 days.
This is my favorite cookie to send to college kids and faraway family because they ship so well. They stay soft and chewy for days.
Scoop and freeze the dough balls on a sheet pan, then store them in a freezer bag. Bake from frozen, adding 2 minutes.
13) Eggnog Cookies
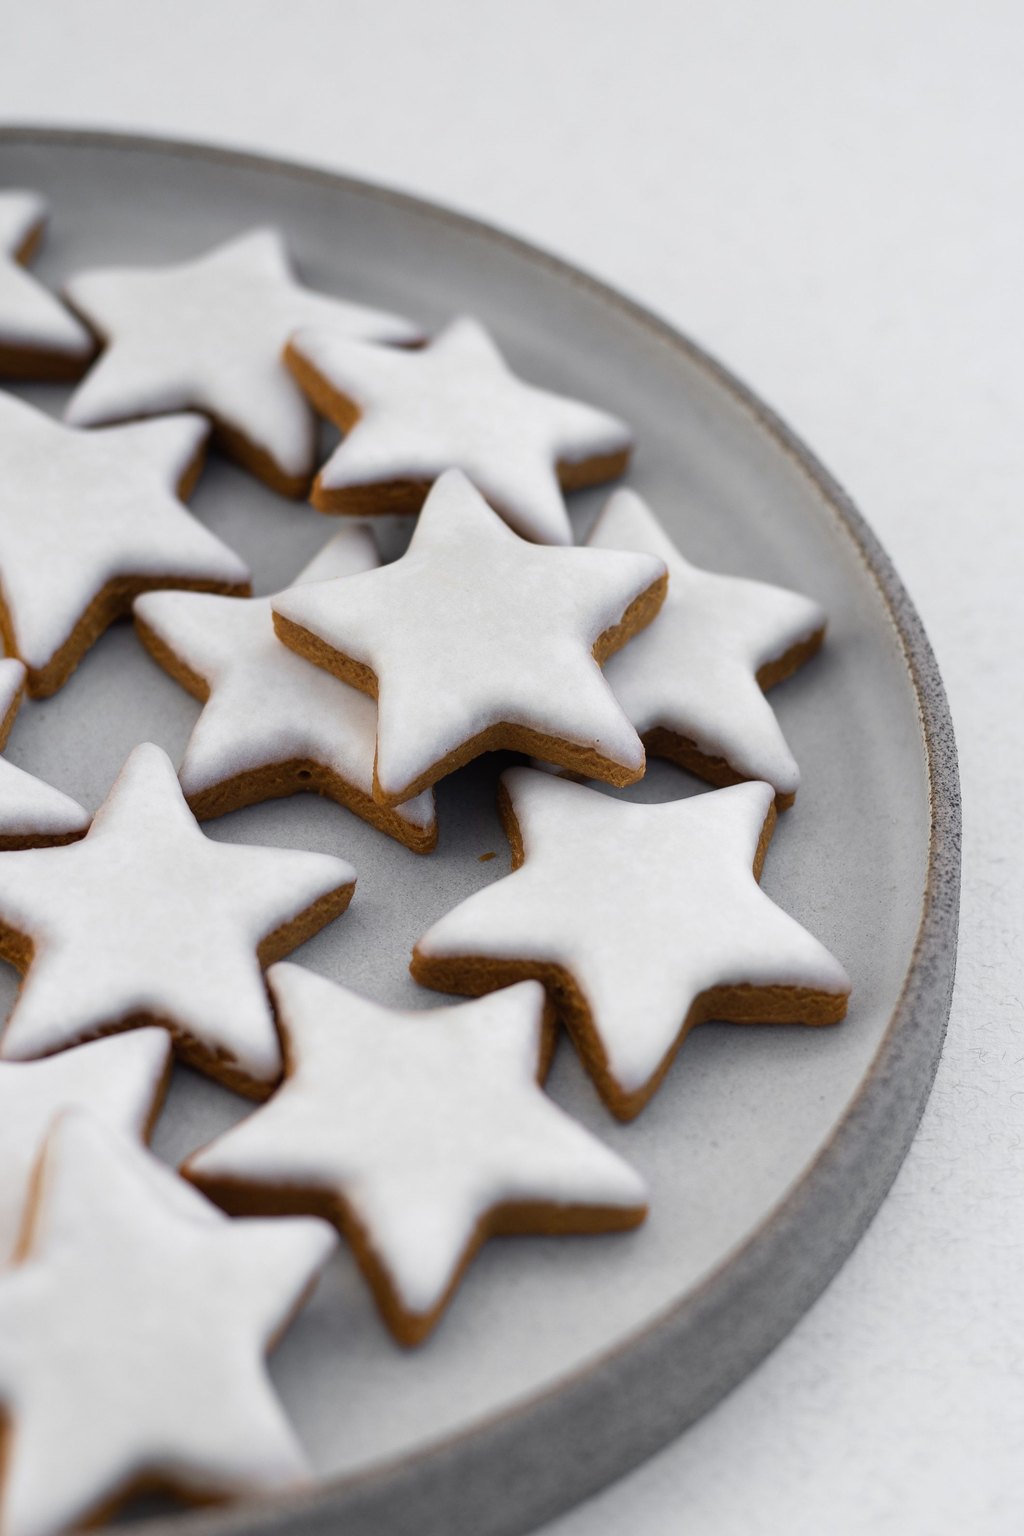
13) Eggnog Cookies
Eggnog cookies are soft, cakey drop cookies flavored with real eggnog, a little vanilla and plenty of warm, fragrant nutmeg. A thin eggnog glaze on top doubles the creamy, spiced flavor. They taste like a cozy cup of holiday nog in cookie form, without any alcohol at all.
Ingredients
- 2 3/4 cups all purpose flour
- 1 teaspoon baking powder
- 1/2 teaspoon salt
- 1 teaspoon ground nutmeg, divided
- 3/4 cup unsalted butter, softened
- 1 cup granulated sugar
- 2 large egg yolks
- 1/2 cup eggnog
- 1 teaspoon vanilla extract
- For the glaze
- 1 1/2 cups powdered sugar
- 3 tablespoons eggnog
- 1/4 teaspoon ground cinnamon
Instructions
- Heat the oven to 350F and line two baking sheets with parchment.
- Whisk the flour, baking powder, salt and 3/4 teaspoon nutmeg together in a bowl.
- Beat the butter and sugar on medium speed until fluffy, about 2 minutes. Beat in the egg yolks, 1/2 cup eggnog and vanilla until smooth. The mixture may look a little curdled, which is fine.
- Add the dry ingredients on low speed and mix just until a soft dough forms.
- Scoop 1 tablespoon mounds onto the sheets, 2 inches apart. Bake 10 to 12 minutes, until the bottoms are lightly golden and the tops are set but pale.
- Cool on the pan for 5 minutes, then move to a wire rack and cool completely.
- Whisk the powdered sugar, 3 tablespoons eggnog and cinnamon into a smooth glaze. Spoon a little over each cookie, sprinkle with the remaining nutmeg and let the glaze set for 30 minutes.
I always have a carton of eggnog in the fridge in December, and this recipe is my favorite way to use the last cup. They are a fun surprise on a tray of classics.
Freshly grated nutmeg makes a big difference here, so grate it if you can. Store the glazed cookies in a single layer to keep them pretty.
14) Linzer Cookies

14) Linzer Cookies
Linzer cookies are delicate almond butter cookies sandwiched with raspberry jam and dusted with powdered sugar. A cutout window on top lets the bright red jam shine through like stained glass. Ground almonds give the dough a tender, slightly nutty crumb that melts on your tongue.
Ingredients
- 1 cup unsalted butter, softened
- 2/3 cup granulated sugar
- 1 large egg
- 1 teaspoon vanilla extract
- 1/2 teaspoon lemon zest
- 2 1/4 cups all purpose flour
- 1 cup almond flour
- 1/2 teaspoon ground cinnamon
- 1/2 teaspoon salt
- 2/3 cup seedless raspberry jam
- 1/3 cup powdered sugar for dusting
Instructions
- Beat the butter and sugar on medium speed until fluffy, about 2 minutes. Beat in the egg, vanilla and lemon zest.
- Whisk the flour, almond flour, cinnamon and salt together, then add them on low speed and mix until a soft dough forms. Divide in half, flatten into disks, wrap and chill 1 hour.
- Heat the oven to 350F and line baking sheets with parchment. Roll one disk at a time between parchment to 1/8 inch thick.
- Cut out 2 1/2 inch rounds or scalloped shapes. Use a small heart or star cutter to cut a window in the center of half the cookies.
- Bake 9 to 11 minutes, until the edges are just golden. The cookies with windows bake slightly faster, so watch them closely. Cool completely on a rack.
- Dust the window cookies heavily with powdered sugar.
- Spread about 1 teaspoon of jam on each solid cookie and gently press a dusted window cookie on top so the jam shows through. Let them sit 1 hour so the jam sets slightly.
These look like the fanciest cookie on any tray, and they always earn compliments. They take a little patience, but every step is simple.
Assemble the cookies on the day you plan to serve or gift them. Once filled, they soften over a day or two, which some people love.
15) Buckeyes
15) Buckeyes
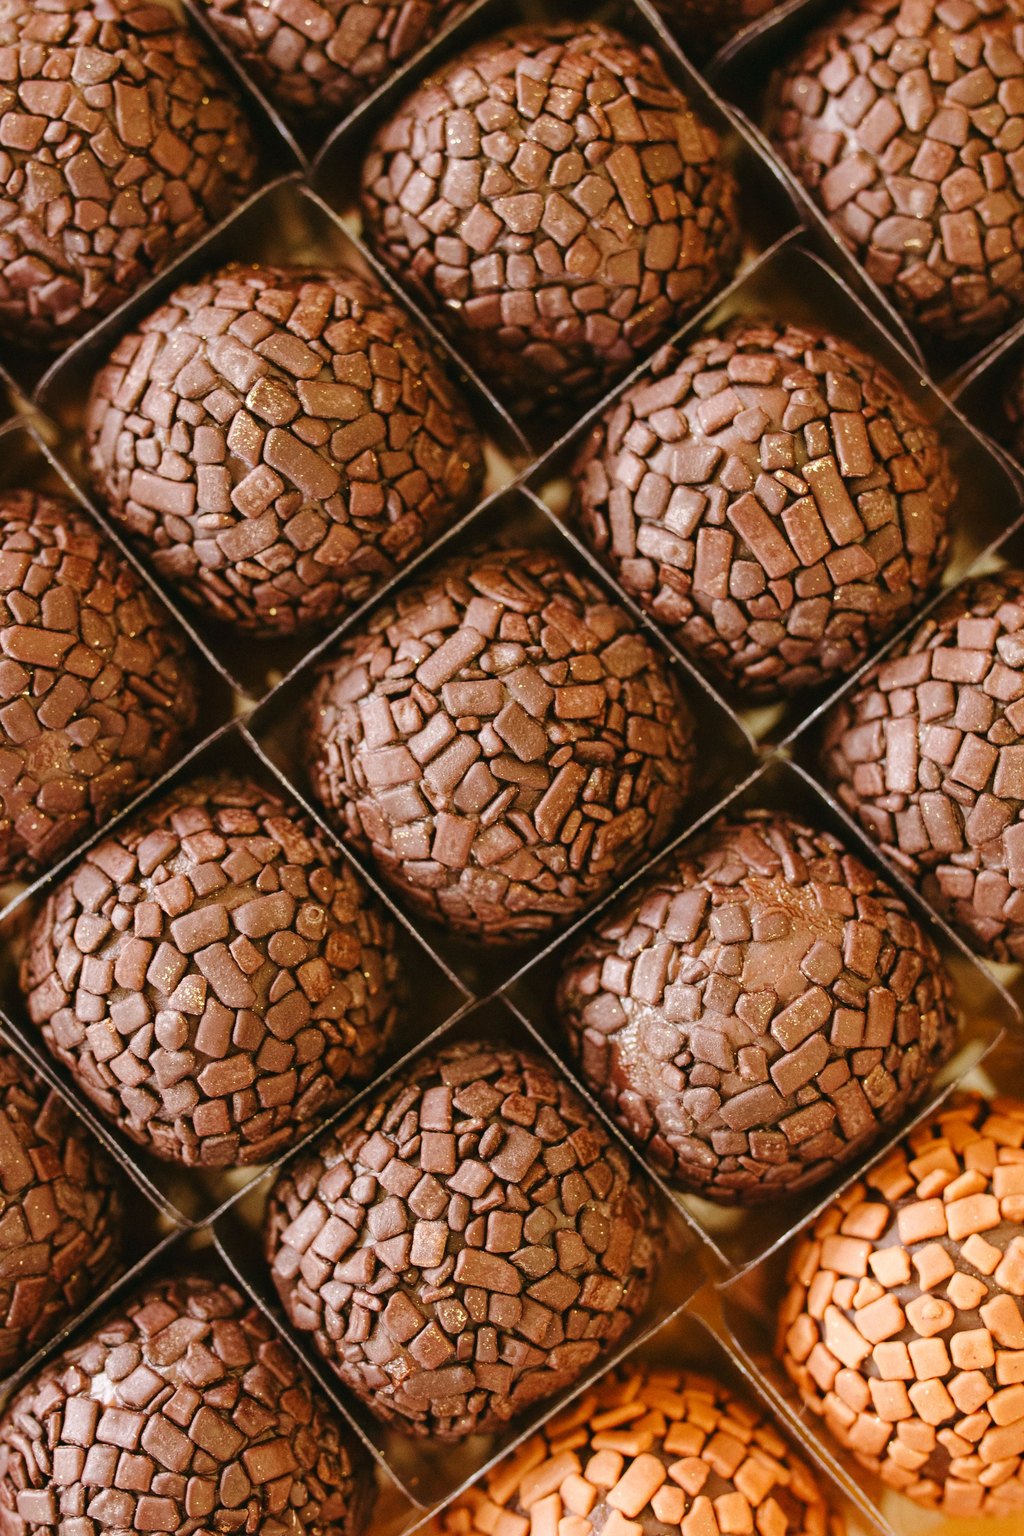
Buckeyes are creamy peanut butter balls dipped in chocolate with a round patch left uncovered on top. The finished candy looks just like the glossy brown nut of the buckeye tree, which is how they got their name. They taste like a homemade peanut butter cup with a soft, fudgy center.
Ingredients
- 1 1/2 cups creamy peanut butter
- 1/2 cup unsalted butter, softened
- 1 teaspoon vanilla extract
- 1/4 teaspoon salt
- 4 cups powdered sugar
- 12 ounces semisweet chocolate chips
- 2 teaspoons coconut oil
- Toothpicks for dipping
- Parchment paper for the pans
- Mini paper candy cups
Instructions
- Line two baking sheets with parchment paper.
- Beat the peanut butter, butter, vanilla and salt together on medium speed until smooth and creamy.
- Add the powdered sugar a cup at a time on low speed, mixing until a thick dough forms that holds together when squeezed. If it feels sticky, add a little more sugar.
- Roll the mixture into 1 inch balls and place them on the sheets. Stick a toothpick into the top of each ball and freeze for 30 minutes, until firm.
- Melt the chocolate chips with the coconut oil in a microwave safe bowl in 30 second bursts, stirring until smooth.
- Hold each ball by the toothpick and dip it into the chocolate, leaving a circle of peanut butter showing at the top. Let the excess drip off and set it back on the parchment.
- Remove the toothpicks and smooth the holes with a fingertip. Chill until the chocolate is set, about 15 minutes, then place in paper candy cups.
These are the no bake treat everyone hovers around at holiday parties. They are a fun assembly line project with older kids.
Keep buckeyes in an airtight container in the fridge for up to 2 weeks or freeze them for 3 months. Serve them slightly chilled.
16) Cornflake Wreath Cookies

16) Cornflake Wreath Cookies
Cornflake wreaths are a no bake treat made like crispy rice bars, with cereal folded into melted marshmallow. Bright green coloring and little red cinnamon candies turn them into tiny, cheerful holiday wreaths. They are chewy, sweet and crunchy, and they come together in about 15 minutes.
Ingredients
- 1/2 cup unsalted butter
- 1 bag mini marshmallows, 10 ounces
- 1 teaspoon vanilla extract
- 1 1/2 teaspoons green gel food coloring
- 6 cups cornflake cereal
- 1/4 cup red cinnamon candies
- Cooking spray
- Wax paper for the counter
- 1/4 teaspoon salt
- 2 tablespoons holiday sprinkles
Instructions
- Lay a long sheet of wax paper on the counter and coat it lightly with cooking spray. Spray your hands or a pair of disposable gloves as well.
- Melt the butter in a large pot over low heat. Add the marshmallows and stir constantly until completely melted and smooth, about 5 minutes.
- Remove the pot from the heat and stir in the vanilla, salt and green food coloring until the color is even and bright.
- Add the cornflakes and fold gently with a greased spatula until every flake is coated green.
- Working quickly while the mixture is warm, drop about 1/3 cup portions onto the wax paper. With greased fingers, shape each into a ring about 3 inches wide with a hole in the middle.
- Press 3 or 4 cinnamon candies onto each wreath as berries and add a few sprinkles.
- Let the wreaths set at room temperature for at least 30 minutes, until firm. Peel them off the paper and store in a single layer in an airtight container for up to 3 days.
These are the cookie my kids are most excited to make because they get to shape them with their hands. They add bright color to any cookie tray.
If the mixture stiffens before you finish shaping, warm the pot over low heat for 30 seconds. Make them within a day or two of serving for the best chew.
Before You Start Cooking
Most of these cookies freeze beautifully, so bake a batch or two each week starting in early December. Freeze baked cookies in airtight tins with parchment between the layers, then thaw at room temperature. Add icing, jam and powdered sugar after thawing for the freshest look.
I hope these recipes fill your kitchen with good smells and your table with happy faces this season. Save a few for yourself with a cup of cocoa once the kitchen is clean. From my family to yours, Merry Christmas and happy baking.
Frequently Asked Questions
How far ahead can I make Christmas cookies?
Most drop cookies, shortbread and snowball cookies keep in an airtight tin at room temperature for 1 to 2 weeks. For longer storage, freeze baked cookies for up to 3 months or freeze the dough for up to 3 months and bake as needed. Decorated cutouts and jam filled cookies look best when assembled within a few days of serving.
Why do my cutout cookies spread in the oven?
Cutout cookies usually spread when the dough is too warm, the butter was overly soft, or too much leavening was used. Chill the dough for at least an hour and chill the cut shapes on the pan for 10 minutes before baking if your kitchen is warm. Measuring flour by spooning it into the cup also helps.
What are the best cookies for a cookie exchange?
Choose sturdy cookies that travel well and stay fresh for several days. Snickerdoodles, shortbread, chocolate crinkles, peanut butter blossoms and snowball cookies all hold up nicely in tins and boxes. Save delicate cookies like Linzers or heavily iced cutouts for gifting by hand, and pack each kind in its own bag so flavors stay separate.