16 Make Ahead Thanksgiving Recipes
Sixteen make ahead Thanksgiving recipes, from gravy and stuffing to rolls and pies, that you can prep one to three days early for a calmer holiday.
The secret to a relaxed Thanksgiving is not a bigger kitchen, it is doing most of the cooking before the big day. These sixteen recipes can all be made one to three days ahead, from appetizers and creamy sides to gravy, dinner rolls and two classic pies. On Thursday you only need to roast the turkey and reheat. My best planning tip is to write a simple schedule on a sticky note for each day of the week, listing what gets made and when it goes into the oven, so nothing gets forgotten.
1) Classic Deviled Eggs
1) Classic Deviled Eggs
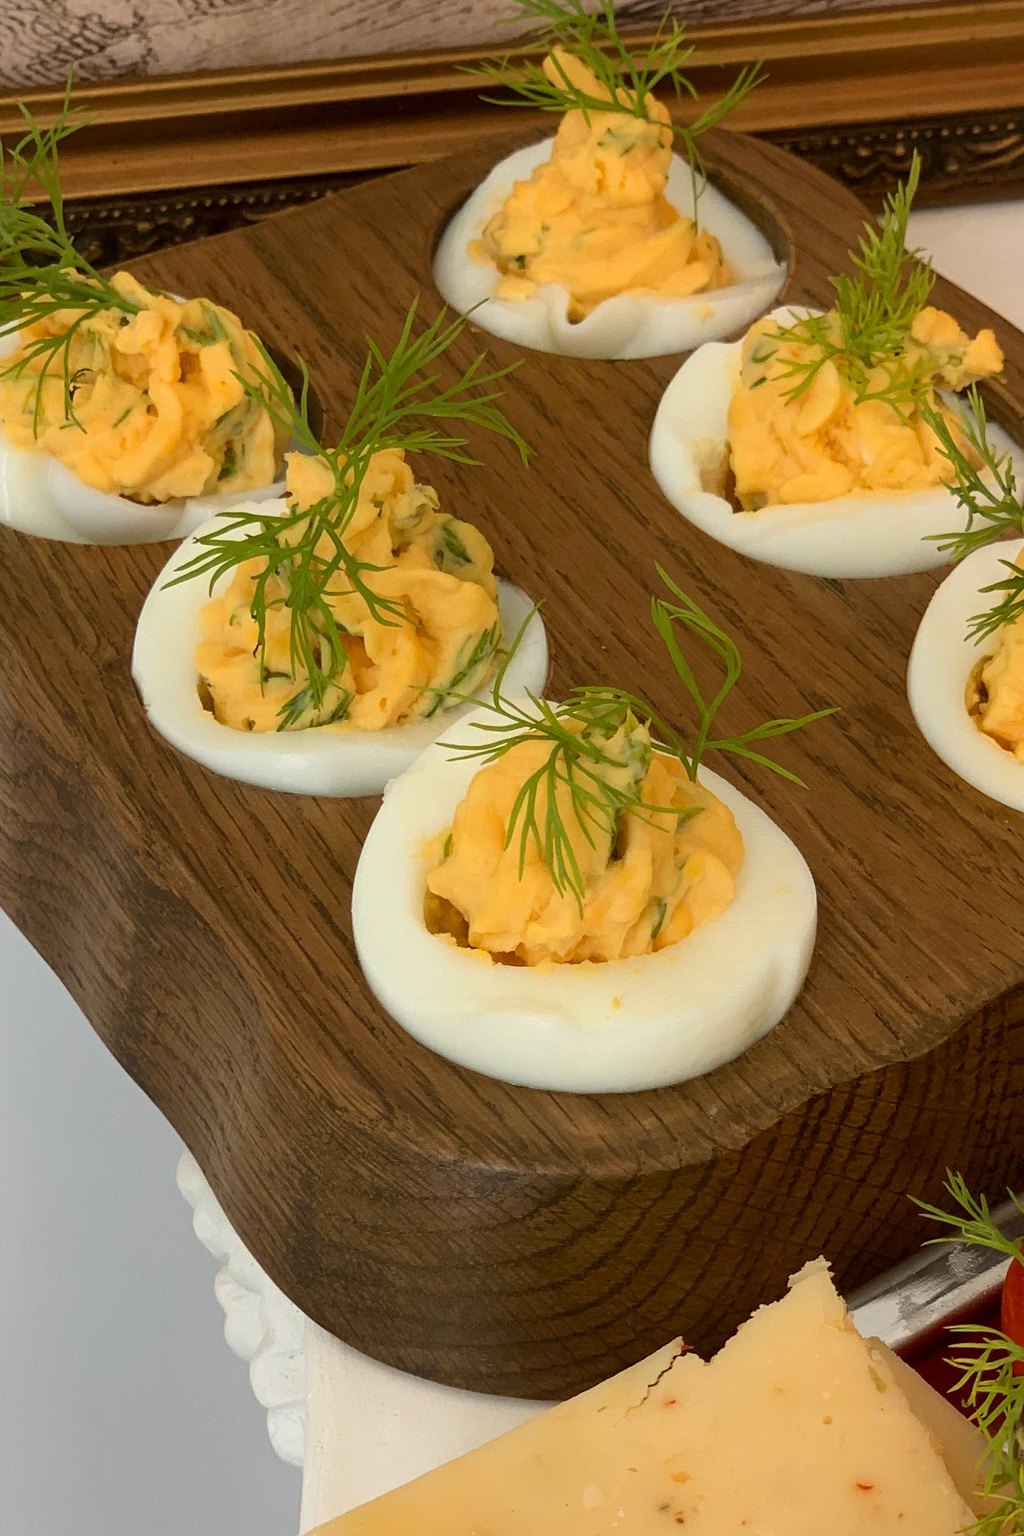
Classic deviled eggs have a creamy, tangy yolk filling with a little sweetness from pickle relish and a kick from two kinds of mustard. Cooking the eggs gently in hot water and shocking them in ice water gives tender whites and bright yellow yolks. A dusting of paprika and fresh chives makes them look festive on any holiday table.
Ingredients
- 12 large eggs
- 1/2 cup mayonnaise
- 2 teaspoons yellow mustard
- 1 teaspoon Dijon mustard
- 1 teaspoon white vinegar
- 2 tablespoons sweet pickle relish
- 1/4 teaspoon kosher salt
- 1/8 teaspoon black pepper
- 1/8 teaspoon garlic powder
- Paprika, for garnish
- Chopped fresh chives, for garnish
Instructions
- Place the eggs in a single layer in a large saucepan and cover with cold water by 1 inch. Bring to a boil over high heat.
- As soon as the water boils, turn off the heat, cover the pan and let the eggs sit for 12 minutes.
- Transfer the eggs to a large bowl of ice water and chill for 10 minutes. This stops the cooking, prevents green rings around the yolks and makes peeling easier.
- Gently crack and peel the eggs under cool running water. Slice each egg in half lengthwise and pop the yolks into a medium bowl.
- Mash the yolks with a fork until fine and crumbly. Add the mayonnaise, both mustards, vinegar, relish, salt, pepper and garlic powder and stir until creamy and smooth.
- Spoon or pipe the filling into the egg white halves. A zip top bag with a corner snipped off works perfectly as a piping bag.
- Dust with paprika and sprinkle with chives just before serving. Keep chilled until it is time to eat.
Deviled eggs are the first appetizer to vanish at every family gathering I have ever hosted. They also keep hungry relatives busy while the turkey finishes.
Make them up to two days ahead by storing the whites and filling separately. Keep the whites covered on a plate and the filling in a piping bag in the fridge, then fill the morning of Thanksgiving.
2) Hot Spinach Artichoke Dip
2) Hot Spinach Artichoke Dip
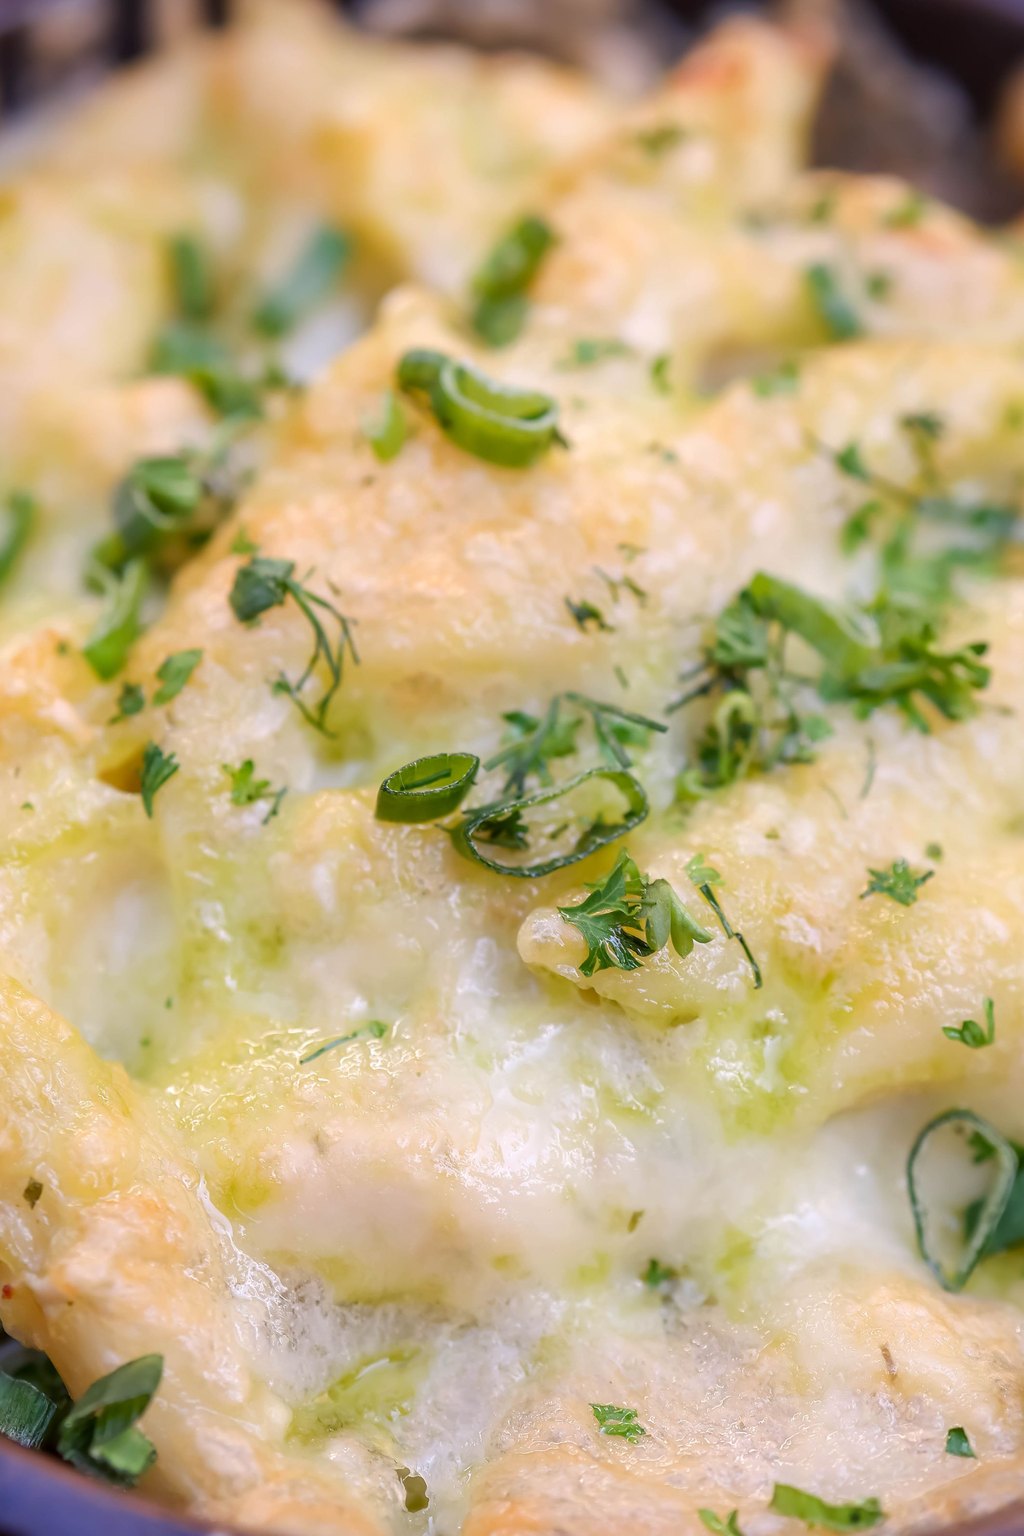
Spinach artichoke dip is warm, creamy and cheesy, packed with tender spinach and chopped artichoke hearts in a garlicky base. A blend of cream cheese, sour cream and two cheeses makes it rich and scoopable without being greasy. Baking it until bubbly gives it a golden top that everyone fights over.
Ingredients
- 8 ounces cream cheese, softened
- 1/2 cup sour cream
- 1/4 cup mayonnaise
- 2 cloves garlic, minced
- 1 (10 ounce) package frozen chopped spinach, thawed and squeezed dry
- 1 (14 ounce) can artichoke hearts, drained and chopped
- 1 cup shredded mozzarella cheese, divided
- 1/2 cup grated Parmesan cheese
- 1/4 teaspoon crushed red pepper flakes
- 1/2 teaspoon kosher salt
- 1/4 teaspoon black pepper
- Toasted baguette slices or crackers, for serving
Instructions
- Heat the oven to 375F and lightly grease a 1 1/2 quart baking dish or a 9 inch pie plate.
- Wrap the thawed spinach in a clean kitchen towel and twist hard over the sink to squeeze out as much water as possible. Wet spinach makes the dip runny.
- In a large bowl, beat the cream cheese, sour cream, mayonnaise and garlic with a spatula until smooth.
- Stir in the spinach, artichokes, 3/4 cup of the mozzarella, the Parmesan, red pepper flakes, salt and pepper until evenly combined.
- Spread the dip in the baking dish and sprinkle the remaining mozzarella over the top.
- Bake for 20 to 25 minutes, until the dip is hot and bubbling at the edges and the cheese on top is melted and lightly golden. If you want more color, broil for 1 to 2 minutes, watching closely.
- Let it cool for 5 minutes, since it is very hot, then serve with toasted baguette slices, crackers or vegetables for dipping.
This dip is my secret weapon for keeping the kitchen clear while I finish dinner. I set it out with crackers in the living room and the crowd follows it.
Assemble the dip in its baking dish up to two days ahead, cover and refrigerate. Bake it straight from the fridge, adding 10 minutes to the time.
3) Make Ahead Turkey Gravy
3) Make Ahead Turkey Gravy
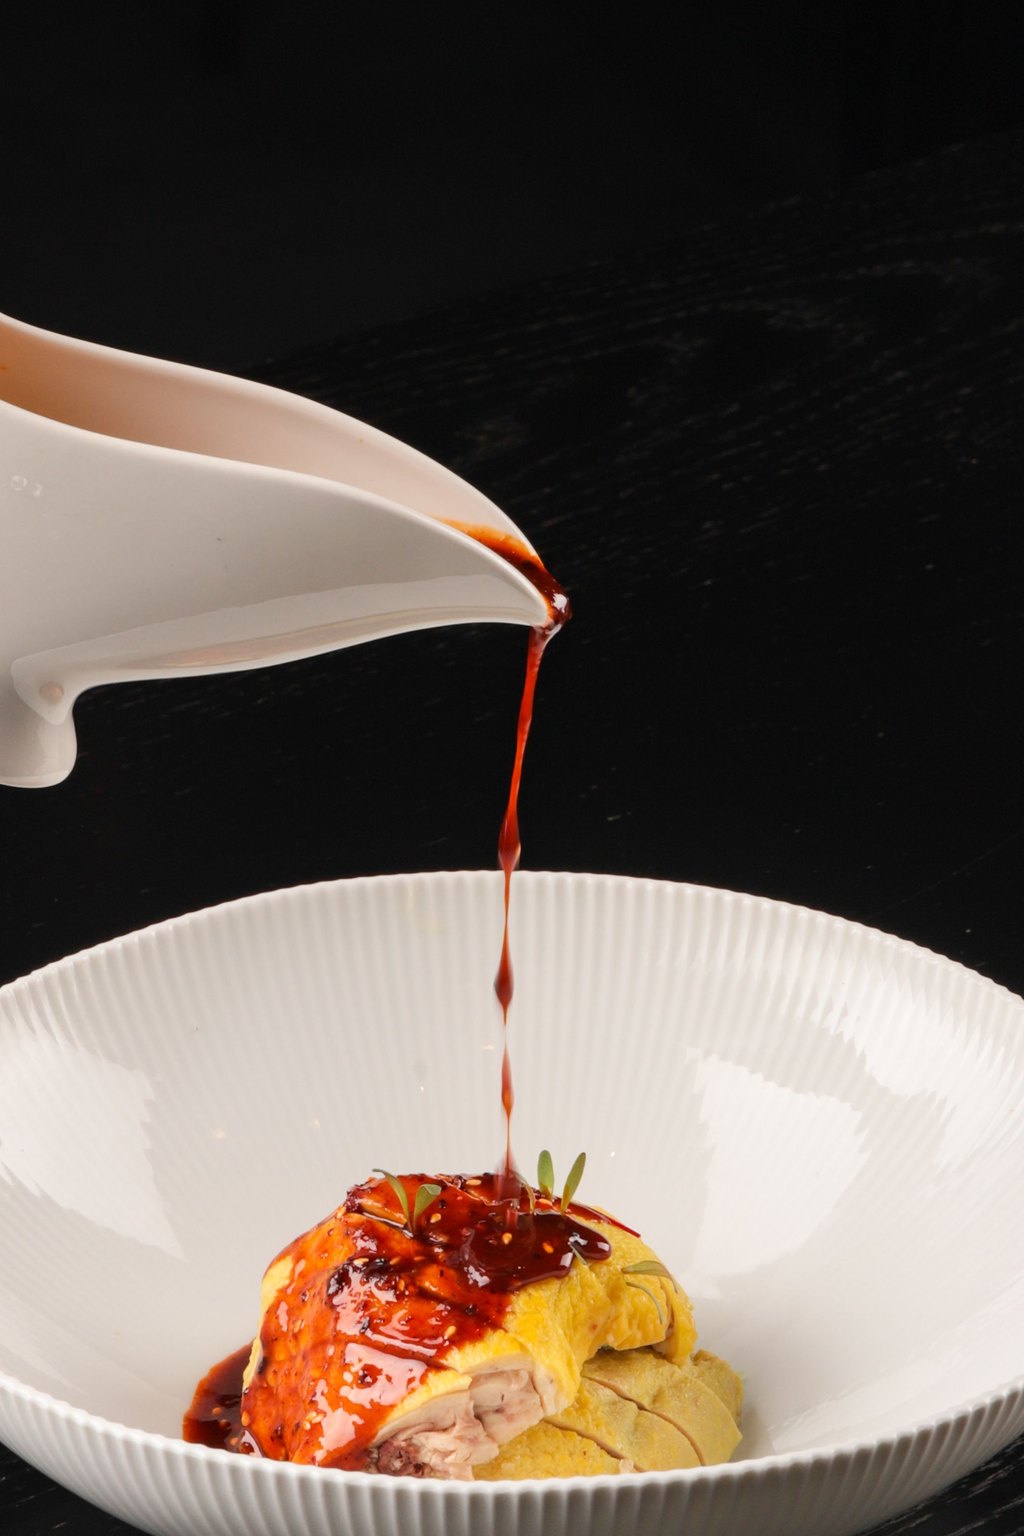
This make ahead gravy is rich, silky and deeply savory, built on a homemade stock from roasted turkey wings and vegetables. Roasting the wings until deep brown gives the gravy the same flavor you would get from roasting pan drippings. A nutty, browned butter and flour roux thickens it to the perfect pourable consistency.
Ingredients
- 3 pounds turkey wings or drumsticks
- 1 medium yellow onion, quartered
- 2 medium carrots, cut into chunks
- 2 stalks celery, cut into chunks
- 1 tablespoon olive oil
- 8 cups low sodium chicken broth
- 4 sprigs fresh thyme
- 1 bay leaf
- 6 tablespoons unsalted butter
- 1/2 cup all purpose flour
- 1 teaspoon kosher salt
- 1/2 teaspoon black pepper
Instructions
- Heat the oven to 425F. Toss the turkey wings, onion, carrots and celery with the olive oil on a rimmed baking sheet. Roast for 1 hour, turning once, until the wings are deep golden brown.
- Move everything to a large pot and pour 1 cup of the broth onto the hot baking sheet. Scrape up the browned bits and pour that into the pot too. Add the remaining broth, thyme and bay leaf.
- Bring to a boil, then lower the heat and simmer uncovered for 1 1/2 hours. Strain the stock and discard the solids. You should have about 6 cups. Skim off the fat.
- Melt the butter in a large saucepan over medium heat. Whisk in the flour and cook, whisking constantly, for 3 to 4 minutes, until it smells nutty and turns light brown.
- Slowly whisk in the hot stock a cup at a time until smooth. Simmer for 10 minutes, whisking often, until the gravy coats the back of a spoon. Season with the salt and pepper.
- Cool, then refrigerate for up to 3 days. Reheat gently, whisking in the turkey drippings from your roasting pan on Thanksgiving for extra flavor.
Making gravy at the last minute while everyone hovers used to stress me out more than anything else. Now it is done days before and I just reheat it, which feels like a holiday miracle.
The gravy will set up firm in the fridge, which is a good sign of a rich stock. Reheat it over medium low heat, whisking in a splash of broth until it is smooth and pourable again.
4) Sausage Herb Stuffing
4) Sausage Herb Stuffing
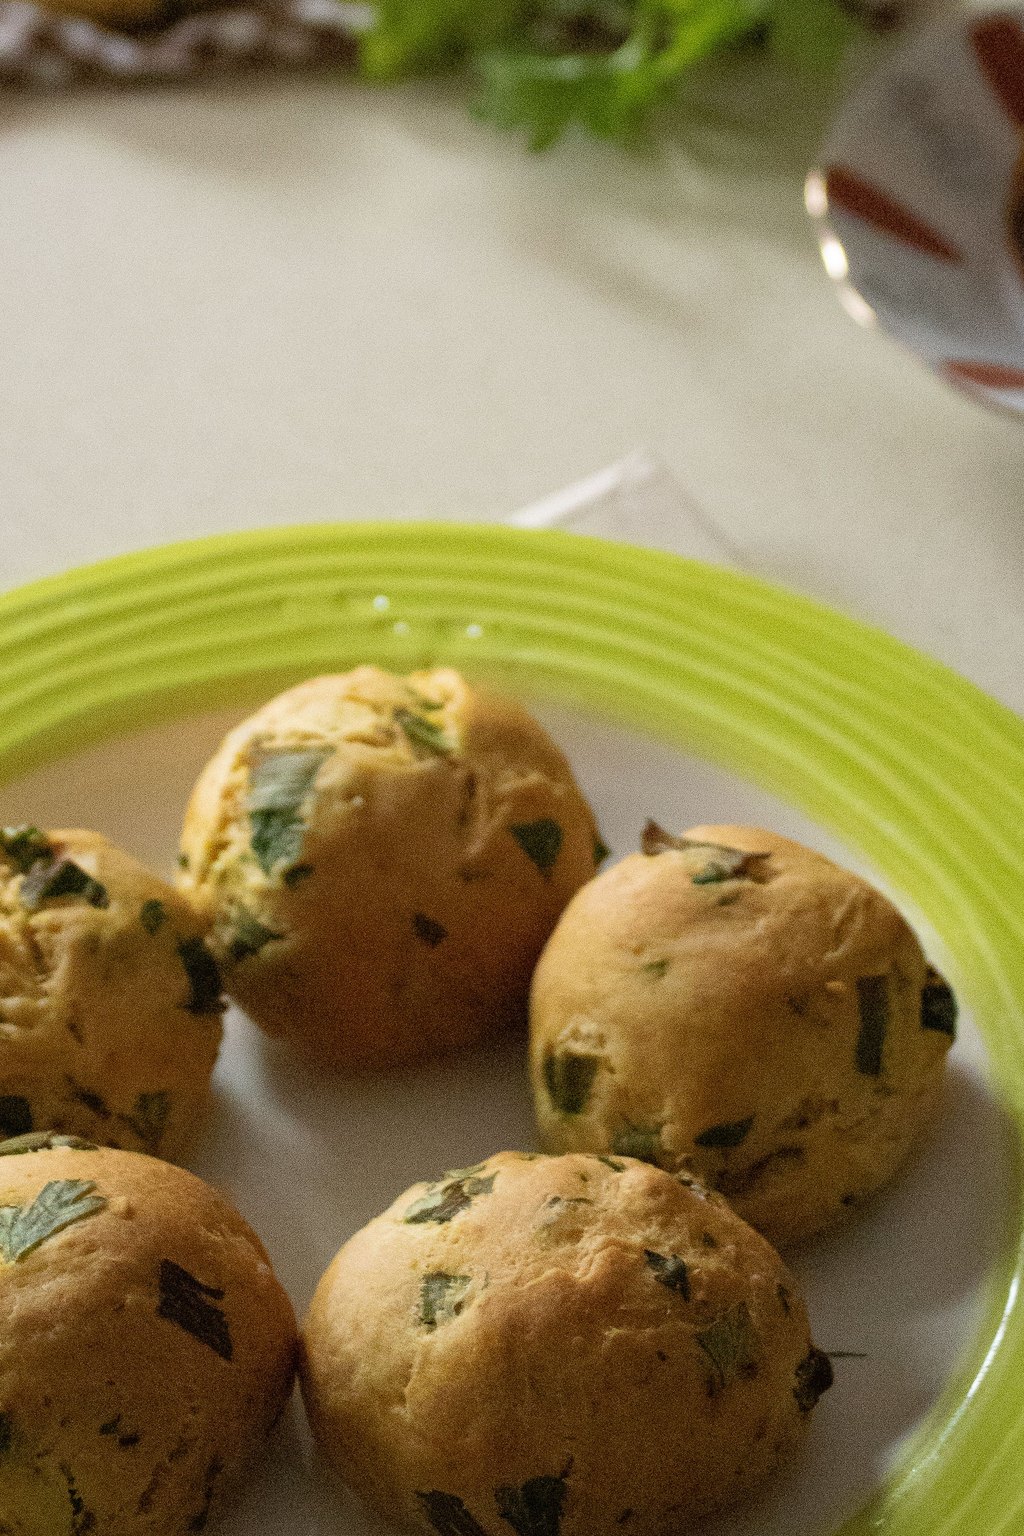
This sausage stuffing is savory and herby, with crisp golden edges and a soft, moist center full of browned sausage, celery and onion. Drying the bread cubes in a low oven first lets them soak up the broth without turning mushy. Fresh sage and thyme give it the classic holiday flavor everyone expects.
Ingredients
- 1 (1 pound) loaf sturdy white or French bread, cut into 3/4 inch cubes
- 1 pound bulk breakfast sausage
- 6 tablespoons unsalted butter
- 1 large yellow onion, diced
- 3 stalks celery, diced
- 3 cloves garlic, minced
- 2 tablespoons chopped fresh sage
- 1 tablespoon chopped fresh thyme
- 1/4 cup chopped fresh parsley
- 1 teaspoon kosher salt
- 1/2 teaspoon black pepper
- 2 large eggs
- 2 1/2 cups low sodium chicken broth
Instructions
- Heat the oven to 300F. Spread the bread cubes on two baking sheets and bake for 25 to 30 minutes, stirring once, until dry and crisp but not browned. Let cool. Raise the oven to 375F.
- Brown the sausage in a large skillet over medium high heat, breaking it into crumbles, for 8 minutes, until it reaches 160F. Move it to a very large bowl with a slotted spoon.
- Melt the butter in the same skillet. Add the onion and celery and cook for 8 minutes, until soft. Stir in the garlic, sage and thyme for 1 minute.
- Add the vegetables, bread cubes, parsley, salt and pepper to the sausage and toss well.
- Whisk the eggs with the broth and pour over the bread mixture, tossing gently until the bread is evenly moistened.
- Spread in a buttered 9×13 inch baking dish. Cover with foil and bake for 25 minutes, then uncover and bake 15 to 20 minutes more, until the top is golden and crisp and the center reaches 165F.
Stuffing is the side my family would riot over if I skipped it. This version is the one I grew up with, and the crispy corner pieces are always claimed first.
Assemble the stuffing in its dish up to a day ahead, cover and refrigerate. Let it sit out for 30 minutes before baking and add about 10 extra minutes covered.
5) Make Ahead Mashed Potatoes
5) Make Ahead Mashed Potatoes
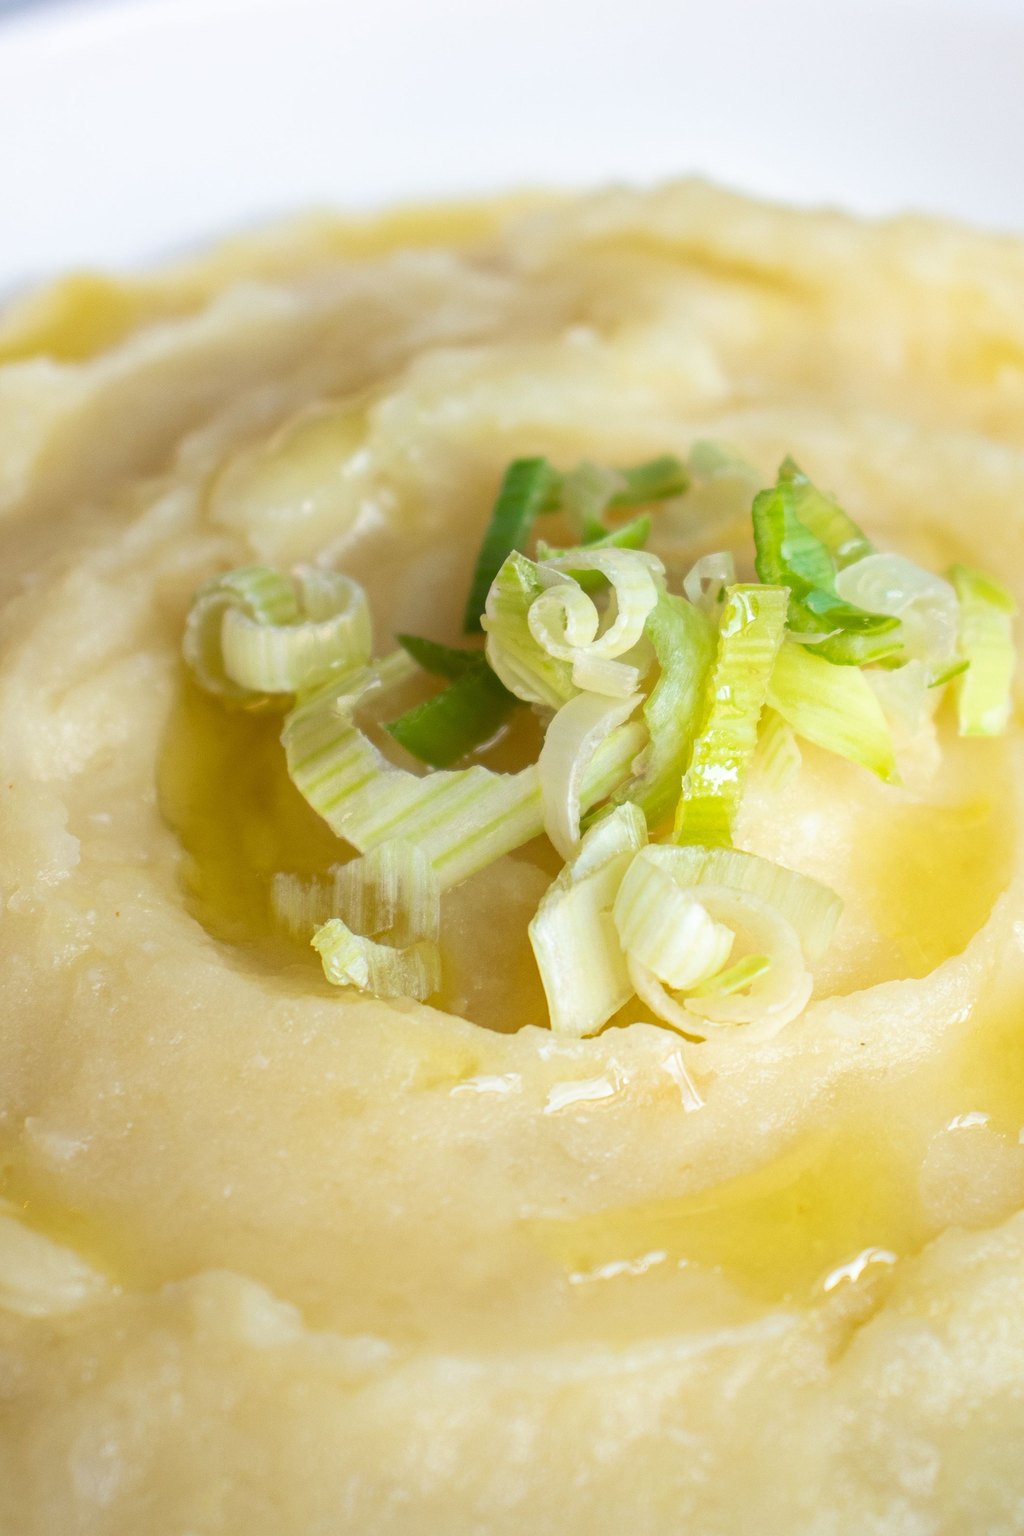
These mashed potatoes are rich, creamy and fluffy, made extra luscious with cream cheese, sour cream and plenty of butter. The added dairy is what lets them reheat beautifully without drying out or turning gluey. Yukon Gold potatoes have a naturally buttery flavor and a smooth texture that is perfect for mashing.
Ingredients
- 5 pounds Yukon Gold potatoes, peeled and cut into 2 inch chunks
- 1 tablespoon kosher salt, for the water
- 8 ounces cream cheese, softened
- 1 cup sour cream
- 1/2 cup unsalted butter, softened, plus 2 tablespoons for topping
- 1/2 cup whole milk, warmed
- 1 1/2 teaspoons kosher salt
- 1/2 teaspoon black pepper
- 1/2 teaspoon garlic powder
- 2 tablespoons chopped fresh chives
Instructions
- Place the potatoes in a large pot and cover with cold water by 1 inch. Add 1 tablespoon salt and bring to a boil over high heat.
- Lower the heat and simmer for 15 to 20 minutes, until a fork slides into the potatoes with no resistance.
- Drain well and return the potatoes to the hot pot. Let them sit over low heat for 1 to 2 minutes to steam off excess moisture.
- Mash the potatoes with a potato masher or ricer until smooth. Add the cream cheese, sour cream, 1/2 cup butter, warm milk, salt, pepper and garlic powder and stir until creamy and fully combined. Taste and adjust the salt.
- Spread the potatoes in a buttered 9×13 inch baking dish and dot the top with the remaining 2 tablespoons butter. Cool, cover tightly and refrigerate for up to 3 days.
- To serve, let the dish sit at room temperature for 30 minutes. Bake covered at 350F for 30 minutes, then uncover and bake for 15 to 20 minutes more, until hot in the center. Sprinkle with chives.
Peeling and mashing ten pounds of potatoes on Thanksgiving morning is a thing of the past for me. These go in the oven next to the stuffing and taste like they were just made.
If you have a slow cooker, you can also reheat these in it on low for about 3 hours. That frees up the oven completely and keeps them warm right through dinner.
6) Homemade Green Bean Casserole
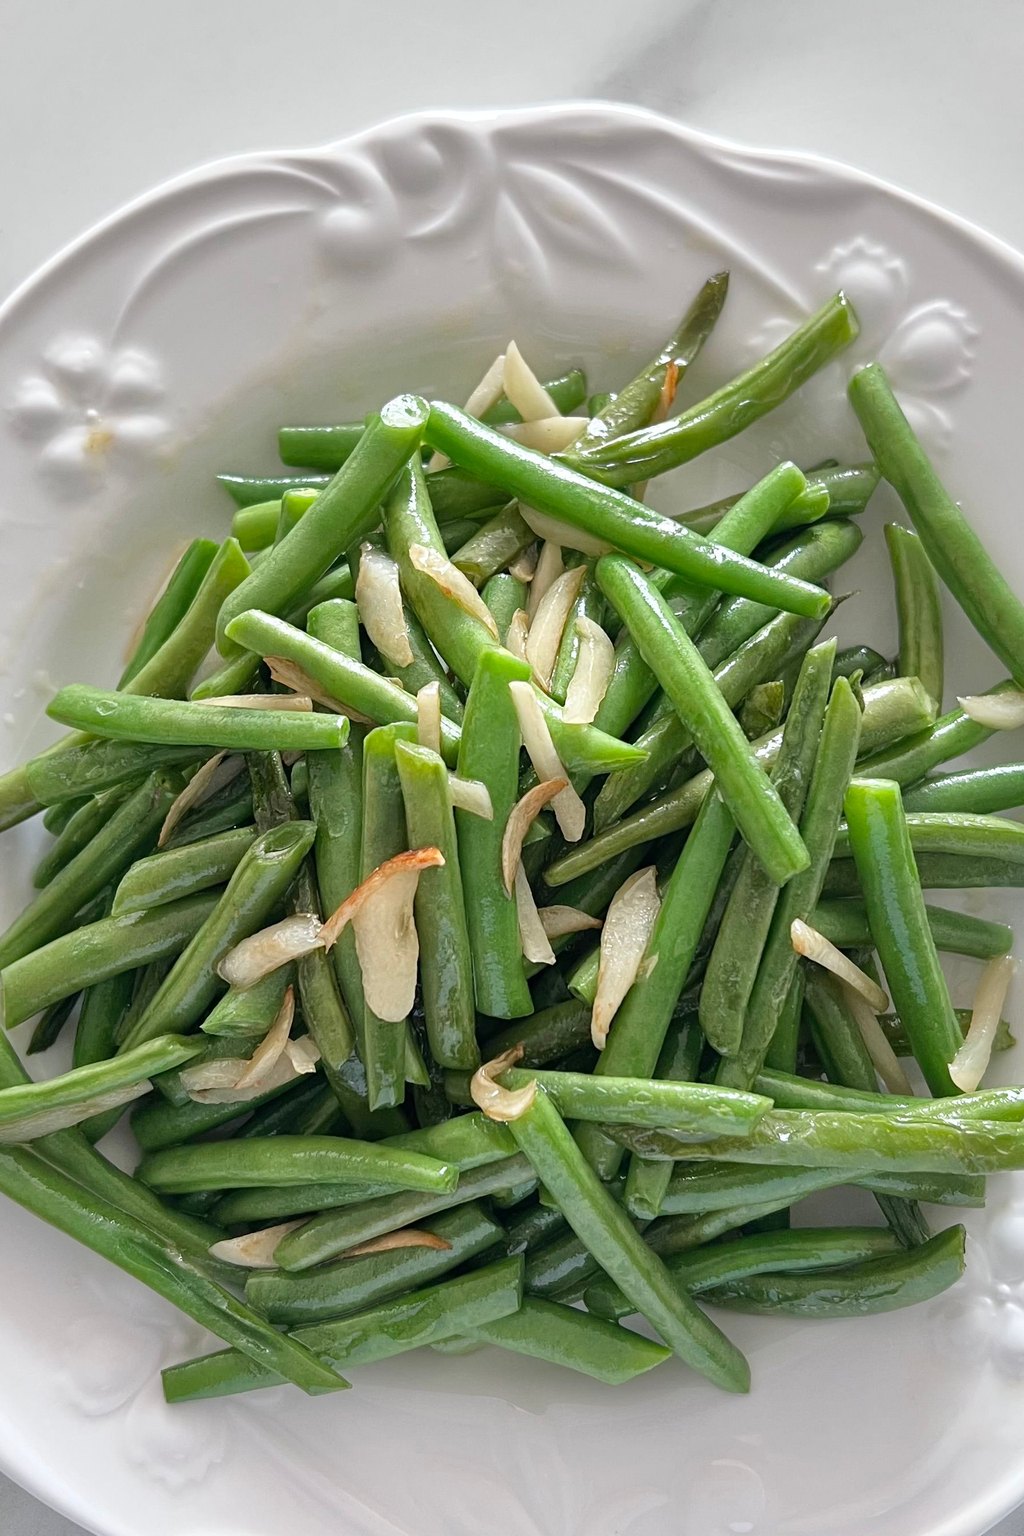
6) Homemade Green Bean Casserole
This homemade green bean casserole has crisp tender green beans wrapped in a creamy mushroom sauce made from scratch, finished with crunchy fried onions. Blanching the beans first keeps them bright green and stops them from going limp in the oven. Browning the mushrooms deeply gives the sauce a savory depth that canned soup cannot match.
Ingredients
- 2 pounds fresh green beans, trimmed and cut into 2 inch pieces
- 4 tablespoons unsalted butter
- 8 ounces cremini mushrooms, sliced
- 1/2 small yellow onion, finely diced
- 2 cloves garlic, minced
- 1/4 cup all purpose flour
- 1 cup low sodium chicken broth
- 1 cup half and half
- 1 teaspoon kosher salt
- 1/2 teaspoon black pepper
- 1/4 teaspoon ground nutmeg
- 2 cups crispy fried onions
Instructions
- Bring a large pot of salted water to a boil. Add the green beans and cook for 4 to 5 minutes, until bright green and crisp tender. Drain and plunge into ice water, then drain well again.
- Melt the butter in a large skillet over medium high heat. Add the mushrooms and cook for 6 to 8 minutes, until browned and their liquid has evaporated. Add the onion and garlic and cook for 2 minutes.
- Sprinkle in the flour and stir for 1 minute. Slowly whisk in the broth, then the half and half. Simmer for 3 to 5 minutes, stirring, until thick enough to coat a spoon. Season with the salt, pepper and nutmeg.
- Stir the green beans into the sauce along with 1/2 cup of the fried onions. Spread in a 9×13 inch or 2 quart baking dish.
- At this point you can cool, cover and refrigerate for up to 2 days.
- To bake, heat the oven to 375F. Bake for 20 minutes, or 30 to 35 minutes if chilled, until bubbling. Top with the remaining fried onions and bake for 5 minutes more, until golden.
I still love the classic version, but this scratch made sauce is a big step up and not much more work. My dad says it is the best one he has had, and he is a green bean casserole expert.
Save the fried onion topping until the very end of baking. If they go on at the start, they burn or turn soggy long before the casserole is hot.
7) Sweet Potato Casserole with Pecan Topping
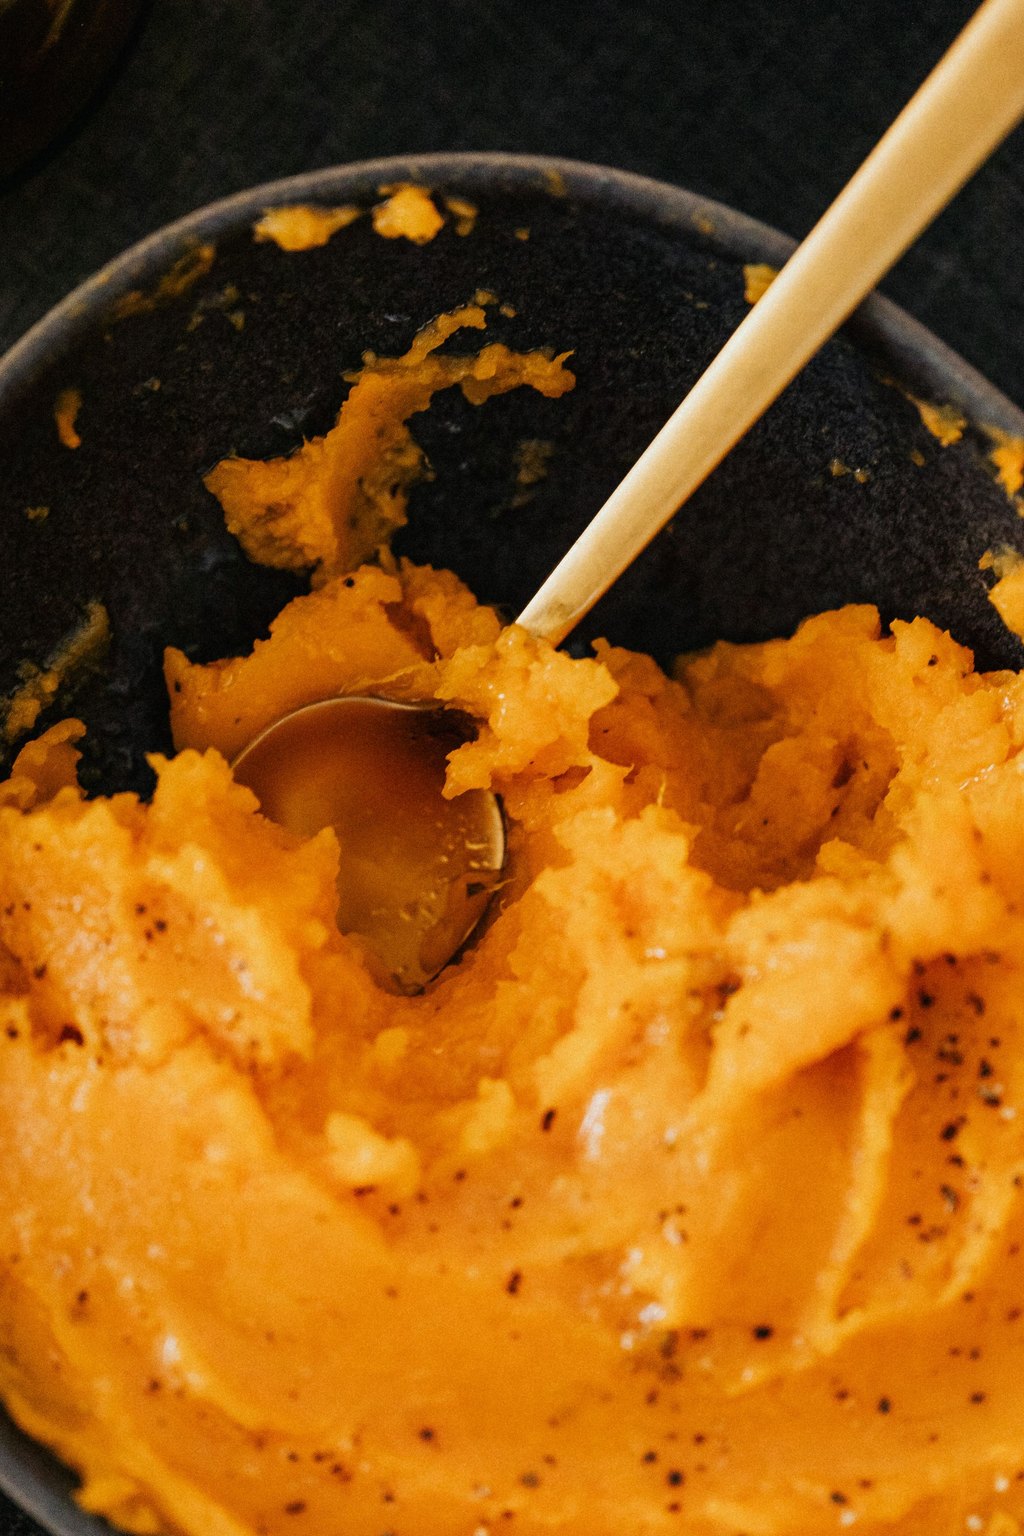
7) Sweet Potato Casserole with Pecan Topping
Sweet potato casserole has a smooth, fluffy sweet potato base flavored with vanilla and butter under a crunchy brown sugar pecan streusel. Roasting the sweet potatoes instead of boiling them concentrates their natural sweetness and keeps the filling from getting watery. The crisp, candied topping is the perfect contrast to the creamy filling.
Ingredients
- 4 pounds sweet potatoes
- 1/2 cup granulated sugar
- 1/2 cup unsalted butter, melted
- 2 large eggs
- 1/2 cup whole milk
- 1 teaspoon vanilla extract
- 1/2 teaspoon salt
- For the topping
- 1 cup packed light brown sugar
- 1/3 cup all purpose flour
- 1/3 cup unsalted butter, melted
- 1 cup chopped pecans
Instructions
- Heat the oven to 400F. Pierce the sweet potatoes with a fork, set them on a foil lined baking sheet and bake for 50 to 60 minutes, until very soft. Cool until easy to handle.
- Lower the oven to 350F. Scoop the flesh into a large bowl and discard the skins. You should have about 4 cups.
- Add the sugar, melted butter, eggs, milk, vanilla and salt and beat with a hand mixer until smooth and fluffy.
- Spread the mixture in a buttered 9×13 inch baking dish.
- Stir the brown sugar, flour, melted butter and pecans in a small bowl until crumbly, then sprinkle it evenly over the sweet potatoes.
- Bake for 30 to 35 minutes, until the topping is bubbling and golden and the edges are set. If made ahead, refrigerate the assembled casserole for up to 2 days and add 10 to 15 minutes to the baking time.
This is the side dish my kids would happily eat as dessert, and honestly I would too. We have a marshmallow team and a pecan team in our family, and this version wins most years.
Roast and mash the sweet potatoes up to three days ahead and store them in the fridge. On the day, just stir in the remaining filling ingredients, top and bake.
8) Homemade Cranberry Sauce
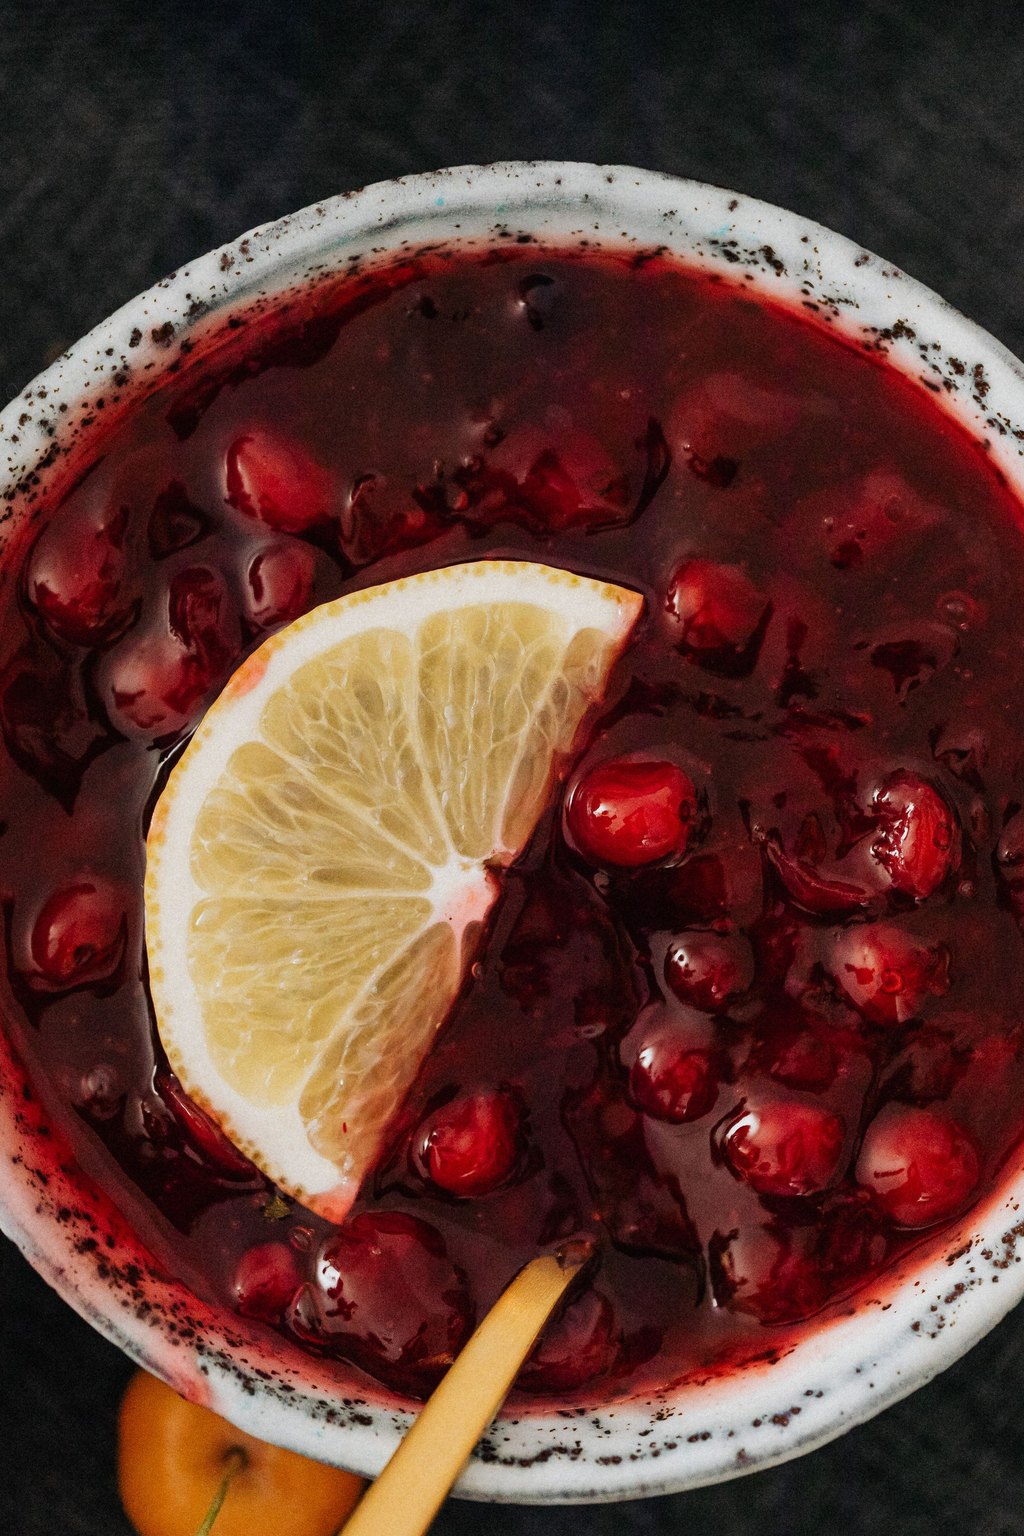
8) Homemade Cranberry Sauce
Homemade cranberry sauce is bright, tart and sweet, with a jammy texture and whole bits of burst berries throughout. Orange juice, zest and a cinnamon stick add warmth and citrus notes that make it taste far better than the canned kind. The natural pectin in cranberries thickens the sauce as it cools, so no extra thickener is needed.
Ingredients
- 1 (12 ounce) bag fresh or frozen cranberries
- 3/4 cup granulated sugar
- 1/4 cup packed light brown sugar
- 1/2 cup fresh orange juice
- 1/2 cup water
- 1 teaspoon finely grated orange zest
- 1 cinnamon stick
- Pinch of salt
- 1/4 teaspoon vanilla extract
- 1/4 cup chopped toasted pecans, optional
Instructions
- Rinse the cranberries in a colander and pick out any soft or shriveled berries and stems.
- In a medium saucepan, combine the sugar, brown sugar, orange juice and water. Bring to a boil over medium high heat, stirring until the sugar dissolves.
- Add the cranberries, orange zest, cinnamon stick and salt. Return to a boil, then lower the heat to medium and simmer for 10 to 12 minutes, stirring often.
- Listen and watch for the cranberries to pop and burst open. When most of them have burst and the sauce has thickened enough to coat a spoon, take the pan off the heat. It will still look a little loose.
- Remove the cinnamon stick and stir in the vanilla. Let the sauce cool to room temperature, about 1 hour. It thickens a lot as it cools thanks to the natural pectin in the berries.
- Transfer to a bowl, cover and refrigerate for at least 1 hour or up to a week. Stir in the toasted pecans just before serving if you like a little crunch.
This is the easiest recipe in the whole Thanksgiving lineup, and it is the one people are most surprised I make from scratch. It takes fifteen minutes and fills the house with a wonderful holiday smell.
Cranberry sauce keeps for a week in the fridge and freezes for up to two months. Leftovers are fantastic spread on turkey sandwiches or spooned over plain yogurt.
9) Baked Macaroni and Cheese
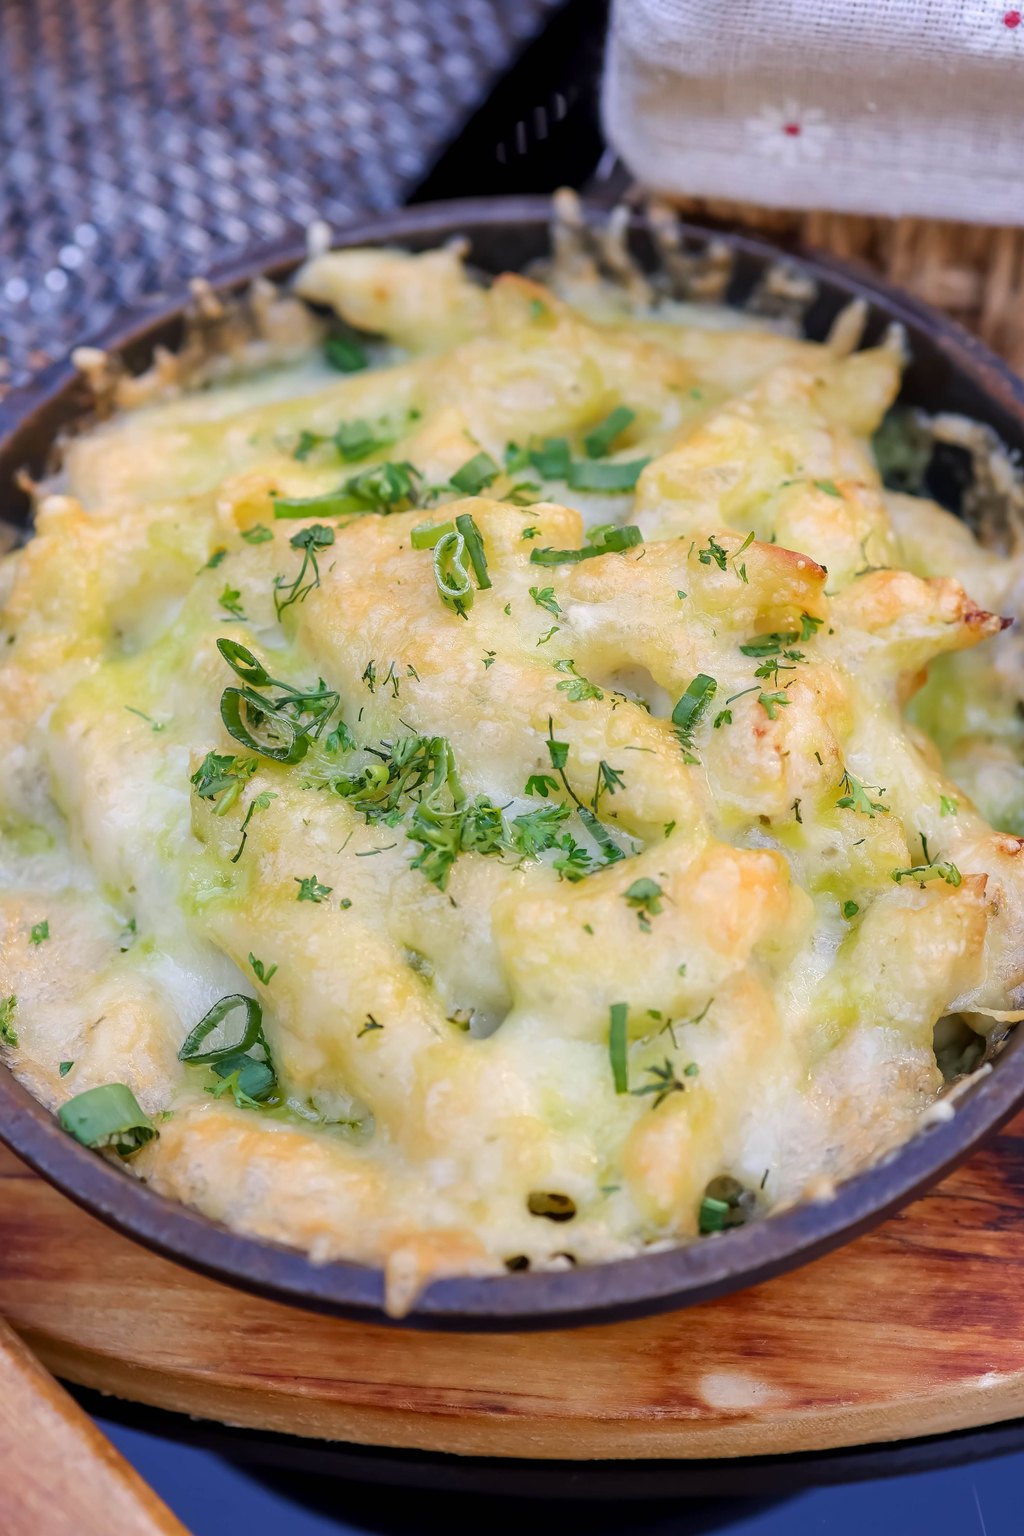
9) Baked Macaroni and Cheese
Baked macaroni and cheese is creamy, cheesy and rich under a golden, buttery breadcrumb crust. A blend of sharp cheddar and Gruyere gives the sauce deep flavor and a smooth, stretchy melt. Undercooking the pasta slightly keeps it from turning mushy as it bakes and soaks up the sauce.
Ingredients
- 1 pound elbow macaroni
- 6 tablespoons unsalted butter
- 1/3 cup all purpose flour
- 3 cups whole milk
- 1 cup half and half
- 1 teaspoon kosher salt
- 1/2 teaspoon black pepper
- 1 teaspoon dry mustard
- 1/2 teaspoon smoked paprika
- 4 cups shredded sharp cheddar cheese, divided
- 2 cups shredded Gruyere or Monterey Jack cheese
- 3/4 cup panko breadcrumbs
- 2 tablespoons unsalted butter, melted
Instructions
- Cook the macaroni in well salted boiling water for 2 minutes less than the package directs, so it stays firm. Drain and set aside.
- Melt 6 tablespoons butter in a large pot over medium heat. Whisk in the flour and cook for 1 to 2 minutes, until bubbly.
- Slowly whisk in the milk and half and half until smooth. Simmer for 5 to 7 minutes, whisking often, until the sauce thickens enough to coat a spoon. Season with the salt, pepper, mustard and paprika.
- Take the pot off the heat and stir in 3 cups of the cheddar and all of the Gruyere until melted and smooth. Fold in the macaroni.
- Spread in a buttered 9×13 inch baking dish and sprinkle with the remaining cheddar. Toss the panko with the melted butter and scatter it over the top.
- Bake at 350F for 25 to 30 minutes, until bubbling at the edges and golden on top. If made ahead and chilled, cover with foil for the first 20 minutes and bake 40 to 45 minutes total.
In my family, Thanksgiving without mac and cheese is not really Thanksgiving. It is the one side dish every single kid at the table will happily eat.
If you assemble it ahead, make the sauce a little looser by adding an extra 1/2 cup of milk. The pasta keeps soaking up liquid in the fridge, and this keeps the finished dish creamy.
10) Creamy Corn Pudding
10) Creamy Corn Pudding
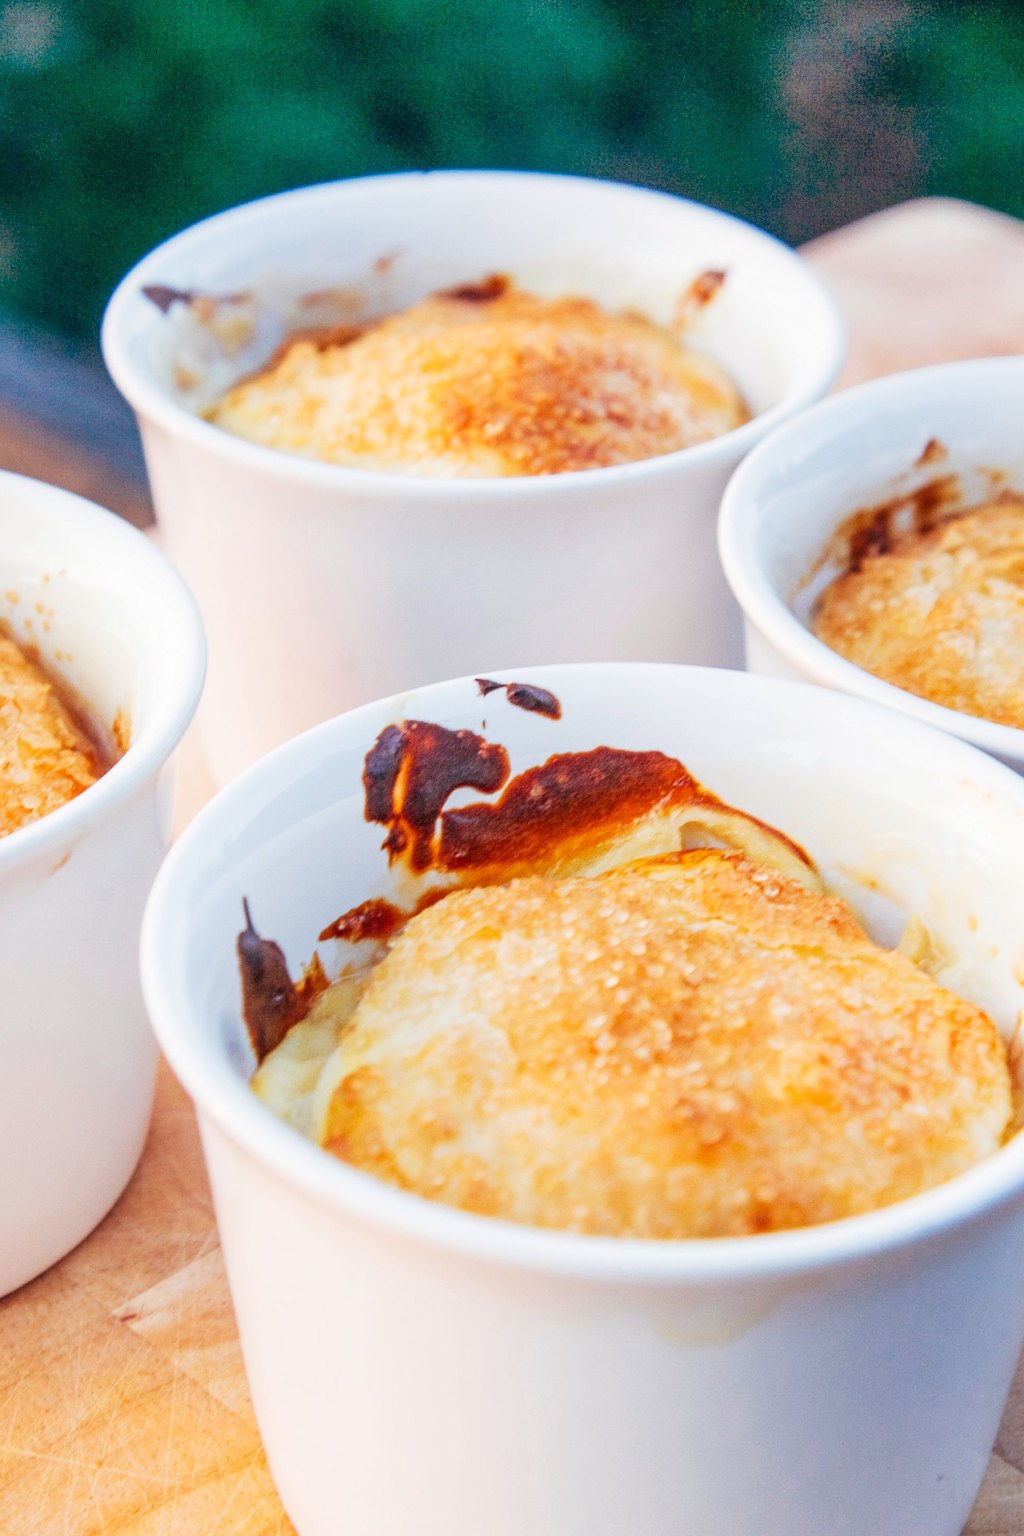
Corn pudding is a soft, creamy side dish that falls somewhere between cornbread and a savory custard, studded with sweet whole corn kernels. Cream style corn and sour cream make it rich and moist, while a little cornmeal gives it structure. It bakes up golden on top with a tender, spoonable center.
Ingredients
- 1 (15 ounce) can whole kernel corn, drained
- 1 (14.75 ounce) can cream style corn
- 1 cup sour cream
- 1/2 cup unsalted butter, melted
- 2 large eggs
- 1/2 cup yellow cornmeal
- 1/2 cup all purpose flour
- 2 tablespoons granulated sugar
- 2 teaspoons baking powder
- 1/2 teaspoon kosher salt
- 1 cup shredded cheddar cheese, optional
Instructions
- Heat the oven to 350F and grease a 9×13 inch or 8×11 inch baking dish.
- In a large bowl, whisk together the drained whole kernel corn, the cream style corn, sour cream, melted butter and eggs until well combined.
- In a small bowl, whisk the cornmeal, flour, sugar, baking powder and salt. Add the dry mixture to the corn mixture and stir just until no dry streaks remain.
- Fold in the cheddar if using, then pour the batter into the prepared dish and smooth the top.
- Bake for 45 to 55 minutes, until the top is golden brown, the edges are pulling away from the dish and the center is set and only barely jiggles when you shake the pan. A knife inserted in the center should come out mostly clean.
- Let the pudding rest for 10 minutes before serving so it can firm up. To make ahead, bake, cool and refrigerate for up to 2 days, then reheat covered at 350F for 20 to 25 minutes.
This was always on my grandmother’s table, and now it is on mine. It is ridiculously easy and it pleases even the pickiest eaters.
Stir in a can of drained diced green chiles for a little Southwestern twist. It pairs especially well with smoked turkey or ham.
11) Cheesy Broccoli Casserole
11) Cheesy Broccoli Casserole
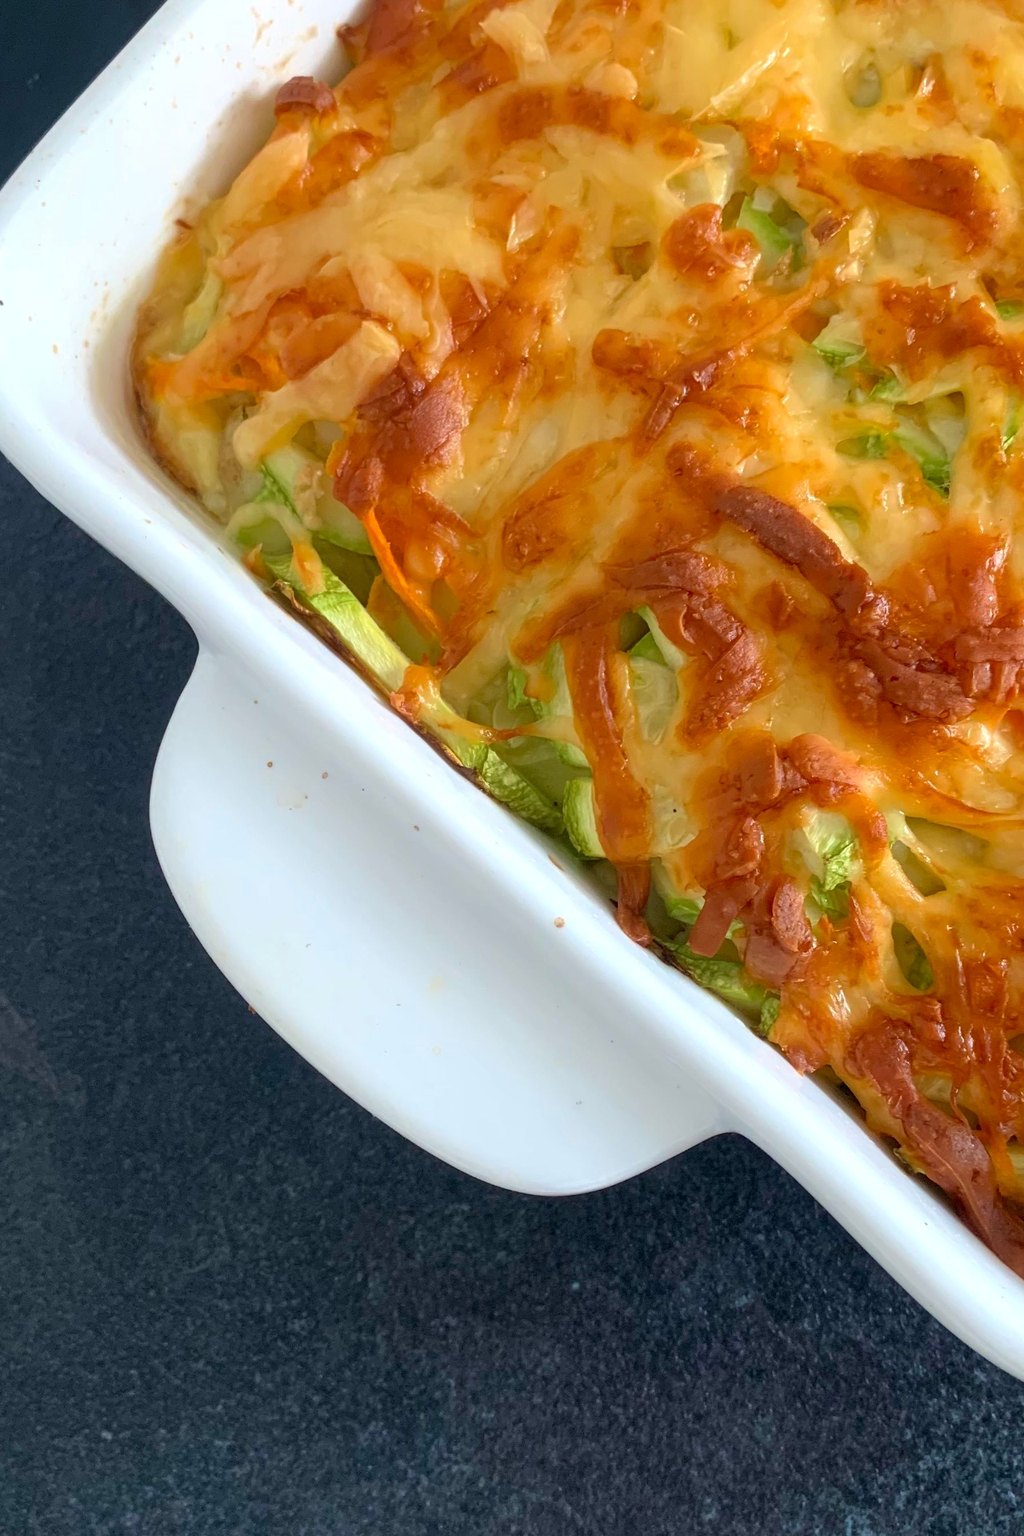
Cheesy broccoli casserole has tender broccoli florets folded into a creamy cheddar sauce and topped with buttery cracker crumbs. Blanching the broccoli briefly keeps it bright and prevents it from releasing water into the sauce. The crisp, golden cracker topping adds crunch to every bite.
Ingredients
- 2 pounds broccoli florets, cut into bite size pieces
- 4 tablespoons unsalted butter
- 1/2 small yellow onion, finely diced
- 1/4 cup all purpose flour
- 2 cups whole milk
- 1 teaspoon kosher salt
- 1/2 teaspoon black pepper
- 1/2 teaspoon garlic powder
- 2 cups shredded sharp cheddar cheese, divided
- 1/2 cup sour cream
- 1 cup crushed buttery round crackers
- 2 tablespoons unsalted butter, melted
Instructions
- Bring a large pot of salted water to a boil. Add the broccoli and cook for 2 to 3 minutes, until bright green and just barely tender. Drain well and spread on a towel to dry.
- Melt 4 tablespoons butter in a saucepan over medium heat. Add the onion and cook for 4 minutes, until soft. Stir in the flour and cook for 1 minute.
- Slowly whisk in the milk and simmer for 4 to 5 minutes, whisking, until thick and smooth. Season with the salt, pepper and garlic powder.
- Off the heat, stir in 1 1/2 cups of the cheddar and the sour cream until melted. Fold in the broccoli and spread in a buttered 9×13 inch baking dish. Sprinkle with the remaining cheese.
- Toss the crushed crackers with the melted butter. If making ahead, cover the casserole and refrigerate for up to 2 days and keep the crumbs in a sealed bag.
- Heat the oven to 350F. Sprinkle the crumbs over the top and bake for 25 to 30 minutes, or 40 minutes if chilled, until bubbling and golden.
I always want at least one green vegetable on the table, and this is the one people actually eat. The kids do not even notice they are eating broccoli under all that cheese.
Fresh broccoli gives the best texture, but frozen florets work in a pinch. Thaw them completely and pat them very dry, and skip the blanching step.
12) Make Ahead Dinner Rolls
12) Make Ahead Dinner Rolls
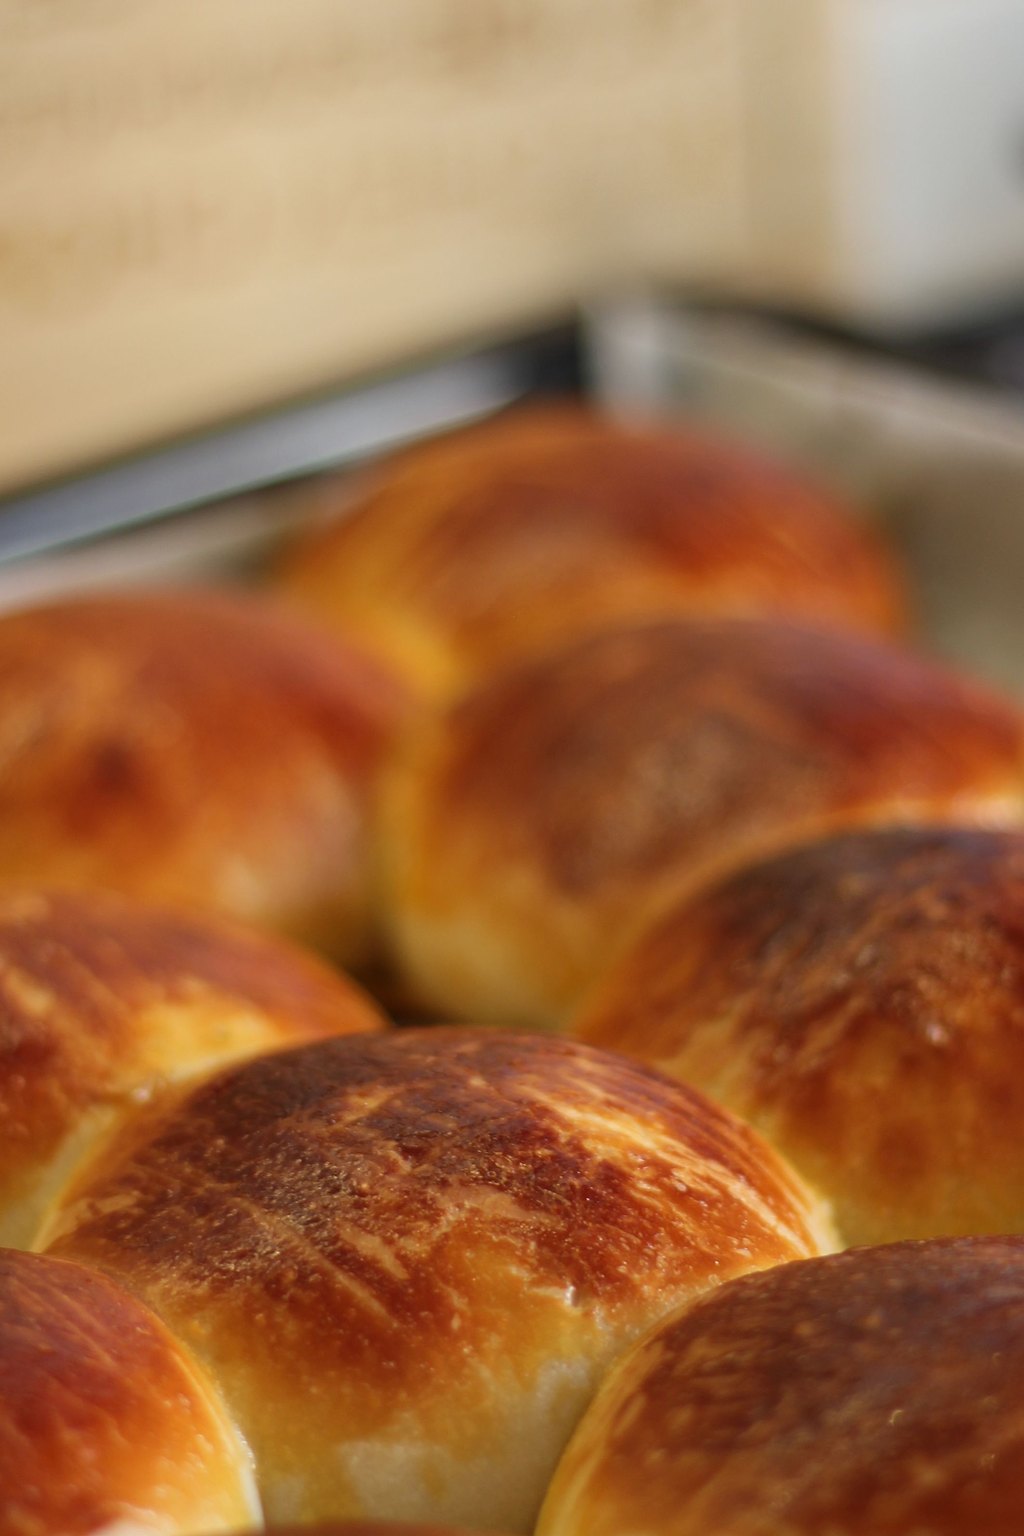
These dinner rolls are soft, fluffy and buttery, with a light, pull apart texture and golden tops brushed with honey butter. Milk, eggs and butter enrich the dough, which keeps the rolls tender and helps them reheat beautifully. Shaping the rolls snugly in one pan lets them rise into each other for those classic soft sides.
Ingredients
- 1 1/4 cups warm whole milk, about 110F
- 2 1/4 teaspoons instant yeast
- 1/4 cup granulated sugar
- 1/2 cup unsalted butter, melted, divided
- 2 large eggs, at room temperature
- 4 1/2 cups all purpose flour
- 1 1/2 teaspoons kosher salt
- Flaky sea salt, for topping, optional
- 1 tablespoon honey, for brushing, optional
- Extra flour, for kneading
Instructions
- Stir the warm milk, yeast and sugar in a large bowl and let sit for 5 minutes, until foamy. Whisk in 6 tablespoons of the melted butter and the eggs.
- Add the flour and salt and stir until a shaggy dough forms. Knead on a lightly floured counter for 8 to 10 minutes, until smooth and elastic, or 6 minutes in a stand mixer with the dough hook.
- Place the dough in a greased bowl, cover and let rise in a warm spot for 1 to 1 1/2 hours, until doubled.
- Punch down the dough and divide it into 24 equal pieces. Roll each into a smooth ball and arrange them in a greased 9×13 inch pan, four rows of six.
- Cover and let rise for 45 minutes, until puffy and touching. Heat the oven to 375F.
- Bake for 18 to 22 minutes, until golden brown and the center rolls read 190F. Brush with the remaining butter mixed with honey and sprinkle with flaky salt.
- To make ahead, cool completely, wrap well and freeze for up to a month. Thaw at room temperature and warm covered with foil at 350F for 10 minutes.
Homemade rolls make the whole meal feel special, and these are far easier than they look. Baking them a few weeks ahead and freezing them is my favorite holiday shortcut.
You can also refrigerate the shaped rolls overnight. Cover the pan tightly, chill for up to 18 hours, then let them rise on the counter for about an hour before baking.
13) Cranberry Orange Bread
13) Cranberry Orange Bread
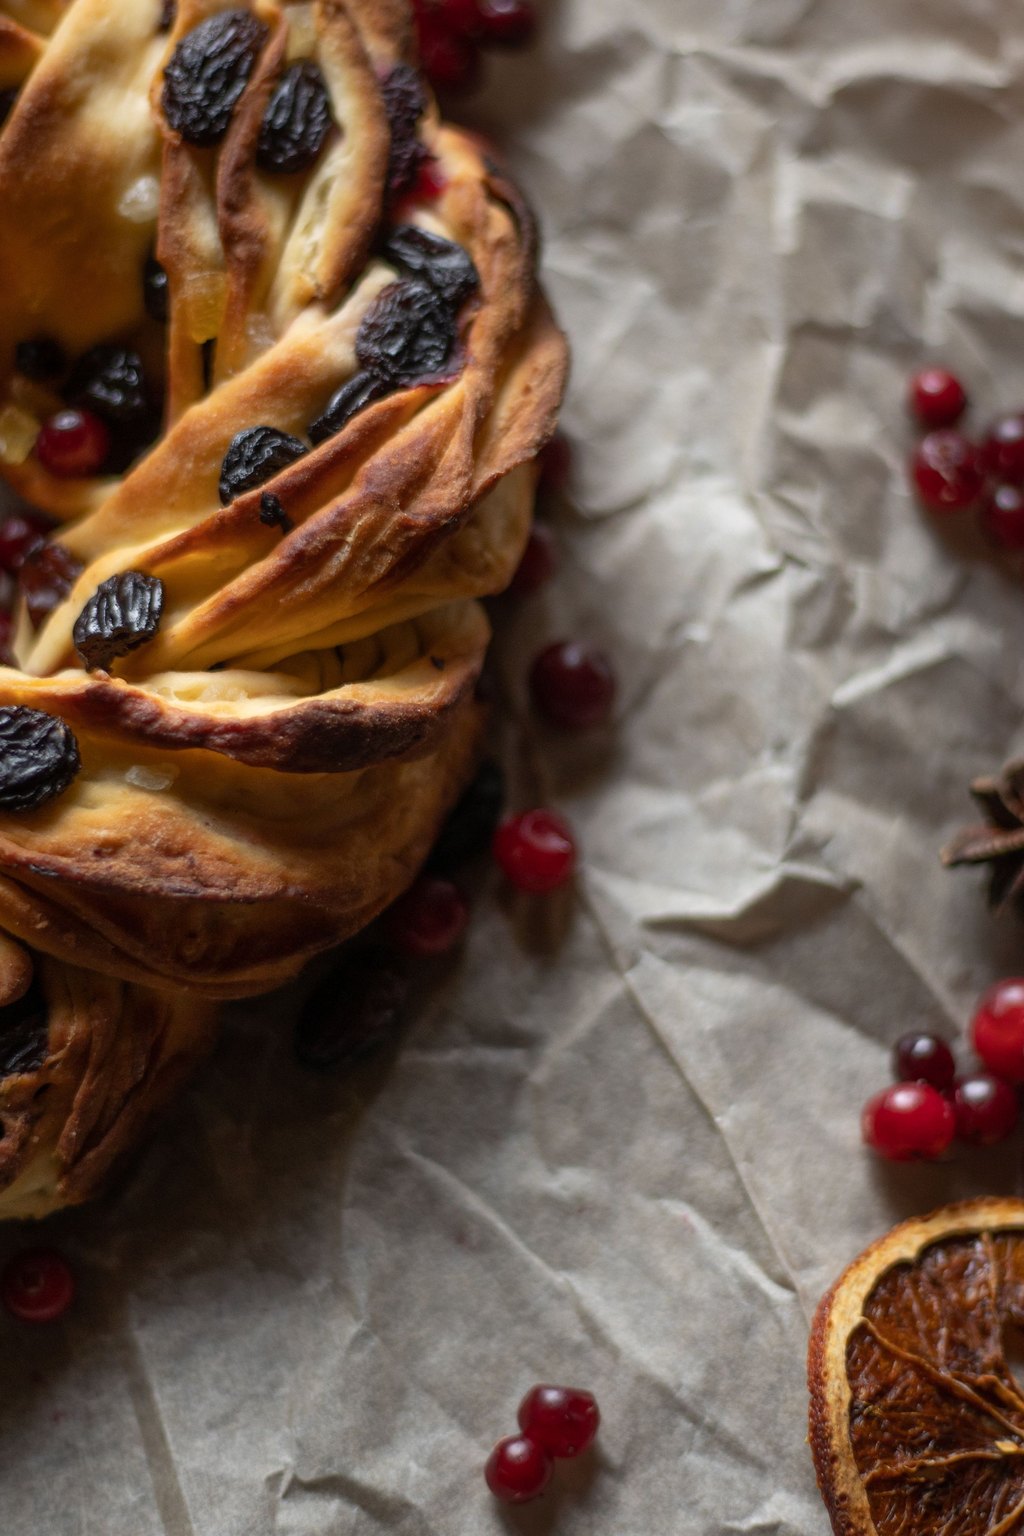
Cranberry orange bread is a tender quick bread bursting with tart cranberries and bright orange flavor. Rubbing the zest into the dry ingredients releases its fragrant oils so the citrus flavor shines through every slice. The tart berries balance the sweet, moist crumb for a loaf that works for breakfast or dessert.
Ingredients
- 2 cups all purpose flour
- 1 cup granulated sugar
- 1 1/2 teaspoons baking powder
- 1/2 teaspoon baking soda
- 1/2 teaspoon salt
- 1 tablespoon finely grated orange zest
- 3/4 cup fresh orange juice
- 1/4 cup unsalted butter, melted
- 1 large egg
- 1 teaspoon vanilla extract
- 1 1/2 cups fresh or frozen cranberries, roughly chopped
- 1/2 cup chopped walnuts, optional
Instructions
- Heat the oven to 350F. Grease a 9×5 inch loaf pan and line it with a strip of parchment.
- In a large bowl, whisk the flour, sugar, baking powder, baking soda and salt. Rub the orange zest into the dry ingredients with your fingers to release its oils.
- In a medium bowl, whisk the orange juice, melted butter, egg and vanilla.
- Pour the wet ingredients into the dry and stir with a spatula just until moistened. The batter will be thick. Fold in the cranberries and walnuts.
- Scrape the batter into the pan and smooth the top. Bake for 55 to 65 minutes, until golden and a toothpick inserted in the center comes out clean. Cover loosely with foil if the top browns too fast.
- Cool in the pan for 10 minutes, then lift out and cool completely on a wire rack before slicing.
- Wrap the cooled loaf tightly and keep at room temperature for up to 3 days or freeze for up to 3 months.
I bake this the weekend before Thanksgiving and set it out for houseguests on Thursday morning. It keeps everyone happily fed while I take over the kitchen.
Use frozen cranberries straight from the freezer without thawing. Chop them while still frozen, since they are firmer and easier to cut cleanly.
14) Classic Apple Crisp
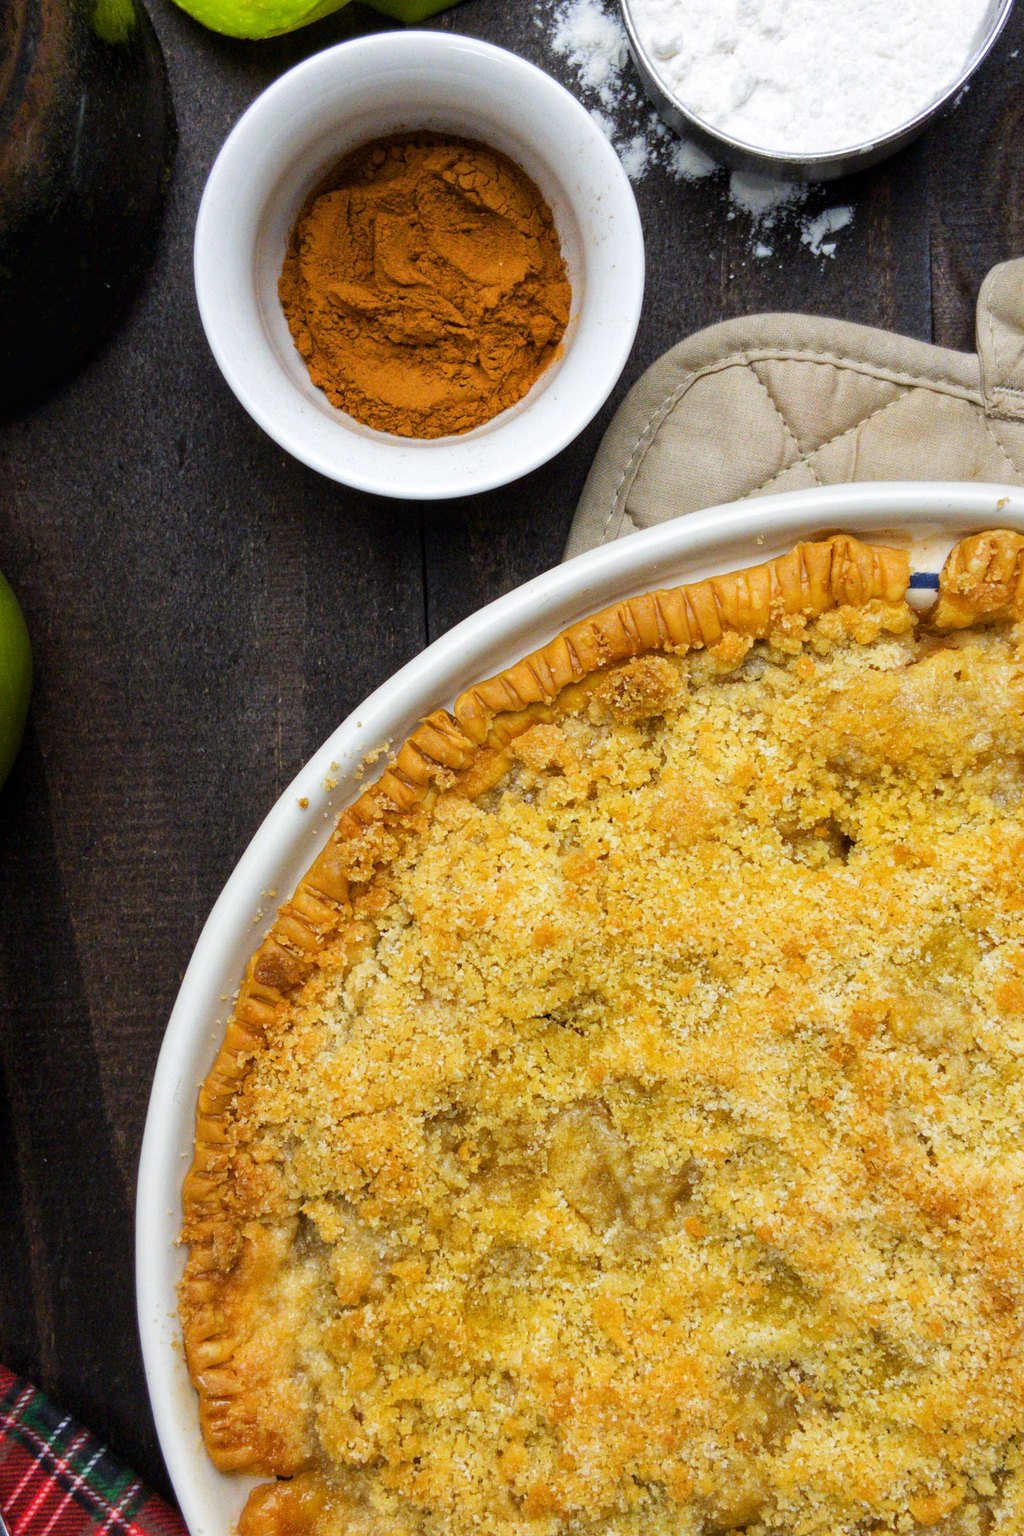
14) Classic Apple Crisp
Apple crisp layers tender cinnamon apples under a buttery oat and brown sugar topping that bakes up golden and crunchy. The apples soften into a jammy filling while the topping stays crisp around the edges. It has all the cozy flavor of apple pie with none of the fuss of rolling out a crust.
Ingredients
- 6 medium apples, peeled, cored and sliced 1/4 inch thick
- 2 tablespoons lemon juice
- 1/3 cup granulated sugar
- 1 tablespoon all purpose flour
- 1 teaspoon ground cinnamon, divided
- 1/4 teaspoon ground nutmeg
- 3/4 cup all purpose flour
- 3/4 cup old fashioned rolled oats
- 3/4 cup packed light brown sugar
- 1/2 teaspoon salt
- 1/2 cup cold unsalted butter, cubed
- 1/2 cup chopped pecans, optional
- Vanilla ice cream, for serving
Instructions
- Heat the oven to 350F and butter a 9 by 13 inch baking dish.
- In a large bowl, toss the apple slices with the lemon juice, granulated sugar, 1 tablespoon of flour, half the cinnamon and the nutmeg. Spread them evenly in the dish.
- In another bowl, whisk the 3/4 cup of flour, oats, brown sugar, salt and remaining cinnamon. Cut in the cold butter with a pastry cutter or your fingertips until the mixture forms pea size clumps, then stir in the pecans.
- Scatter the topping over the apples, squeezing some of it into larger clusters. To make ahead, cover the dish tightly and refrigerate for up to 2 days.
- Bake uncovered for 45 to 50 minutes, until the topping is deep golden and the juices bubble thickly around the edges. Add about 10 minutes if the dish goes into the oven cold from the fridge.
- Let the crisp cool for at least 20 minutes so the juices thicken, then serve warm with scoops of vanilla ice cream.
Not everyone at our table is a pie person, so I always set out a pan of apple crisp next to the pies. It is the first dessert to disappear, especially when there is ice cream nearby.
Assemble the crisp on Wednesday and slide it into the oven while the turkey rests. It bakes at the same temperature as most casseroles, so it shares the oven easily.
Want every detail, plus my best tips and storage notes? Here is my full Old Fashioned Apple Crisp recipe.
15) Southern Pecan Pie
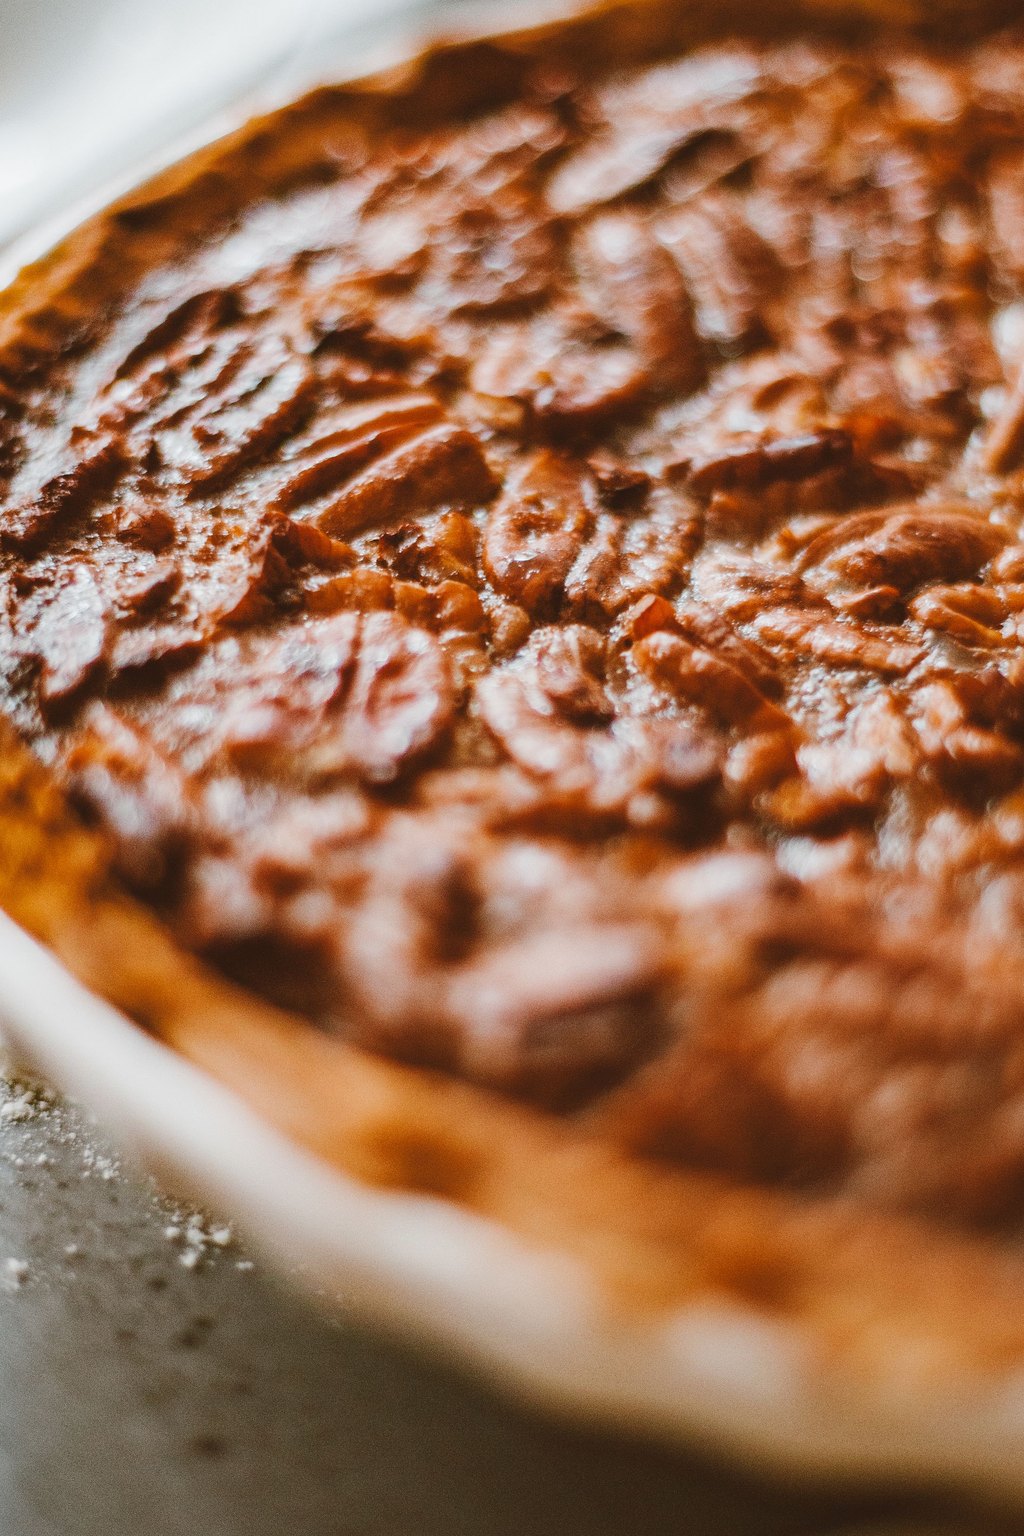
15) Southern Pecan Pie
Southern pecan pie has a gooey, caramel like filling packed with toasted pecans and a crisp, flaky crust. Toasting the pecans before baking deepens their flavor and keeps them crunchy on top. A little flour helps the filling set cleanly, so slices hold their shape instead of running across the plate.
Ingredients
- 1 unbaked 9 inch pie crust, homemade or store bought
- 3 large eggs
- 1 cup light corn syrup
- 1/2 cup packed light brown sugar
- 1/4 cup granulated sugar
- 1/4 cup unsalted butter, melted
- 2 teaspoons vanilla extract
- 1/2 teaspoon salt
- 1 tablespoon all purpose flour
- 2 cups pecan halves
- Whipped cream or vanilla ice cream, for serving
Instructions
- Heat the oven to 350F with a rack in the lower third. Fit the crust into a 9 inch pie plate, crimp the edges and chill for 15 minutes.
- Spread the pecans on a baking sheet and toast for 6 to 8 minutes, until fragrant. Let them cool slightly, then roughly chop half and leave the rest whole.
- In a large bowl, whisk the eggs until smooth. Whisk in the corn syrup, both sugars, melted butter, vanilla, salt and flour until well combined.
- Scatter the chopped pecans in the pie shell and pour the filling over them. Arrange the whole pecan halves on top.
- Set the pie on a rimmed baking sheet and bake for 55 to 65 minutes. Cover the crust edges with foil after 25 minutes if they brown too quickly.
- The pie is done when the edges are set and puffed and the center jiggles only slightly, like set gelatin. The center should read about 200F.
- Cool on a wire rack for at least 3 hours so the filling sets completely before slicing.
Pecan pie is my husband’s must have dessert, and Thanksgiving dinner would be incomplete without it. It is also one of the easiest pies to make ahead.
Bake the pie up to two days ahead and keep it loosely covered at room temperature, or refrigerate it for up to four days. Warm slices for a few minutes in a 300F oven if you like it gooey.
16) Sweet Potato Pie
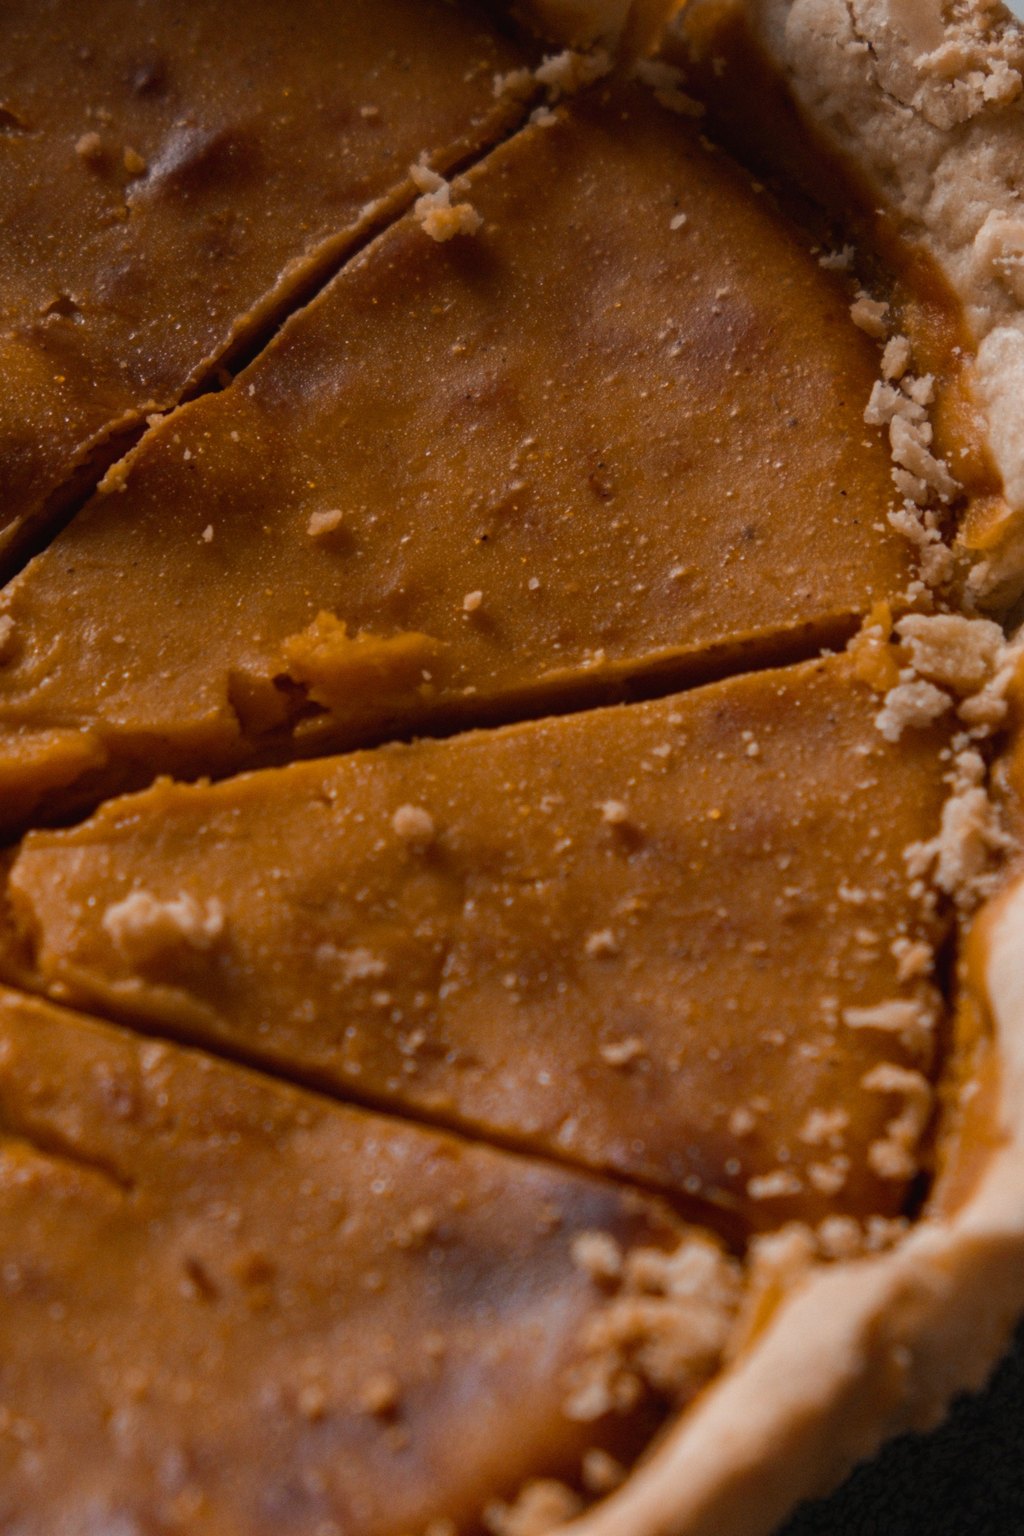
16) Sweet Potato Pie
Sweet potato pie has a velvety, rich custard filling with deep caramel notes and warm hints of cinnamon and nutmeg. Roasting the sweet potatoes instead of boiling them concentrates their sweetness and keeps the filling from turning watery. A splash of lemon juice brightens the flavor and balances the sugar.
Ingredients
- 1 unbaked 9 inch deep dish pie crust, homemade or store bought
- 1 1/2 pounds sweet potatoes
- 1/2 cup unsalted butter, softened
- 3/4 cup granulated sugar
- 1/4 cup packed light brown sugar
- 2 large eggs
- 1/2 cup evaporated milk
- 1 teaspoon vanilla extract
- 1 teaspoon ground cinnamon
- 1/2 teaspoon ground nutmeg
- 1/4 teaspoon salt
- 1 tablespoon fresh lemon juice
Instructions
- Heat the oven to 400F. Pierce the sweet potatoes with a fork, set them on a foil lined pan and bake for 50 to 60 minutes, until very soft. Cool, then peel. You need about 2 cups of flesh.
- Lower the oven to 350F. Fit the crust into a 9 inch deep dish pie plate, crimp the edges and chill while you make the filling.
- Beat the warm sweet potato and butter with a hand mixer until very smooth. Beating removes the stringy fibers, which will cling to the beaters, so wipe them off as you go.
- Add both sugars, the eggs, evaporated milk, vanilla, cinnamon, nutmeg, salt and lemon juice and beat until silky smooth.
- Pour the filling into the crust. Set the pie on a rimmed baking sheet and bake for 50 to 60 minutes, until the edges are set and the center jiggles only slightly. A knife inserted near the center should come out clean.
- Cool on a wire rack for at least 2 hours, then refrigerate until serving. Top with whipped cream.
Sweet potato pie is smoother and a little richer than pumpkin, and some years it outsells pumpkin at our table. It is a Southern classic that deserves a spot at every Thanksgiving.
Bake the pie up to two days ahead and keep it covered in the fridge. Let it sit out for 30 minutes before serving so the filling is creamy instead of cold and firm.
Before You Start Cooking
Here is the schedule I follow. Make cranberry sauce, gravy, rolls and quick bread on Monday, bake pies on Tuesday, then assemble casseroles, stuffing, mashed potatoes and apple crisp on Wednesday. Thursday is just for the turkey and reheating, with dishes rotating through the oven while the bird rests.
I hope this list takes some of the pressure off and gives you more time to enjoy your people. Happy Thanksgiving from my kitchen to yours, and may your table be full and your dishes be few.
Frequently Asked Questions
How far ahead can I make Thanksgiving sides?
Most casseroles, stuffing and mashed potatoes can be assembled one to two days ahead and kept covered in the fridge. Cranberry sauce and gravy keep for up to a week and three days. Rolls and quick breads can be baked weeks early and frozen. Pies are best baked one to two days before, depending on the type.
How do I reheat several side dishes with one oven?
Set the oven to 350F, which works for nearly every casserole. While the turkey rests for 30 to 45 minutes, rotate dishes through on different racks, covering them with foil to keep them moist. A slow cooker is great for mashed potatoes, and gravy and cranberry sauce can warm on the stovetop to save oven space.
Should I bake make ahead casseroles cold from the fridge?
Let chilled casseroles sit on the counter for about 30 minutes before baking so they heat more evenly, and avoid putting a cold glass dish straight into a hot oven. Plan to add 10 to 20 minutes to the bake time and keep them covered for most of it. They are ready when the center is steaming hot.