15 No Bake Desserts
Fifteen easy no bake desserts, from creamy cheesecake and banana pudding to icebox cakes, fudge and chocolate mousse, that keep your oven off and your kitchen cool.
Some days the last thing I want is to heat up the oven, especially in the middle of summer or when the oven is already full of dinner. That is when these fifteen no bake desserts come to the rescue. You will find creamy pies, layered icebox cakes, chewy cookies, fudgy bars and a few spoonable treats, all made with the fridge, the freezer or a quick trip to the stovetop. My planning tip is to make these a day ahead, since most of them need several hours to chill and set before slicing.
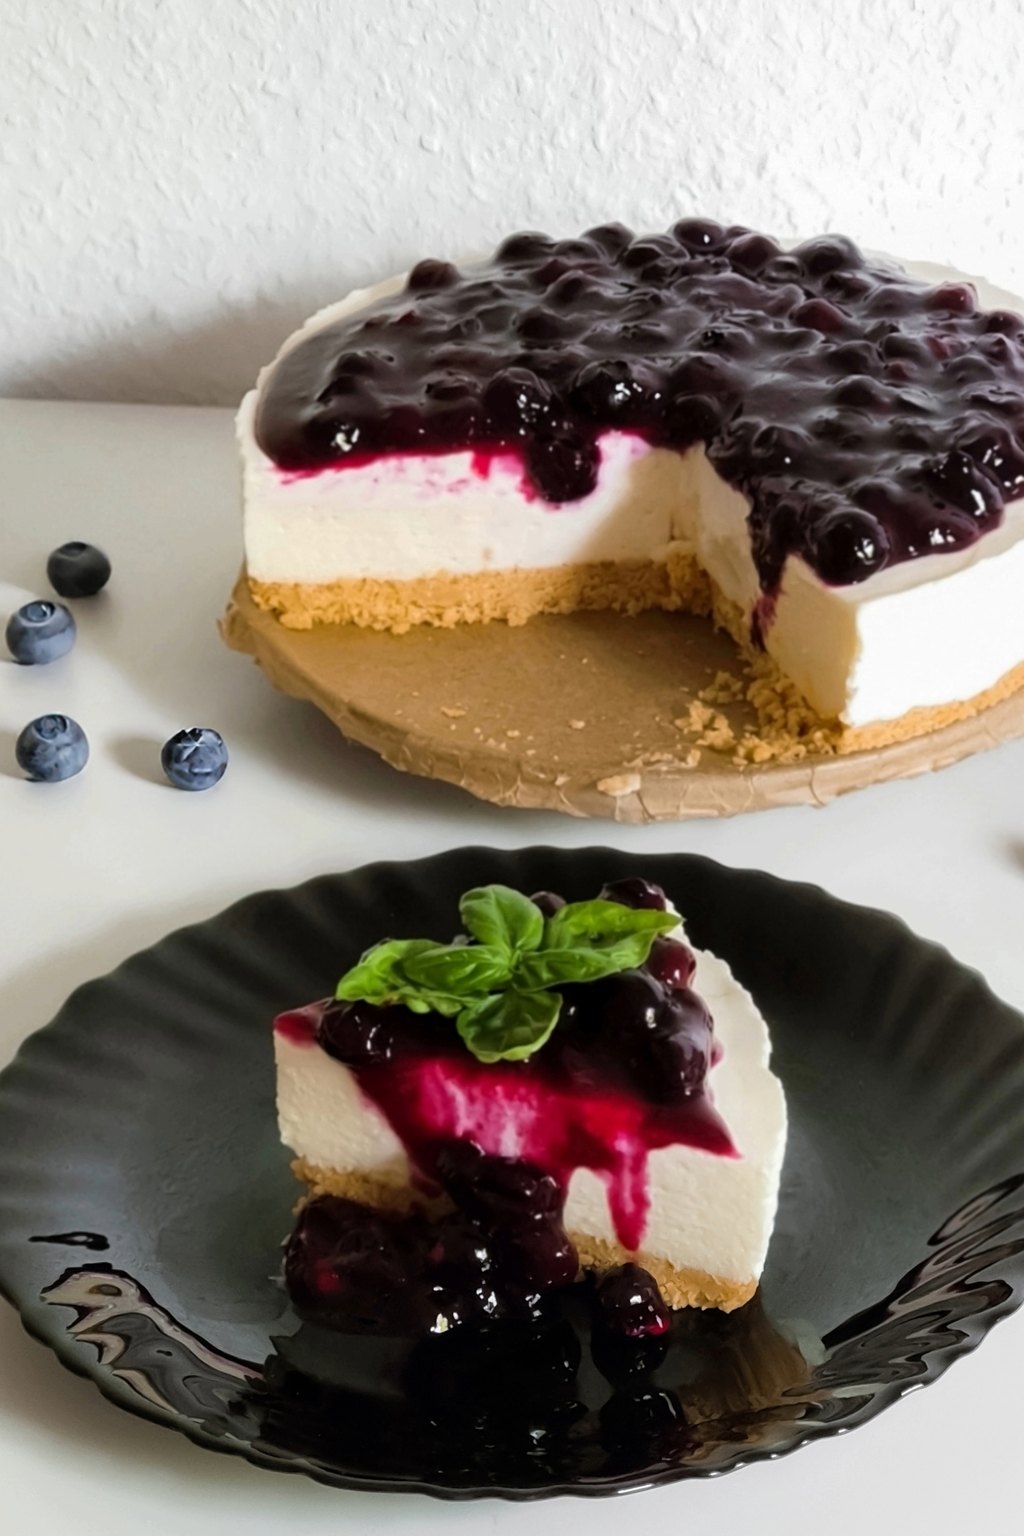
1) Classic No Bake Cheesecake
1) Classic No Bake Cheesecake
This no bake cheesecake has a thick, buttery graham cracker crust and a silky filling that is lighter than a baked cheesecake. Whipped cream folded into the cream cheese helps it set up firm enough to slice without any gelatin. A little lemon juice and sour cream give it that classic tangy cheesecake flavor.
Ingredients
- For the crust
- 2 cups graham cracker crumbs, about 15 full sheets
- 1/3 cup granulated sugar
- 1/2 cup unsalted butter, melted
- For the filling
- 24 ounces cream cheese, softened
- 1 cup powdered sugar
- 1/2 cup sour cream
- 1 tablespoon fresh lemon juice
- 2 teaspoons vanilla extract
- 1 1/4 cups cold heavy cream
- 1 cup cherry or strawberry pie filling, for topping
Instructions
- Stir the graham cracker crumbs, sugar and melted butter together until the mixture looks like wet sand. Press it firmly into the bottom and partway up the sides of a 9 inch springform pan using the bottom of a measuring cup. Chill while you make the filling.
- Beat the softened cream cheese in a large bowl with a mixer on medium speed for 2 minutes, until completely smooth with no lumps.
- Add the powdered sugar, sour cream, lemon juice and vanilla and beat until creamy, scraping down the sides of the bowl.
- In a separate chilled bowl, whip the cold heavy cream on high speed for 2 to 3 minutes, until stiff peaks form.
- Gently fold the whipped cream into the cream cheese mixture in two additions until no white streaks remain. Folding keeps the filling light and airy.
- Spread the filling over the crust and smooth the top. Cover and refrigerate for at least 6 hours or overnight, until firm.
- Run a thin knife around the edge before releasing the springform ring. Top with pie filling and slice with a hot, dry knife for clean cuts.
This is the cheesecake I make when I want something impressive without any fuss over water baths or cracks. It has been my go to birthday dessert for years.
Make sure the cream cheese is truly soft, or the filling will be lumpy. The cheesecake keeps in the fridge for 4 days or can be frozen, without topping, for up to 1 month.
2) Chocolate Eclair Cake
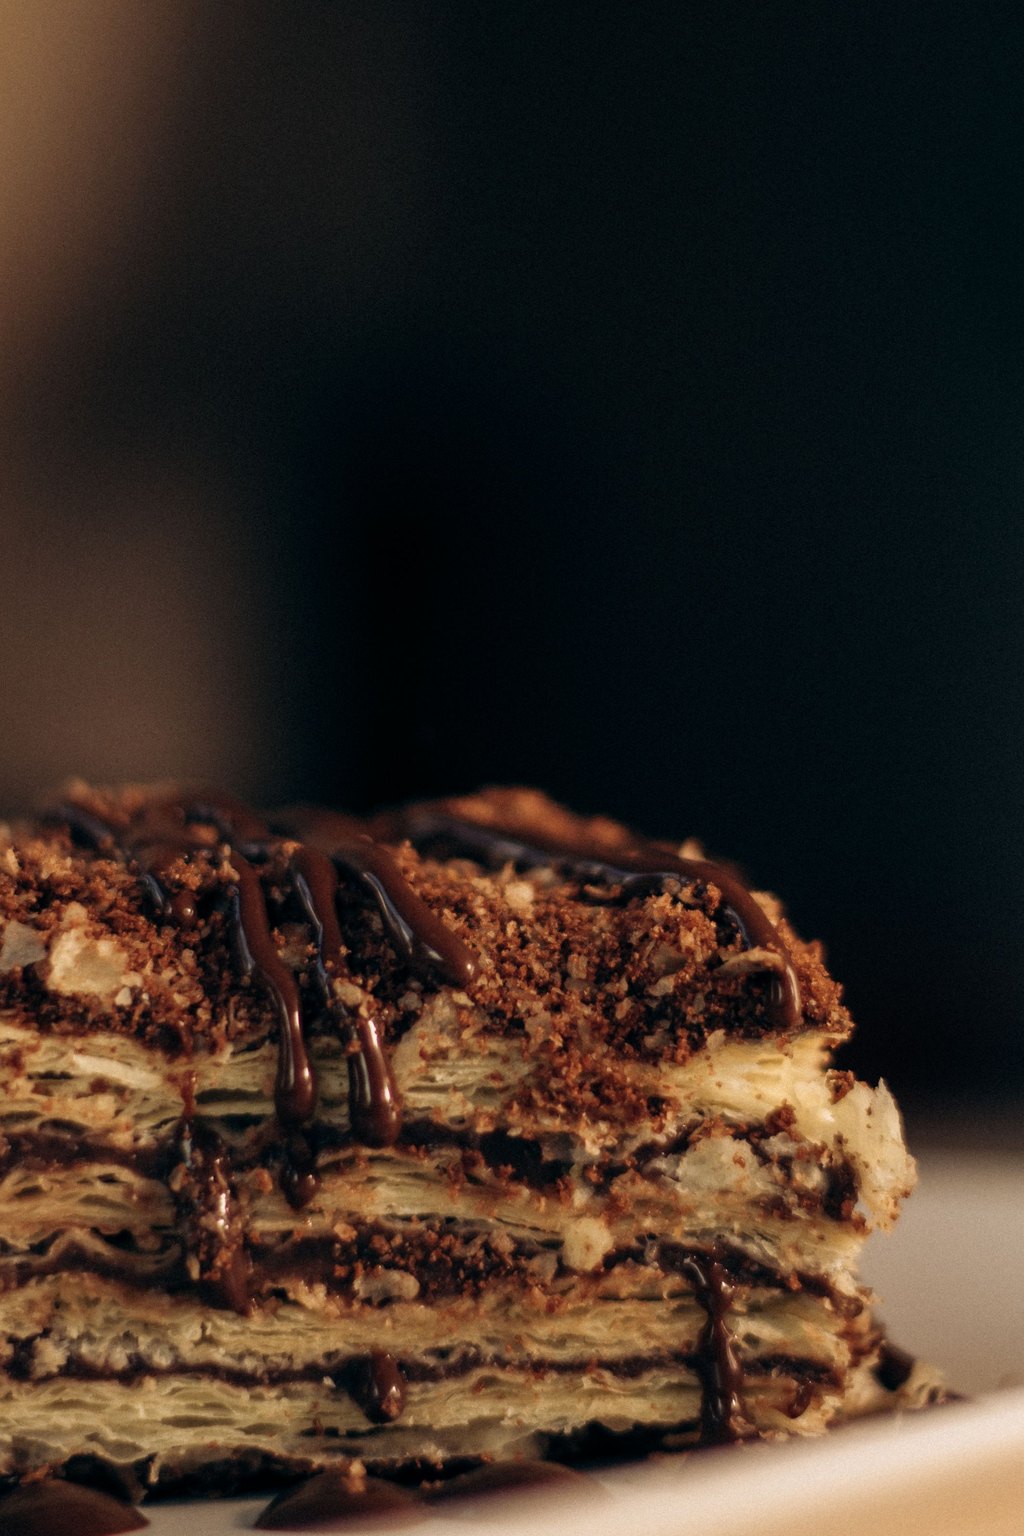
2) Chocolate Eclair Cake
Eclair cake layers graham crackers with a creamy vanilla pudding filling and a smooth chocolate glaze on top. As it chills overnight, the crackers soften and turn into tender layers that taste just like a cream filled eclair. It is cool, creamy and wonderfully easy to put together.
Ingredients
- 2 boxes instant vanilla pudding mix, 3.4 ounces each
- 3 cups cold whole milk
- 8 ounces frozen whipped topping, thawed
- 1 box graham crackers, 14.4 ounces
- For the chocolate topping
- 1/2 cup semisweet chocolate chips
- 1/3 cup heavy cream
- 2 tablespoons unsalted butter
- 1 tablespoon light corn syrup
- 1 teaspoon vanilla extract
- 1 cup powdered sugar
Instructions
- Whisk the pudding mixes and cold milk in a large bowl for 2 minutes, until thickened. Let stand for 5 minutes.
- Gently fold in the whipped topping until smooth and no streaks remain.
- Line the bottom of a 9×13 inch dish with a single layer of graham crackers, breaking them as needed to fill the gaps.
- Spread half of the pudding mixture over the crackers. Add another layer of graham crackers, then the rest of the pudding. Finish with a final layer of graham crackers.
- For the topping, heat the chocolate chips, cream, butter and corn syrup in a microwave safe bowl in 30 second bursts, stirring between each, until melted and smooth. Whisk in the vanilla and powdered sugar until glossy.
- Pour the chocolate over the top layer of crackers and spread it gently to the edges.
- Cover and refrigerate for at least 8 hours or overnight. The crackers soften into tender, cake like layers as they sit. Cut into squares and serve cold.
This is one of the most requested desserts in my recipe box, and it takes about twenty minutes of actual work. It feeds a crowd and always looks like more effort than it is.
It really needs the full overnight chill, so plan to make it the day before. Leftovers keep, covered, in the fridge for up to 3 days.
3) Chocolate Peanut Butter No Bake Cookies
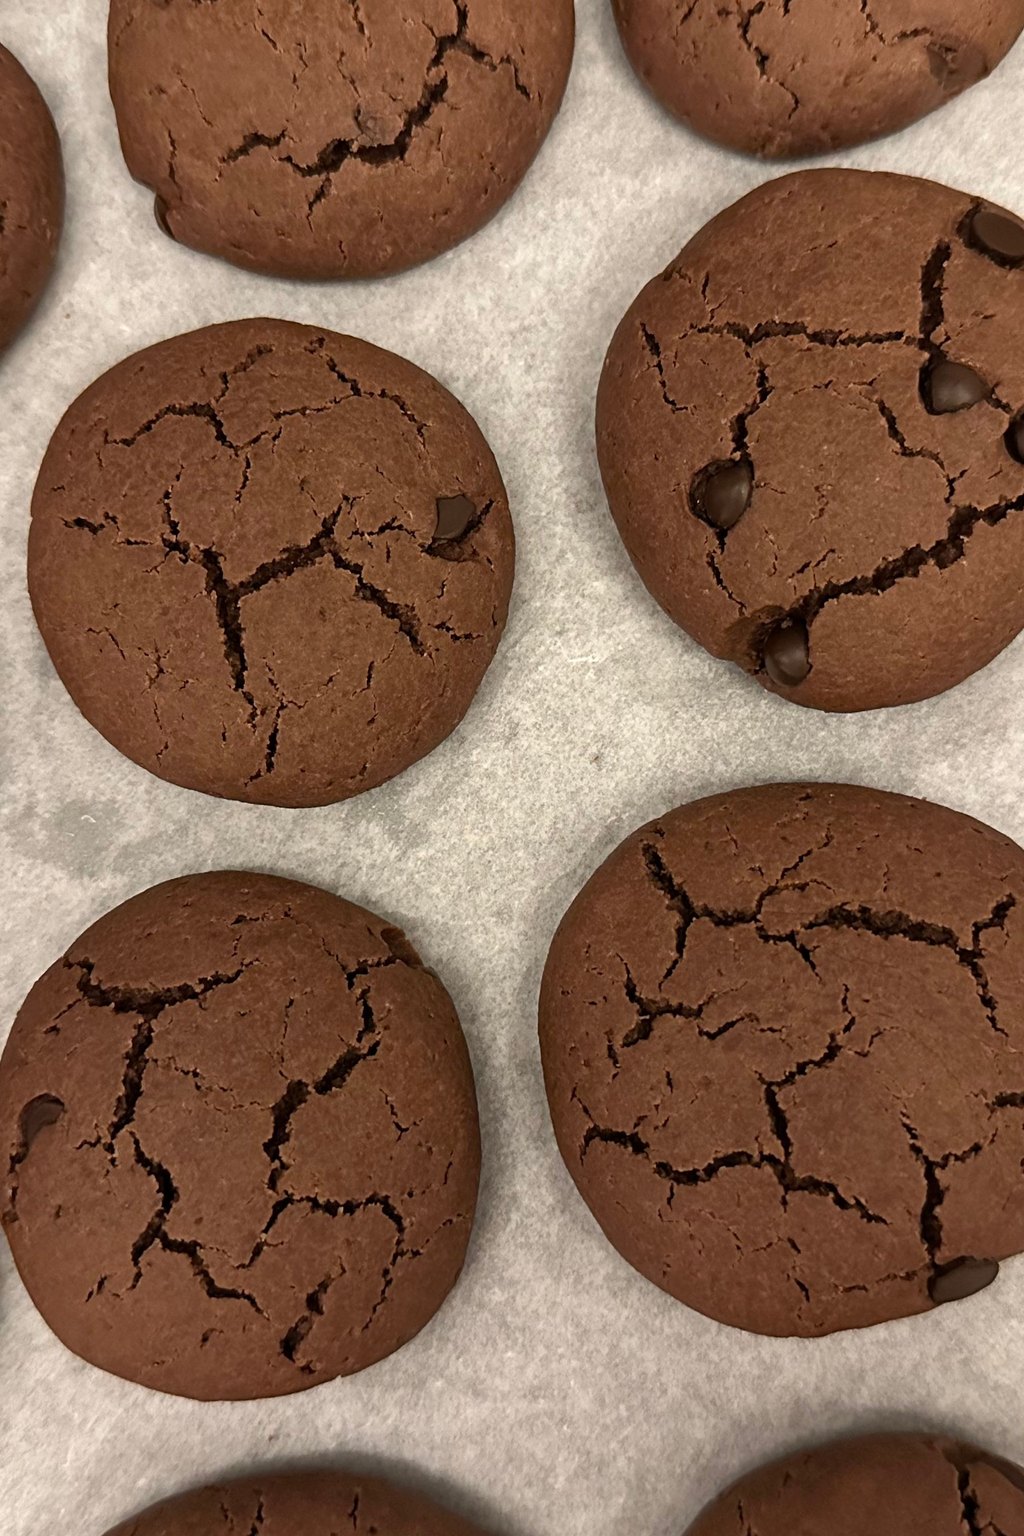
3) Chocolate Peanut Butter No Bake Cookies
These classic cookies are made on the stovetop with cocoa, butter, sugar and milk, then mixed with peanut butter and quick oats. The one minute boil is the secret to cookies that set up fudgy and chewy instead of sticky. They taste like a cross between a fudge candy and an oatmeal cookie.
Ingredients
- 2 cups granulated sugar
- 1/2 cup unsalted butter
- 1/2 cup whole milk
- 1/4 cup unsweetened cocoa powder
- 1/2 cup creamy peanut butter
- 2 teaspoons vanilla extract
- 1/4 teaspoon kosher salt
- 3 cups quick cooking oats
- 1/4 cup mini chocolate chips, optional
- Flaky salt, for sprinkling
Instructions
- Line two baking sheets with parchment or wax paper and have everything measured before you start, since this recipe moves quickly.
- In a medium saucepan, combine the sugar, butter, milk and cocoa powder. Stir over medium heat until the butter melts.
- Bring the mixture to a full rolling boil that does not stop when stirred. Boil for exactly 1 minute, then remove from the heat. Boiling too short leaves the cookies sticky, while boiling too long makes them dry and crumbly.
- Immediately stir in the peanut butter, vanilla and salt until smooth.
- Add the quick oats and stir until every oat is coated. Fold in the mini chocolate chips if using.
- Working quickly, drop heaping tablespoons of the mixture onto the lined sheets. Flatten the tops slightly with the back of the spoon and sprinkle with a pinch of flaky salt.
- Let the cookies cool at room temperature for 30 minutes, until set and firm enough to lift. Store in an airtight container.
My grandmother made these every summer, and I still make them when it is too hot to bake. Kids love helping drop them onto the pan.
Use quick oats, not old fashioned, for the best texture. The cookies keep at room temperature for 5 days or freeze for up to 3 months.
4) Southern Banana Pudding
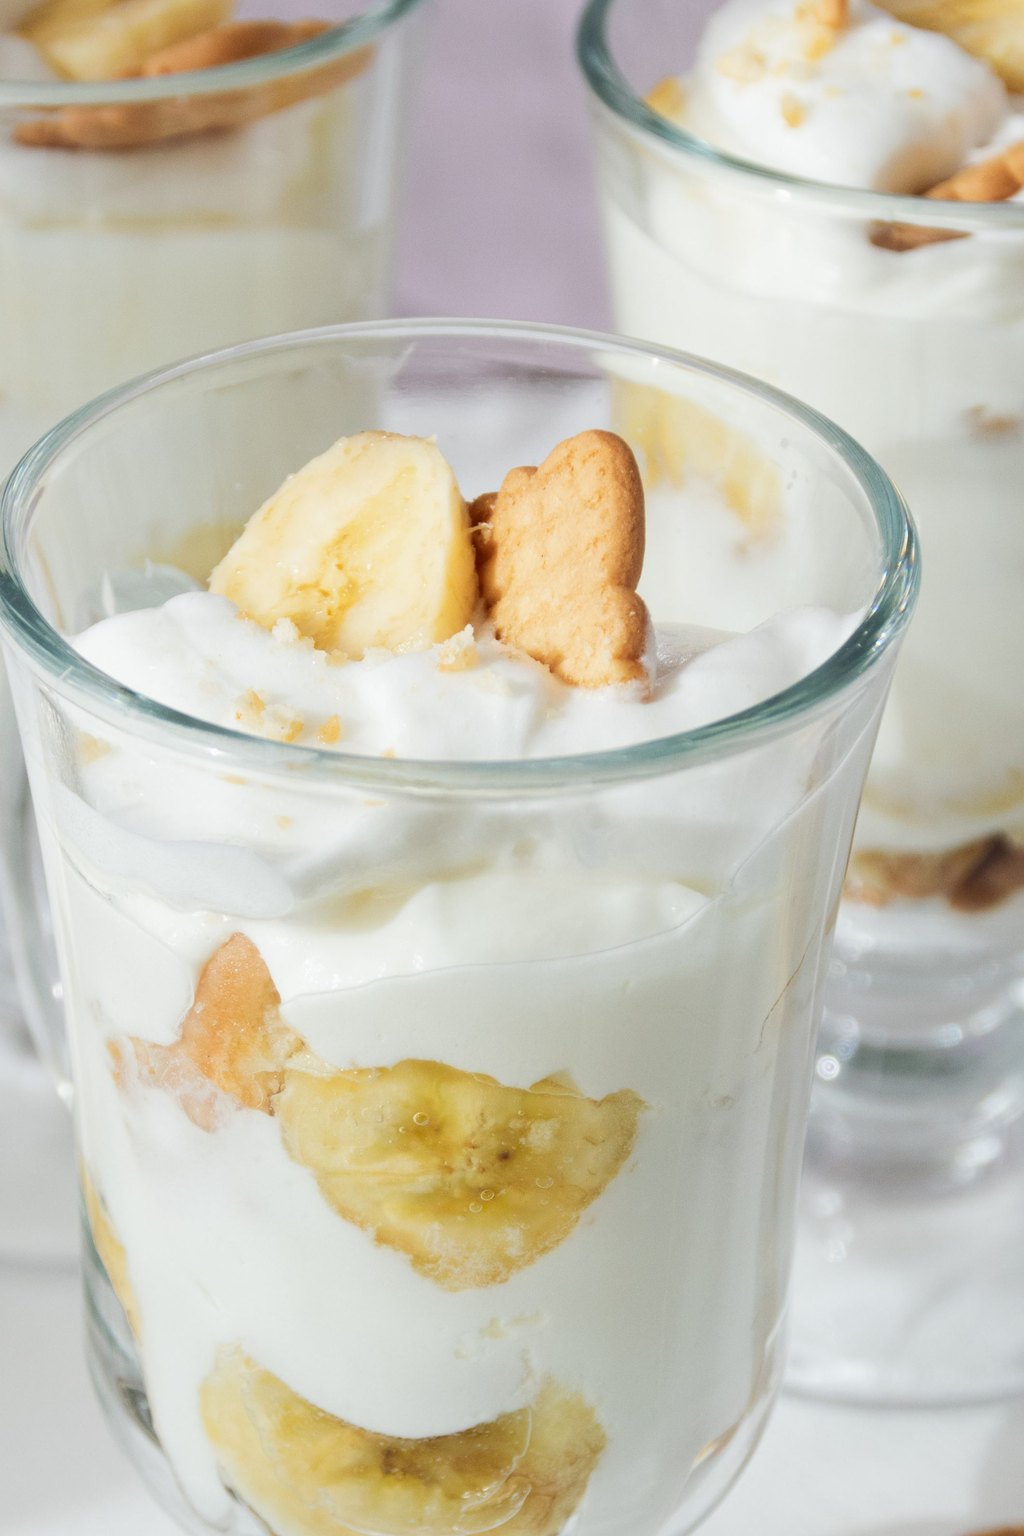
4) Southern Banana Pudding
This southern banana pudding layers vanilla wafers and fresh bananas with a rich, creamy pudding made with sweetened condensed milk and whipped cream. As it chills, the cookies soften into tender cake like layers. The result is cool, silky and full of sweet banana flavor.
Ingredients
- 1 box instant vanilla pudding mix, 5.1 ounces
- 2 cups cold whole milk
- 1 can sweetened condensed milk, 14 ounces
- 1 teaspoon vanilla extract
- 2 cups cold heavy cream
- 1/4 cup powdered sugar
- 1 box vanilla wafer cookies, 11 ounces
- 5 ripe bananas, sliced 1/4 inch thick
- 1 tablespoon fresh lemon juice
- 1/4 teaspoon ground cinnamon, optional
Instructions
- Whisk the pudding mix and cold milk in a large bowl for 2 minutes, until it starts to thicken. Whisk in the sweetened condensed milk and vanilla until smooth. Refrigerate for 5 minutes to firm up.
- In a separate bowl, whip the heavy cream and powdered sugar on high speed for 2 to 3 minutes, until stiff peaks form.
- Fold about two thirds of the whipped cream into the pudding until fully combined. Save the rest for the top.
- Toss the sliced bananas gently with the lemon juice to help keep them from browning.
- In a 9×13 inch dish or large trifle bowl, arrange a layer of vanilla wafers. Top with a layer of banana slices and then a third of the pudding.
- Repeat the layers two more times, ending with pudding. Spread the remaining whipped cream over the top and decorate with a few whole and crushed wafers and a light dusting of cinnamon.
- Cover and refrigerate for at least 4 hours or overnight, until the wafers soften into cake like layers. Serve cold with a big spoon.
Banana pudding is the dessert I bring to every summer cookout and Sunday dinner. It is always the first empty dish on the table.
Assemble it no more than 12 hours before serving for the best texture and freshest bananas. Leftovers keep for 2 days but the bananas will darken a little.
5) No Bake Peanut Butter Bars
5) No Bake Peanut Butter Bars
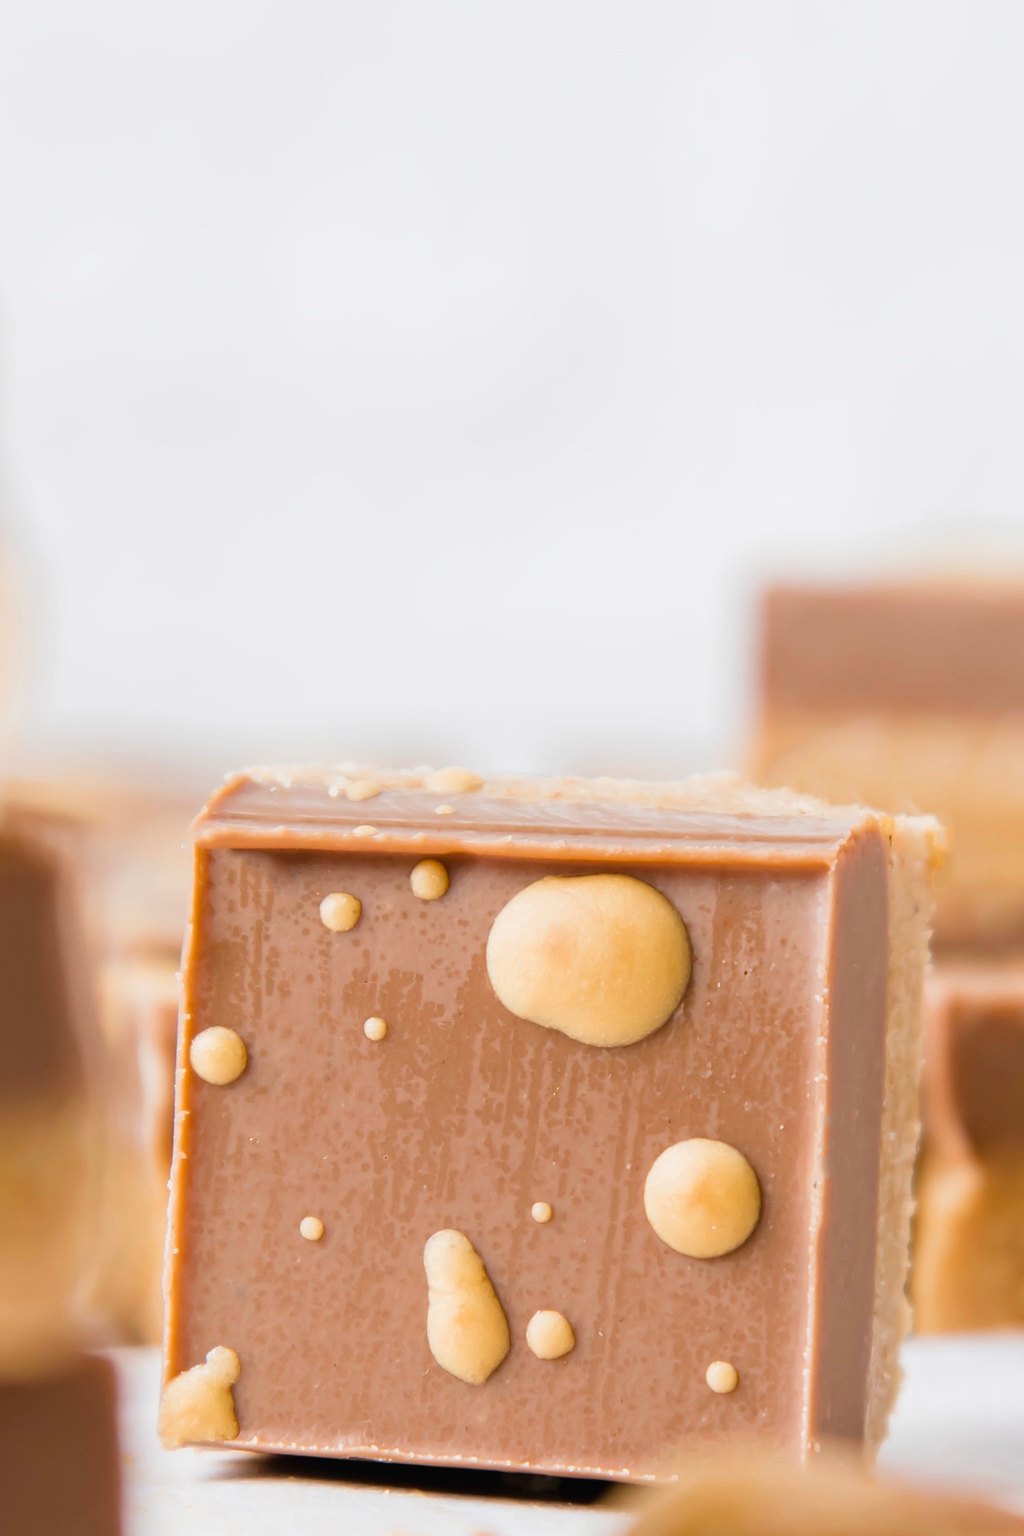
These bars taste just like the famous peanut butter cups but come together in a single pan without baking. A thick peanut butter layer made with graham crumbs and powdered sugar sits under a smooth chocolate topping. They are rich, sweet and salty, so a small square goes a long way.
Ingredients
- 1 cup unsalted butter, melted
- 2 cups graham cracker crumbs
- 2 cups powdered sugar
- 1 cup creamy peanut butter
- 1/2 teaspoon vanilla extract
- 1/4 teaspoon kosher salt
- For the topping
- 1 1/2 cups semisweet chocolate chips
- 1/2 cup creamy peanut butter
- 1/4 cup chopped peanuts, optional
Instructions
- Line a 9×13 inch pan with parchment paper, leaving some overhang on the long sides so you can lift the bars out later.
- In a large bowl, stir together the melted butter, graham cracker crumbs, powdered sugar, 1 cup of peanut butter, vanilla and salt until smooth and thick.
- Press the mixture firmly and evenly into the bottom of the pan. Use the bottom of a measuring cup to smooth the top.
- Put the chocolate chips and 1/2 cup of peanut butter in a microwave safe bowl. Heat in 30 second bursts, stirring after each, until completely melted and smooth. Do not overheat or the chocolate can seize.
- Pour the chocolate mixture over the peanut butter layer and spread it evenly to the edges. Sprinkle with chopped peanuts if using.
- Refrigerate for at least 1 hour, until the chocolate is firm.
- Let the pan sit at room temperature for 10 minutes before cutting, which keeps the chocolate from cracking. Lift out with the parchment and cut into small squares with a sharp knife.
These are the bars my family requests for school parties and holiday trays. Everything is mixed in one bowl and pressed into a pan in minutes.
Store the bars in the fridge for up to 1 week or freeze for up to 3 months. Cut them small, since they are very rich.
6) Strawberry Icebox Cake
6) Strawberry Icebox Cake
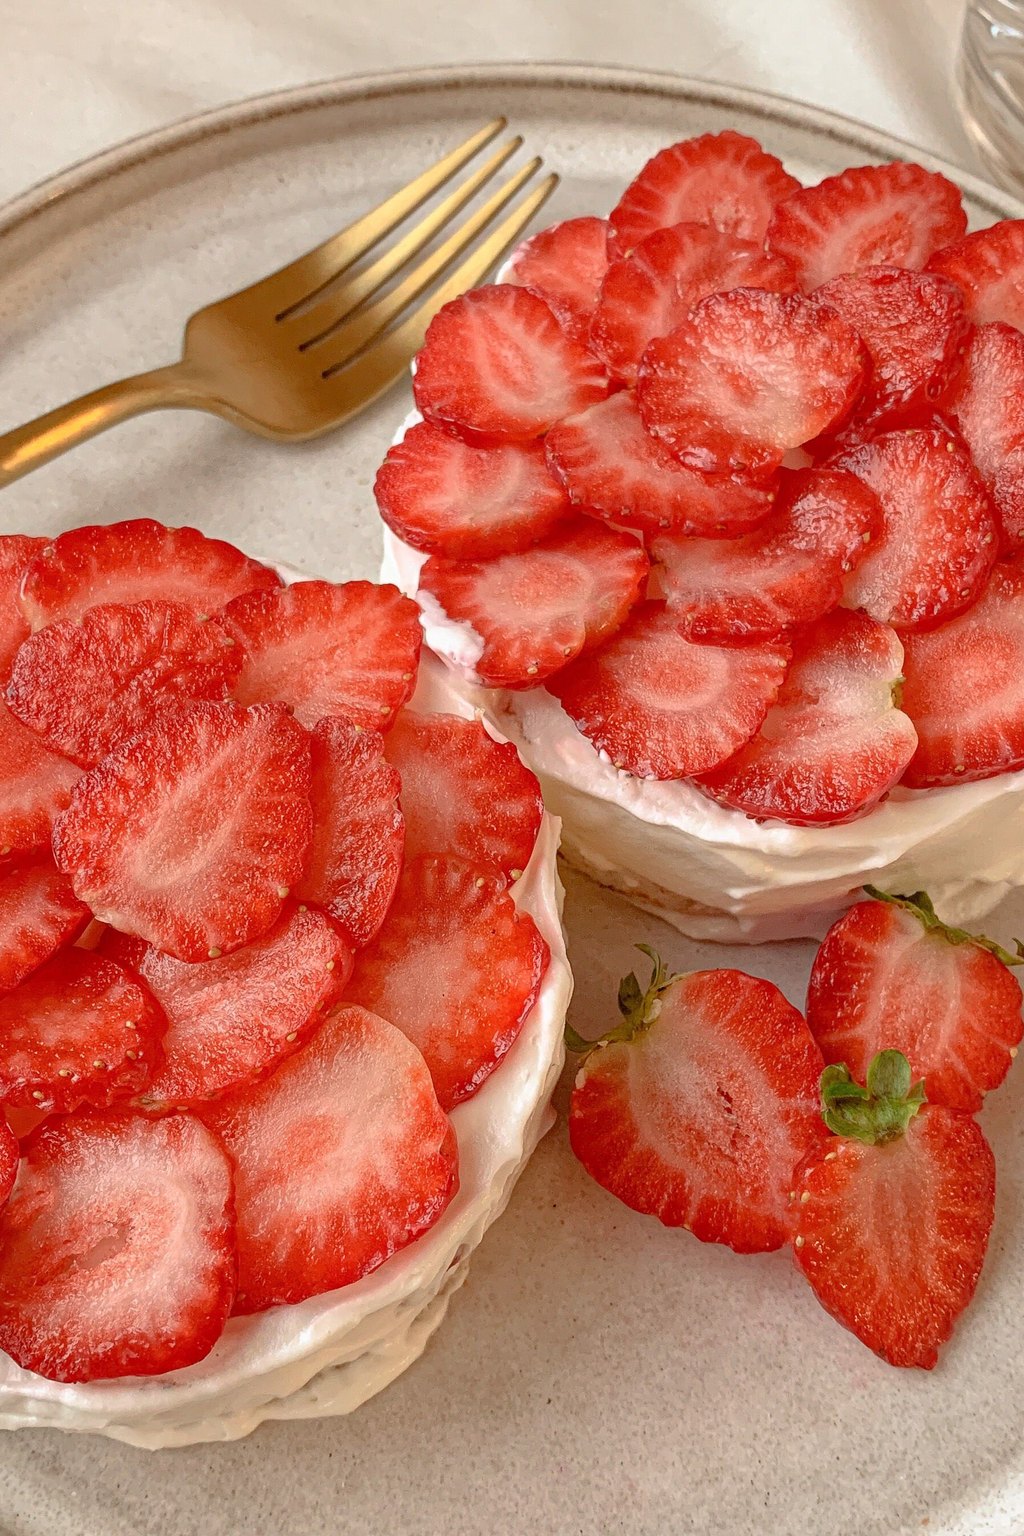
This icebox cake layers graham crackers with clouds of sweet cream cheese whipped cream and plenty of juicy fresh strawberries. As it chills, the crackers soak up moisture from the cream and soften into tender, sliceable cake. It tastes like a summer strawberry shortcake but with no oven required.
Ingredients
- 2 pounds fresh strawberries, hulled and sliced
- 2 tablespoons granulated sugar
- 3 cups cold heavy cream
- 1/2 cup powdered sugar
- 8 ounces cream cheese, softened
- 2 teaspoons vanilla extract
- 1 tablespoon fresh lemon zest
- 2 sleeves graham crackers, about 18 full sheets
- 4 whole strawberries, for garnish
- 1 ounce white chocolate, shaved, optional
Instructions
- Toss the sliced strawberries with the granulated sugar and let them sit for 15 minutes, until they release some juice.
- Beat the softened cream cheese, powdered sugar, vanilla and lemon zest in a large bowl until smooth.
- Add the cold heavy cream and beat on medium speed, then high, for 3 to 4 minutes, until thick with stiff peaks. Be careful not to overbeat or it will turn grainy.
- Spread a thin layer of the cream in the bottom of a 9×13 inch dish. Arrange a layer of graham crackers on top, breaking pieces to fill any gaps.
- Spread a third of the remaining cream over the crackers and top with a third of the sliced strawberries and a little of their juice.
- Repeat with two more layers of crackers, cream and strawberries, ending with cream on top. Arrange a few strawberry slices and whole berries on top.
- Cover and refrigerate for at least 6 hours or overnight. Sprinkle with white chocolate shavings before serving and slice into squares.
This is my favorite dessert for early summer when strawberries are at their best. It looks gorgeous on a picnic table and is so refreshing on a hot day.
Make it the day before so the layers have time to soften. Leftovers keep, covered, in the fridge for up to 2 days.
7) Chocolate Dirt Cake
7) Chocolate Dirt Cake
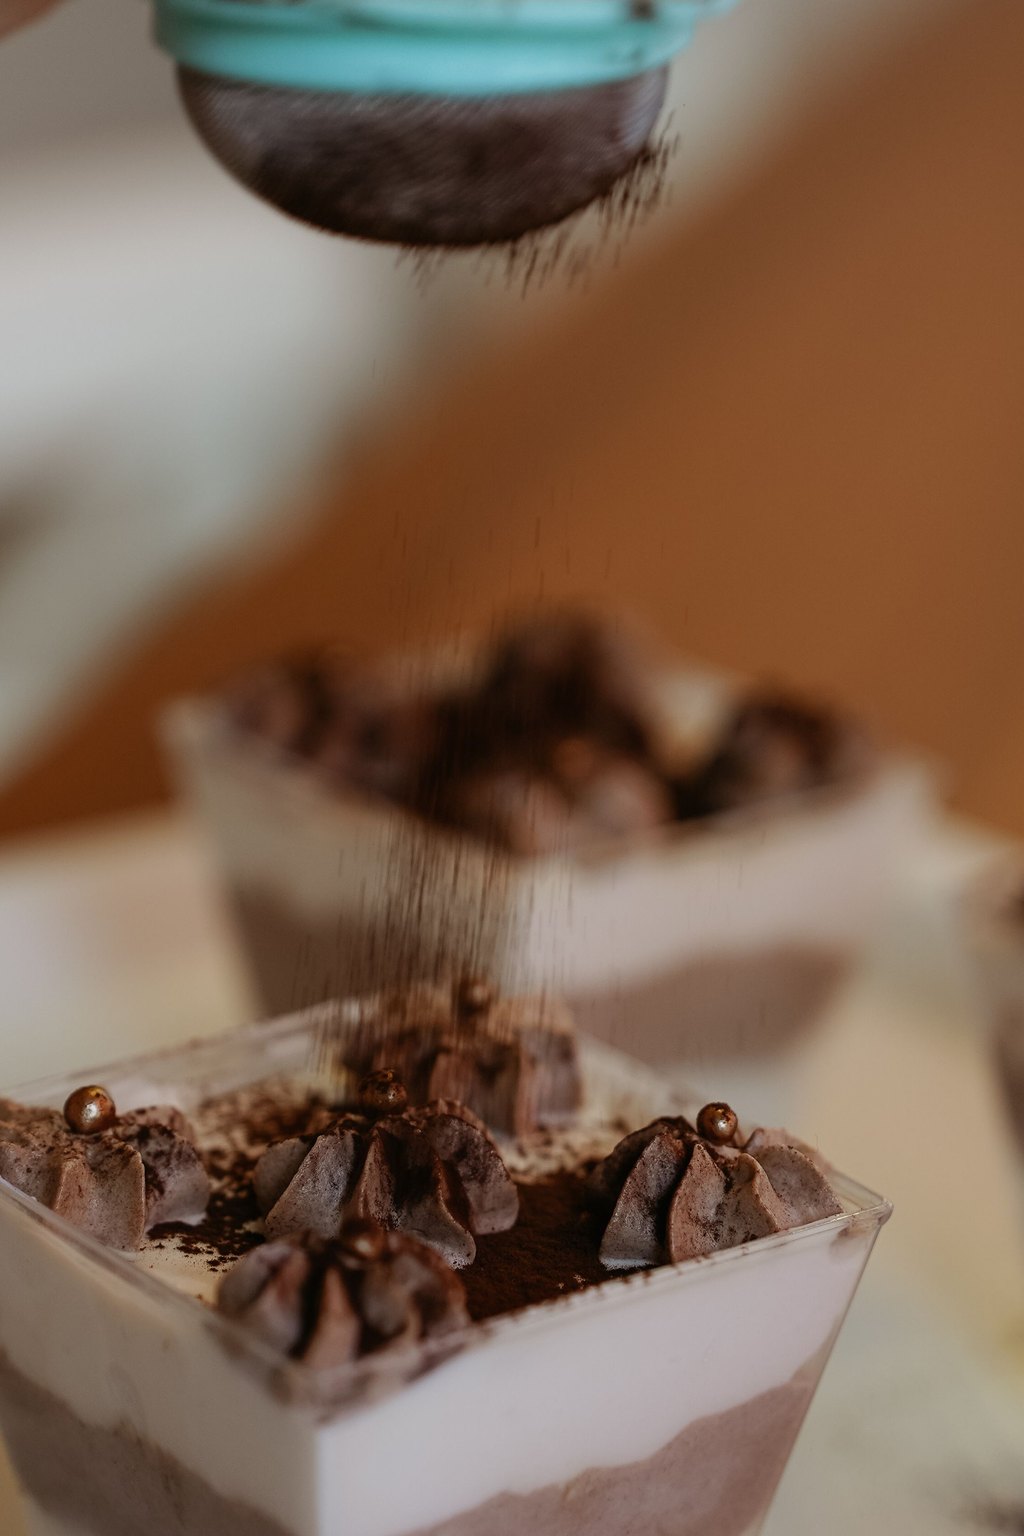
Dirt cake layers crushed chocolate sandwich cookies with a creamy chocolate pudding and cream cheese filling. The cookie crumbs on top look just like fresh garden soil, and a few gummy worms add a playful touch. It is sweet, creamy and crunchy all at once, which makes it a favorite with kids.
Ingredients
- 1 package chocolate sandwich cookies, about 36 cookies
- 1/4 cup unsalted butter, softened
- 8 ounces cream cheese, softened
- 1 cup powdered sugar
- 2 boxes instant chocolate pudding mix, 3.9 ounces each
- 3 1/2 cups cold whole milk
- 1 teaspoon vanilla extract
- 12 ounces frozen whipped topping, thawed
- 12 gummy worms, for decorating
- 1/4 teaspoon kosher salt
Instructions
- Crush the cookies in a food processor or in a zip top bag with a rolling pin until they look like fine crumbs. Set aside about 1 cup for the top.
- Beat the butter, cream cheese, powdered sugar and salt in a medium bowl until smooth and fluffy.
- In a large bowl, whisk the pudding mixes, cold milk and vanilla for 2 minutes, until it thickens. Let stand for 5 minutes.
- Fold the whipped topping into the pudding, then fold in the cream cheese mixture until smooth and evenly colored.
- Spread half of the remaining cookie crumbs in the bottom of a 9×13 inch dish. Spread half of the pudding mixture over the crumbs.
- Repeat with the rest of the crumbs and pudding, then sprinkle the reserved 1 cup of crumbs over the top so it looks like soil.
- Refrigerate for at least 2 hours. Tuck the gummy worms into the top just before serving so they stay soft and pretty. For extra fun, serve in a new clean flower pot or individual clear cups.
Dirt cake has been a hit at every kid party I have ever thrown. Grown ups pretend it is for the kids and then go back for seconds.
Make individual cups in clear plastic glasses for an easy party dessert with no slicing. It keeps in the fridge for up to 3 days.
8) No Bake Key Lime Pie
8) No Bake Key Lime Pie
This key lime pie sets up in the fridge thanks to the reaction between lime juice and sweetened condensed milk. Cream cheese makes the filling extra rich and helps it slice cleanly. The tangy, creamy lime filling and buttery graham crust taste like a beach vacation in every bite.
Ingredients
- 1 1/2 cups graham cracker crumbs
- 1/4 cup granulated sugar
- 6 tablespoons unsalted butter, melted
- 8 ounces cream cheese, softened
- 1 can sweetened condensed milk, 14 ounces
- 1/2 cup key lime juice or regular lime juice
- 1 tablespoon lime zest
- 1 cup cold heavy cream
- 2 tablespoons powdered sugar
- 1/2 teaspoon vanilla extract
- 1 lime, thinly sliced, for garnish
Instructions
- Mix the graham cracker crumbs, sugar and melted butter until evenly moistened. Press firmly into the bottom and up the sides of a 9 inch pie plate. Freeze for 15 minutes while you make the filling.
- Beat the softened cream cheese in a large bowl until completely smooth, about 2 minutes.
- Add the sweetened condensed milk and beat until smooth, scraping down the bowl.
- With the mixer on low, slowly pour in the lime juice and add the zest. The acid in the juice reacts with the condensed milk and thickens the filling right away.
- Pour the filling into the chilled crust and smooth the top. Cover and refrigerate for at least 6 hours or overnight, until firm and sliceable.
- Before serving, whip the heavy cream, powdered sugar and vanilla to stiff peaks.
- Pipe or spoon the whipped cream around the edge of the pie and garnish with thin lime slices and a little extra zest. Slice with a knife dipped in hot water and wiped dry.
This pie is my favorite treat for summer dinners on the porch. It is bright and tart enough to feel refreshing after a heavy meal.
Bottled key lime juice works well and saves a lot of squeezing tiny limes. The pie also freezes well, so you can serve it frozen like an ice cream pie.
9) Frozen Pink Lemonade Pie
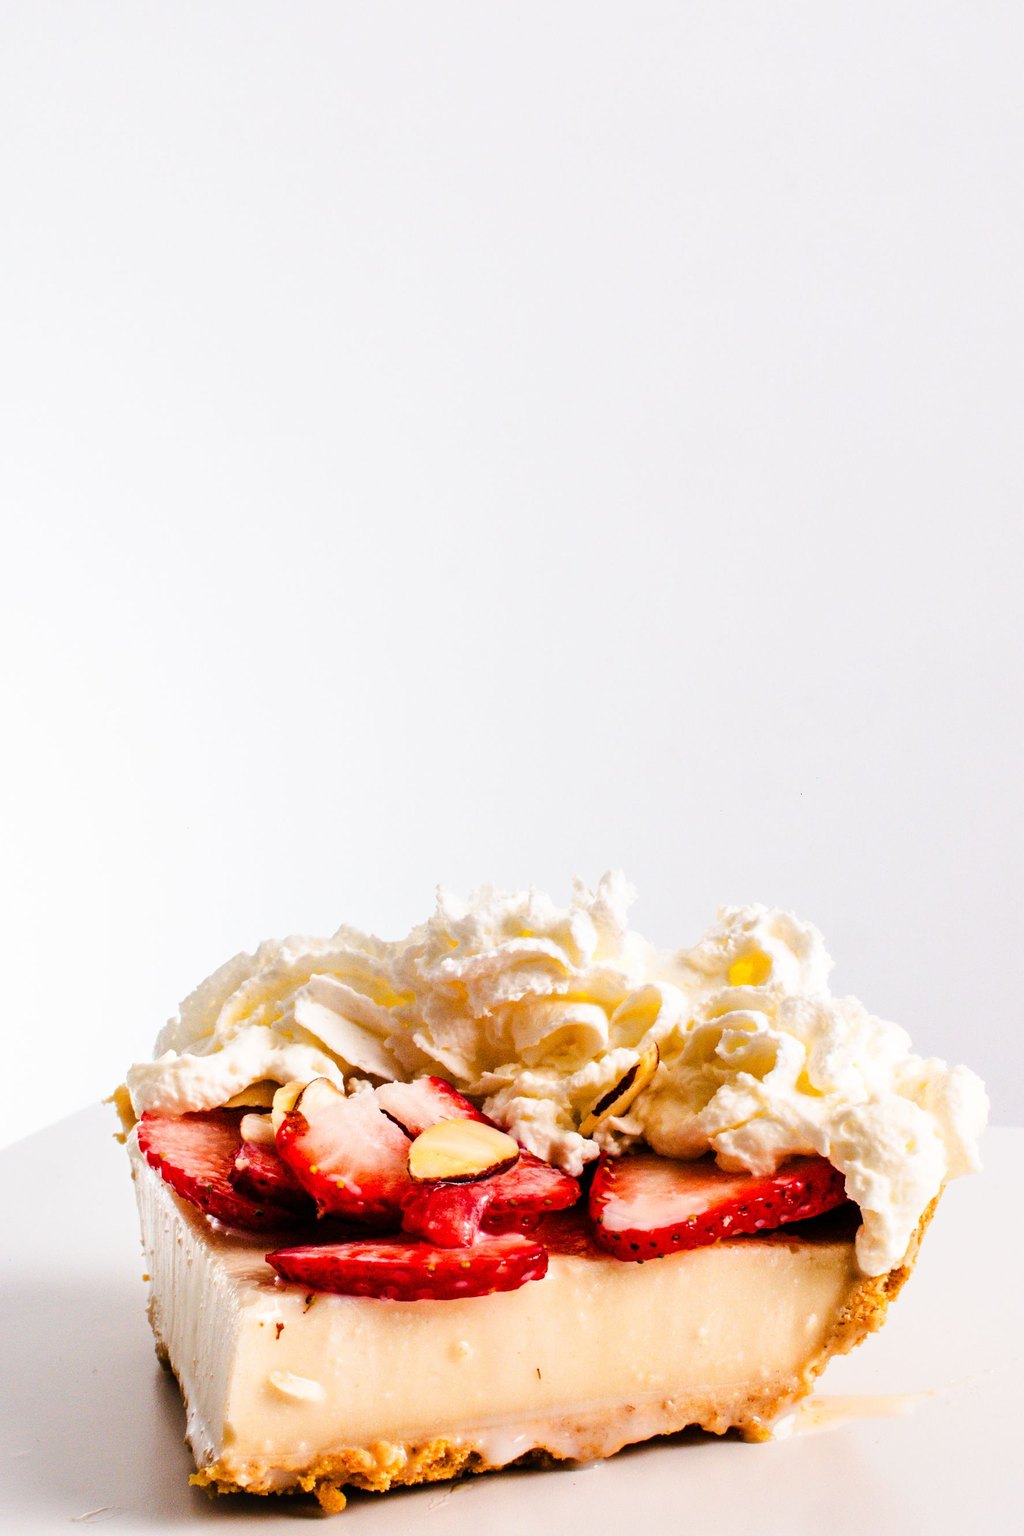
9) Frozen Pink Lemonade Pie
This frozen pie blends sweetened condensed milk, pink lemonade concentrate and whipped topping into a light, fluffy filling. It freezes into a creamy texture somewhere between ice cream and mousse, and it slices beautifully. The sweet tart lemonade flavor is bright, cool and perfect on a hot day.
Ingredients
- 1 prepared graham cracker pie crust, 9 inch
- 1 can sweetened condensed milk, 14 ounces
- 6 ounces frozen pink lemonade concentrate, thawed
- 8 ounces frozen whipped topping, thawed
- 1 tablespoon fresh lemon zest
- 2 tablespoons fresh lemon juice
- 1 drop red food coloring, optional
- 1 cup fresh raspberries
- 1/2 cup whipped cream, for topping
- 1 lemon, thinly sliced, for garnish
Instructions
- In a large bowl, whisk the sweetened condensed milk and the thawed pink lemonade concentrate until smooth and slightly thickened.
- Stir in the lemon zest and lemon juice. Add a drop of red food coloring if you want a brighter pink color.
- Gently fold in the whipped topping with a spatula until no white streaks remain. Fold carefully to keep the filling light and fluffy.
- Spoon the filling into the graham cracker crust and spread it into an even layer, mounding it slightly in the center.
- Cover the pie with plastic wrap and freeze for at least 6 hours or overnight, until completely firm.
- Take the pie out of the freezer and let it sit at room temperature for 10 to 15 minutes before slicing. This softens it just enough to cut cleanly.
- Top each slice with a dollop of whipped cream, a few fresh raspberries and a thin lemon slice. Serve right away and return any leftovers to the freezer.
With just a handful of ingredients and a store bought crust, this is about the easiest pie there is. My kids love helping stir the pink filling.
The pie keeps in the freezer, tightly wrapped, for up to 1 month. Swap in regular or limeade concentrate for a fun change.
10) Easy Chocolate Truffles
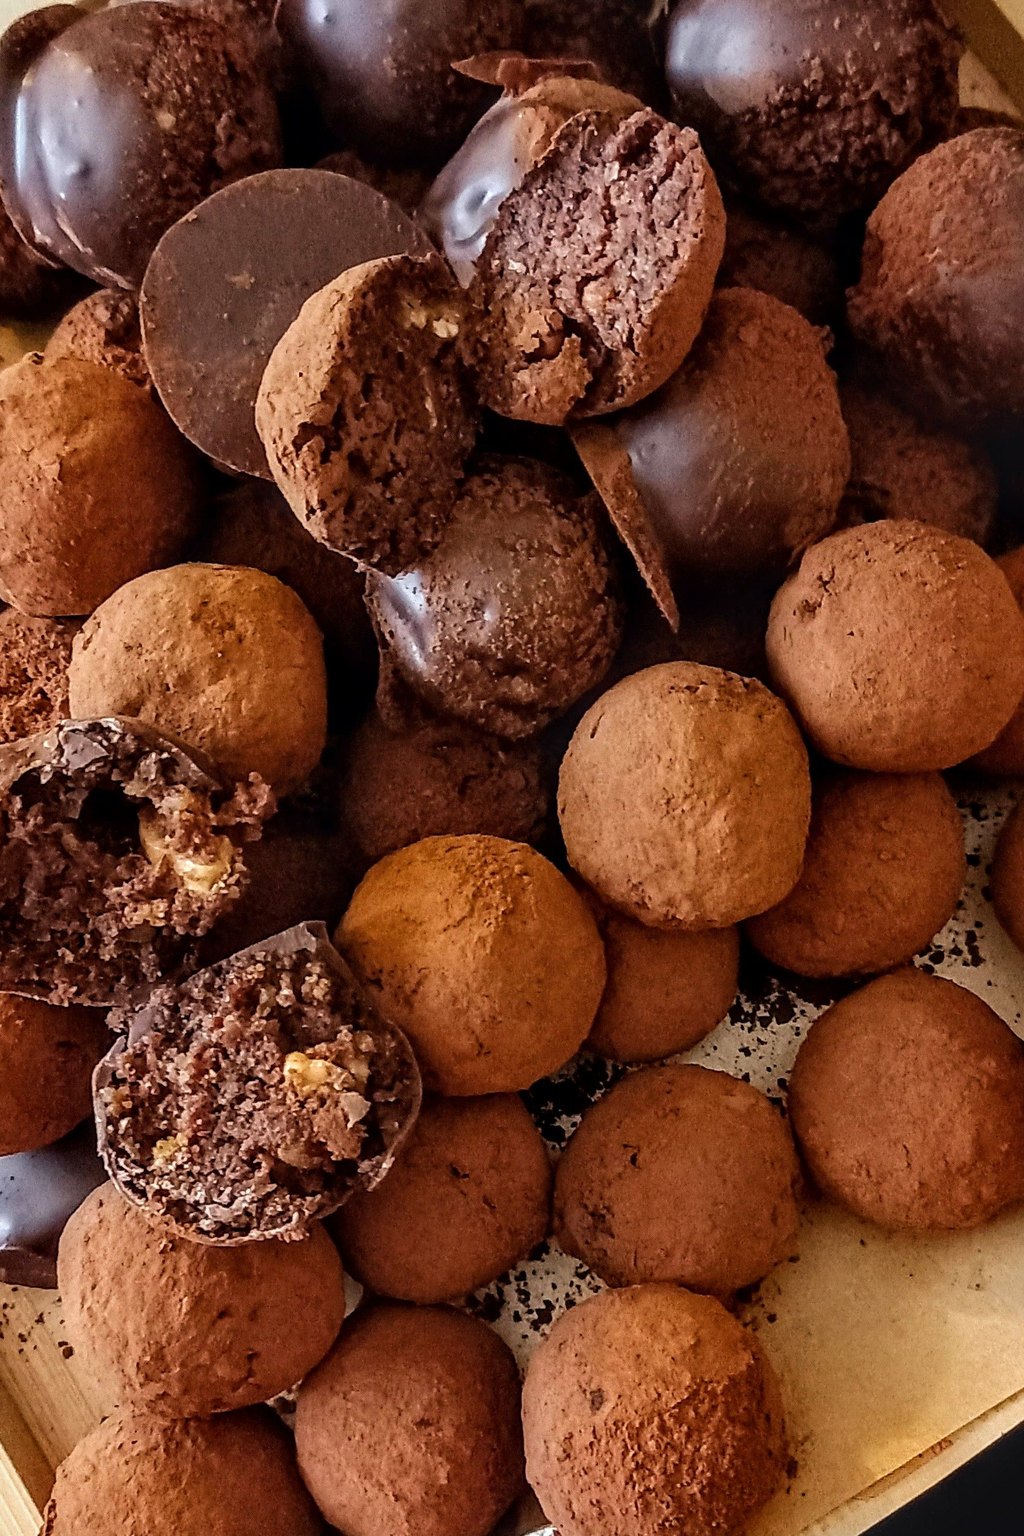
10) Easy Chocolate Truffles
These truffles start with a simple ganache of good chocolate and warm cream, chilled until firm enough to roll. The centers are smooth, rich and melt on your tongue like a fancy chocolate shop treat. Rolling them in different coatings gives each one a different look and flavor.
Ingredients
- 12 ounces semisweet chocolate, finely chopped
- 2/3 cup heavy cream
- 2 tablespoons unsalted butter, softened
- 1 teaspoon vanilla extract
- 1 pinch kosher salt
- 1/4 cup unsweetened cocoa powder, for rolling
- 1/4 cup finely chopped toasted pecans, for rolling
- 1/4 cup shredded coconut, for rolling
- 2 tablespoons sprinkles, for rolling
- 2 tablespoons powdered sugar, for rolling
Instructions
- Place the finely chopped chocolate in a medium heatproof bowl. Small, even pieces melt more smoothly.
- Heat the cream in a small saucepan over medium heat just until it begins to simmer around the edges. Do not let it boil.
- Pour the hot cream over the chocolate and let it sit untouched for 5 minutes. Then add the butter, vanilla and salt and stir slowly from the center outward until the mixture is completely smooth and glossy.
- Cover the bowl and refrigerate for 1 1/2 to 2 hours, until the ganache is firm enough to scoop but not rock hard.
- Use a small cookie scoop or a teaspoon to portion the ganache. Roll each portion quickly between your palms into a ball. Dust your hands with cocoa if it gets sticky.
- Roll the truffles in cocoa powder, chopped pecans, coconut, sprinkles or powdered sugar. Making a mix of coatings looks pretty on a plate.
- Set the truffles on a parchment lined tray and chill for 15 minutes to firm up. Serve slightly cool for the creamiest texture.
Truffles feel like a special occasion treat, but they only need a few ingredients. I make them for teacher gifts and holiday cookie trays.
Store truffles in an airtight container in the fridge for up to 2 weeks. For gifts, place them in mini paper cups inside a small box.
11) Easy Tiramisu
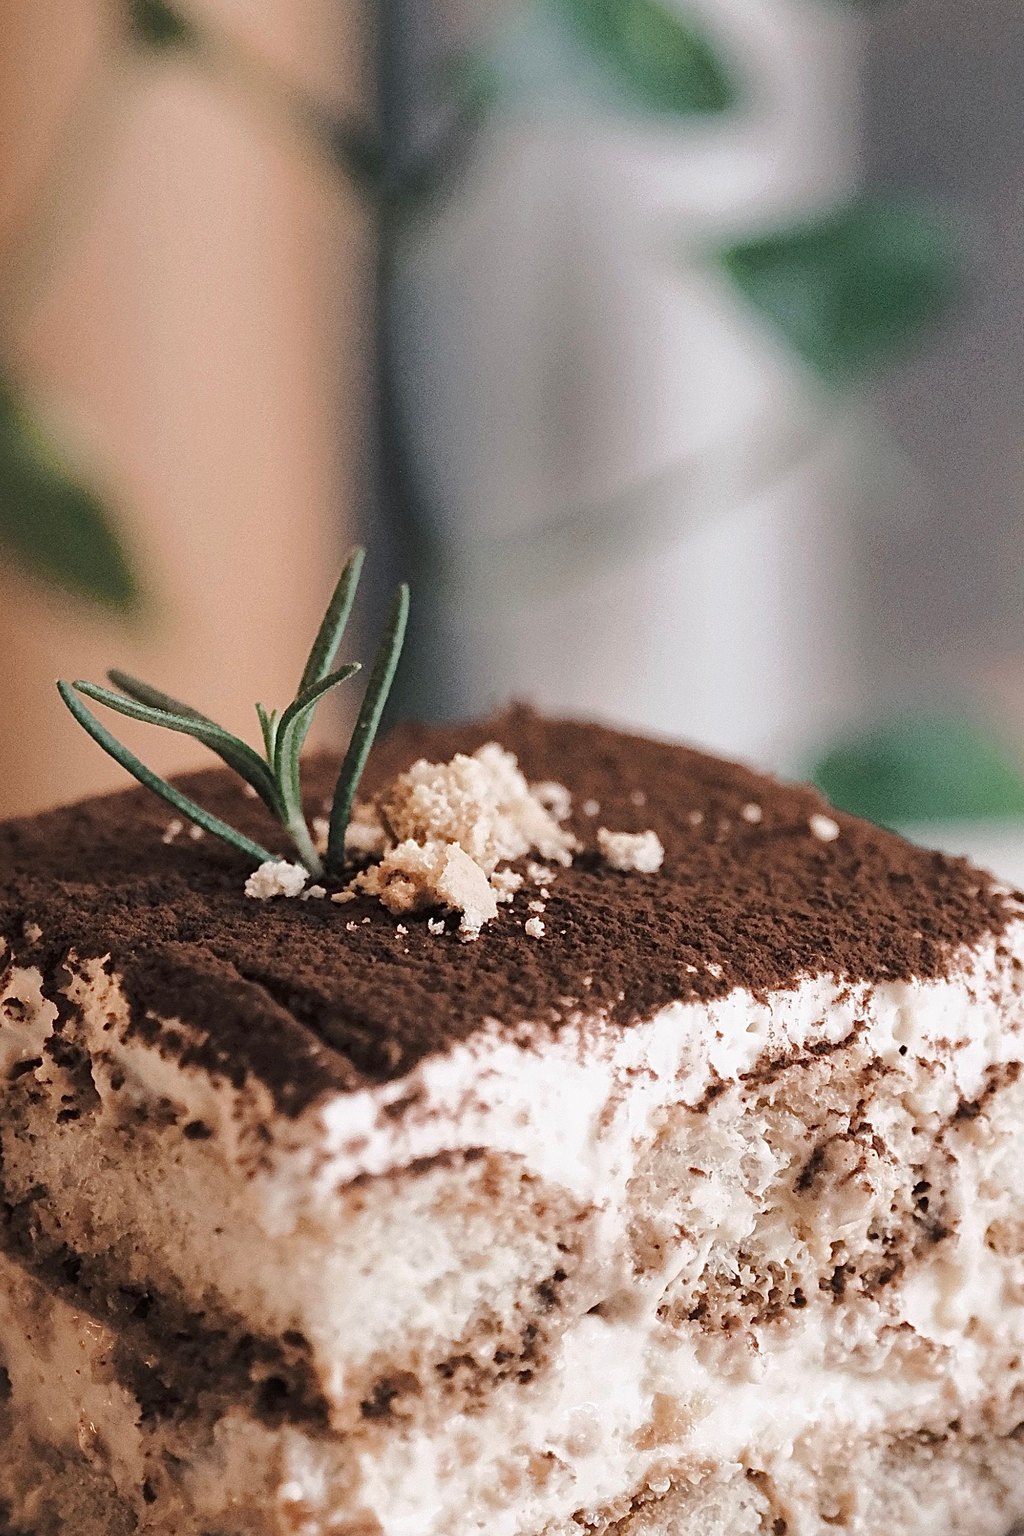
11) Easy Tiramisu
This easy tiramisu layers coffee soaked ladyfingers with a fluffy mascarpone whipped cream that needs no raw eggs. As it chills, the cookies soften into tender, cake like layers that soak up the coffee flavor. A dusting of cocoa on top adds a slightly bitter finish to balance the sweet cream.
Ingredients
- 1 1/2 cups strong brewed coffee or espresso, cooled
- 2 tablespoons granulated sugar
- 2 tablespoons coffee liqueur, optional
- 16 ounces mascarpone cheese, cold
- 1 1/2 cups cold heavy cream
- 3/4 cup powdered sugar
- 2 teaspoons vanilla extract
- 1 pinch kosher salt
- 2 packages ladyfinger cookies, about 7 ounces each
- 2 tablespoons unsweetened cocoa powder, for dusting
- 1 ounce dark chocolate, shaved
Instructions
- Stir the cooled coffee, granulated sugar and coffee liqueur, if using, in a shallow dish until the sugar dissolves.
- In a large bowl, beat the cold mascarpone, heavy cream, powdered sugar, vanilla and salt on medium speed for 2 to 3 minutes, until thick and fluffy with soft peaks. Do not overbeat or the mascarpone can turn grainy.
- Working one at a time, quickly dip each ladyfinger into the coffee for about 1 second per side. Any longer and they turn soggy.
- Arrange the dipped ladyfingers in a single tight layer in the bottom of a 9×13 inch dish, breaking pieces to fill gaps.
- Spread half of the mascarpone cream evenly over the ladyfingers.
- Add a second layer of dipped ladyfingers and top with the rest of the cream, smoothing the surface.
- Cover and refrigerate for at least 6 hours or overnight. Just before serving, dust the top with cocoa through a fine strainer and sprinkle with chocolate shavings.
Tiramisu is my husband’s favorite dessert, and this simple version tastes like the restaurant kind. It has become our anniversary tradition.
Use decaf coffee if serving kids or anyone sensitive to caffeine. Tiramisu tastes even better on the second day and keeps for up to 3 days.
12) Cherry Delight
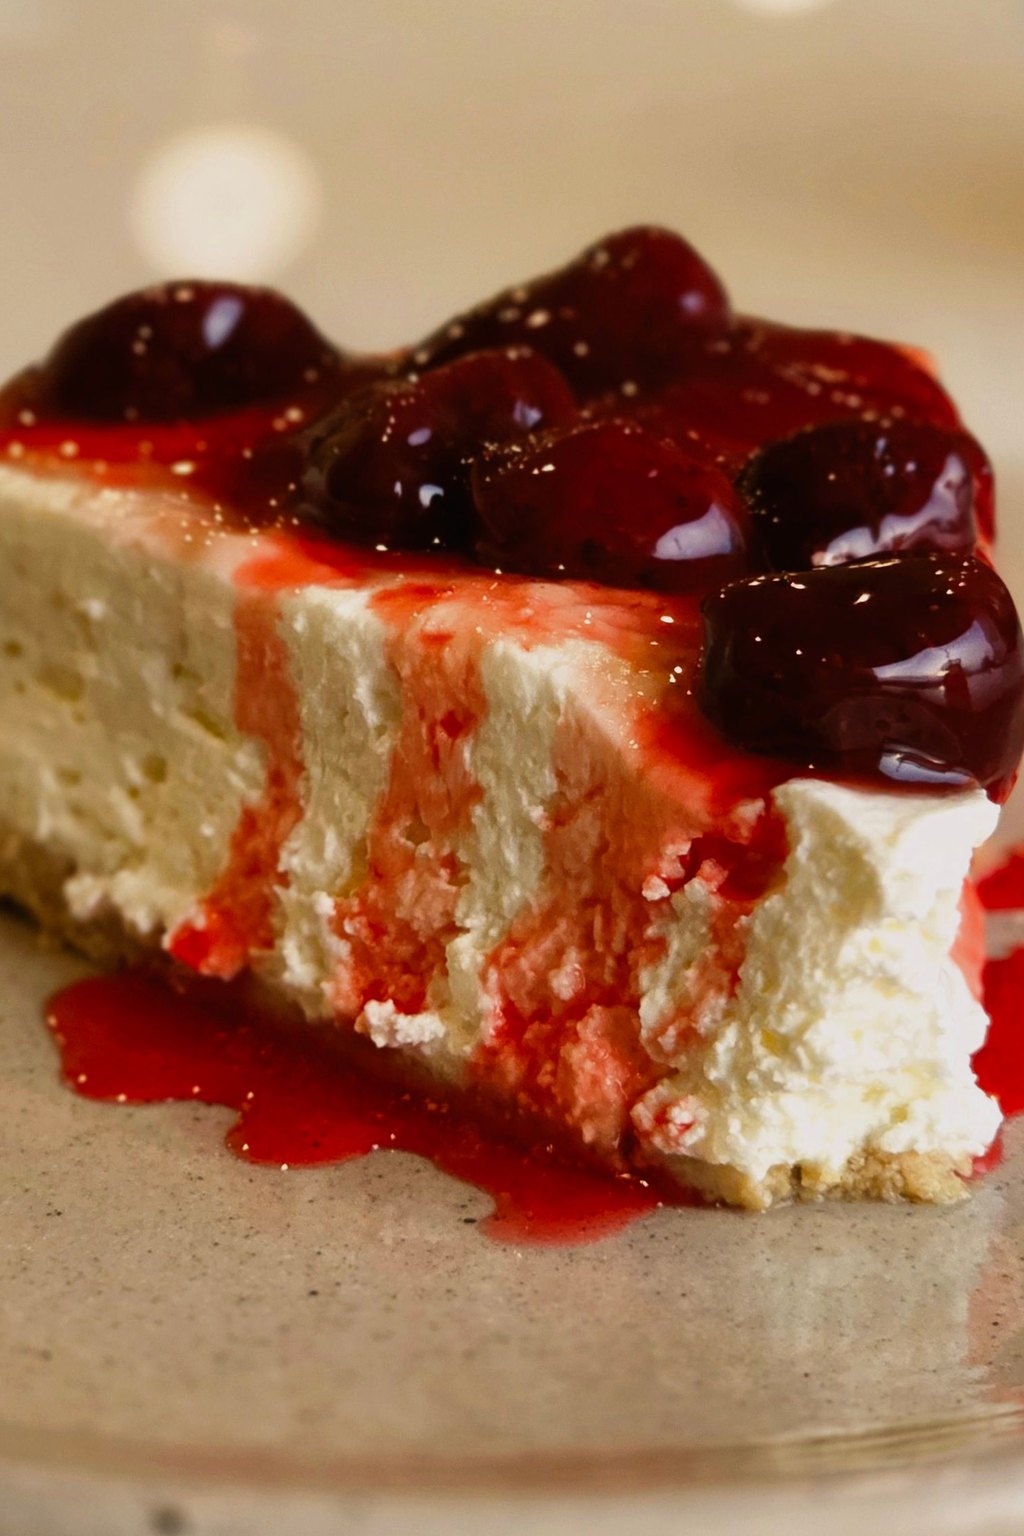
12) Cherry Delight
Cherry delight is an old fashioned layered dessert with a graham cracker crust, a fluffy sweetened cream cheese layer and a thick topping of cherry pie filling. A touch of almond extract makes the cherries taste even brighter. It is cool, creamy and just sweet enough.
Ingredients
- 2 cups graham cracker crumbs
- 1/2 cup unsalted butter, melted
- 1/4 cup granulated sugar
- 8 ounces cream cheese, softened
- 1 cup powdered sugar
- 1 teaspoon vanilla extract
- 1/2 teaspoon almond extract
- 1 cup cold heavy cream
- 2 cans cherry pie filling, 21 ounces each
- 1/4 cup chopped toasted pecans, optional
Instructions
- Stir the graham cracker crumbs, melted butter and sugar together. Press firmly into the bottom of a 9×13 inch dish. Refrigerate for 15 minutes.
- Beat the cream cheese, powdered sugar, vanilla and almond extract in a large bowl until completely smooth and fluffy.
- In a separate bowl, whip the cold heavy cream on high speed until stiff peaks form, 2 to 3 minutes.
- Gently fold the whipped cream into the cream cheese mixture until smooth with no white streaks.
- Spread the cream cheese layer evenly over the chilled crust, all the way to the edges. This seal keeps the cherry layer from bleeding down into the crust.
- Spoon the cherry pie filling over the cream layer and spread it evenly. Sprinkle with pecans if using.
- Cover and refrigerate for at least 4 hours, until the cream layer is set. Cut into squares with a sharp knife, wiping it clean between cuts, and serve cold.
This was a fixture at every church supper I went to growing up, and it still gets compliments today. The red cherries make it a natural for the Fourth of July and Christmas.
Swap the cherries for blueberry or strawberry pie filling to change it up. Keep it covered in the fridge for up to 3 days.
13) Easy Chocolate Mousse
13) Easy Chocolate Mousse
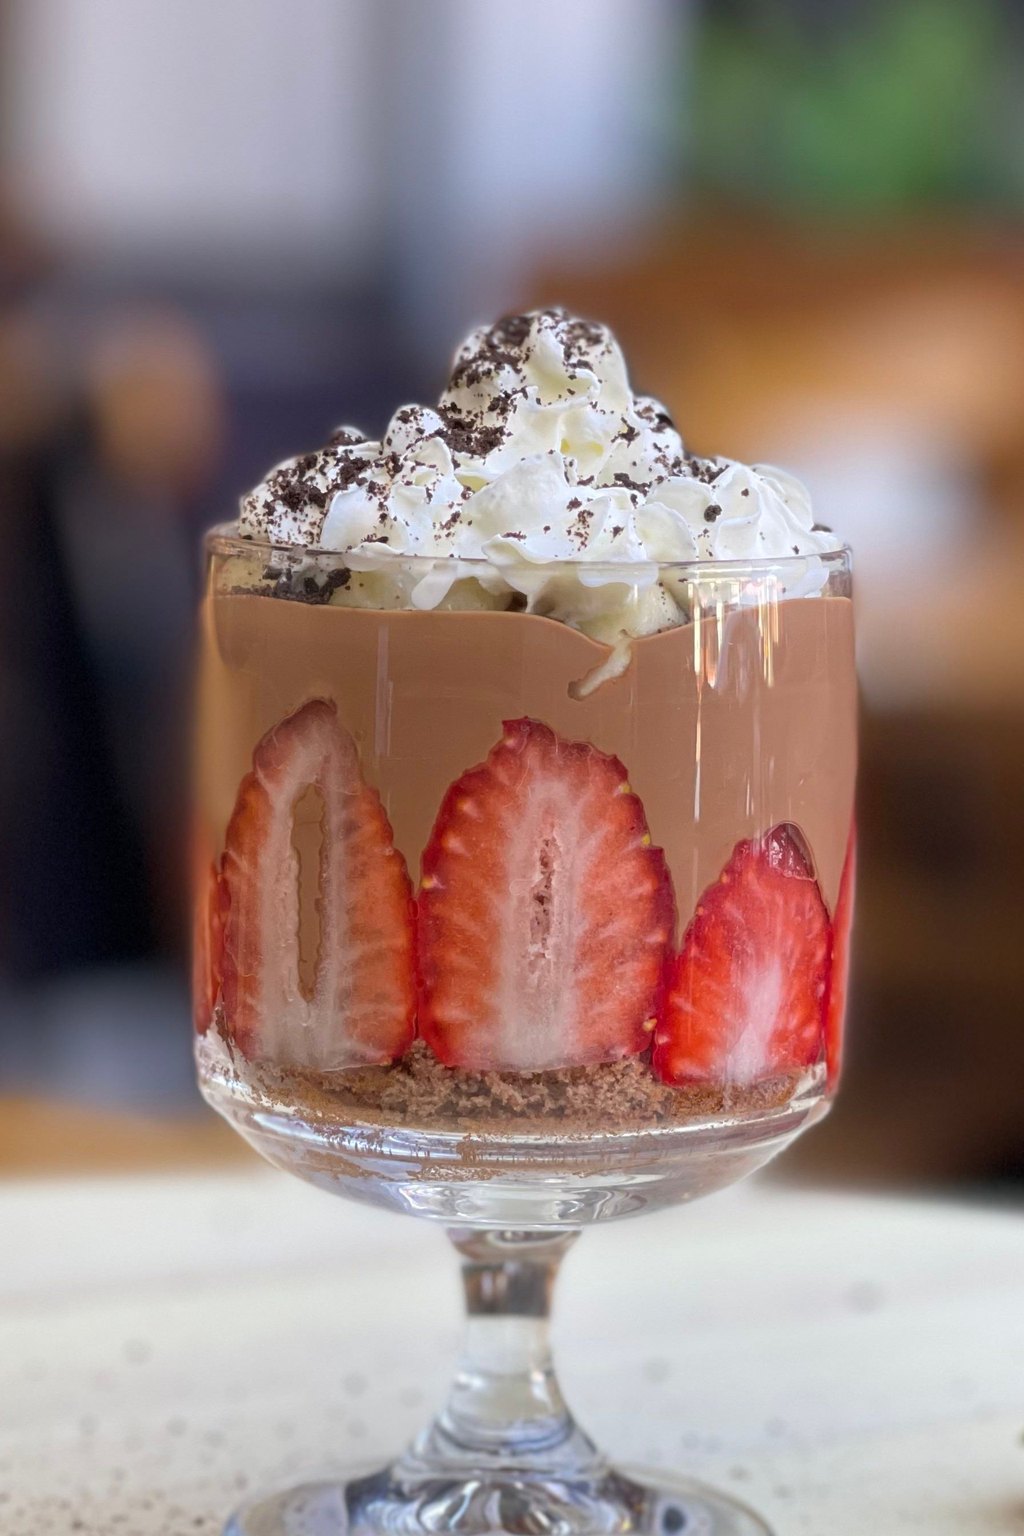
This easy chocolate mousse uses melted chocolate folded into whipped cream for a light, airy texture with no raw eggs. A splash of coffee deepens the chocolate flavor without tasting like coffee. It is rich and silky but still feels light enough to finish every spoonful.
Ingredients
- 6 ounces semisweet chocolate, finely chopped
- 2 tablespoons unsalted butter
- 2 tablespoons strong brewed coffee or water
- 1 pinch kosher salt
- 1 1/2 cups cold heavy cream, divided
- 3 tablespoons powdered sugar
- 1 teaspoon vanilla extract
- 1/2 cup whipped cream, for topping
- 1/2 cup fresh raspberries
- 1 tablespoon chocolate shavings
Instructions
- Combine the chocolate, butter, coffee and salt in a heatproof bowl. Melt in the microwave in 20 second bursts, stirring after each, until smooth. Let cool for 10 minutes until barely warm to the touch.
- In a large chilled bowl, whip 1 1/4 cups of the heavy cream with the powdered sugar and vanilla on medium high speed until soft, billowy peaks form, about 2 minutes.
- Whisk the remaining 1/4 cup of cold cream into the melted chocolate. This loosens it and cools it further so it blends smoothly.
- Stir about a quarter of the whipped cream into the chocolate to lighten it.
- Pour the chocolate mixture over the rest of the whipped cream and gently fold with a large spatula, cutting down through the center and turning the bowl, until no streaks remain. Do not stir hard or the mousse will deflate.
- Spoon or pipe the mousse into 6 small glasses or ramekins. Cover and refrigerate for at least 2 hours, until set.
- Top with whipped cream, raspberries and chocolate shavings right before serving.
Chocolate mousse looks so elegant in little glasses, which makes it my go to for date nights and dinner parties. Nobody guesses it took twenty minutes.
Make the mousse up to 2 days ahead and keep it covered in the fridge. Add the toppings just before serving so they stay fresh.
14) Chocolate Covered Strawberries

14) Chocolate Covered Strawberries
Chocolate covered strawberries pair juicy, sweet berries with a crisp shell of glossy semisweet chocolate. A little coconut oil keeps the melted chocolate smooth and thin so it coats evenly and snaps when you bite in. Simple toppings like chopped nuts, sprinkles or a white chocolate drizzle make them look like they came from a candy shop.
Ingredients
- 1 pound large fresh strawberries with stems
- 10 ounces semisweet chocolate, finely chopped
- 3 ounces white chocolate, finely chopped
- 1 tablespoon coconut oil, divided
- 1/4 cup finely chopped toasted almonds, optional
- 1/4 cup finely chopped pistachios, optional
- 2 tablespoons rainbow sprinkles, optional
- 2 tablespoons shredded coconut, optional
- 1/4 teaspoon flaky sea salt, optional
- Parchment paper, for the tray
Instructions
- Rinse the strawberries and dry them very well with paper towels, then let them air dry for 30 minutes. Even a drop of water can make the chocolate seize and slide off.
- Line a sheet pan with parchment and set out your toppings in small bowls.
- Microwave the semisweet chocolate with 2 teaspoons of the coconut oil in 30 second bursts, stirring after each, until about three quarters melted. Keep stirring until the rest melts and the chocolate is smooth and glossy.
- Hold each strawberry by its stem and dip it into the chocolate, turning to coat about two thirds of the berry. Let the excess drip off and scrape the bottom lightly on the edge of the bowl.
- Set the berry on the parchment and sprinkle with nuts, sprinkles, coconut or sea salt right away, before the chocolate sets.
- Melt the white chocolate with the remaining coconut oil the same way, spoon it into a small zip top bag and snip off a tiny corner. Drizzle thin lines over the plain berries.
- Refrigerate for 20 to 30 minutes, until the chocolate is firm. Serve the same day for the best texture.
These feel fancy enough for a birthday or Valentine’s Day, yet they take less than half an hour of hands on time. My daughter and I make them together, and she is always in charge of the sprinkles.
Make them no more than 8 hours ahead and keep them uncovered in the fridge on the lined tray. Covering them traps moisture and makes the chocolate sweat.
15) Easy Chocolate Fudge
15) Easy Chocolate Fudge
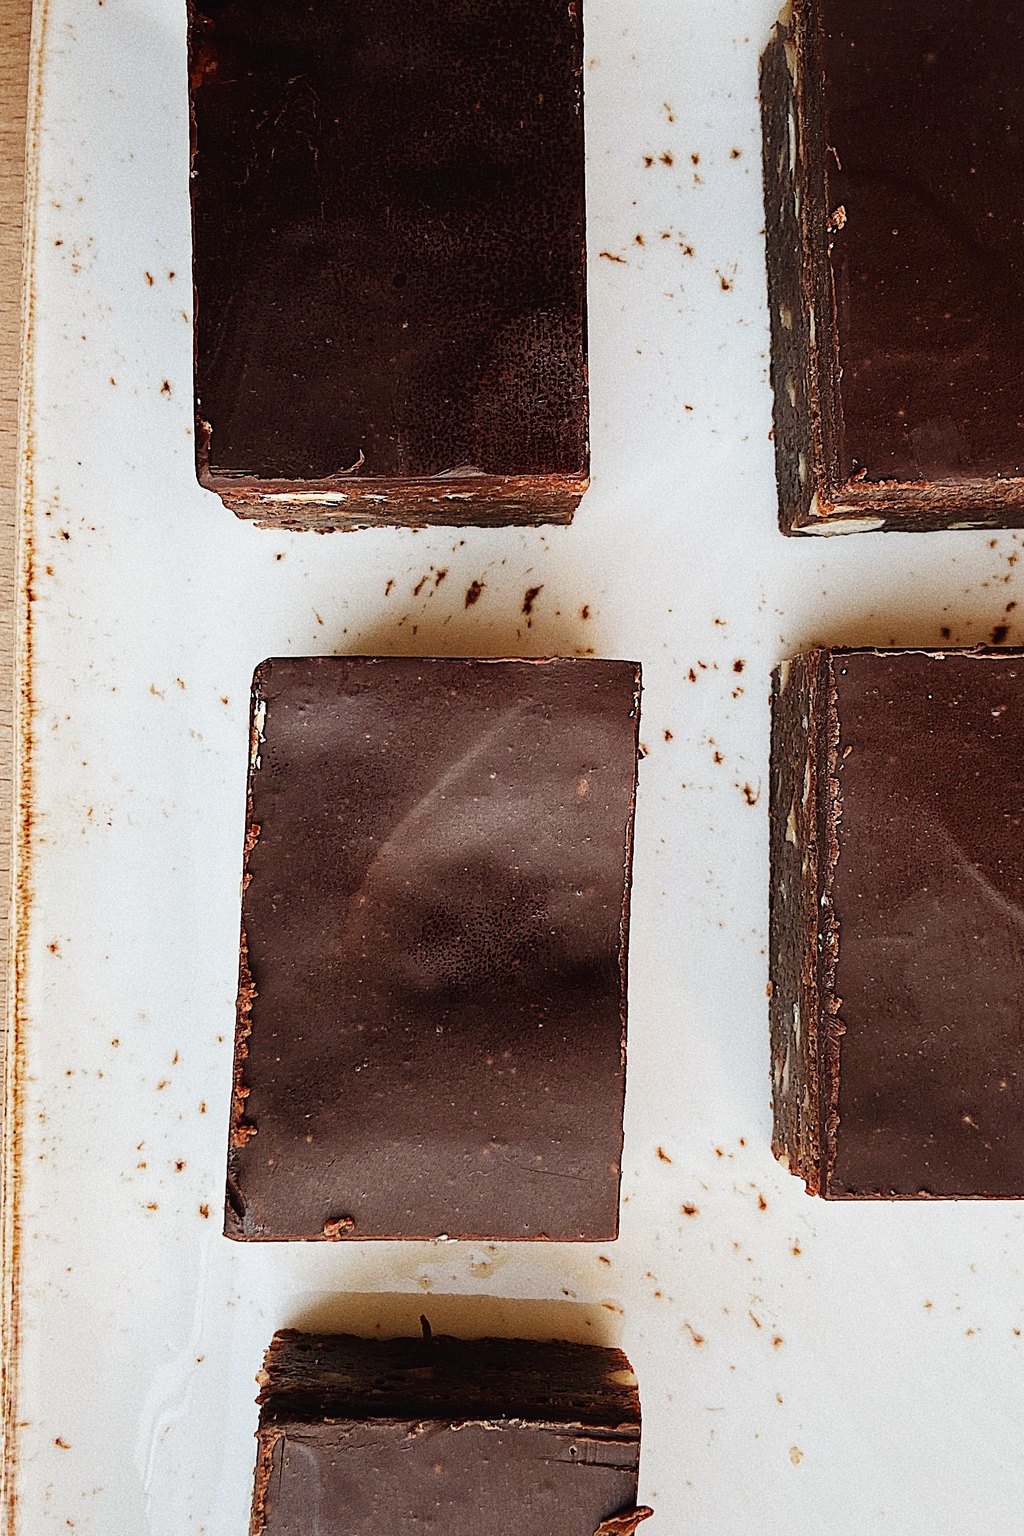
This easy fudge needs only chocolate chips, sweetened condensed milk and butter, with no candy thermometer required. It melts together on the stovetop in a few minutes and sets up thick and creamy in the fridge. A pinch of salt balances the sweetness and makes the chocolate flavor pop.
Ingredients
- 3 cups semisweet chocolate chips
- 1 can sweetened condensed milk, 14 ounces
- 2 tablespoons unsalted butter
- 1 1/2 teaspoons vanilla extract
- 1/4 teaspoon kosher salt
- 1 cup chopped walnuts, optional
- Flaky salt, for sprinkling
- Nonstick cooking spray
- 2 tablespoons holiday sprinkles, optional
- 1/4 cup mini marshmallows, optional
Instructions
- Line an 8×8 inch baking pan with foil or parchment, leaving an overhang on two sides. Lightly spray it with cooking spray.
- Combine the chocolate chips, sweetened condensed milk and butter in a medium saucepan over low heat.
- Stir constantly with a spatula for 4 to 6 minutes, until the chocolate is completely melted and the mixture is smooth and thick. Keep the heat low so the chocolate does not scorch.
- Remove the pan from the heat and stir in the vanilla and salt. Fold in the walnuts and marshmallows if using.
- Quickly pour the fudge into the lined pan and smooth the top with the spatula. Sprinkle with flaky salt or holiday sprinkles while it is still soft.
- Refrigerate for at least 2 hours, until completely firm.
- Lift the fudge out of the pan with the foil and cut into 1 inch squares with a large sharp knife, wiping it clean between cuts. Let it sit at room temperature for a few minutes before serving.
This fudge is my secret weapon for holiday gifts and bake sales. It tastes old fashioned and rich, but it takes ten minutes of hands on time.
Keep fudge in an airtight container at room temperature for 1 week or in the fridge for 2 weeks. It also freezes beautifully for up to 3 months.
Before You Start Cooking
Most of these desserts need at least a few hours to chill, so plan to make them the night before. Keep them covered in the fridge, and slice creamy pies and bars with a hot, dry knife for neat edges every time.
I hope these easy treats keep your kitchen cool and your family happy all year long. Some of the sweetest moments at my table have come from the simplest desserts, and I hope these become favorites at yours.
Frequently Asked Questions
How long does a no bake cheesecake need to set?
Plan on at least 6 hours in the fridge, though overnight is best. The filling needs time for the whipped cream and cream cheese to firm up so it slices cleanly. If you are short on time, you can freeze it for about 2 to 3 hours, then move it to the fridge until serving.
Why are my no bake cookies not setting?
The most common reason is that the sugar mixture did not boil long enough. It needs a full rolling boil for one whole minute before adding the peanut butter and oats. Humid weather can also keep them soft. If they turn out dry and crumbly instead, the mixture boiled too long.
Can I make no bake desserts ahead of time?
Yes, most no bake desserts are actually better made ahead. Icebox cakes, banana pudding, tiramisu and cheesecake all need several hours or overnight to set. Fudge, truffles and peanut butter bars keep for a week or more in the fridge. Add fresh fruit and whipped cream toppings right before serving so they look their best.