15 Freezer Friendly Meals to Stock Up On
Fifteen freezer friendly meals that reheat beautifully, with simple freezing and thawing directions so you can stock up once and enjoy easy dinners for weeks.
A freezer full of homemade dinners is the closest thing I have found to a personal chef. On a slow Sunday I double one or two recipes, freeze the extras and thank myself on every busy weeknight that follows. This list covers fifteen meals that truly hold up in the freezer, from lasagna and enchiladas to soups, meatballs and pot pie, and each one includes how to freeze and reheat it. My best tip is to label every container with the dish name, the date and the reheating temperature before it goes in.
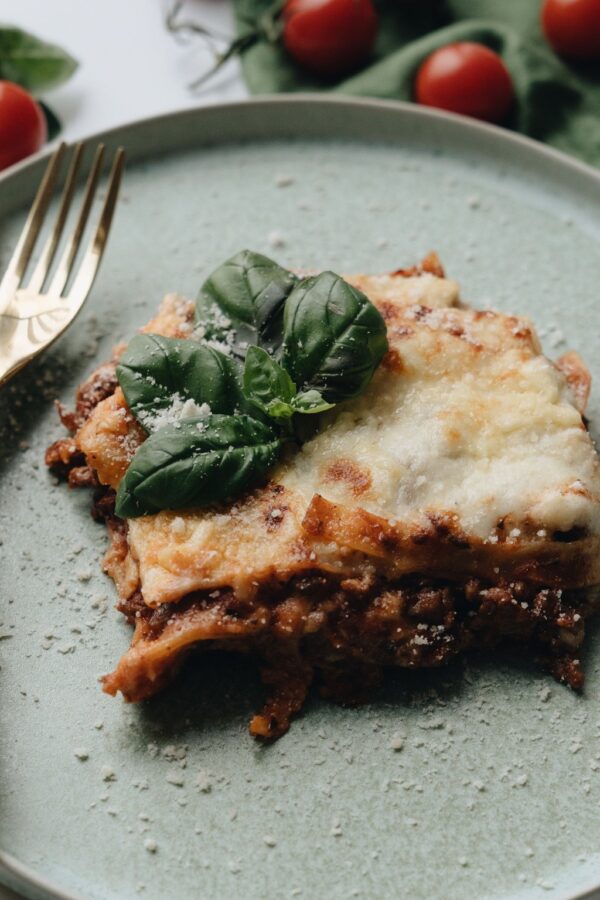
1) Classic Beef Lasagna
1) Classic Beef Lasagna
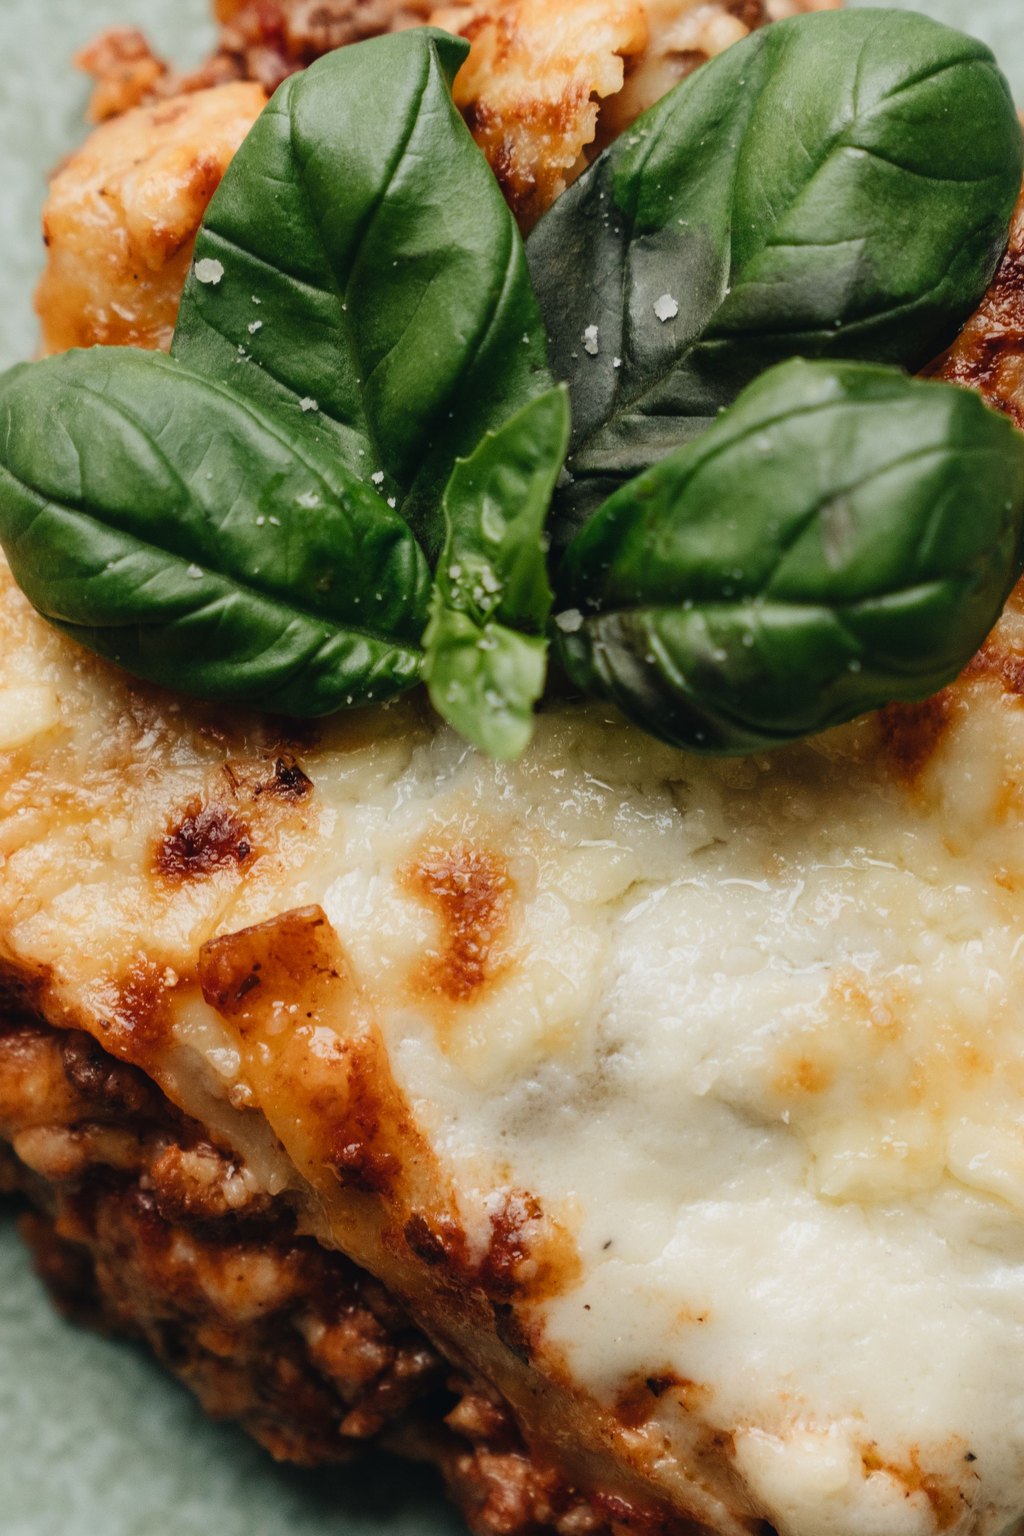
This lasagna layers a hearty beef and sausage sauce with creamy ricotta and plenty of melted mozzarella. Slightly undercooking the noodles keeps them from turning mushy after freezing and baking. It slices into tall, neat squares once it rests, and the flavor gets even better after a night in the fridge.
Ingredients
- 1 pound lean ground beef
- 1/2 pound mild Italian sausage, casings removed
- 1 medium onion, diced
- 3 cloves garlic, minced
- 1 jar marinara sauce, 24 ounces
- 1 can crushed tomatoes, 15 ounces
- 12 lasagna noodles
- 15 ounces whole milk ricotta
- 1 large egg
- 1/2 cup grated Parmesan cheese
- 4 cups shredded mozzarella cheese
- 2 teaspoons dried Italian seasoning
- 1 teaspoon salt
- 1/2 teaspoon black pepper
Instructions
- Heat the oven to 375F. Cook the lasagna noodles in salted boiling water 2 minutes less than the package says, drain and lay them flat on oiled foil.
- Brown the beef, sausage and onion in a large skillet over medium high heat, breaking up the meat, until no pink remains and the meat reaches 160F, about 10 minutes. Drain the fat, add the garlic and cook 1 minute.
- Stir in the marinara, crushed tomatoes, Italian seasoning, salt and pepper and simmer 10 minutes.
- Mix the ricotta, egg and Parmesan in a bowl.
- Spread 1 cup meat sauce in a 9×13 inch baking dish. Layer 4 noodles, one third of the ricotta, 1 cup mozzarella and a quarter of the remaining sauce. Repeat twice, then finish with the last of the sauce and 1 cup mozzarella.
- To bake now, cover with foil and bake 25 minutes, uncover and bake 20 to 25 minutes more until bubbly and browned. Rest 15 minutes before slicing.
- To freeze, assemble in a foil or freezer safe pan, cool, wrap tightly in plastic and foil and freeze up to 3 months. Thaw overnight in the fridge and bake covered 45 minutes, then uncovered 20 minutes, until the center reaches 165F.
Lasagna is the first meal I make when I want to fill the freezer, because one pan feeds us twice. It is also my go to dish for a new baby or a friend who needs a hand.
Freeze it in two 8 inch square foil pans instead of one big dish. A smaller pan thaws faster and is just right for a family of four.
2) Chicken Enchiladas
2) Chicken Enchiladas
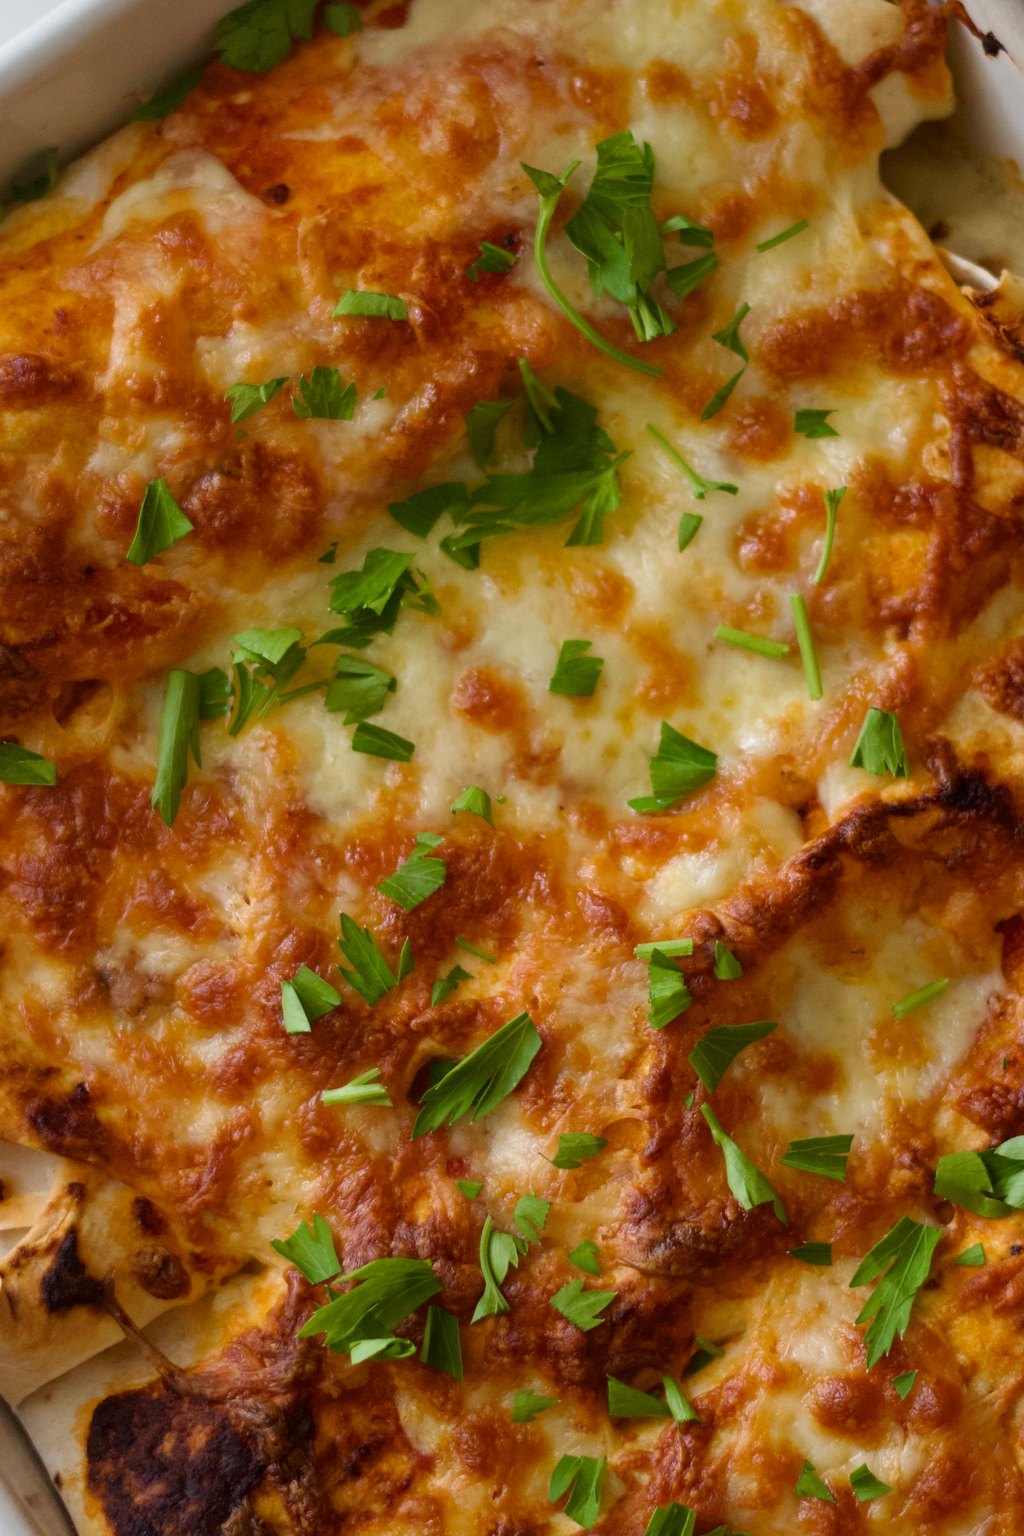
These enchiladas roll tender shredded chicken, green chiles and a little cream cheese into soft flour tortillas. The cream cheese keeps the filling rich and moist even after a stint in the freezer. A blanket of red sauce and melted Monterey Jack bakes into a bubbly, cheesy top.
Ingredients
- 3 cups shredded cooked chicken
- 1 tablespoon olive oil
- 1 small onion, diced
- 1 can diced green chiles, 4 ounces
- 1 teaspoon ground cumin
- 1/2 teaspoon garlic powder
- 4 ounces cream cheese, softened
- 2 1/2 cups shredded Monterey Jack cheese, divided
- 1 can red enchilada sauce, 19 ounces
- 10 flour tortillas, 8 inch
- 1/2 teaspoon salt
- 1/4 cup chopped fresh cilantro
- Sour cream for serving
Instructions
- Heat the oven to 375F and grease a 9×13 inch baking dish.
- Warm the oil in a skillet over medium heat and cook the onion until soft, about 5 minutes. Stir in the chiles, cumin, garlic powder and salt and cook 1 minute.
- Remove the skillet from the heat and stir in the chicken, cream cheese and 1 cup of the Monterey Jack until evenly mixed.
- Spread 1/2 cup enchilada sauce over the bottom of the dish. Spoon about 1/3 cup of filling down the center of each tortilla, roll it up tightly and place it seam side down in the dish.
- Pour the remaining sauce over the enchiladas, covering the edges of the tortillas so they do not dry out, and sprinkle with the remaining cheese.
- To bake now, cover with foil and bake 20 minutes, then uncover and bake 10 minutes more until the cheese is bubbly and the filling is hot. Garnish with cilantro and serve with sour cream.
- To freeze, assemble in a foil pan but hold back the top layer of cheese, wrap tightly and freeze up to 3 months. Thaw overnight, add the cheese and bake covered 35 minutes, then uncovered 10 minutes, until the center reaches 165F.
I always use a rotisserie chicken for these, so the whole pan comes together in about half an hour. My kids ask for them weekly, and I never mind saying yes.
Flour tortillas freeze better than corn because they stay soft instead of cracking. If you prefer corn, warm them first so they roll without breaking.
3) Baked Turkey Meatballs
3) Baked Turkey Meatballs
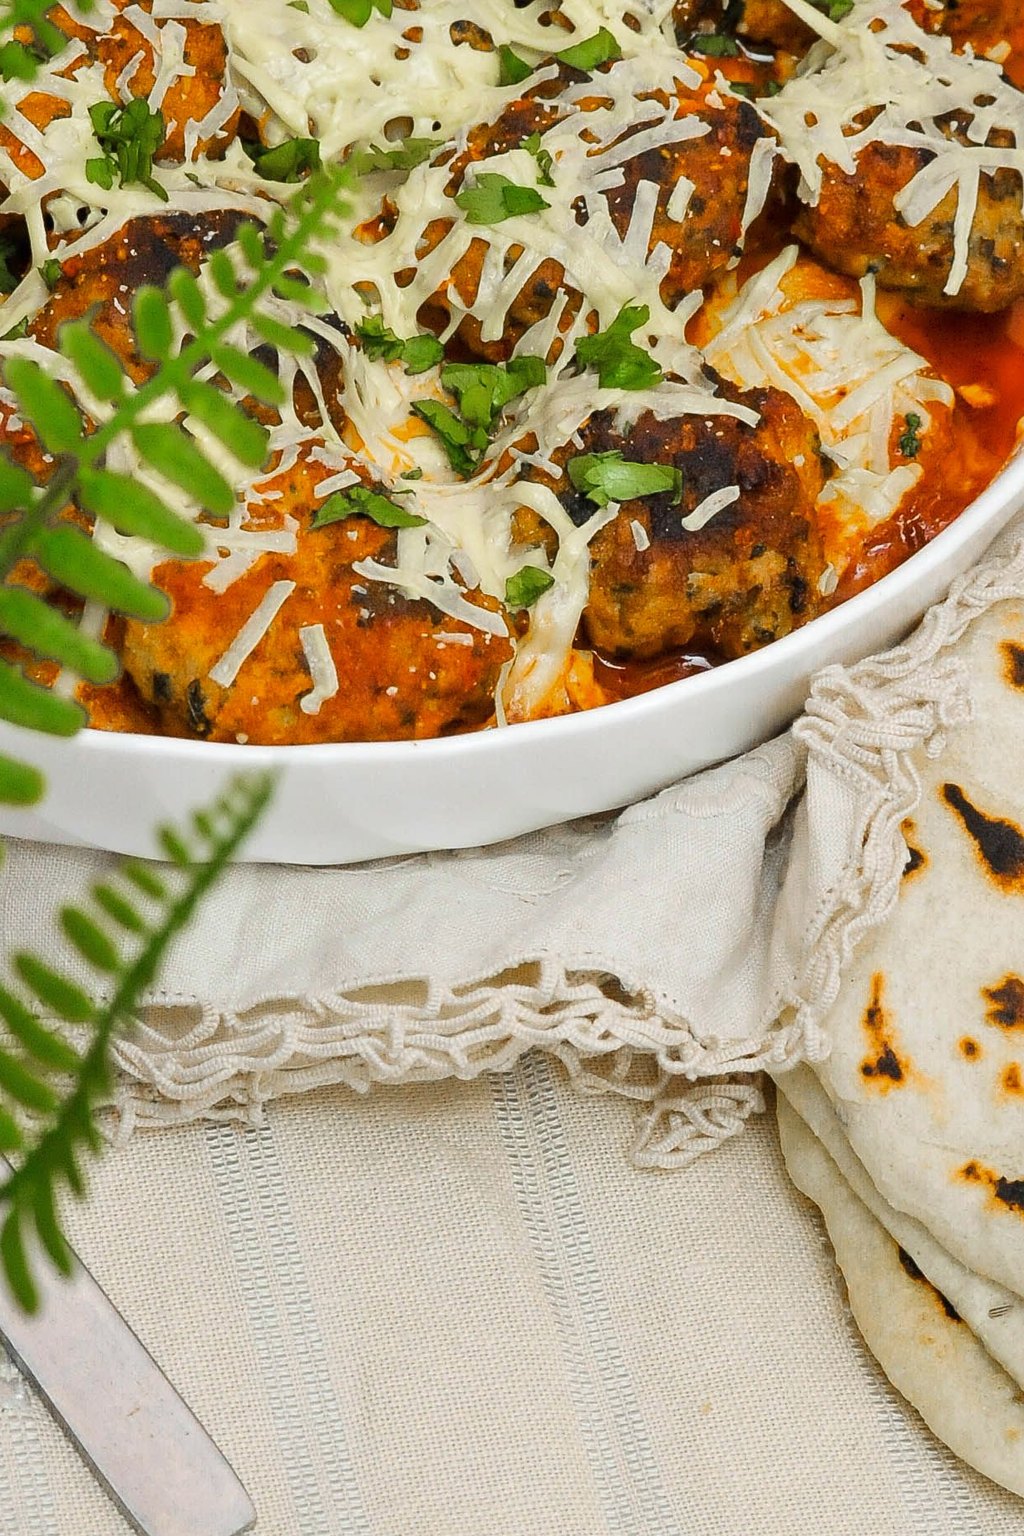
These turkey meatballs are tender and juicy thanks to a panade of breadcrumbs soaked in milk. Parmesan, garlic and herbs give them plenty of flavor, so they never taste like a lighter swap. Baking them on sheet pans means no splattering stove and dozens of meatballs at once.
Ingredients
- 2 pounds ground turkey
- 2/3 cup plain breadcrumbs
- 1/3 cup whole milk
- 2 large eggs
- 1/2 cup grated Parmesan cheese
- 3 cloves garlic, minced
- 1/4 cup chopped fresh parsley
- 1 teaspoon dried oregano
- 1 teaspoon onion powder
- 1 1/4 teaspoons salt
- 1/2 teaspoon black pepper
- Olive oil spray
Instructions
- Heat the oven to 400F. Line two rimmed baking sheets with foil and spray them lightly with olive oil.
- Stir the breadcrumbs and milk together in a large bowl and let them soak for 5 minutes, until the crumbs are soft.
- Add the eggs, Parmesan, garlic, parsley, oregano, onion powder, salt and pepper and mix well. Add the turkey and mix gently with your hands just until combined. Overworking the meat makes the meatballs dense.
- Wet your hands and roll the mixture into 1 1/2 inch balls, about 36 total. Arrange them on the sheets with a little space between each.
- Bake 18 to 20 minutes, rotating the pans halfway, until lightly browned and an instant read thermometer reads 165F in the center of a meatball.
- Serve with marinara over pasta, tucked into sub rolls or with rice and vegetables.
- To freeze, cool the meatballs completely, freeze them in a single layer on a sheet pan for 2 hours, then transfer to freezer bags and freeze up to 3 months. Reheat from frozen in simmering sauce for 15 to 20 minutes, until hot through.
A bag of these in the freezer has saved more weeknight dinners than I can count. I drop a handful into sauce, soup or a slow cooker and dinner is basically done.
Flash freezing on a sheet pan keeps the meatballs from sticking together. That way you can grab exactly as many as you need.
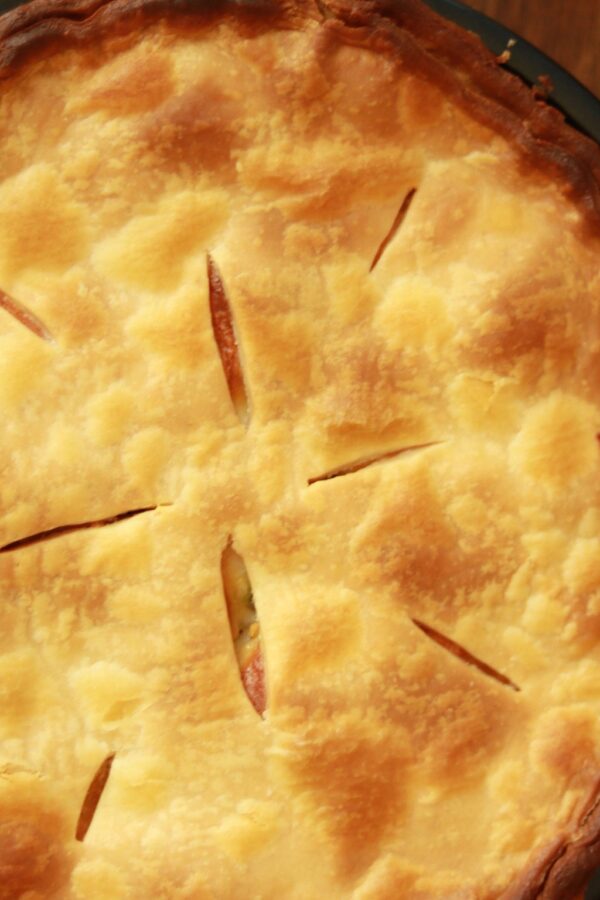
4) Chicken Pot Pie
4) Chicken Pot Pie
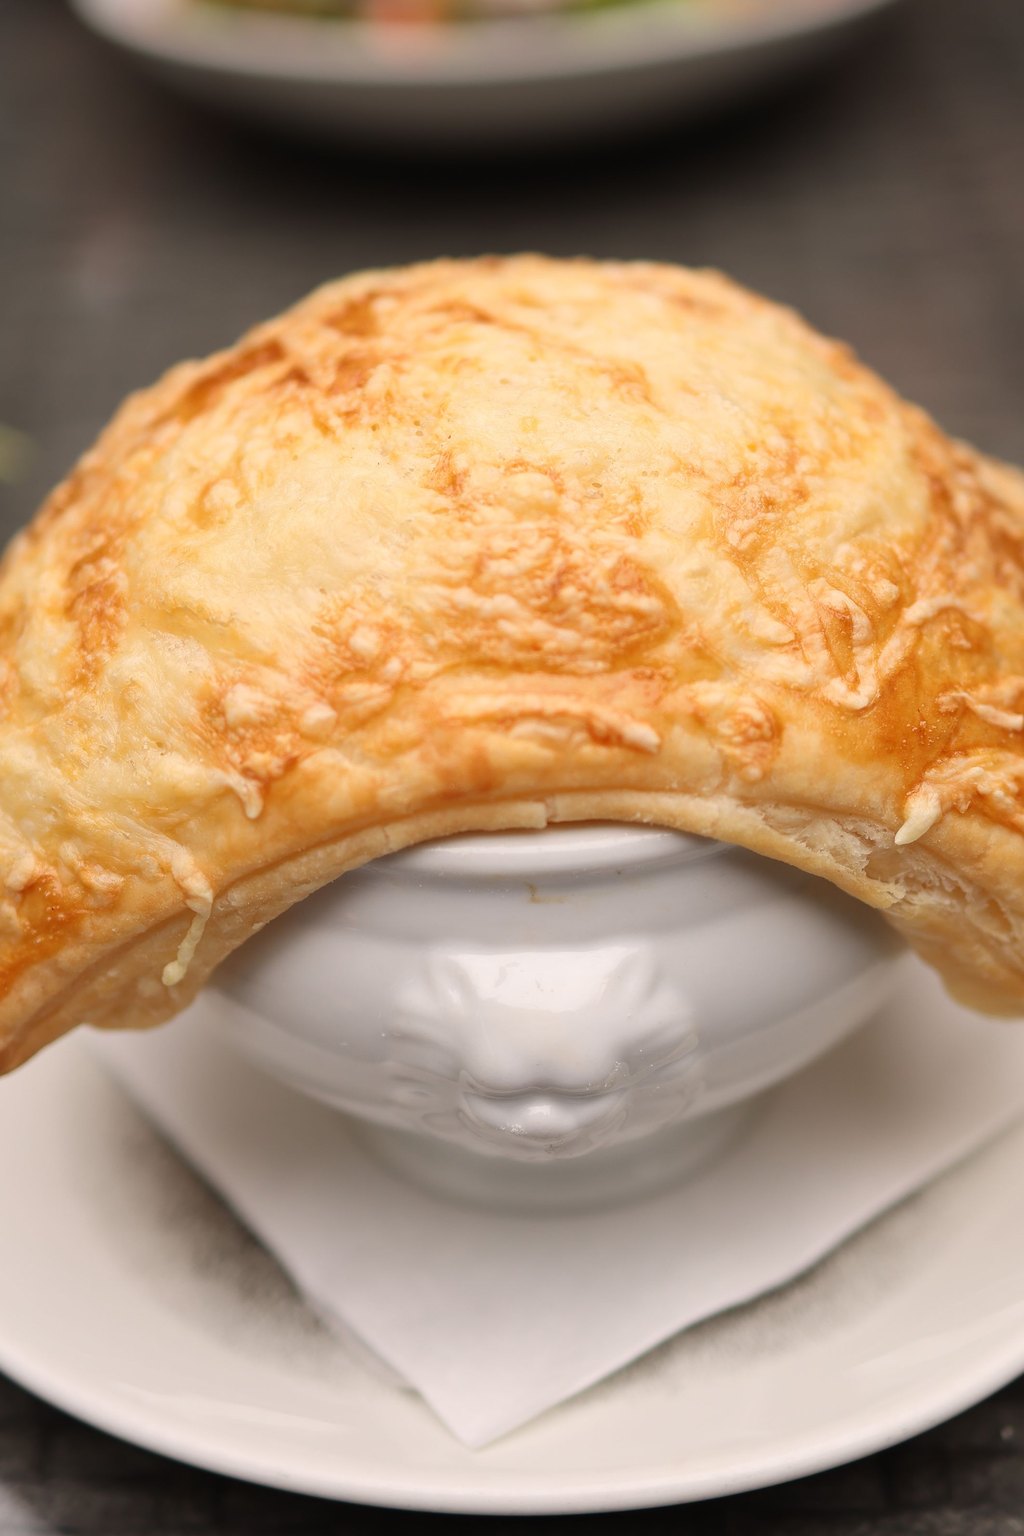
This pot pie wraps a creamy, thyme scented filling of chicken and vegetables in a flaky double crust. Cooking the flour in butter before adding liquid creates a smooth gravy that thickens without turning gluey. Baking it from frozen gives you a crisp, golden crust that tastes freshly made.
Ingredients
- 1 box refrigerated pie crusts, 2 crusts
- 1/3 cup unsalted butter
- 1 medium onion, diced
- 2 carrots, diced
- 2 celery ribs, diced
- 1/3 cup all purpose flour
- 1 3/4 cups chicken broth
- 2/3 cup whole milk
- 3 cups diced cooked chicken
- 1 cup frozen peas
- 1 teaspoon dried thyme
- 3/4 teaspoon salt
- 1/2 teaspoon black pepper
- 1 large egg, beaten
Instructions
- Heat the oven to 400F and fit one crust into a 9 inch deep dish pie plate.
- Melt the butter in a large saucepan over medium heat. Cook the onion, carrots and celery until tender, about 8 minutes.
- Sprinkle in the flour and cook, stirring, for 1 minute. Slowly whisk in the broth and milk and simmer, stirring, until thick enough to coat a spoon, about 5 minutes.
- Stir in the chicken, peas, thyme, salt and pepper. Let the filling cool for 10 minutes so it does not melt the bottom crust.
- Pour the filling into the crust, lay the second crust on top, trim and crimp the edges together and cut 4 small slits in the top. Brush with beaten egg.
- To bake now, set the pie on a baking sheet and bake 30 to 35 minutes, until the crust is deep golden and the filling bubbles through the slits. Rest 15 minutes before cutting.
- To freeze, skip the egg wash, wrap the unbaked pie tightly in plastic and foil and freeze up to 3 months. Bake from frozen at 400F for 60 to 75 minutes, covering the edges with foil once golden, until the center reaches 165F.
Pot pie is the ultimate cozy dinner, and having one ready to go from the freezer feels like a gift. It is the meal I bring to friends after surgery or a new baby.
Use a metal or foil pie pan for freezing, since glass can crack when it goes from freezer to hot oven. Leftover roast turkey works perfectly in place of chicken.
Want every detail, plus my best tips and storage notes? Here is my full Homemade Chicken Pot Pie recipe.
5) Shepherd’s Pie
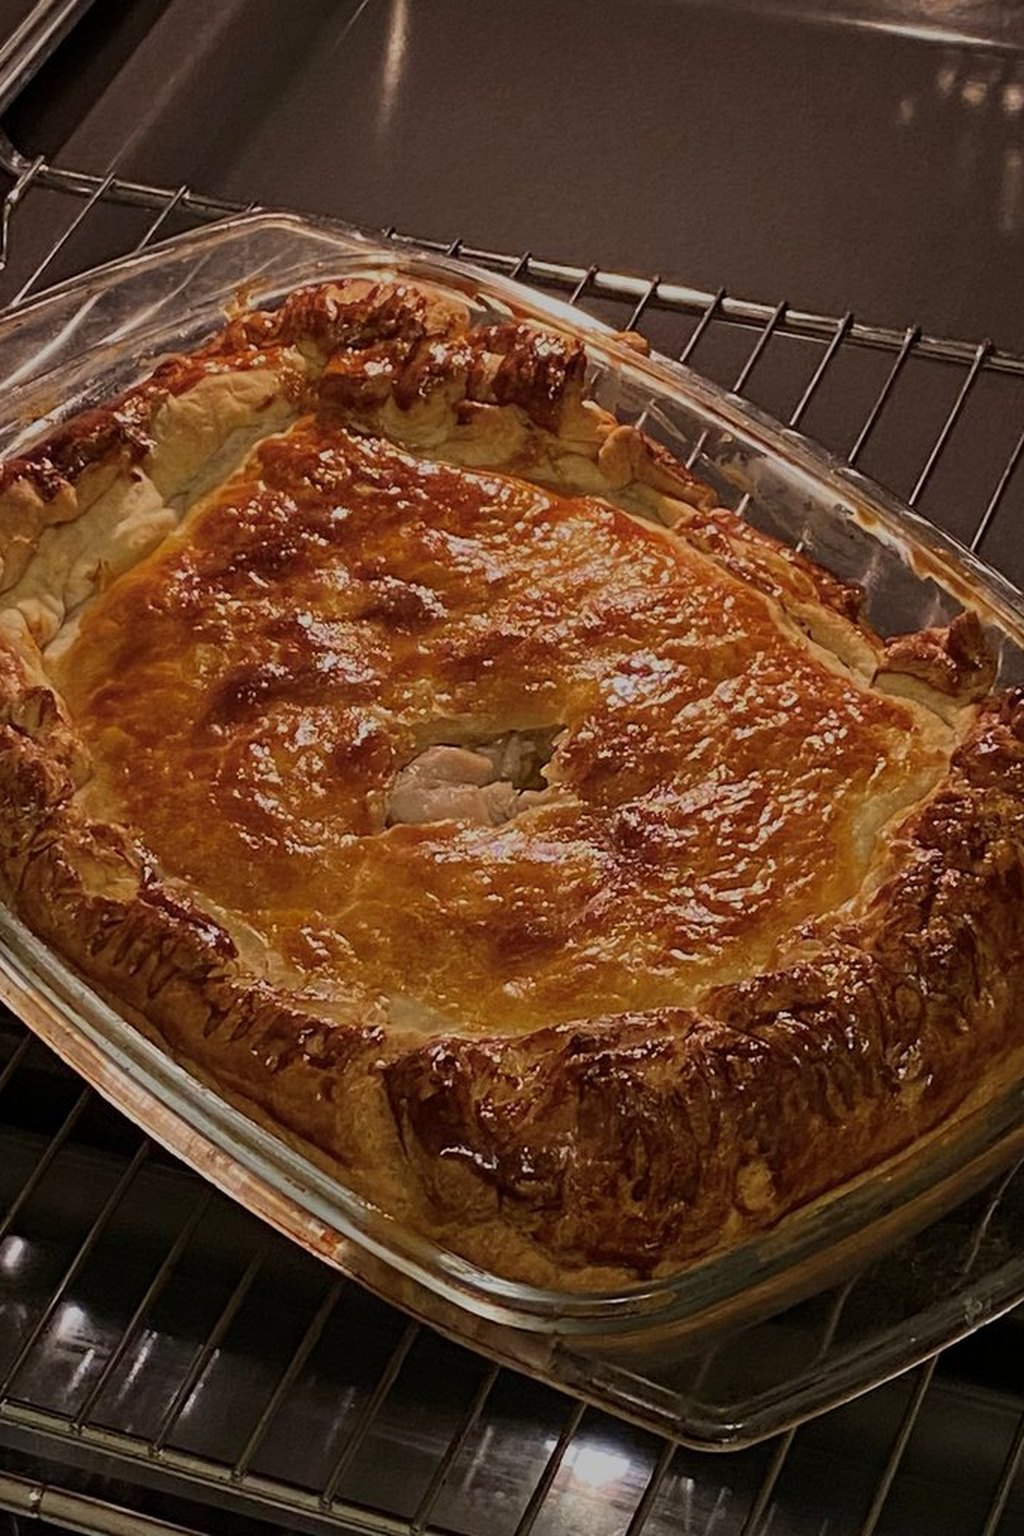
5) Shepherd’s Pie
Shepherd’s pie tucks a savory beef or lamb filling in rich gravy under a thick layer of buttery mashed potatoes. Tomato paste and Worcestershire sauce give the filling a deep, almost meaty sweetness. The forked potato top turns golden and crisp at the peaks in the oven.
Ingredients
- 2 1/2 pounds russet potatoes, peeled and cubed
- 1/2 cup whole milk, warmed
- 4 tablespoons unsalted butter
- 1 1/2 pounds ground beef or lamb
- 1 medium onion, diced
- 2 carrots, diced
- 2 cloves garlic, minced
- 2 tablespoons tomato paste
- 2 tablespoons all purpose flour
- 1 cup beef broth
- 1 tablespoon Worcestershire sauce
- 1 cup frozen peas
- 1 1/2 teaspoons salt, divided
- 1/2 teaspoon black pepper
Instructions
- Heat the oven to 400F. Cover the potatoes with cold salted water, bring to a boil and cook until fork tender, about 15 minutes. Drain and mash with the milk, butter and 1 teaspoon salt.
- Meanwhile, brown the meat with the onion and carrots in a large skillet over medium high heat until the meat reaches 160F, about 10 minutes. Drain the fat.
- Stir in the garlic and tomato paste and cook 1 minute. Sprinkle in the flour and stir, then add the broth, Worcestershire sauce, the remaining salt and the pepper. Simmer until thickened, about 5 minutes, then stir in the peas.
- Spread the filling in a 9×9 inch or 2 quart baking dish. Spoon the mashed potatoes over the top, spread them to the edges to seal and rough up the surface with a fork.
- To bake now, set the dish on a baking sheet and bake 25 minutes, until the filling bubbles at the edges and the potato peaks are golden. Rest 10 minutes.
- To freeze, cool completely, wrap tightly in plastic and foil and freeze up to 3 months. Thaw overnight in the fridge and bake covered at 375F for 40 minutes, then uncovered 15 minutes, until the center reaches 165F.
This is the dinner my husband requests when the weather turns cold. It is a complete meal in one dish, with meat, vegetables and potatoes all in every scoop.
Mashed potatoes made with plenty of butter freeze best and stay creamy. Avoid adding extra milk, since a looser mash can weep after thawing.
Want every detail, plus my best tips and storage notes? Here is my full Easy Shepherd’s Pie recipe.
6) White Chicken Chili
6) White Chicken Chili
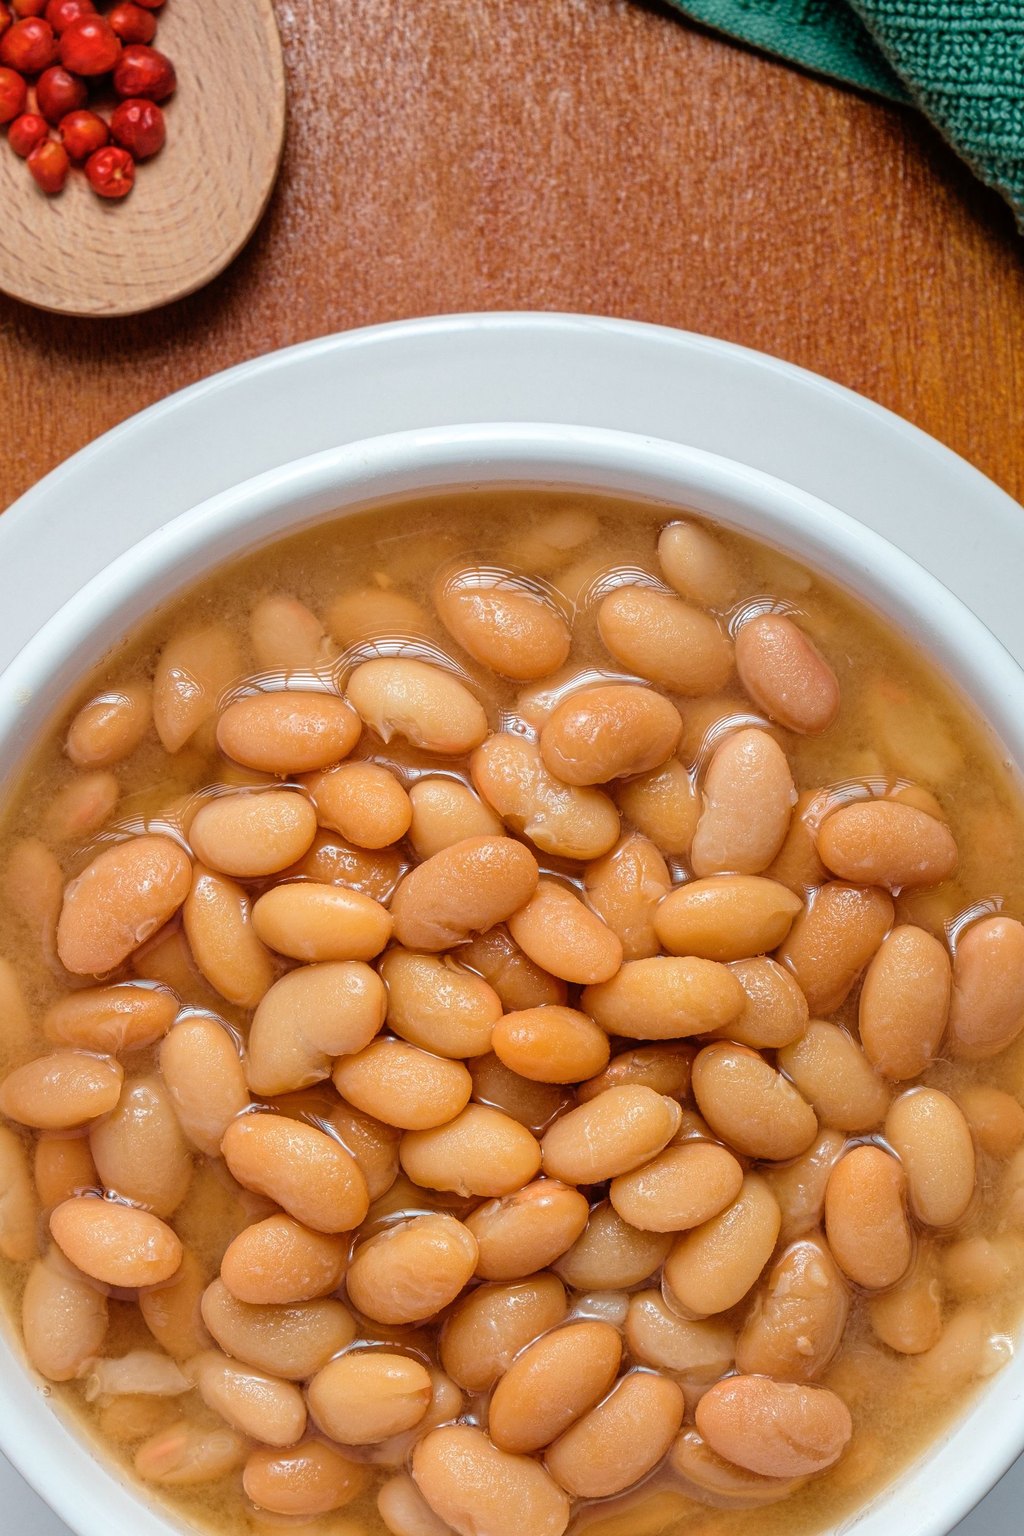
White chicken chili is a creamy, mild chili made with tender white beans, chicken and green chiles. Mashing some of the beans and stirring in cream cheese gives it body without a long simmer. A squeeze of lime at the end brightens the cumin and chile flavors.
Ingredients
- 1 tablespoon olive oil
- 1 medium onion, diced
- 3 cloves garlic, minced
- 2 cans diced green chiles, 4 ounces each
- 2 teaspoons ground cumin
- 1 teaspoon dried oregano
- 4 cups chicken broth
- 3 cans cannellini beans, 15 ounces each, drained and rinsed
- 3 cups shredded cooked chicken
- 4 ounces cream cheese, cubed
- 1 cup frozen corn
- 1 tablespoon lime juice
- 1 teaspoon salt
- 1/4 cup chopped fresh cilantro
Instructions
- Heat the oil in a large pot over medium heat. Add the onion and cook until soft, about 5 minutes, then add the garlic, chiles, cumin and oregano and cook 1 minute until fragrant.
- Add the broth and beans and bring to a boil. Use a potato masher to lightly mash about a cup of the beans against the side of the pot to thicken the chili.
- Reduce the heat and simmer uncovered for 15 minutes, stirring now and then.
- Stir in the chicken, corn and salt and simmer 5 minutes, until the chicken is heated through to 165F.
- Add the cream cheese and stir until it melts into the broth and the chili turns creamy. Stir in the lime juice and cilantro and taste for salt.
- Serve topped with shredded cheese, sliced avocado, sour cream or tortilla chips.
- To freeze, cool the chili completely and ladle it into freezer containers or bags, leaving 1 inch of headspace. Freeze up to 3 months. Thaw overnight and reheat in a pot over medium heat, stirring often, until it simmers.
This chili is gentle enough for picky kids and flavorful enough for the grownups. It is ready in 45 minutes and doubles easily for the freezer.
Freeze it flat in quart bags so they stack like books and thaw quickly. If it looks a little thick after reheating, stir in a splash of broth.
7) Sloppy Joes
7) Sloppy Joes
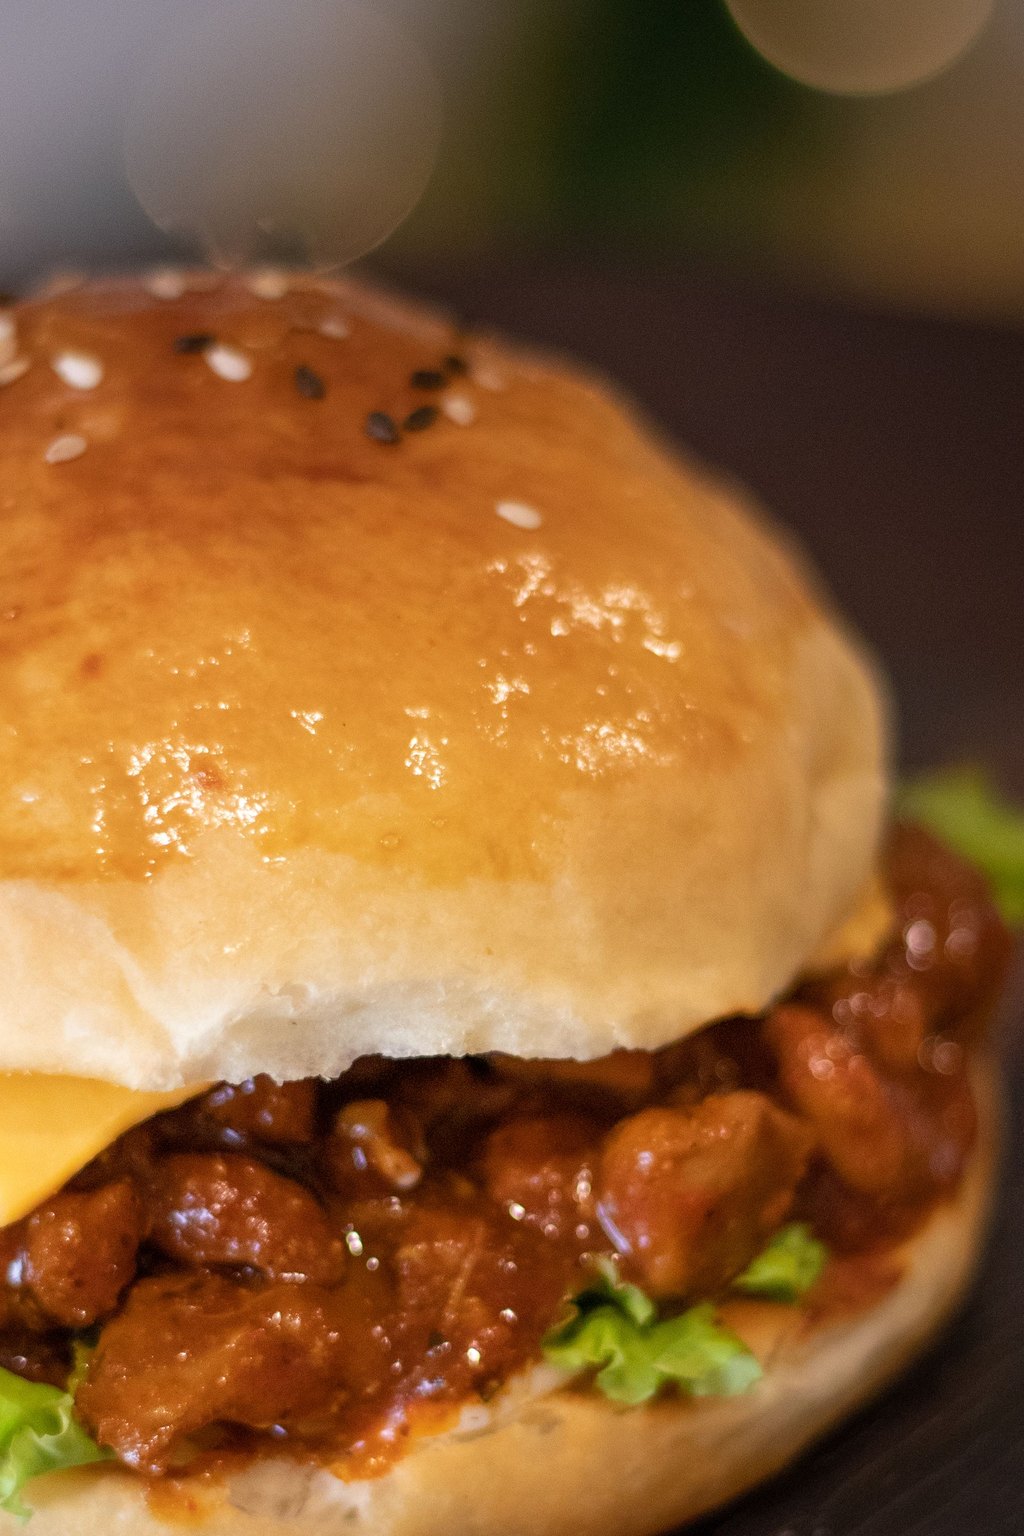
Homemade sloppy joes simmer ground beef in a tangy sweet sauce of ketchup, tomato, brown sugar and mustard. Finely dicing the onion and pepper lets them melt into the sauce so picky eaters never notice. The mixture thickens until it clings to a toasted bun without falling apart.
Ingredients
- 2 pounds lean ground beef
- 1 medium onion, finely diced
- 1 green bell pepper, finely diced
- 3 cloves garlic, minced
- 1 cup ketchup
- 1 can tomato sauce, 8 ounces
- 2 tablespoons brown sugar
- 1 tablespoon Worcestershire sauce
- 1 tablespoon yellow mustard
- 1 teaspoon chili powder
- 1 teaspoon salt
- 1/2 teaspoon black pepper
- 8 hamburger buns
Instructions
- Cook the ground beef, onion and bell pepper in a large skillet over medium high heat, breaking up the meat with a wooden spoon, until no pink remains and the beef reaches 160F, about 10 minutes.
- Drain off the fat, then add the garlic and cook 1 minute, stirring, until fragrant.
- Stir in the ketchup, tomato sauce, brown sugar, Worcestershire sauce, mustard, chili powder, salt and pepper until evenly combined.
- Bring to a simmer, reduce the heat to medium low and cook uncovered for 10 to 15 minutes, stirring now and then, until the sauce is thick enough to mound on a spoon.
- Taste and adjust the seasoning with a little more brown sugar or salt if needed.
- Toast the buns in a dry skillet or under the broiler for 1 to 2 minutes, then pile the meat mixture on the bottom halves and add the tops.
- To freeze, cool the filling completely and portion it into freezer bags or containers. Freeze up to 3 months. Thaw overnight in the fridge and reheat in a skillet over medium heat for about 8 minutes, until steaming and hot through.
Sloppy joes are a nostalgic favorite that takes 30 minutes, and my kids cheer every time. It is a cheap dinner that stretches 2 pounds of beef to feed a crowd.
Freeze the filling in 2 cup portions, which is about four sandwiches. Spoon leftovers over baked potatoes or macaroni for a second easy meal.
8) Slow Cooker Pulled Pork
8) Slow Cooker Pulled Pork
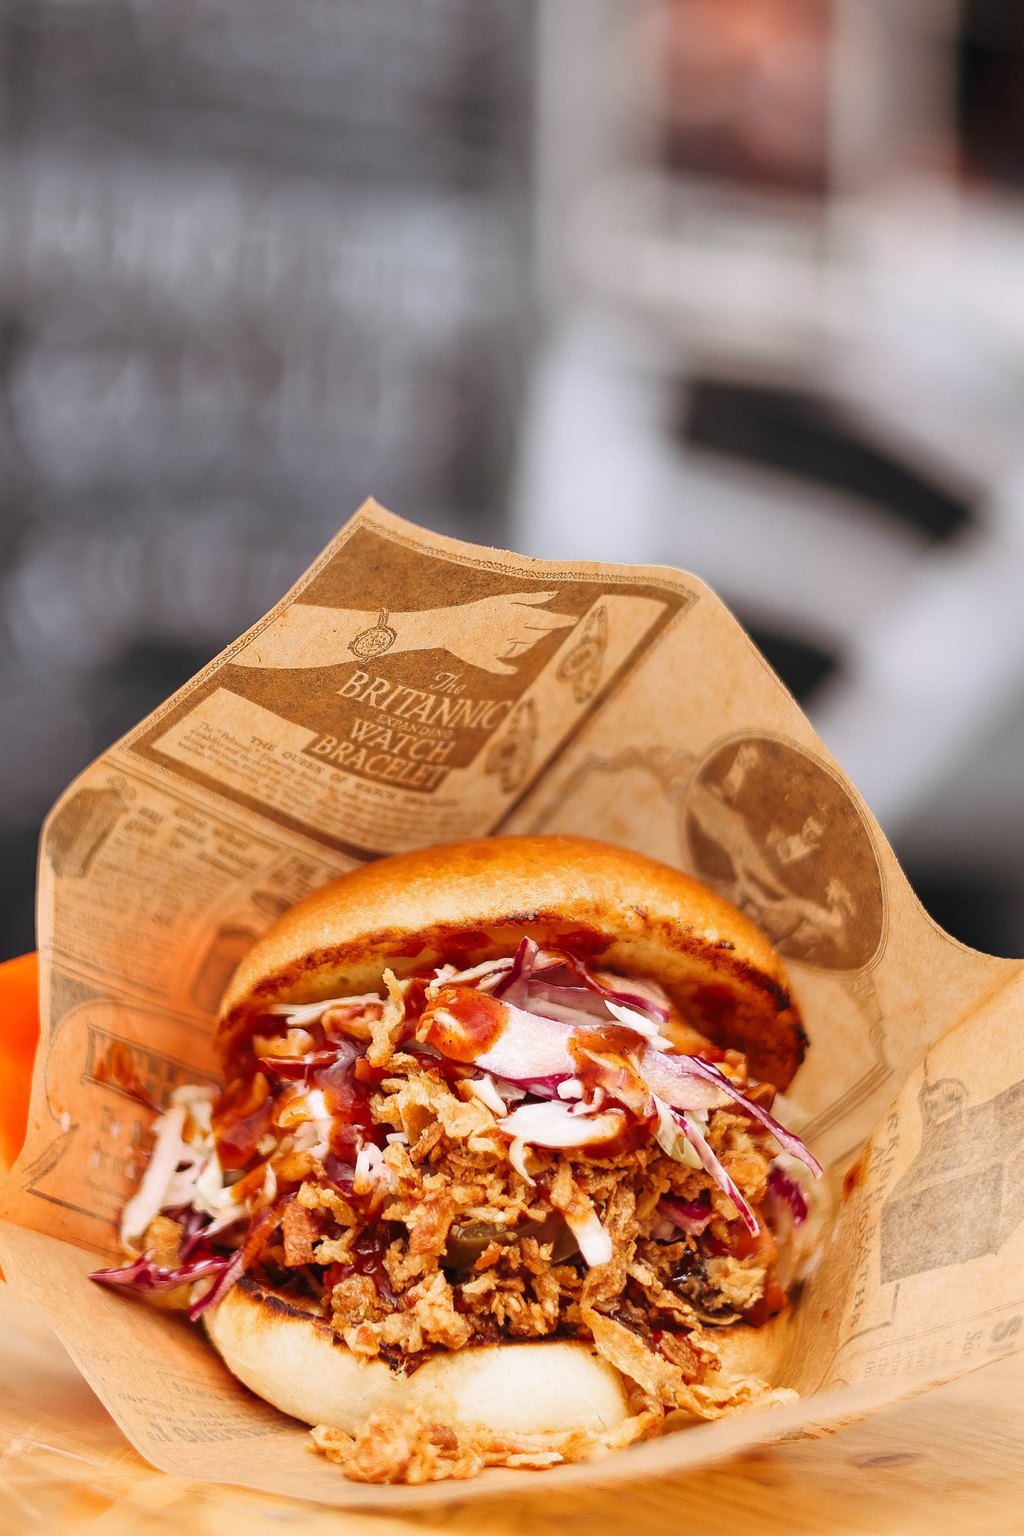
This pulled pork cooks low and slow until the shoulder turns meltingly tender and shreds with a fork. A smoky, sweet spice rub seasons the outside while the vinegar and broth keep it juicy. Tossing it with some of the cooking juices before the sauce keeps every bite moist.
Ingredients
- 1 boneless pork shoulder, about 4 pounds
- 2 tablespoons brown sugar
- 1 tablespoon smoked paprika
- 2 teaspoons garlic powder
- 2 teaspoons onion powder
- 1 teaspoon ground cumin
- 2 teaspoons salt
- 1 teaspoon black pepper
- 1 medium onion, sliced
- 1/2 cup chicken broth
- 1/4 cup apple cider vinegar
- 1 1/2 cups barbecue sauce, divided
Instructions
- Stir the brown sugar, paprika, garlic powder, onion powder, cumin, salt and pepper together in a small bowl.
- Trim any thick fat cap from the pork and cut the roast into 2 or 3 large chunks. Rub the spice mixture all over the meat.
- Scatter the onion in the bottom of a 6 quart slow cooker. Set the pork on top and pour the broth and vinegar around it.
- Cover and cook on LOW for 8 to 10 hours or on HIGH for 5 to 6 hours, until the pork is fall apart tender and shreds easily with a fork. It should be well above 145F, closer to 195F, for easy shredding.
- Lift the pork onto a cutting board and shred it with two forks, discarding any large pieces of fat. Skim the fat from the juices in the cooker.
- Return the pork to the cooker with 1 cup of the juices and 1 cup barbecue sauce and toss to coat. Serve on buns with the remaining sauce.
- To freeze, cool the pork, pack it into freezer bags with some of the cooking juices and freeze up to 3 months. Thaw overnight and reheat covered over medium low heat until steaming.
One pork shoulder gives us sandwiches, tacos, nachos and baked potato toppings for weeks. The slow cooker does all the work while I go about my day.
Always freeze pulled pork with a few spoonfuls of the cooking liquid. It protects the meat from freezer burn and keeps it from drying out when reheated.
9) Stuffed Peppers
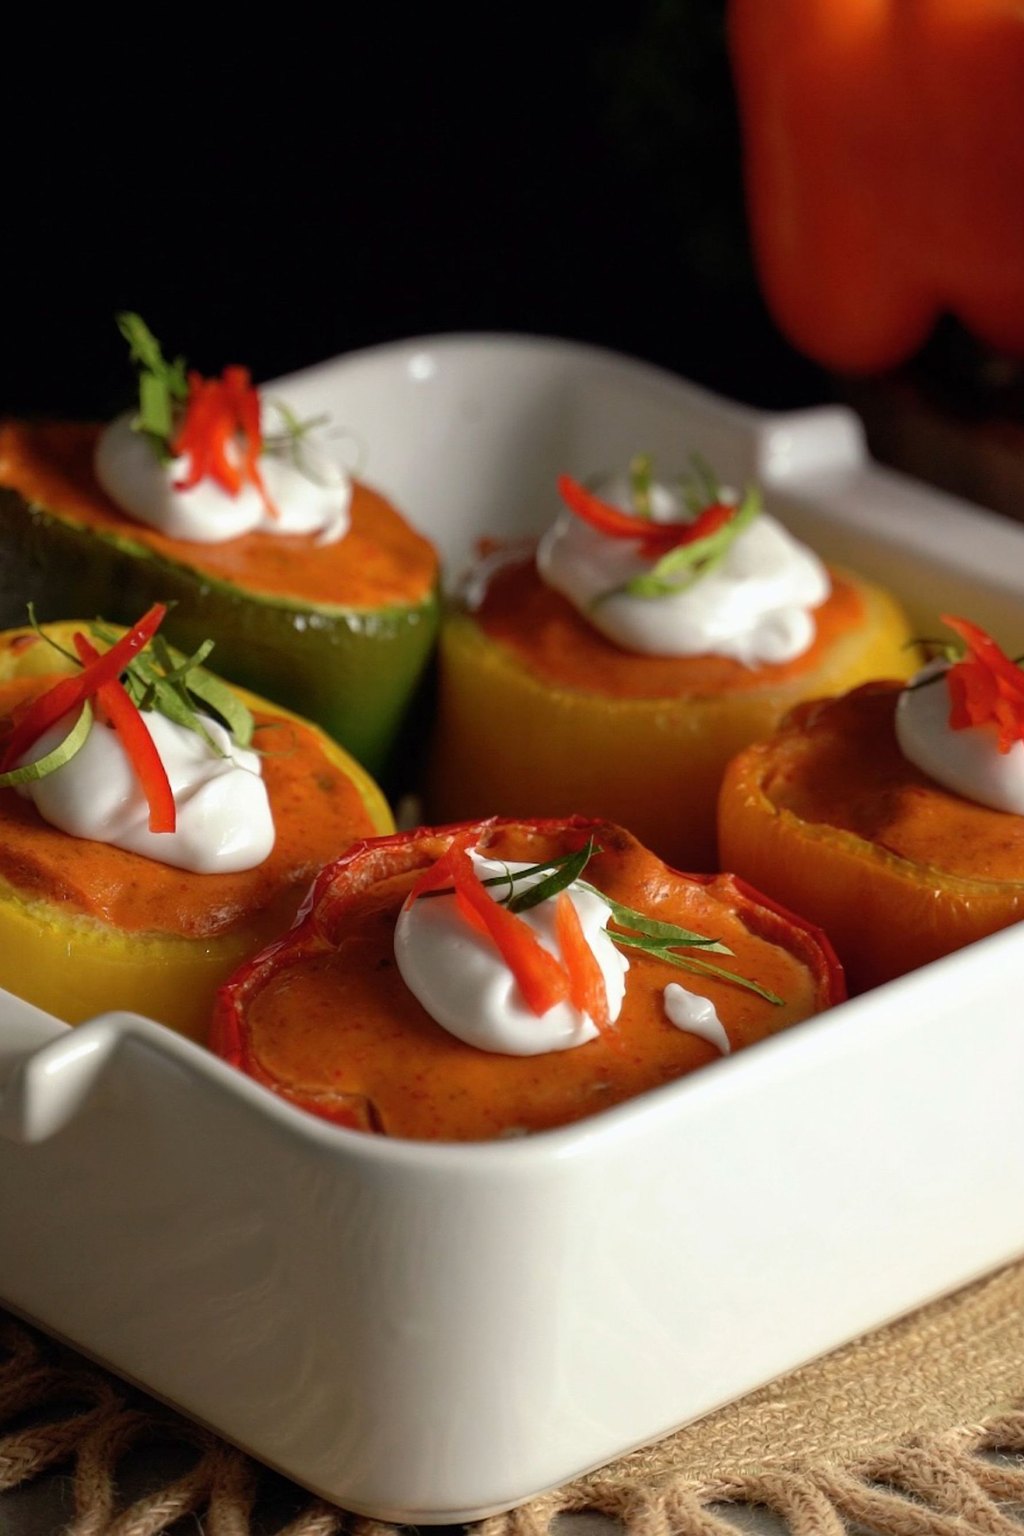
9) Stuffed Peppers
Stuffed peppers bake sweet bell peppers until tender around a hearty filling of seasoned beef, rice and tomatoes. Melted mozzarella on top makes them feel like a cozy casserole in its own edible bowl. A little water in the pan steams the peppers so they soften evenly.
Ingredients
- 6 large bell peppers, any color
- 1 pound lean ground beef
- 1 small onion, diced
- 2 cloves garlic, minced
- 1 1/2 cups cooked white rice
- 1 can diced tomatoes, 15 ounces, drained
- 1 can tomato sauce, 8 ounces, divided
- 1 teaspoon dried Italian seasoning
- 1 teaspoon salt
- 1/2 teaspoon black pepper
- 1 1/2 cups shredded mozzarella cheese, divided
- 2 tablespoons chopped fresh parsley
Instructions
- Heat the oven to 375F. Cut the tops off the peppers, remove the seeds and ribs and trim a thin slice from the bottoms if needed so they stand upright.
- Brown the beef and onion in a skillet over medium high heat until the beef reaches 160F, about 8 minutes. Drain the fat and stir in the garlic for 1 minute.
- Remove the skillet from the heat and stir in the rice, diced tomatoes, half the tomato sauce, Italian seasoning, salt, pepper and 1 cup of the mozzarella.
- Stand the peppers in a 9×13 inch baking dish and pack the filling into them. Spoon the remaining tomato sauce over the tops and pour 1/4 cup water into the dish.
- To bake now, cover with foil and bake 35 minutes, then uncover, top with the remaining cheese and bake 10 to 15 minutes more, until the peppers are tender and the cheese is melted. Sprinkle with parsley.
- To freeze, stuff the raw peppers without the final cheese, wrap each one in plastic and foil and freeze up to 3 months. Thaw overnight and bake covered 50 minutes, then add the cheese and bake uncovered 10 minutes, until the filling reaches 165F.
I love that each person gets their own pepper, which makes portions easy for packed lunches. They are a great way to use leftover rice from takeout night.
Freeze the peppers individually so you can bake one or two at a time. Red, yellow and orange peppers taste sweeter than green after baking.
10) Chicken Tortilla Soup
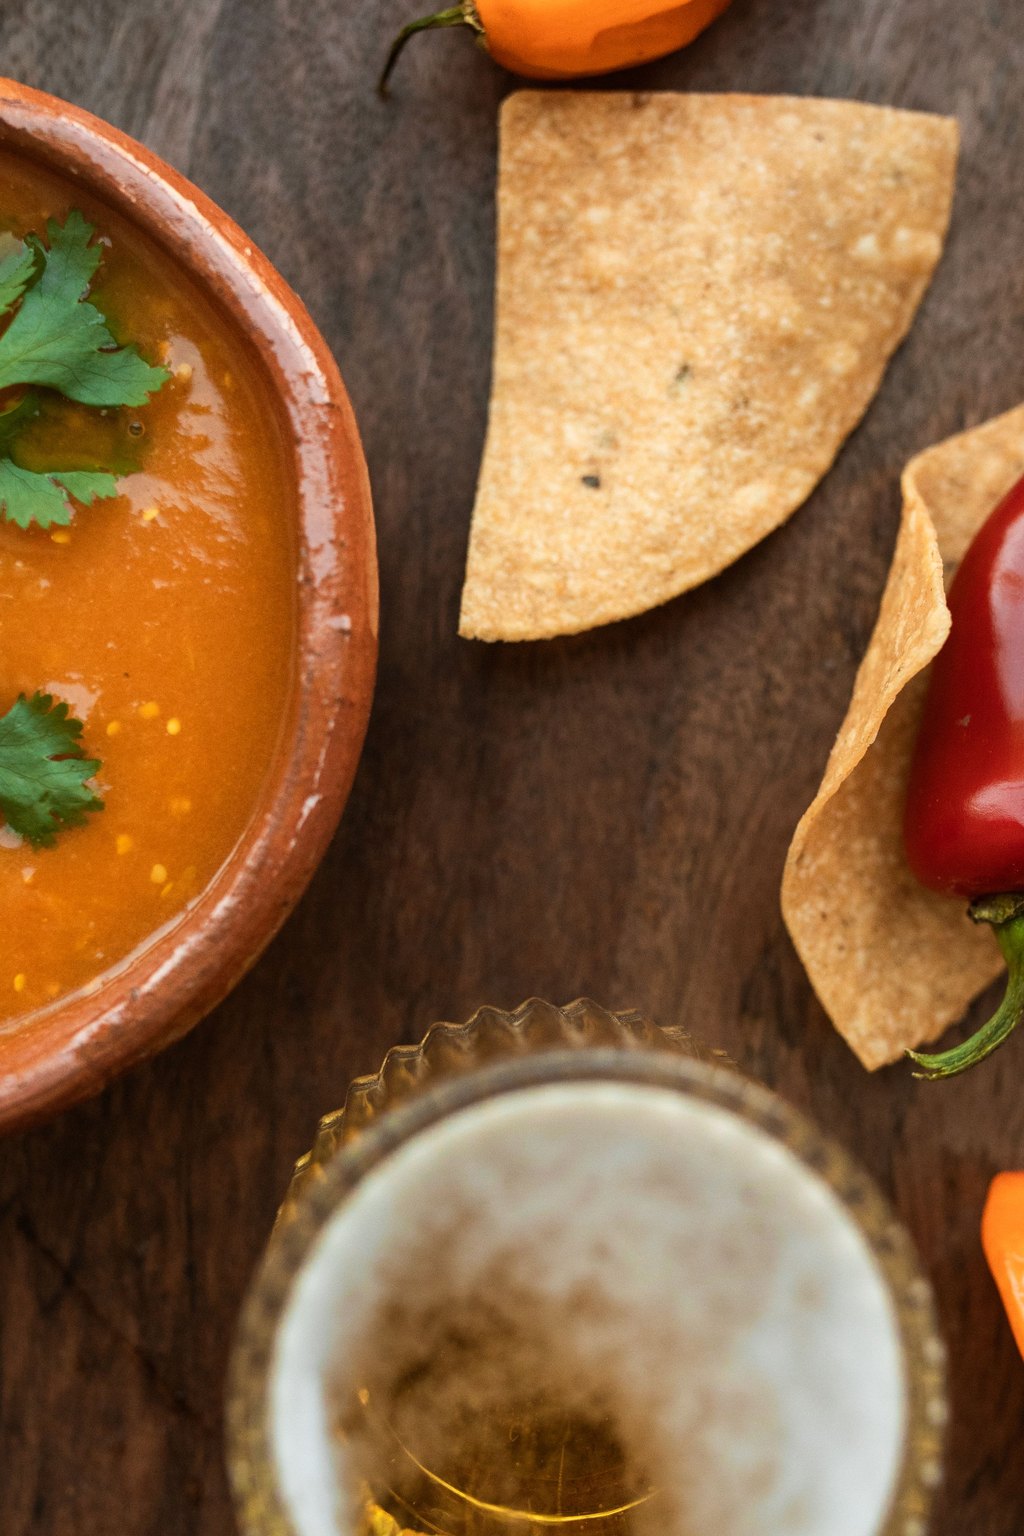
10) Chicken Tortilla Soup
This tortilla soup is a brothy, gently spicy soup loaded with shredded chicken, black beans, corn and fire roasted tomatoes. Poaching the chicken right in the seasoned broth flavors the meat and the soup at the same time. Crunchy tortilla strips and cool avocado on top make every bowl feel like a fiesta.
Ingredients
- 1 tablespoon olive oil
- 1 medium onion, diced
- 1 jalapeno, seeded and minced
- 3 cloves garlic, minced
- 2 teaspoons chili powder
- 1 teaspoon ground cumin
- 6 cups chicken broth
- 1 can fire roasted diced tomatoes, 15 ounces
- 1 can black beans, 15 ounces, drained and rinsed
- 1 cup frozen corn
- 1 1/2 pounds boneless skinless chicken breasts
- 1 teaspoon salt
- 2 tablespoons lime juice
- Tortilla strips, avocado and shredded cheese for topping
Instructions
- Heat the oil in a large pot over medium heat. Add the onion and jalapeno and cook until softened, about 5 minutes.
- Stir in the garlic, chili powder and cumin and cook 1 minute, until fragrant.
- Add the broth, tomatoes, beans, corn and salt and bring to a boil. Nestle the whole chicken breasts in the soup, reduce the heat and simmer, covered, for 18 to 20 minutes, until the chicken reaches 165F.
- Move the chicken to a cutting board, shred it with two forks and return it to the pot. Simmer 5 minutes more.
- Stir in the lime juice and taste for salt. Ladle into bowls and top with tortilla strips, avocado, shredded cheese and a spoonful of sour cream.
- To freeze, cool the soup completely without any toppings and ladle it into freezer containers, leaving 1 inch of headspace. Freeze up to 3 months. Thaw overnight and reheat over medium heat until it simmers, then add fresh toppings.
This soup is light but filling, and it is one of the few dinners everyone in my house agrees on. The topping bar lets each person make it their own.
Always freeze the soup plain and keep the toppings separate. Crunchy strips and avocado added fresh make the reheated soup taste just made.
11) Classic Meatloaf
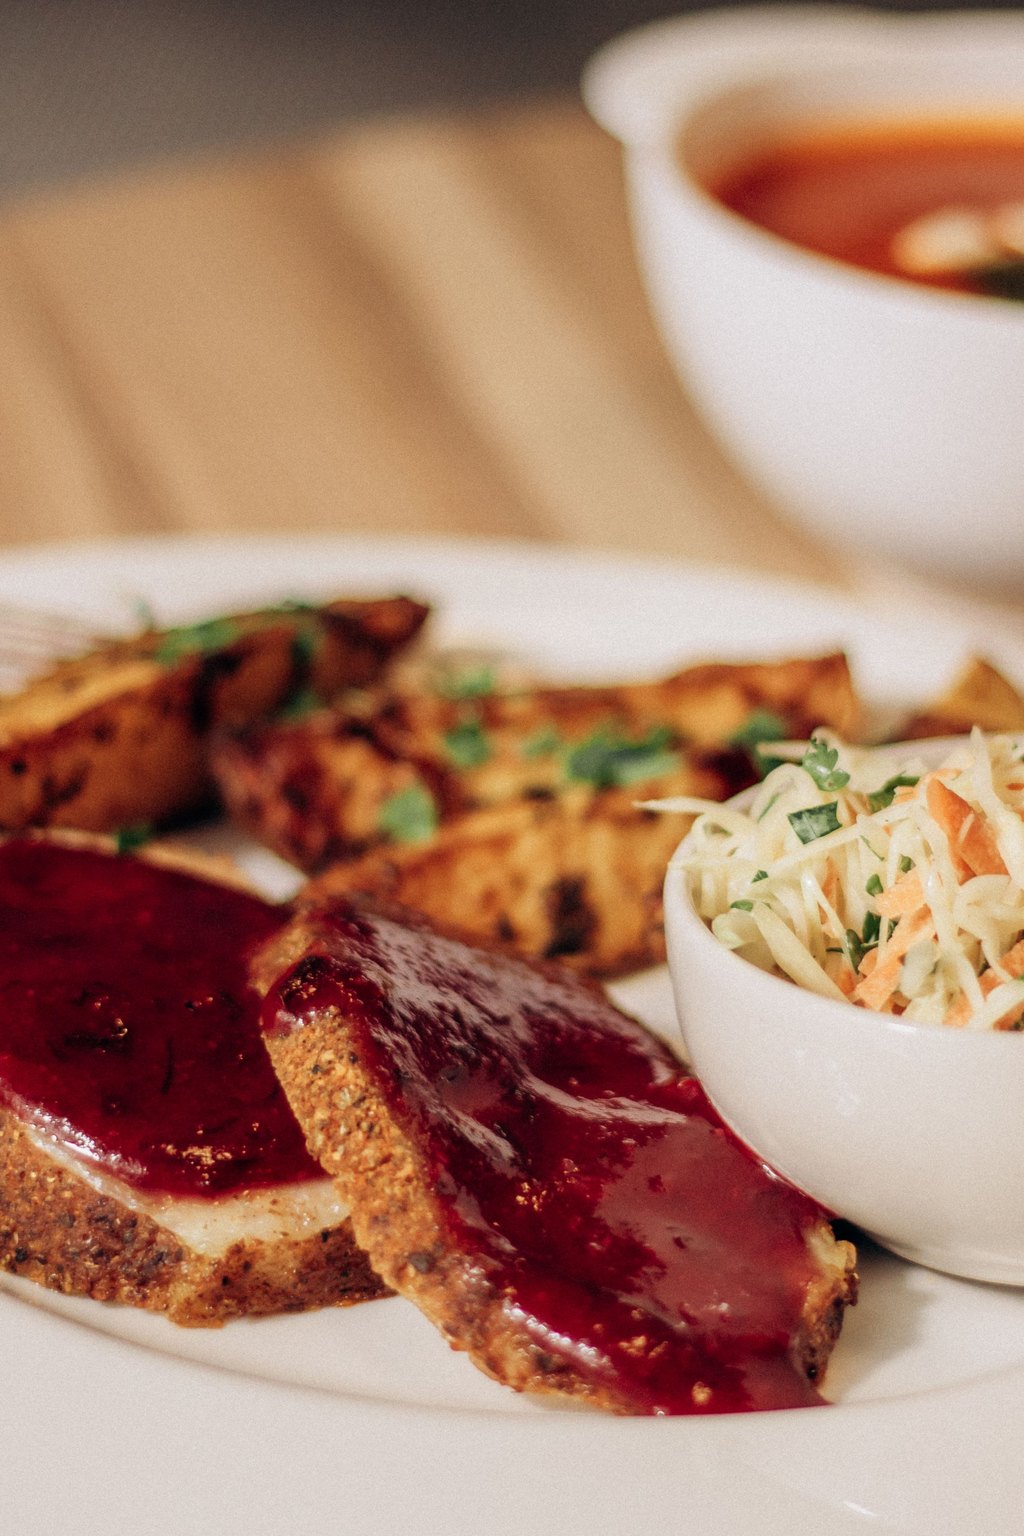
11) Classic Meatloaf
This classic meatloaf is moist and tender inside with a sticky, tangy sweet glaze on top. Grating the onion lets it melt into the meat so there are no crunchy bits. Baking it free form on a sheet pan instead of in a loaf pan gives more caramelized edges all the way around.
Ingredients
- 2 pounds ground beef, 85 percent lean
- 1 cup plain breadcrumbs
- 3/4 cup whole milk
- 2 large eggs
- 1 small onion, grated
- 2 cloves garlic, minced
- 1 tablespoon Worcestershire sauce
- 1 1/2 teaspoons salt
- 1/2 teaspoon black pepper
- For the glaze
- 3/4 cup ketchup
- 3 tablespoons brown sugar
- 1 tablespoon apple cider vinegar
Instructions
- Heat the oven to 350F and line a rimmed baking sheet with foil.
- Soak the breadcrumbs in the milk in a large bowl for 5 minutes. Add the eggs, onion, garlic, Worcestershire sauce, salt and pepper and stir well.
- Add the beef and mix gently with your hands just until evenly combined. Shape it into a 9×5 inch loaf on the baking sheet.
- Whisk the ketchup, brown sugar and vinegar together and spread half the glaze over the top of the loaf.
- Bake 45 minutes, spread on the remaining glaze and bake 15 to 20 minutes more, until the center reaches 160F on an instant read thermometer.
- Let the meatloaf rest 10 minutes before slicing so the juices settle and the slices hold together.
- To freeze, cool completely and either wrap the whole loaf or freeze individual slices separated by parchment, wrapped in plastic and foil, for up to 3 months. Thaw overnight and reheat slices covered at 350F for 15 to 20 minutes, or the whole loaf for about 40 minutes, until hot through.
Meatloaf with mashed potatoes is pure comfort food in our house, and leftovers make the best sandwiches. It is one of the most budget friendly meals I make.
Freezing slices individually means you can pull out exactly what you need for a quick lunch. You can also freeze the raw shaped loaf and bake it from thawed.
12) Baked Chicken Taquitos
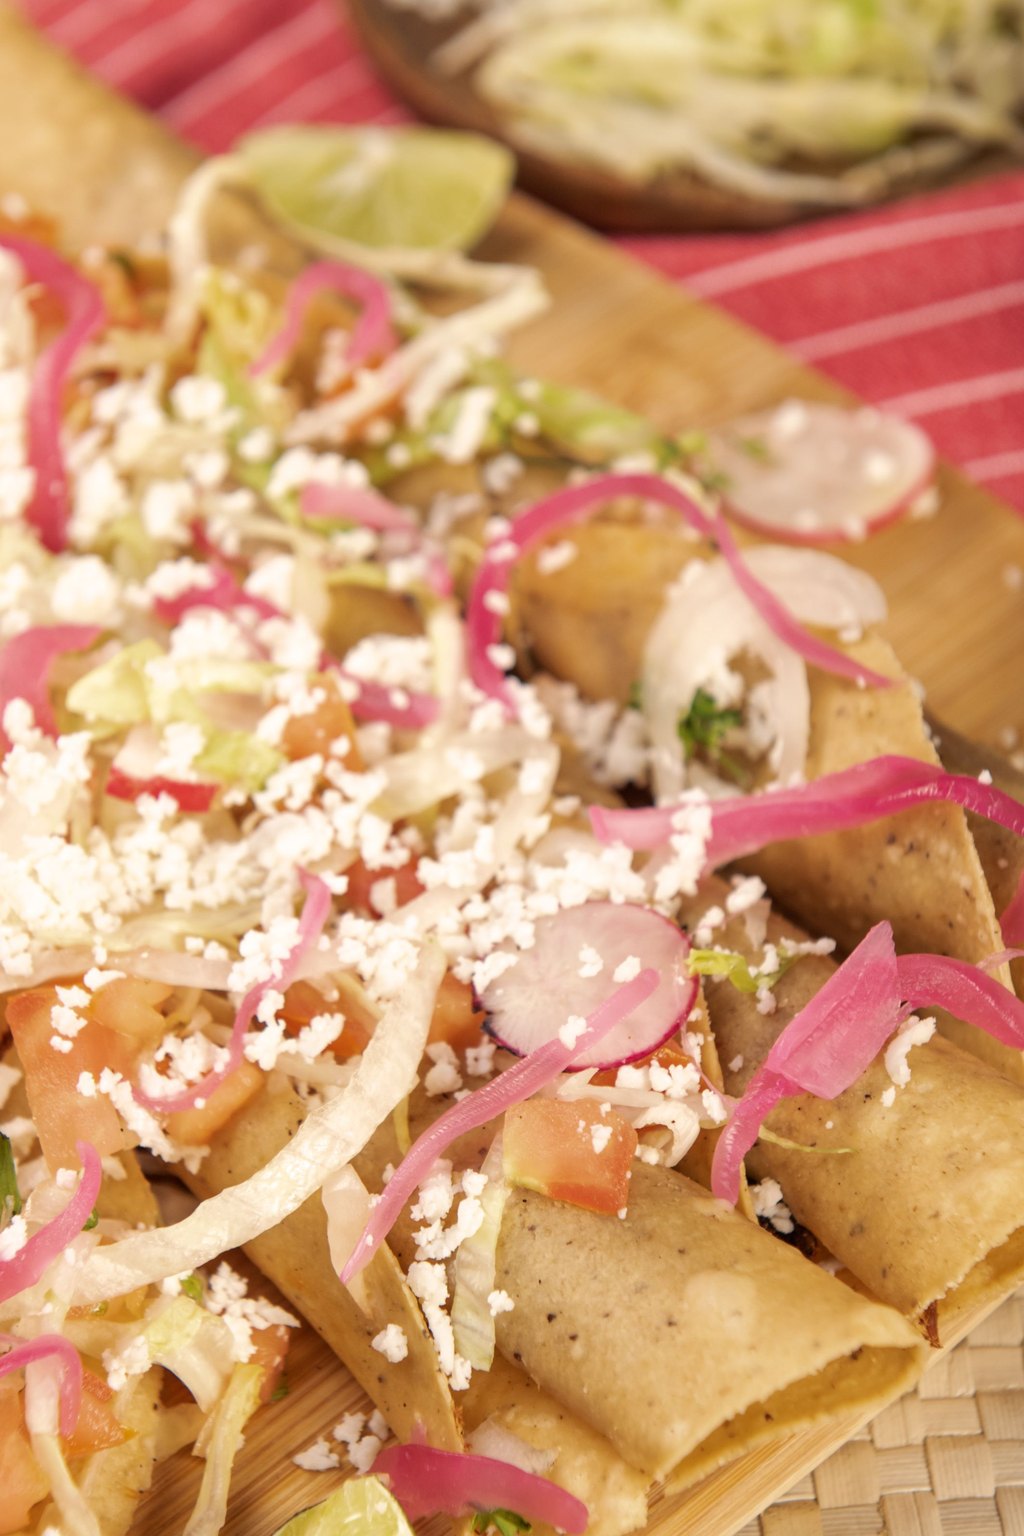
12) Baked Chicken Taquitos
These baked taquitos roll a creamy, cheesy chicken filling into tortillas that crisp up in a hot oven. Cream cheese and salsa verde keep the filling moist, tangy and a little bit zesty. A good coat of cooking spray gives them a crunchy, golden shell without deep frying.
Ingredients
- 3 cups shredded cooked chicken
- 4 ounces cream cheese, softened
- 1/2 cup salsa verde
- 1 1/2 cups shredded Mexican blend cheese
- 1 teaspoon ground cumin
- 1 teaspoon chili powder
- 1/2 teaspoon garlic powder
- 1/2 teaspoon salt
- 2 tablespoons chopped fresh cilantro
- 1 tablespoon lime juice
- 18 small flour tortillas, 6 inch
- Cooking spray
- Salsa and sour cream for serving
Instructions
- Heat the oven to 425F. Line a large rimmed baking sheet with parchment and coat it lightly with cooking spray.
- Stir the cream cheese, salsa verde, cumin, chili powder, garlic powder, salt and lime juice together in a large bowl until smooth.
- Add the chicken, shredded cheese and cilantro and mix until the filling is evenly combined.
- Wrap the tortillas in a damp paper towel and microwave 30 seconds so they are soft and pliable.
- Spread about 3 tablespoons of filling in a thin line along one edge of each tortilla and roll it up tightly. Place seam side down on the baking sheet and spray the tops generously with cooking spray.
- To bake now, bake 15 to 18 minutes, until golden and crisp at the edges. Cool 5 minutes and serve with salsa and sour cream.
- To freeze, place the unbaked taquitos on a sheet pan and freeze 1 hour until firm, then transfer to freezer bags for up to 3 months. Bake from frozen at 425F for 20 to 25 minutes, until crisp and the filling reaches 165F.
Taquitos are my secret weapon for after school snacks and lazy Friday dinners. Kids love dunking them, and I love that they bake straight from frozen.
Small flour tortillas roll more easily than corn and will not crack in the freezer. Double the batch, because these go fast.
13) Minestrone Soup
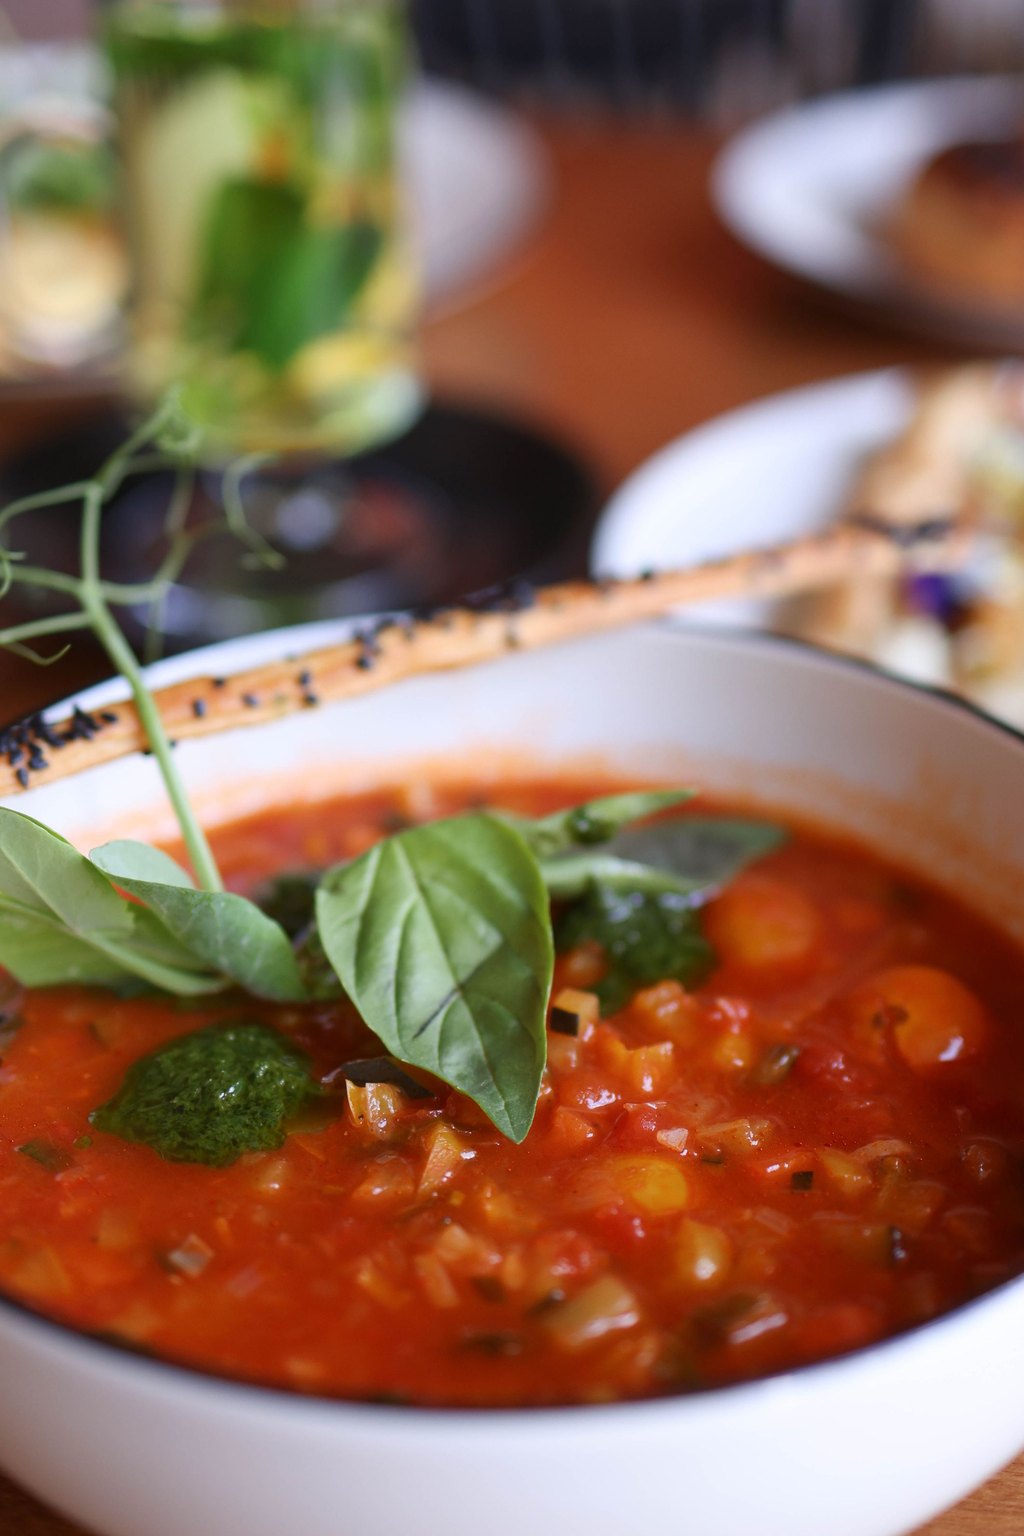
13) Minestrone Soup
Minestrone is a hearty Italian vegetable soup with beans, tomatoes and tender pasta in a savory broth. Slowly softening the onion, carrots and celery first builds a sweet base of flavor. Cooking the pasta separately keeps it from soaking up all the broth or turning soft.
Ingredients
- 2 tablespoons olive oil
- 1 medium onion, diced
- 2 carrots, diced
- 2 celery ribs, diced
- 1 medium zucchini, diced
- 3 cloves garlic, minced
- 1 can diced tomatoes, 28 ounces
- 6 cups vegetable broth
- 1 can kidney beans, 15 ounces, drained and rinsed
- 2 cups chopped fresh spinach
- 1 teaspoon dried Italian seasoning
- 1 teaspoon salt
- 1 cup small pasta shells
- Grated Parmesan cheese for serving
Instructions
- Heat the olive oil in a large pot over medium heat. Add the onion, carrots and celery and cook, stirring now and then, until they begin to soften, about 8 minutes.
- Add the zucchini and garlic and cook 2 minutes more.
- Stir in the tomatoes with their juices, broth, Italian seasoning and salt. Bring to a boil, then reduce the heat and simmer, partly covered, for 20 minutes, until the vegetables are tender.
- Add the kidney beans and spinach and simmer 5 minutes, until the spinach wilts.
- Meanwhile, cook the pasta shells in a separate pot of salted boiling water until al dente, about 8 minutes, and drain. Spoon the pasta into bowls and ladle the soup over it.
- Top each bowl with grated Parmesan and a drizzle of olive oil.
- To freeze, cool the soup without the pasta and ladle it into freezer containers, leaving 1 inch of headspace. Freeze up to 3 months. Thaw overnight and reheat over medium heat until simmering, then add freshly cooked pasta.
This soup is my favorite way to clean out the vegetable drawer. It is meatless, filling and costs very little for a big pot.
Pasta turns mushy in the freezer, so always freeze the soup on its own. Toss in a Parmesan rind while it simmers for extra savory flavor.
14) Spinach and Ricotta Stuffed Shells
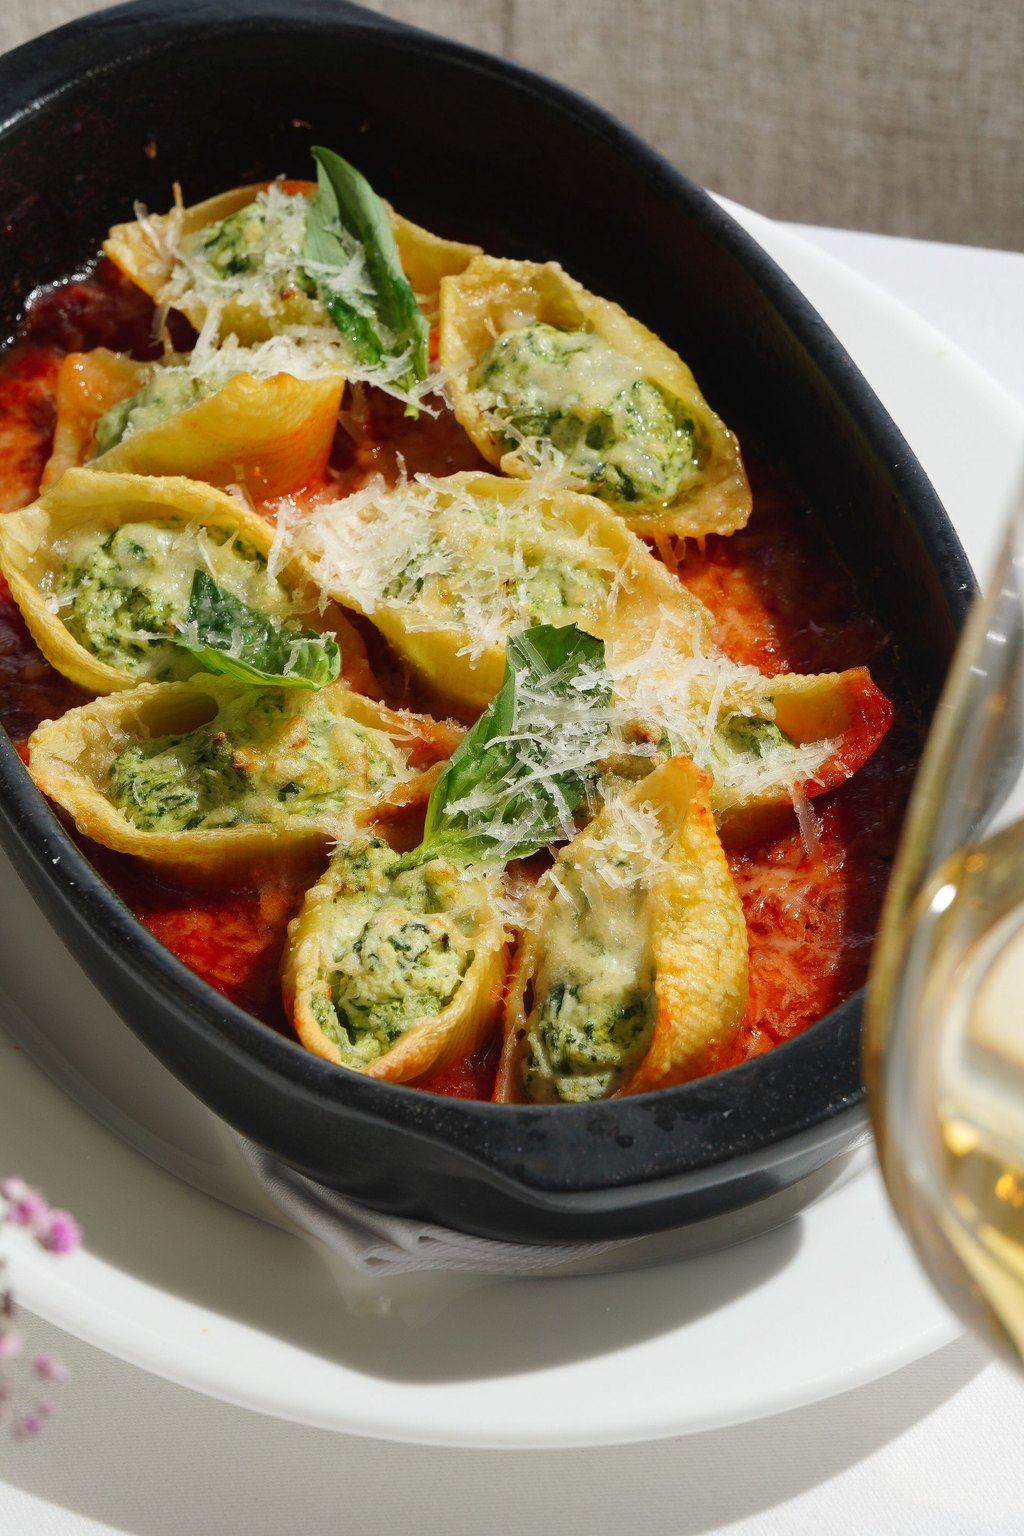
14) Spinach and Ricotta Stuffed Shells
Jumbo pasta shells are stuffed with a creamy ricotta and spinach filling, then baked in marinara under melted mozzarella. A pinch of nutmeg is the classic secret that makes the spinach and cheese taste richer. Undercooking the shells slightly keeps them firm after freezing and baking.
Ingredients
- 1 box jumbo pasta shells, 12 ounces
- 30 ounces whole milk ricotta
- 10 ounces frozen chopped spinach, thawed and squeezed dry
- 2 cups shredded mozzarella cheese, divided
- 3/4 cup grated Parmesan cheese, divided
- 1 large egg
- 2 cloves garlic, minced
- 1 teaspoon dried Italian seasoning
- 1/2 teaspoon salt
- 1/4 teaspoon black pepper
- 1/8 teaspoon ground nutmeg
- 1 jar marinara sauce, 24 ounces
Instructions
- Heat the oven to 375F. Cook the shells in salted boiling water 2 minutes less than the package says, drain and spread them on an oiled baking sheet so they do not stick.
- Stir the ricotta, spinach, 1 cup mozzarella, 1/2 cup Parmesan, egg, garlic, Italian seasoning, salt, pepper and nutmeg together in a large bowl.
- Spread 1 cup of marinara over the bottom of a 9×13 inch baking dish.
- Fill each shell with a heaping tablespoon of the cheese mixture and nestle it, open side up, in the dish. You should have about 30 shells.
- Spoon the remaining marinara over and between the shells and sprinkle with the rest of the mozzarella and Parmesan.
- To bake now, cover with foil and bake 25 minutes, then uncover and bake 10 to 15 minutes more, until bubbly and lightly browned.
- To freeze, assemble in a foil pan, wrap tightly in plastic and foil and freeze up to 3 months. Thaw overnight in the fridge and bake covered 45 minutes, then uncovered 15 minutes, until the center reaches 165F.
These shells are meatless, kid approved and feel a little special without much more work than lasagna. They are always the first pan gone at a potluck.
Squeeze the spinach in a clean kitchen towel until no more water drips out. Wet spinach makes the filling watery once it thaws.
15) Baked Macaroni and Cheese
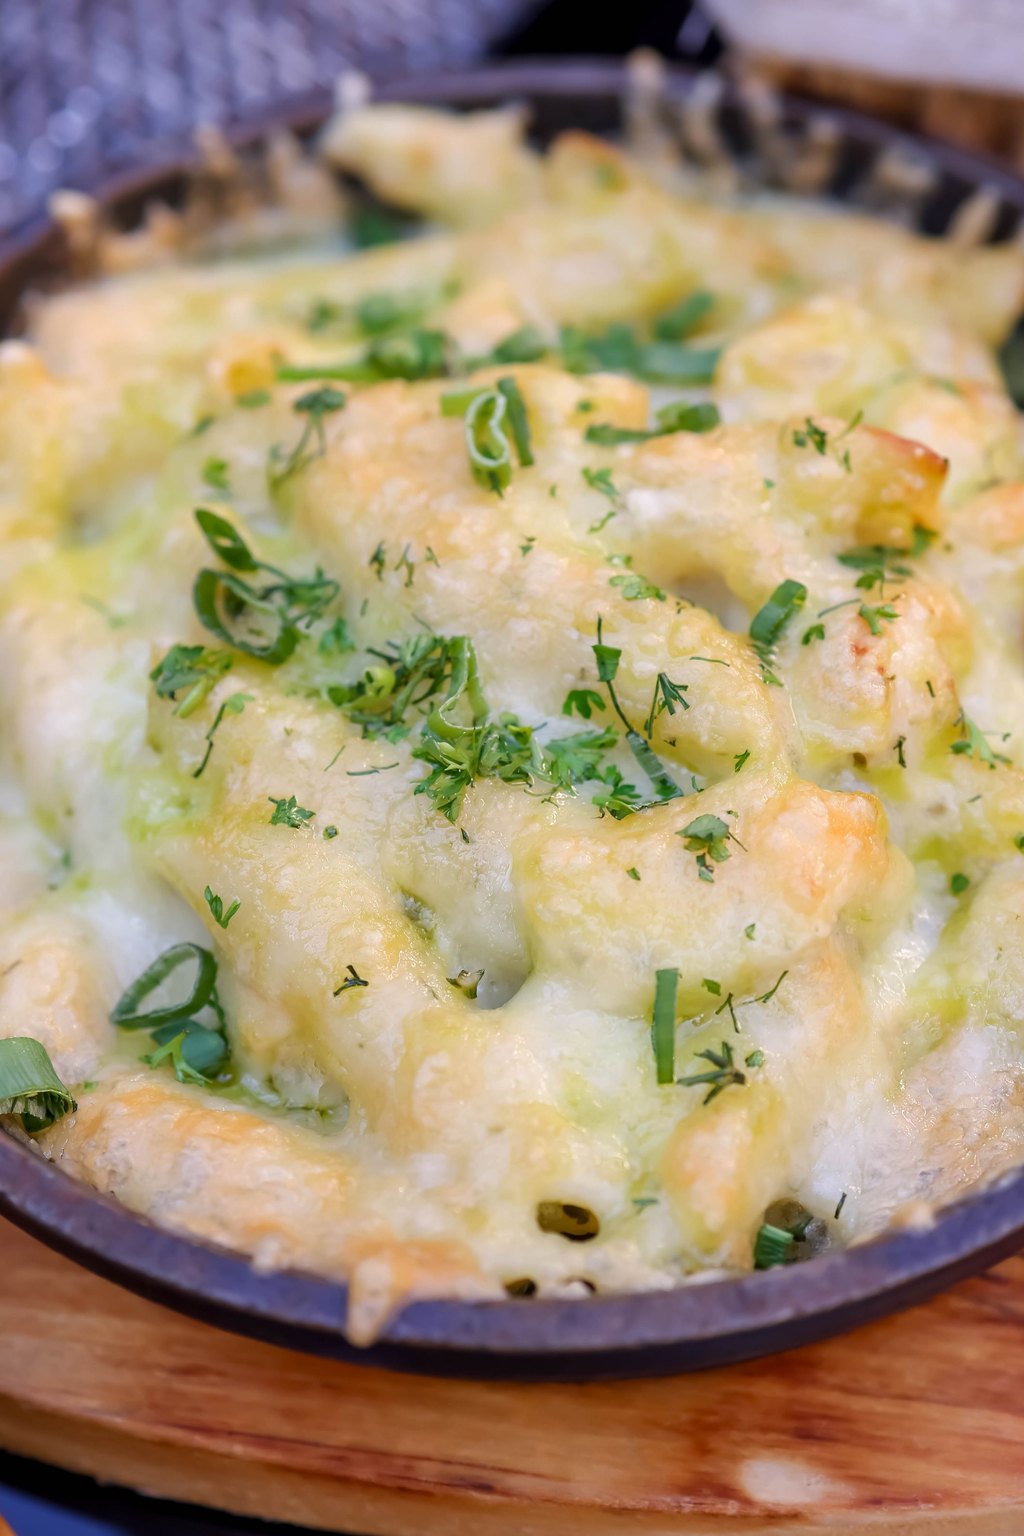
15) Baked Macaroni and Cheese
This baked mac and cheese is extra creamy inside with a crunchy, buttery crumb topping. A generous cheese sauce made with milk and half and half keeps the pasta saucy even after freezing. Sharp cheddar brings the classic tang while Gruyere adds a smooth, nutty melt.
Ingredients
- 1 pound elbow macaroni
- 1/2 cup unsalted butter, divided
- 1/3 cup all purpose flour
- 3 1/2 cups whole milk
- 1 cup half and half
- 4 cups shredded sharp cheddar cheese, divided
- 1 cup shredded Gruyere or Monterey Jack cheese
- 1 teaspoon dry mustard
- 1/2 teaspoon garlic powder
- 1/4 teaspoon smoked paprika
- 1 1/2 teaspoons salt
- 1 cup panko breadcrumbs
Instructions
- Heat the oven to 375F and butter a 9×13 inch baking dish. Cook the macaroni in salted boiling water 2 minutes less than the package says and drain.
- Melt 6 tablespoons butter in a large pot over medium heat, whisk in the flour and cook 1 minute. Slowly whisk in the milk and half and half and cook, whisking often, until thick enough to coat a spoon, about 8 minutes.
- Remove the pot from the heat and stir in 3 cups cheddar, the Gruyere, mustard, garlic powder, paprika and salt until smooth.
- Fold in the macaroni and pour it into the baking dish. Sprinkle with the remaining cheddar.
- Melt the remaining 2 tablespoons butter, toss it with the panko and scatter it over the top.
- To bake now, bake 20 to 25 minutes, until bubbly at the edges and golden on top. Rest 5 minutes before serving.
- To freeze, assemble in a foil pan but leave off the panko, cool, wrap tightly and freeze up to 3 months. Thaw overnight, add the buttered panko and bake covered 30 minutes, then uncovered 15 minutes, until hot in the center.
Every family needs a great baked mac and cheese, and this is ours for holidays and regular Tuesdays alike. It pairs with everything from meatloaf to pulled pork.
Make the sauce a little looser than you think it should be when freezing, since pasta keeps absorbing liquid. Shred your own cheese for the smoothest sauce.
Before You Start Cooking
To make freezer cooking feel easy, double whatever you are already making for dinner and freeze the second batch. Cool food quickly, press out extra air, label everything and keep a simple list on the freezer door so nothing gets forgotten in the back.
I hope these recipes give you a few more calm evenings and a little breathing room on the busy ones. There is real comfort in knowing a good homemade dinner is waiting for you whenever you need it.
Frequently Asked Questions
How long do homemade freezer meals last?
Most cooked casseroles, soups and meats keep their best quality for about 3 months in a freezer set to 0F. They stay safe longer, but texture and flavor slowly fade and freezer burn can set in. Wrap tightly, press out air and write the date on every container so you use the oldest meals first.
Should I thaw freezer meals before baking?
For most casseroles, thawing overnight in the refrigerator gives the most even results and shorter bake times. Pot pie, taquitos and meatballs can go straight from frozen into the oven or sauce with a longer cook time. Always check that the center reaches 165F with an instant read thermometer before serving.
What foods do not freeze well?
Raw potatoes, cooked pasta in soup, crisp fried coatings, fresh greens and dairy heavy sauces thickened only with sour cream tend to change texture in the freezer. Mayonnaise based salads and hard boiled egg whites also turn watery or rubbery. Freeze soups without pasta and add crunchy or fresh toppings after reheating.