15 Easy Breakfast Recipes for Busy Mornings
Fifteen easy breakfast recipes for busy mornings, from overnight oats and egg muffins to freezer burritos and smoothies, so everyone leaves the house fed and happy.
Weekday mornings in my house are a blur of lost shoes, packed lunches and someone always running late. That is exactly why I rely on breakfasts that are either ready in minutes or made ahead on the weekend. This list has fifteen of my favorites, including overnight oats, freezer burritos, egg muffins, muffins, smoothies and a few warm options for slower days. My best planning tip is to spend one hour on Sunday making two or three of these, so the whole week starts with a real breakfast instead of a granola bar in the car.
1) Peanut Butter Banana Overnight Oats
1) Peanut Butter Banana Overnight Oats
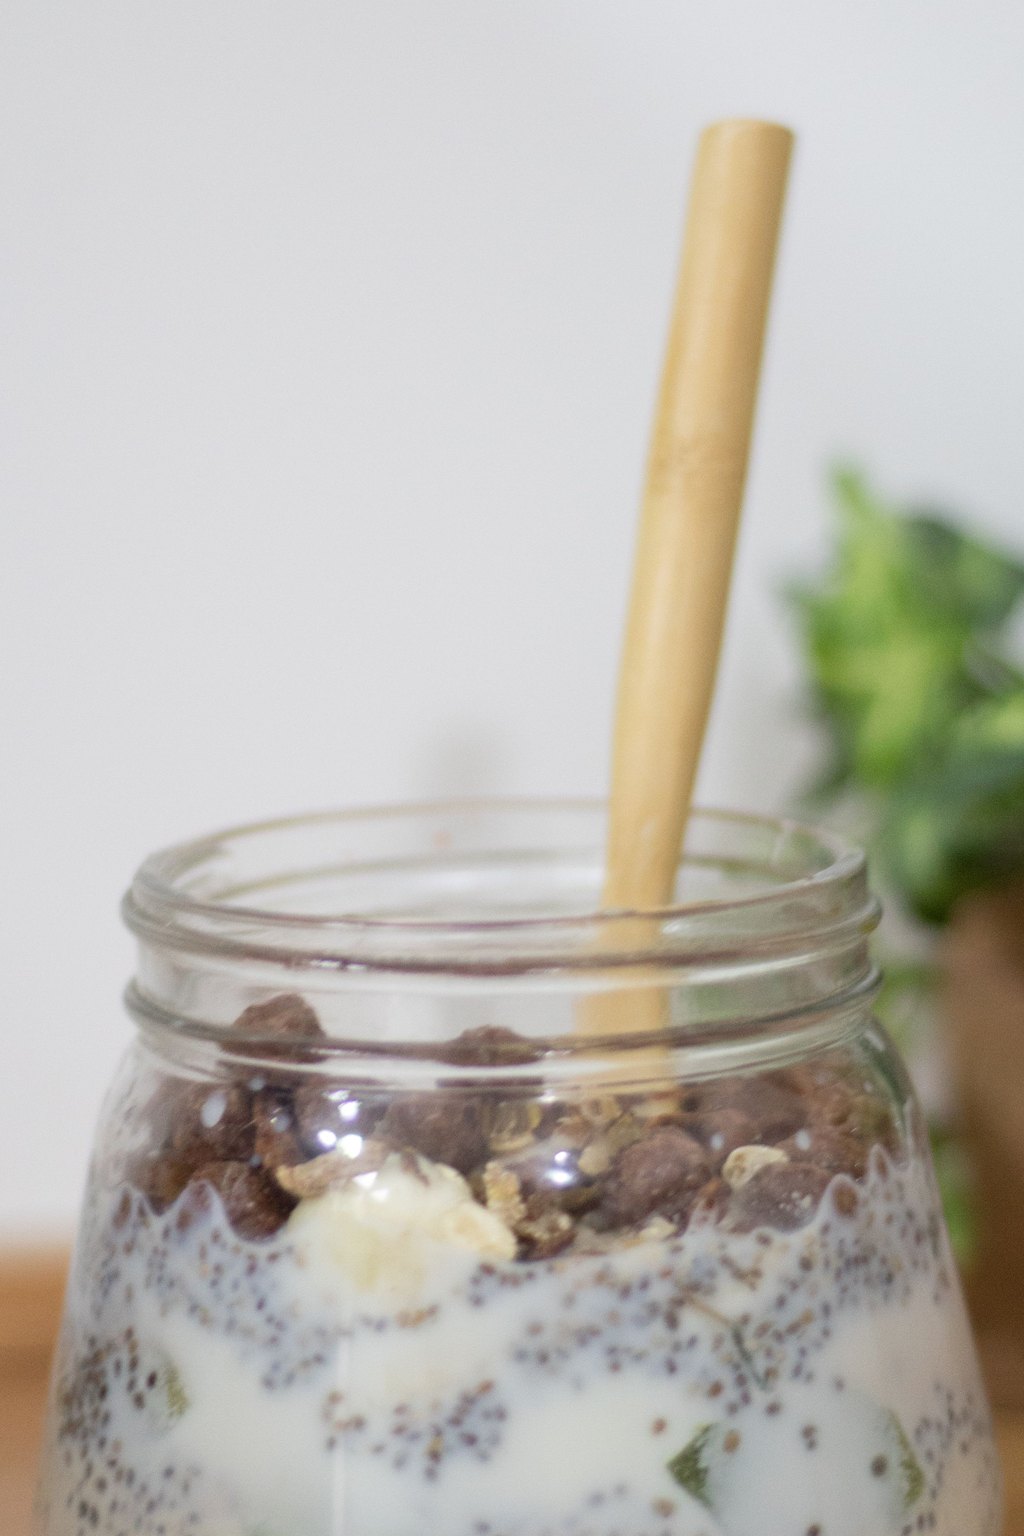
These overnight oats soak in a creamy mix of milk, Greek yogurt and peanut butter until they turn thick and pudding like. Mashed banana sweetens them naturally, so they only need a little maple syrup. Chia seeds add extra body and a nice boost of fiber.
Ingredients
- 1 cup old fashioned rolled oats
- 1 cup milk of choice
- 1/2 cup plain Greek yogurt
- 2 tablespoons creamy peanut butter
- 1 tablespoon chia seeds
- 1 1/2 tablespoons maple syrup or honey
- 1/2 teaspoon vanilla extract
- 1/4 teaspoon ground cinnamon
- 1 pinch kosher salt
- 1 ripe banana, half mashed and half sliced
- 1 tablespoon chopped peanuts, for topping
Instructions
- In a medium bowl, whisk the milk, Greek yogurt, peanut butter, maple syrup, vanilla, cinnamon and salt until the peanut butter is mostly smooth.
- Add the mashed half of the banana and whisk again to blend it in.
- Stir in the rolled oats and chia seeds until every oat is coated and no dry spots remain.
- Divide the mixture between two 12 ounce jars or containers with lids. Leave a little room at the top for toppings. Wide mouth jars make stirring and eating much easier.
- Cover and refrigerate for at least 6 hours or overnight. The oats and chia seeds soak up the liquid and turn soft and creamy.
- In the morning, give each jar a stir. If the oats are thicker than you like, add a splash of milk.
- Top with the sliced banana and chopped peanuts. Eat cold straight from the jar, or warm in the microwave for 1 to 2 minutes without the lid.
Overnight oats are the breakfast I make most during the school year because they take five minutes the night before. Everyone gets their own jar and can grab it on the way out.
Make up to 4 jars at once and keep them in the fridge for 4 days. Add the sliced banana in the morning so it does not brown.
2) Freezer Breakfast Burritos
2) Freezer Breakfast Burritos
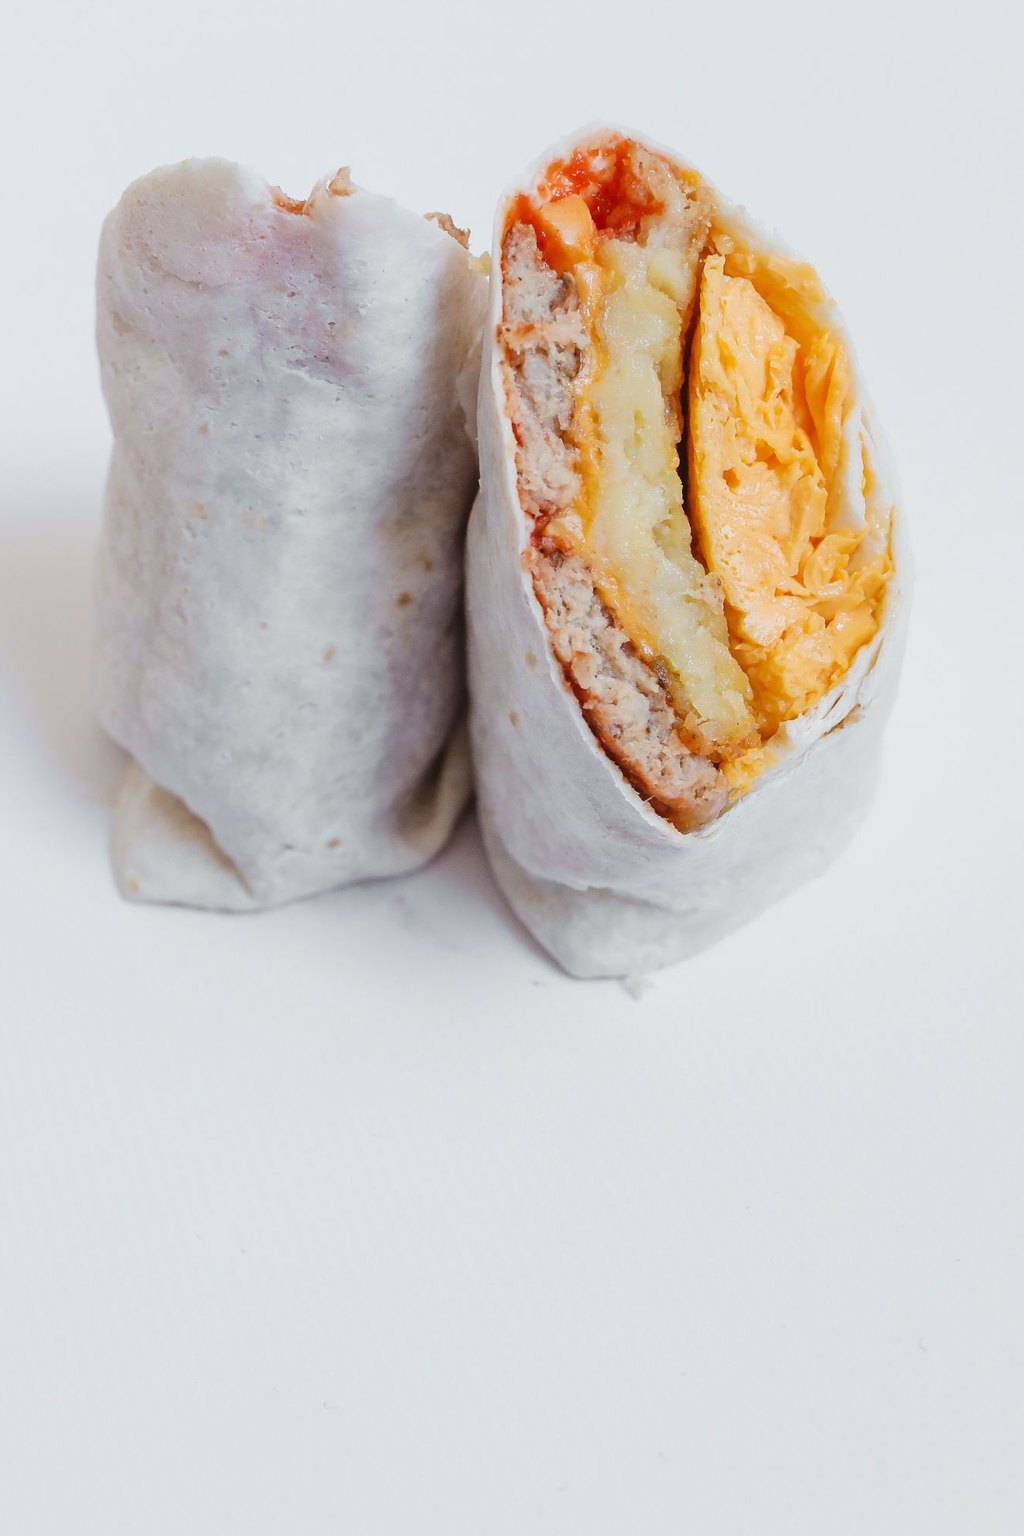
These burritos are stuffed with sausage, crispy hash browns, fluffy scrambled eggs, cheddar and a little salsa. Cooling the filling before rolling keeps the tortillas soft but not soggy. They freeze and reheat like a dream, so a hot, filling breakfast is ready in about two minutes.
Ingredients
- 1 pound breakfast sausage
- 1 1/2 pounds frozen diced hash brown potatoes
- 2 tablespoons vegetable oil
- 12 large eggs
- 1/3 cup milk
- 1 teaspoon kosher salt
- 1/2 teaspoon black pepper
- 1/2 teaspoon garlic powder
- 2 cups shredded cheddar cheese
- 1/2 cup salsa, plus more for serving
- 10 large flour tortillas, 10 inch
Instructions
- Cook the sausage in a large skillet over medium high heat for 7 to 8 minutes, breaking it up, until browned and cooked to 160F. Move it to a large bowl.
- Add the oil and hash browns to the same skillet. Cook for 10 to 12 minutes, stirring now and then, until golden and crisp. Add them to the bowl with the sausage.
- Whisk the eggs, milk, salt, pepper and garlic powder together. Pour into the skillet over medium low heat and stir gently for 4 to 5 minutes, until softly set. Add them to the bowl.
- Stir the cheese and salsa into the filling and let it cool for 15 minutes. Cooling keeps the tortillas from getting soggy.
- Warm the tortillas so they fold easily. Spoon about 3/4 cup of filling onto each, fold in the sides and roll up tightly.
- Wrap each burrito in foil or plastic wrap and place them in a gallon freezer bag. Freeze for up to 3 months.
- To reheat, unwrap, wrap in a damp paper towel and microwave for 2 to 3 minutes, turning halfway, until hot in the center.
A batch of these in the freezer is my secret weapon for the busiest weeks. My husband takes two to work, and my teens grab one on the way to early practice.
Swap the sausage for bacon, diced ham or black beans to change things up. For a crispy finish, toast the microwaved burrito in a dry skillet for a minute per side.
3) Egg Muffin Cups
3) Egg Muffin Cups
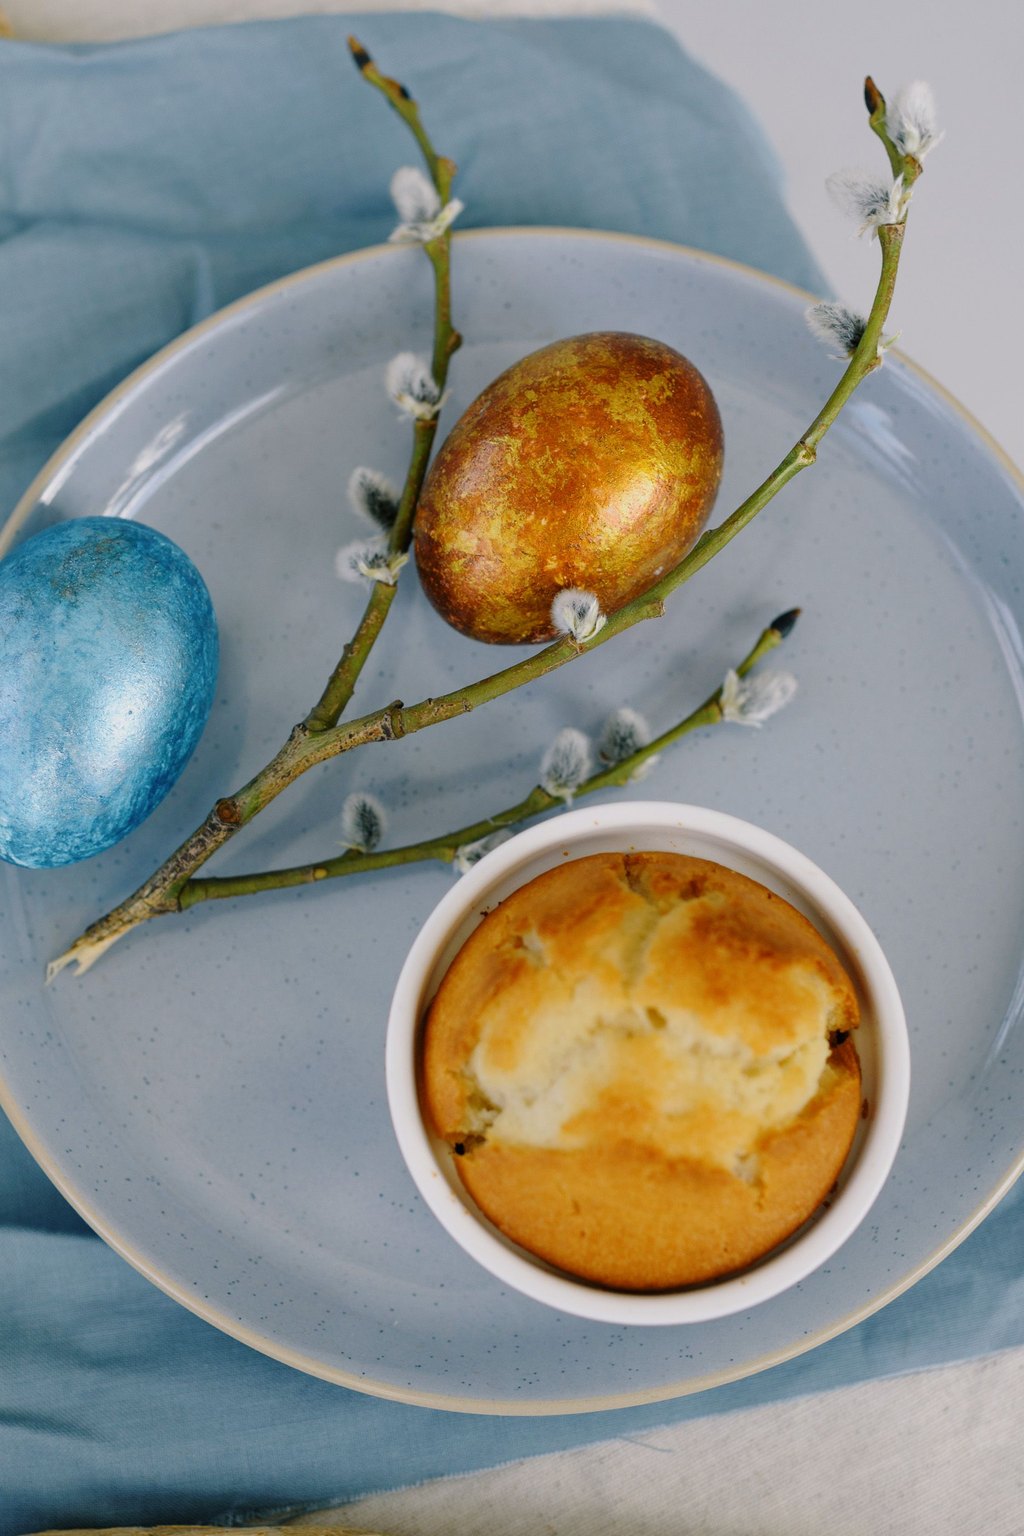
These egg muffins are like mini frittatas baked in a muffin pan with ham, cheese and vegetables. Sauteing the vegetables first removes extra moisture so the eggs stay fluffy instead of watery. They are protein packed, easy to hold and perfect for eating on the go.
Ingredients
- 10 large eggs
- 1/3 cup milk
- 1/2 teaspoon kosher salt
- 1/4 teaspoon black pepper
- 1/4 teaspoon garlic powder
- 1 tablespoon olive oil
- 1/2 small onion, finely diced
- 1 red bell pepper, finely diced
- 1 cup fresh spinach, chopped
- 1 cup diced cooked ham
- 1 cup shredded cheddar cheese
- Nonstick cooking spray
Instructions
- Heat the oven to 350F. Spray a 12 cup standard muffin pan very well with cooking spray, or use silicone liners for the easiest release.
- Heat the olive oil in a small skillet over medium heat. Cook the onion and bell pepper for 4 minutes, until soft. Add the spinach and cook for 1 minute, until wilted. Let cool slightly.
- In a large measuring cup or bowl, whisk the eggs, milk, salt, pepper and garlic powder until completely smooth.
- Divide the cooked vegetables, ham and cheese evenly among the muffin cups.
- Pour the egg mixture over the fillings, filling each cup about three quarters full.
- Bake for 20 to 25 minutes, until the eggs are puffed, set in the center and a knife inserted comes out clean.
- Let cool in the pan for 5 minutes, then run a thin knife around each cup and lift out. They will deflate a little as they cool, which is normal.
I bake a pan of these on Sunday and we eat them all week long. They are a great way to sneak a few vegetables into breakfast without any complaints.
Store cooled egg cups in an airtight container in the fridge for 4 days, or freeze for up to 2 months. Reheat in the microwave for 30 to 45 seconds.
4) Banana Bread Muffins
4) Banana Bread Muffins
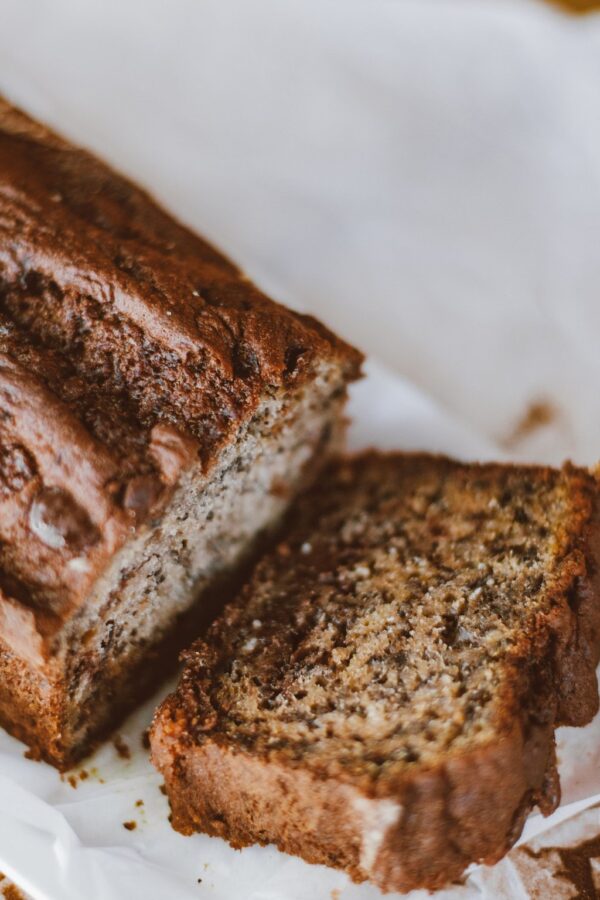
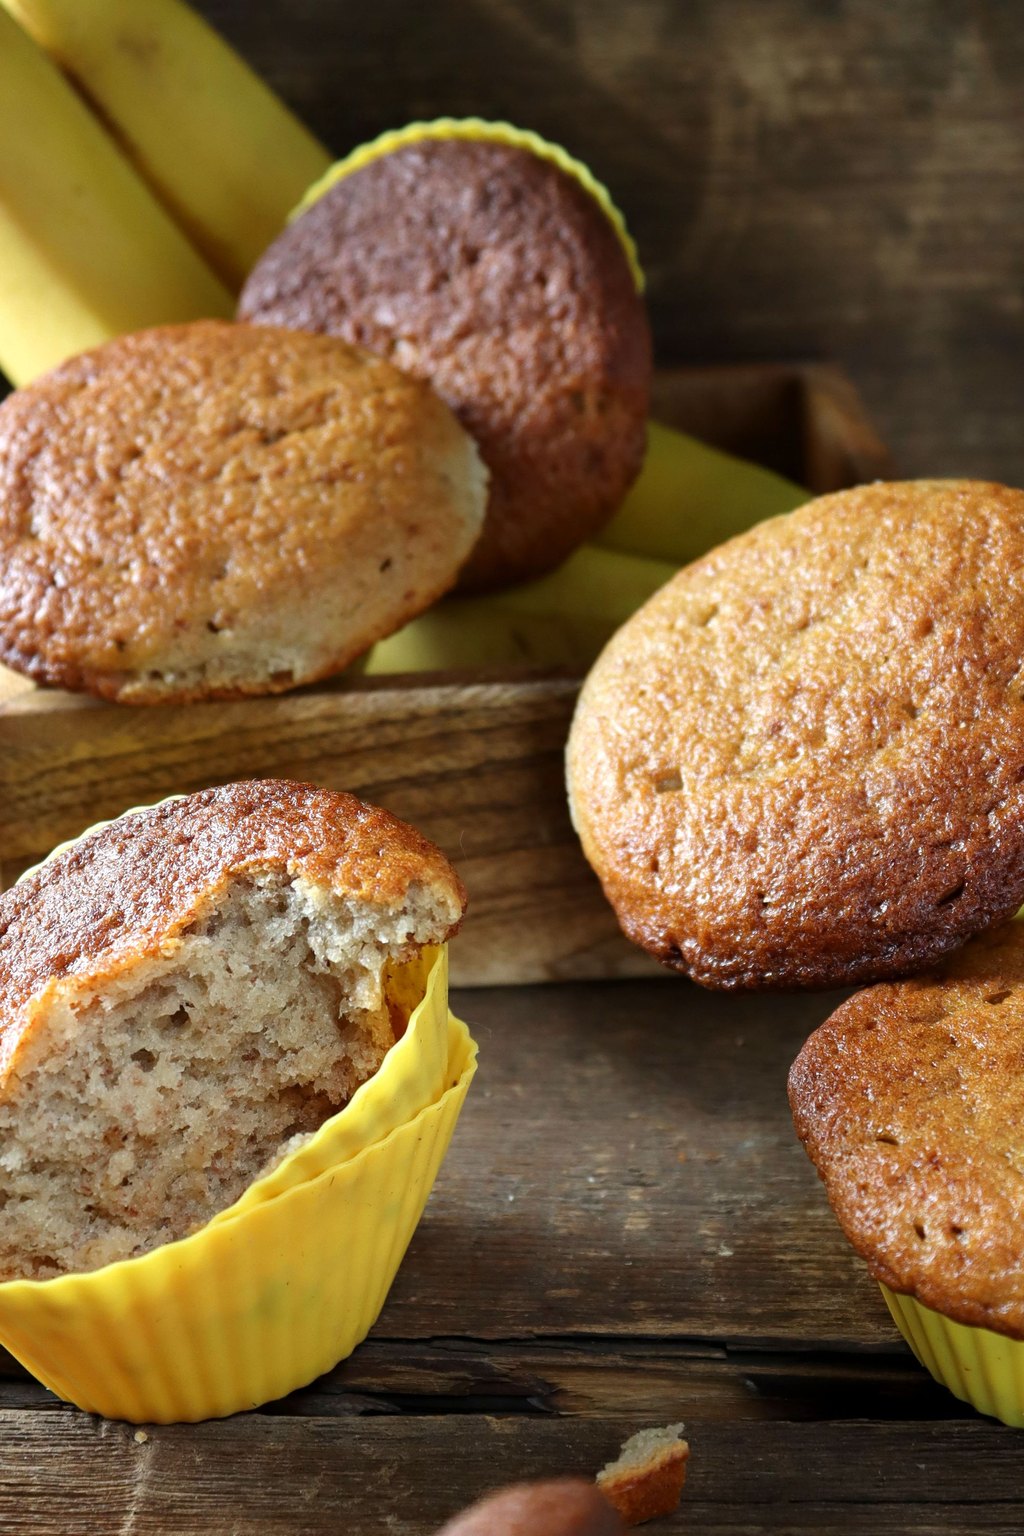
These muffins have all the flavor of classic banana bread in a quick, grab and go size. Very ripe bananas and brown sugar keep them moist and naturally sweet. A little Greek yogurt makes the crumb tender while chocolate chips or walnuts add a nice surprise in every bite.
Ingredients
- 3 very ripe bananas, mashed, about 1 1/2 cups
- 1/3 cup unsalted butter, melted
- 1/2 cup packed brown sugar
- 1 large egg
- 1/4 cup plain Greek yogurt
- 1 teaspoon vanilla extract
- 1 1/2 cups all purpose flour
- 1 teaspoon baking soda
- 1/2 teaspoon baking powder
- 1/2 teaspoon ground cinnamon
- 1/2 teaspoon kosher salt
- 1/2 cup chocolate chips or chopped walnuts
Instructions
- Heat the oven to 375F and line a 12 cup muffin pan with paper liners.
- In a large bowl, mash the bananas with a fork until mostly smooth. Whisk in the melted butter, brown sugar, egg, Greek yogurt and vanilla.
- In a separate bowl, whisk the flour, baking soda, baking powder, cinnamon and salt.
- Add the dry ingredients to the banana mixture and fold gently with a spatula just until no streaks of flour remain. Overmixing makes muffins tough.
- Fold in the chocolate chips or walnuts.
- Divide the batter evenly among the muffin cups, filling them nearly to the top. Sprinkle a few extra chips or a pinch of brown sugar on top if you like.
- Bake for 18 to 22 minutes, until the tops spring back when pressed and a toothpick in the center comes out clean. Cool in the pan for 5 minutes, then move to a rack.
Whenever bananas start to spot on my counter, these muffins happen. They bake in about twenty minutes, which is much faster than a full loaf.
Freeze cooled muffins in a zip top bag for up to 3 months. Pull one out the night before and it will be thawed by breakfast.
5) Blueberry Baked Oatmeal
5) Blueberry Baked Oatmeal
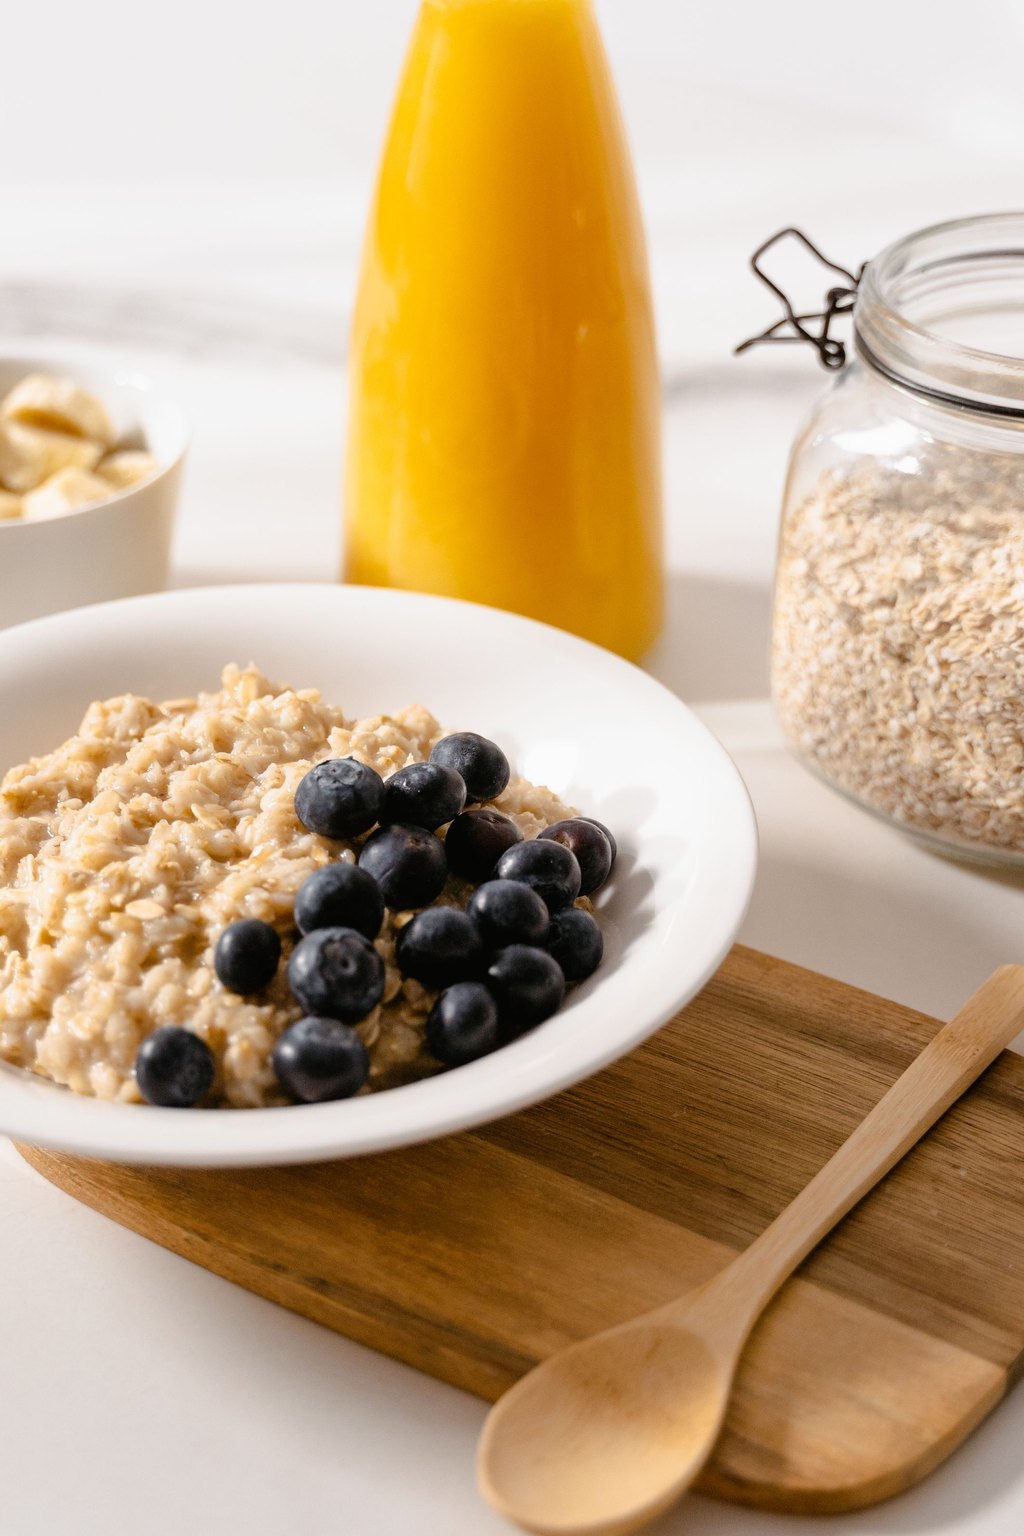
Baked oatmeal is a sliceable, cake like breakfast made with rolled oats, milk, eggs and a touch of maple syrup. Blueberries burst as it bakes and create sweet, jammy pockets throughout. The top turns golden and slightly crisp while the inside stays soft and custardy.
Ingredients
- 3 cups old fashioned rolled oats
- 1/3 cup packed brown sugar
- 2 teaspoons baking powder
- 1 teaspoon ground cinnamon
- 1/2 teaspoon kosher salt
- 2 cups milk
- 2 large eggs
- 1/4 cup unsalted butter, melted
- 1/4 cup maple syrup
- 2 teaspoons vanilla extract
- 1 1/2 cups fresh or frozen blueberries
- 1/4 cup sliced almonds
Instructions
- Heat the oven to 375F and grease an 8×8 or 9×9 inch baking dish.
- In a large bowl, stir together the oats, brown sugar, baking powder, cinnamon and salt. Make sure the brown sugar has no hard lumps.
- In another bowl, whisk the milk, eggs, melted butter, maple syrup and vanilla until smooth.
- Pour the wet ingredients into the oat mixture and stir until combined. Gently fold in 1 cup of the blueberries. If using frozen berries, do not thaw them first.
- Spread the mixture evenly in the baking dish. Scatter the remaining blueberries and sliced almonds over the top.
- Bake for 35 to 40 minutes, until the top is golden, the edges are lightly crisp and the center no longer jiggles when you shake the pan. If the top browns too fast, lay a sheet of foil loosely over the dish for the last 10 minutes.
- Let cool for 10 minutes before cutting into squares. Serve warm with a splash of milk or a spoonful of yogurt.
This feels like a cozy weekend breakfast but works perfectly on weekdays when made ahead. One pan feeds my family for two or three mornings.
Refrigerate leftovers for up to 5 days and reheat squares in the microwave for 30 seconds. Swap the blueberries for diced apples or raspberries any time.
6) Vanilla Chia Seed Pudding
6) Vanilla Chia Seed Pudding
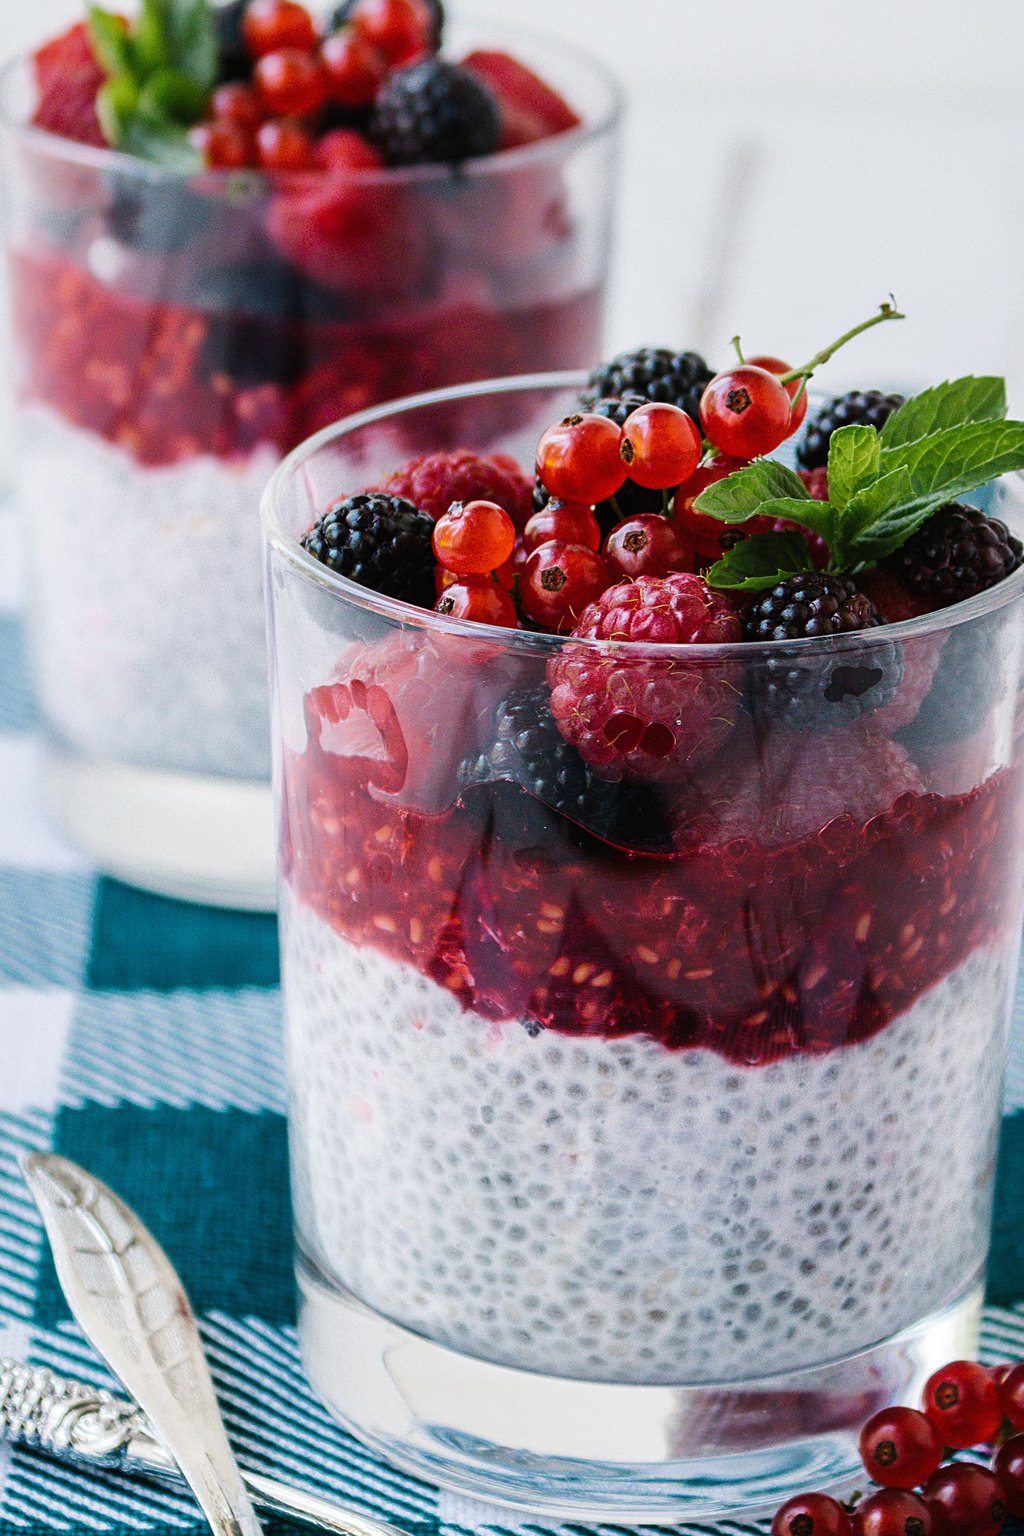
Chia seeds soak up milk overnight and swell into a thick, creamy pudding with a fun, tapioca like texture. Vanilla, cinnamon and a little maple syrup give it a gentle sweetness. Bright fresh fruit and crunchy granola on top turn it into a colorful breakfast that tastes like dessert.
Ingredients
- 1/2 cup chia seeds
- 2 cups milk of choice
- 1/2 cup plain Greek yogurt
- 3 tablespoons maple syrup or honey
- 1 1/2 teaspoons vanilla extract
- 1/4 teaspoon ground cinnamon
- 1 pinch kosher salt
- 1 cup fresh berries
- 1 kiwi, peeled and diced
- 2 tablespoons granola
- 1 tablespoon unsweetened coconut flakes
Instructions
- In a large bowl or quart jar, whisk the milk, Greek yogurt, maple syrup, vanilla, cinnamon and salt until smooth.
- Add the chia seeds and whisk well for about 1 minute, making sure none of the seeds clump together. Scrape the sides of the bowl so no seeds stick there.
- Let the mixture sit for 10 minutes, then whisk again. This second stir is the key to a smooth pudding without clumps at the bottom.
- Cover and refrigerate for at least 4 hours or overnight, until thick and pudding like. The pudding will look thin at first, but it thickens a lot as the seeds absorb the liquid.
- Stir the pudding before serving. If it is too thick, whisk in a splash of milk until it reaches the texture you like.
- Spoon into 4 jars or bowls.
- Top each serving with berries, diced kiwi, granola and coconut flakes just before eating so the toppings stay crunchy and fresh.
Chia pudding is one of the easiest make ahead breakfasts, and it keeps me full until lunch. My daughter loves layering her own toppings in a jar.
Portion the pudding into lidded jars for the week and keep toppings in a separate container. It stays fresh in the fridge for up to 5 days.
7) Sheet Pan Pancakes
7) Sheet Pan Pancakes
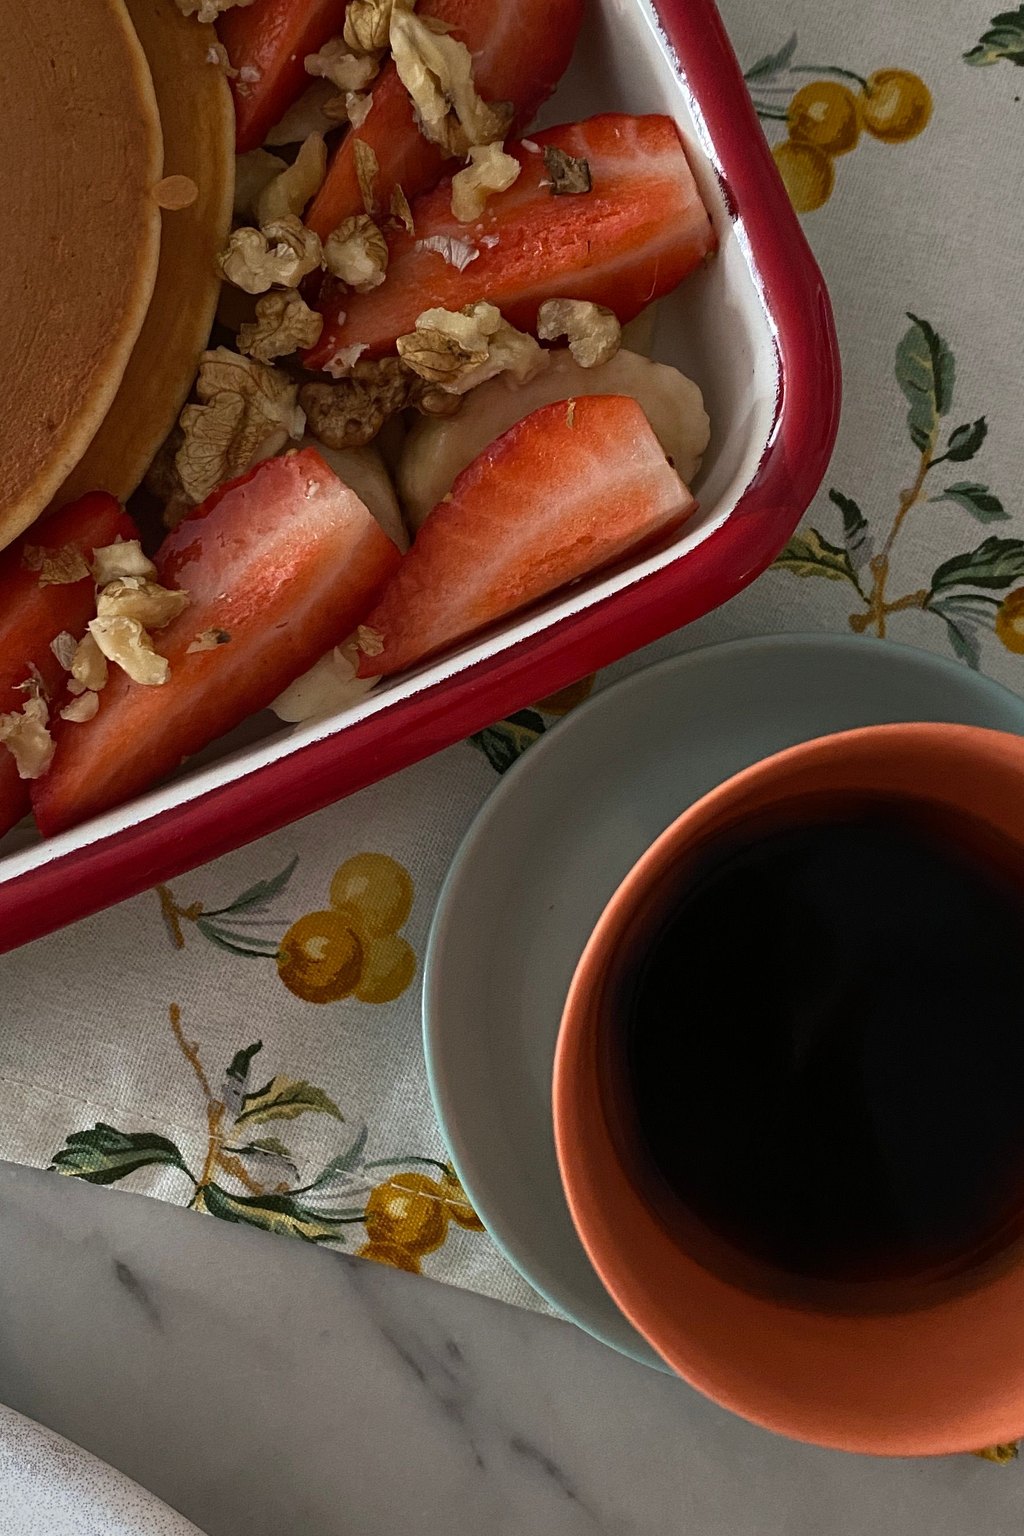
Sheet pan pancakes bake a whole batch of fluffy buttermilk pancakes at once with no flipping or standing at the stove. The edges turn golden and slightly crisp while the middle stays light and tender. Toppings like blueberries and chocolate chips get sprinkled right on top so everyone gets their favorite.
Ingredients
- 3 cups all purpose flour
- 3 tablespoons granulated sugar
- 1 tablespoon baking powder
- 1 teaspoon baking soda
- 1 teaspoon kosher salt
- 2 1/2 cups buttermilk
- 3 large eggs
- 1/3 cup unsalted butter, melted
- 2 teaspoons vanilla extract
- 1 cup fresh blueberries
- 1/2 cup mini chocolate chips
- Maple syrup, for serving
Instructions
- Heat the oven to 425F. Line a 13×18 inch rimmed sheet pan with parchment paper and grease the paper and sides of the pan well.
- Whisk the flour, sugar, baking powder, baking soda and salt in a large bowl.
- In another bowl, whisk the buttermilk, eggs, melted butter and vanilla. Room temperature buttermilk and eggs blend more easily with the butter.
- Pour the wet ingredients into the dry and stir just until combined. A few lumps are fine and make for fluffier pancakes.
- Spread the batter evenly in the pan, pushing it all the way to the corners. Sprinkle blueberries over half and chocolate chips over the other half, or mix and match. The batter will be thick, so use an offset spatula to smooth it.
- Bake for 14 to 18 minutes, until the top is golden, the center springs back when touched and a toothpick comes out clean.
- Let cool for 5 minutes, then cut into squares with a pizza cutter. Serve with butter and warm maple syrup.
This is how I make pancakes on school mornings without being stuck at the griddle. One pan feeds my whole crew in under thirty minutes.
Freeze leftover squares in a zip top bag with parchment between layers. Reheat them in the toaster or microwave for an almost instant breakfast.
8) Greek Yogurt Parfaits
8) Greek Yogurt Parfaits
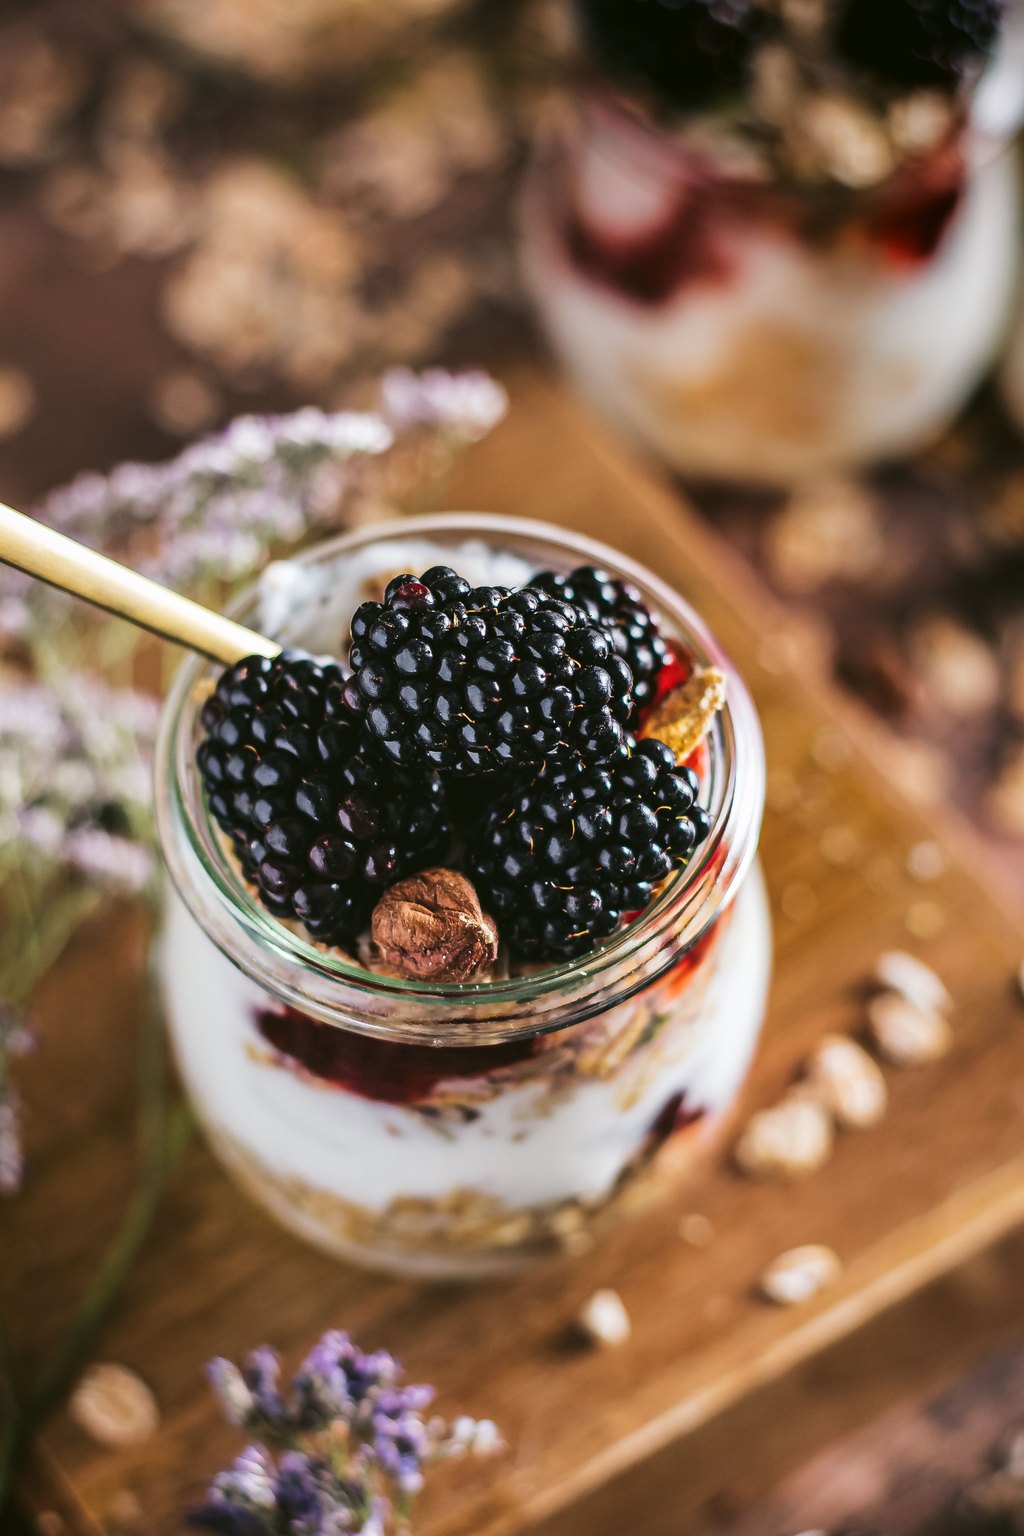
These parfaits layer creamy honey sweetened Greek yogurt with juicy berries and crunchy granola. The mix of cool, tangy, sweet and crunchy makes each spoonful interesting. A little chia or flax and some chopped nuts add staying power so you are not hungry an hour later.
Ingredients
- 3 cups plain or vanilla Greek yogurt
- 2 tablespoons honey
- 1/2 teaspoon vanilla extract
- 1 cup fresh strawberries, sliced
- 1 cup fresh blueberries
- 1 cup fresh raspberries
- 1 1/2 cups granola
- 2 tablespoons chia seeds or ground flaxseed
- 1/4 cup chopped pecans or almonds
- 1 tablespoon fresh lemon zest, optional
Instructions
- In a medium bowl, stir the Greek yogurt with the honey and vanilla until smooth. Taste and add a little more honey if you like it sweeter.
- Gently toss the strawberries, blueberries and raspberries together in a separate bowl. Add the lemon zest if using for a bright, fresh flavor.
- Set out four 12 ounce glasses or jars. Clear glasses show off the pretty layers best.
- Spoon about 1/3 cup of yogurt into the bottom of each glass, then add a layer of mixed berries. Press the yogurt down gently with the back of the spoon to make a flat base.
- Sprinkle a spoonful of granola, a pinch of chia seeds and a few nuts over the berries.
- Repeat the layers once more, ending with berries and a final sprinkle of granola and nuts on top.
- Serve right away for the crunchiest granola. If packing ahead, keep the granola in a small separate container and add it just before eating.
Parfaits are the breakfast my kids can practically make themselves. They look pretty in a glass and take less time than toasting a waffle.
Layer the yogurt and fruit in lidded jars up to 3 days ahead. Store granola separately so it stays crisp until you are ready to eat.
9) Avocado Toast with Egg
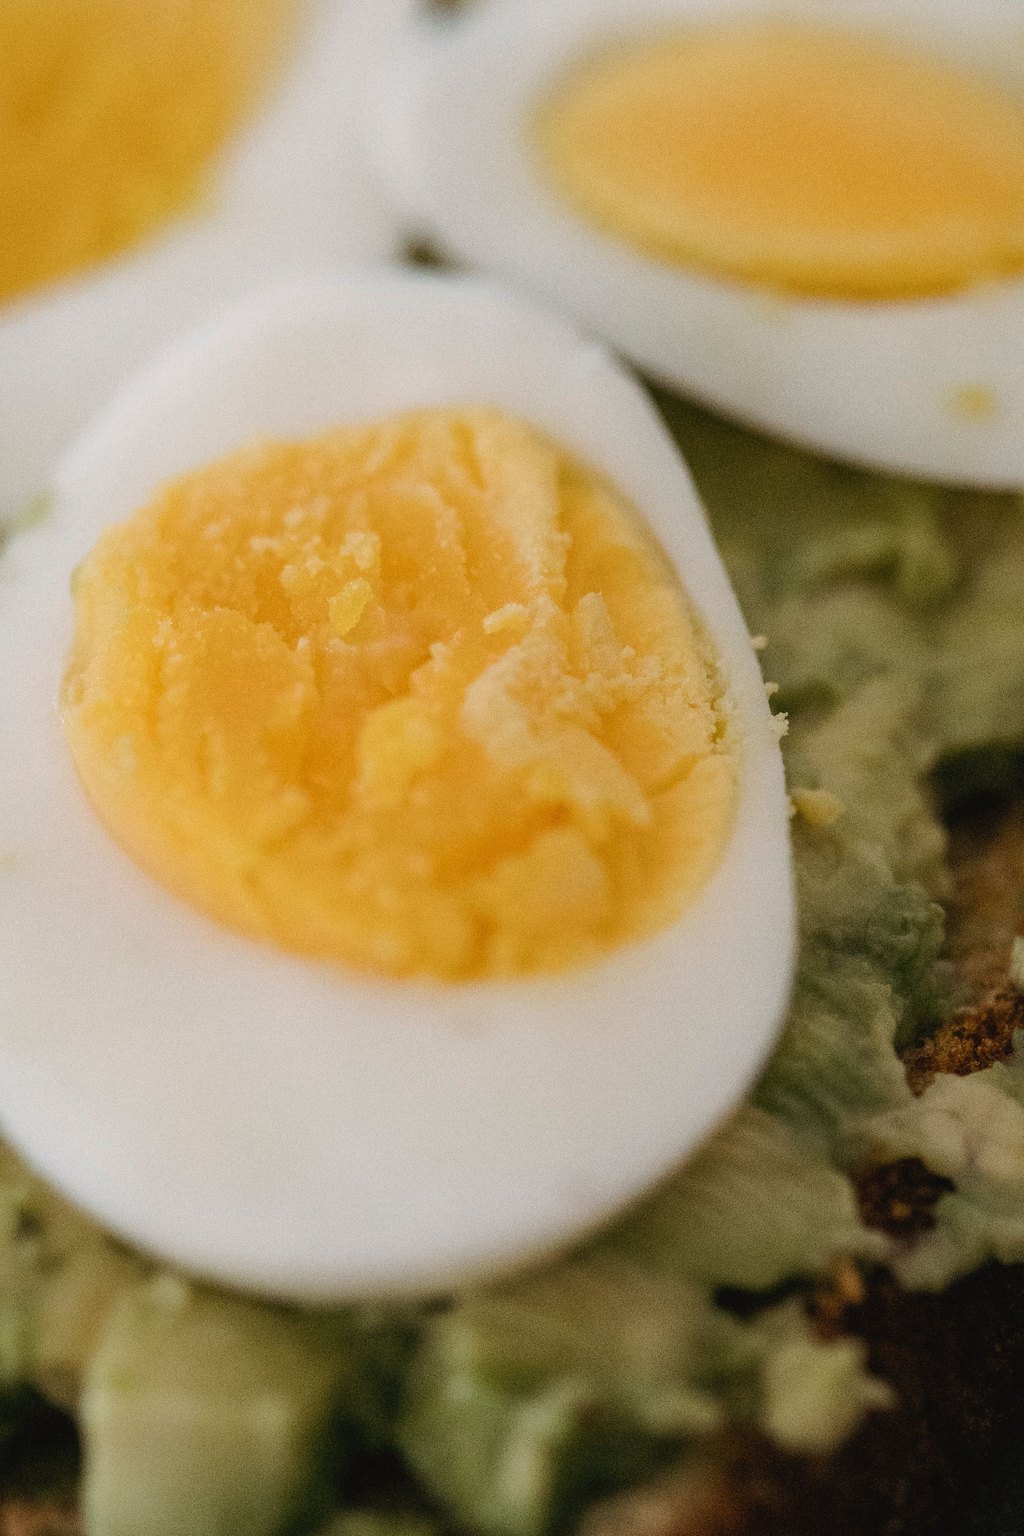
9) Avocado Toast with Egg
Crispy toast is spread with lemony mashed avocado and topped with a perfectly fried egg. The creamy avocado and rich runny yolk come together like a savory sauce that soaks into the bread. A sprinkle of chili flakes, feta and seasoning adds a little heat and crunch on top.
Ingredients
- 2 thick slices whole grain or sourdough bread
- 1 ripe avocado
- 1 teaspoon fresh lemon juice
- 1/4 teaspoon kosher salt
- 1/8 teaspoon black pepper
- 1/8 teaspoon garlic powder
- 2 large eggs
- 1 teaspoon butter or olive oil
- 1/4 teaspoon red pepper flakes
- 1 tablespoon crumbled feta cheese
- 1 tablespoon everything bagel seasoning, optional
Instructions
- Toast the bread until deeply golden and crisp so it can hold up to the toppings.
- Cut the avocado in half, remove the pit and scoop the flesh into a small bowl. Add the lemon juice, salt, pepper and garlic powder and mash with a fork until mostly smooth with a few chunks.
- Heat the butter or oil in a nonstick skillet over medium heat. Crack in the eggs and cook for 2 to 3 minutes, until the whites are fully set and the edges are lightly crisp.
- For runny yolks, serve them sunny side up. For firmer yolks, flip and cook for 1 minute more, or cover the pan for the last minute.
- Spread the mashed avocado thickly over each slice of toast, all the way to the edges.
- Slide a fried egg onto each toast.
- Sprinkle with red pepper flakes, feta and the bagel seasoning if using, plus a pinch of flaky salt. Eat right away while the toast is still crisp.
This is my own go to breakfast when the kids are sorted and I finally get to eat. It is ready in ten minutes and keeps me full all morning.
Keep half an avocado fresh by leaving the pit in, brushing the cut side with lemon juice and wrapping tightly. It will be ready for tomorrow’s toast.
10) Breakfast Quesadillas
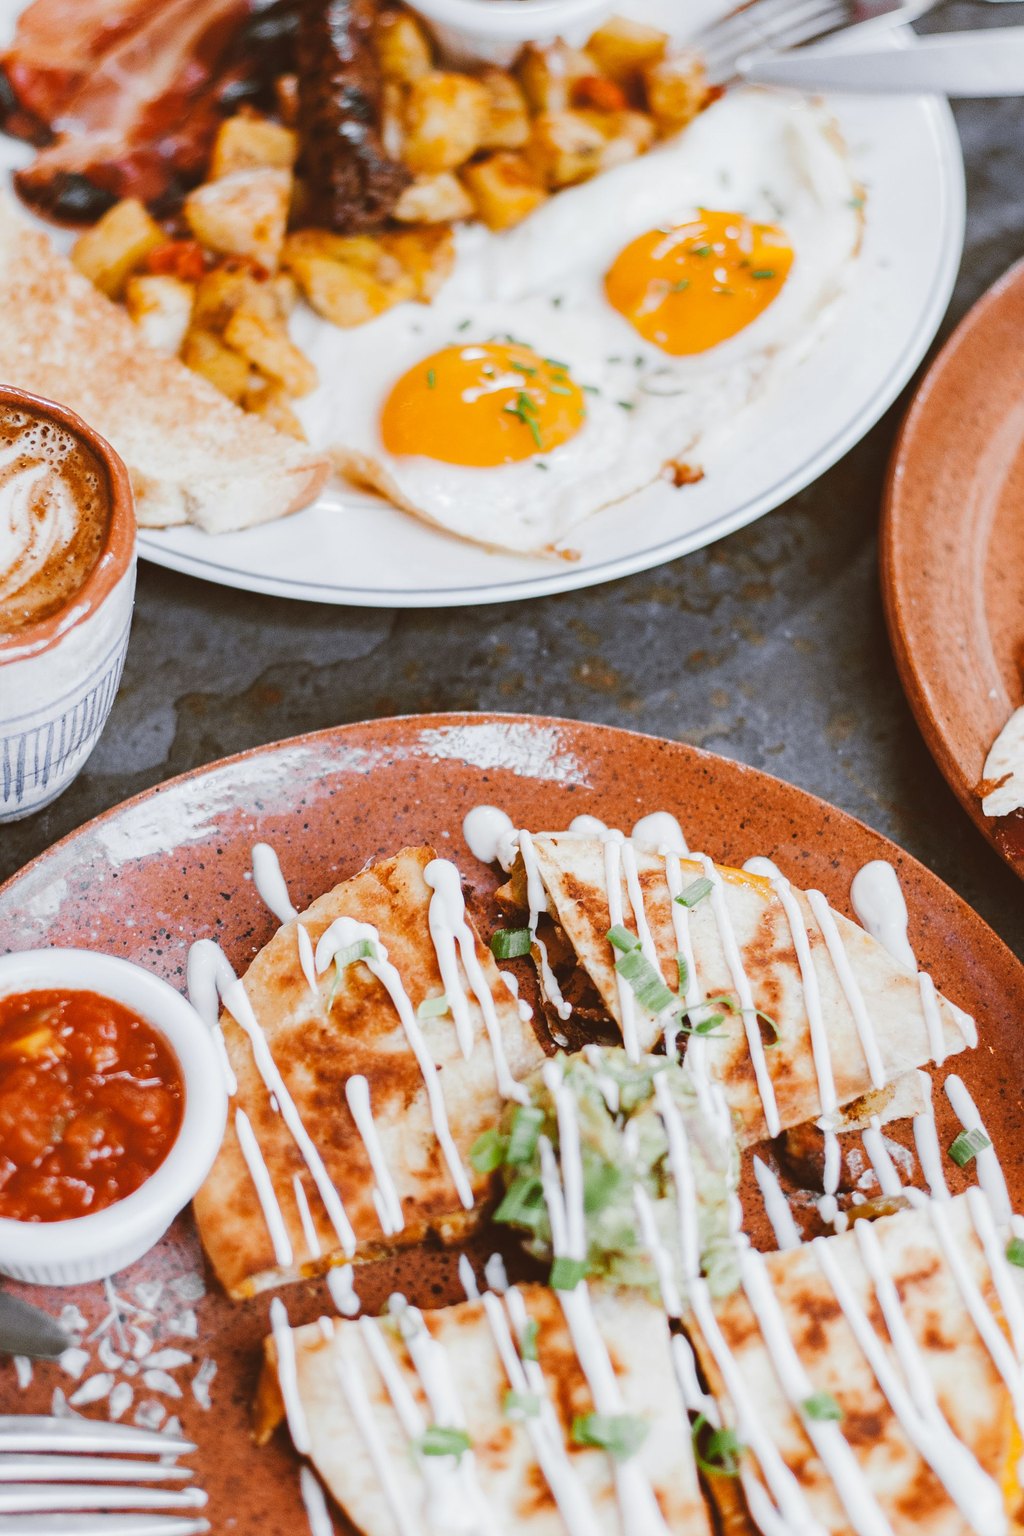
10) Breakfast Quesadillas
Fluffy scrambled eggs, crispy bacon and melty cheese are folded into a flour tortilla and toasted until golden. The cheese on both sides of the eggs acts like glue to hold everything together. It is a hand held breakfast that is crispy outside and soft and cheesy inside.
Ingredients
- 6 large eggs
- 2 tablespoons milk
- 1/4 teaspoon kosher salt
- 1/8 teaspoon black pepper
- 1 tablespoon butter, plus more for the skillet
- 4 slices cooked bacon, crumbled
- 1/4 cup diced red bell pepper
- 2 green onions, sliced
- 4 large flour tortillas, 10 inch
- 1 1/2 cups shredded Mexican blend cheese
- 1/2 cup salsa
- 1/4 cup sour cream
Instructions
- Whisk the eggs, milk, salt and pepper in a bowl until smooth.
- Melt 1 tablespoon of butter in a large nonstick skillet over medium heat. Add the bell pepper and cook for 2 minutes, until slightly soft.
- Pour in the eggs and gently stir with a spatula for 2 to 3 minutes, until softly scrambled but still a little moist. Stir in the bacon and green onions and move to a plate. Wipe out the skillet.
- Lay the tortillas flat. Sprinkle a little cheese over half of each tortilla, add a quarter of the eggs and top with more cheese. Fold the tortillas in half.
- Melt a small pat of butter in the skillet over medium heat. Cook two quesadillas at a time for 2 to 3 minutes per side, until golden brown and the cheese is melted.
- Repeat with the remaining quesadillas, adding a little more butter as needed.
- Cut each quesadilla into wedges and serve with salsa and sour cream for dipping.
Breakfast quesadillas are a fun twist that gets my kids to the table fast. They are easy to eat with your hands, which matters on rushed mornings.
Use leftover cooked sausage or ham instead of bacon. Assembled quesadillas can be wrapped and refrigerated overnight, then cooked in the skillet in the morning.
11) Strawberry Banana Smoothie
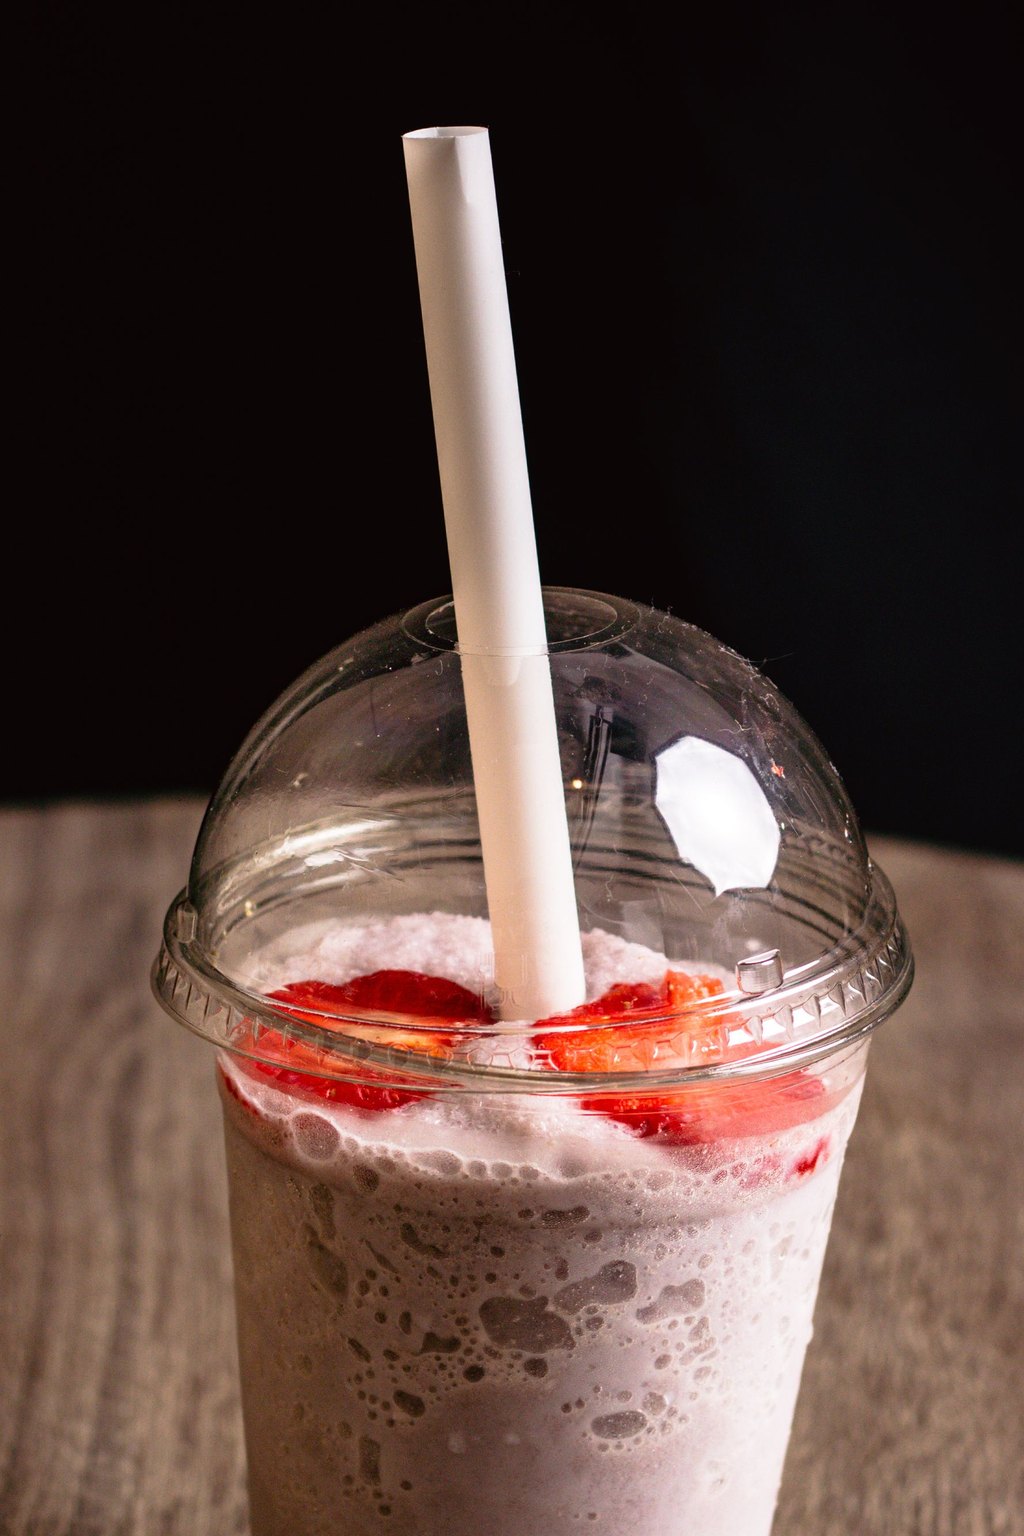
11) Strawberry Banana Smoothie
This classic smoothie blends frozen strawberries and banana into a thick, creamy drink that tastes like a milkshake. Greek yogurt, oats and chia seeds add protein and fiber so it actually works as a meal. Using frozen fruit means there is no need for much ice, so the flavor stays bold.
Ingredients
- 2 cups frozen strawberries
- 1 large ripe banana, sliced and frozen
- 1 cup milk of choice
- 1/2 cup plain or vanilla Greek yogurt
- 1 tablespoon honey, optional
- 1 tablespoon chia seeds or ground flaxseed
- 2 tablespoons old fashioned rolled oats
- 1/2 teaspoon vanilla extract
- 1 handful fresh spinach, optional
- 4 ice cubes, optional
Instructions
- Pour the milk into the blender first. Adding liquid first helps the blades spin freely and blends everything more smoothly.
- Add the Greek yogurt, honey, vanilla, oats and chia seeds.
- Add the spinach if using. Do not worry, the strawberries hide the green color and the flavor completely.
- Add the frozen banana and frozen strawberries last, on top of everything else.
- Blend on low for 15 seconds to break up the fruit, then increase to high and blend for 45 to 60 seconds, until completely smooth and creamy. Stop and scrape down the sides if needed.
- Taste and adjust. Add a splash more milk if it is too thick to pour, or a few ice cubes if you like it thicker and colder.
- Pour into two glasses and serve right away with a straw, or pour into a lidded cup to take with you. Rinse the blender right away so cleanup takes seconds.
Smoothies are what I make on mornings when we have about three minutes to spare. Even my most breakfast resistant kid will drink one in the car.
Prep smoothie packs by putting all the fruit, oats and chia in freezer bags. In the morning, dump one in the blender with milk and yogurt and blend.
12) Homemade Honey Granola
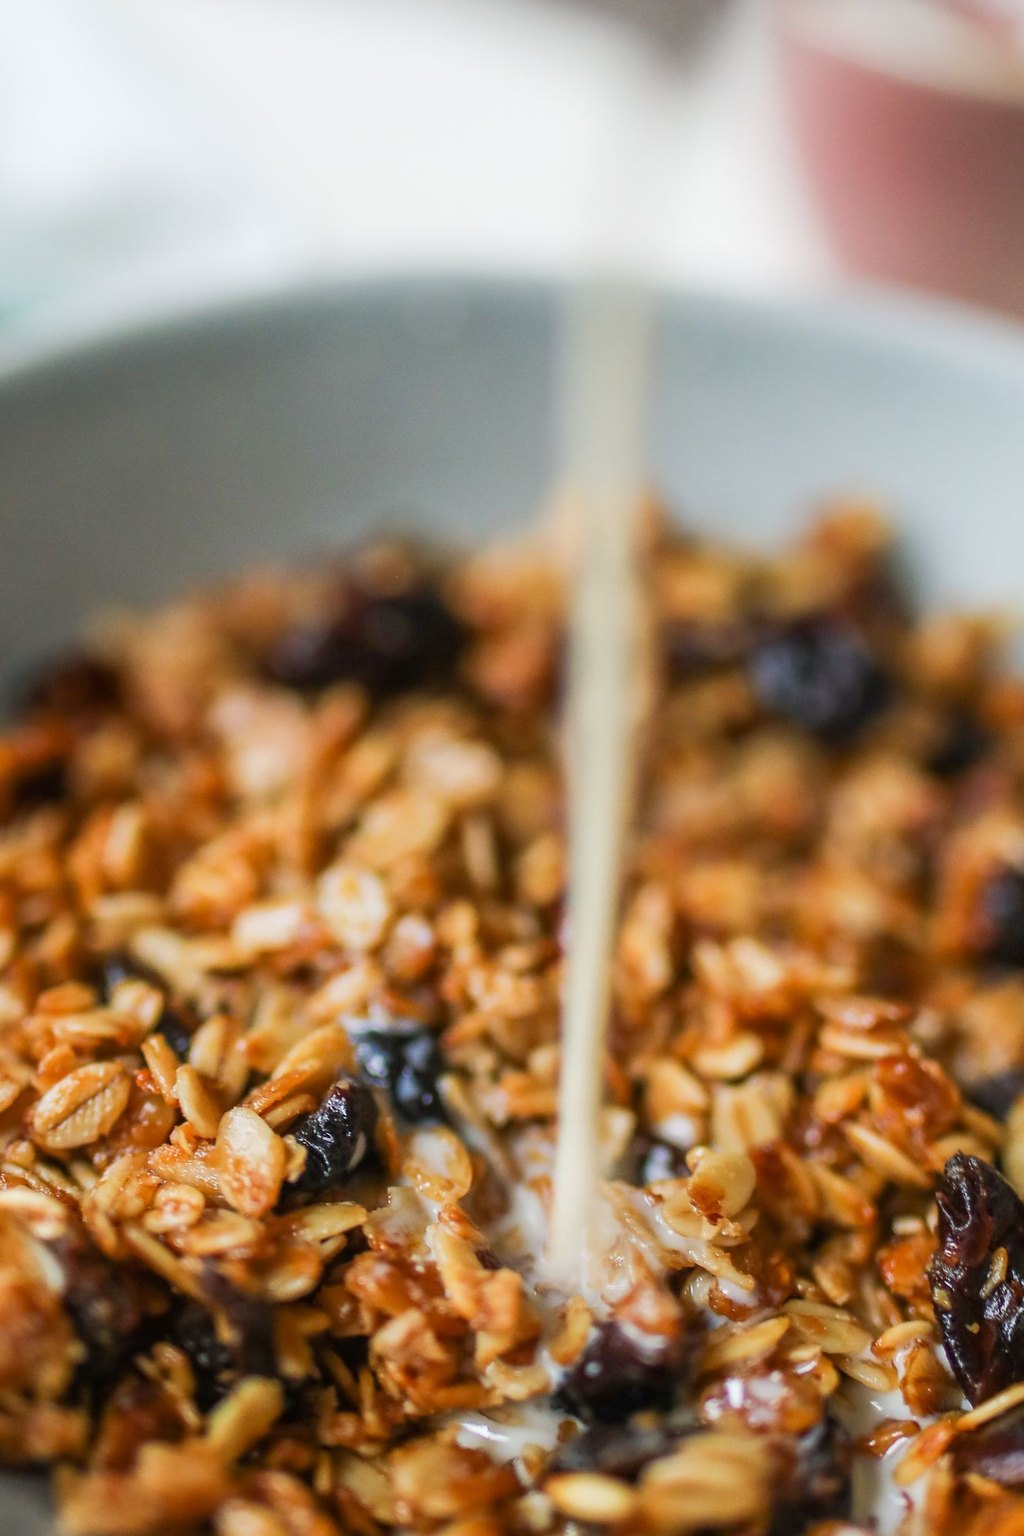
12) Homemade Honey Granola
This granola bakes oats, nuts, seeds and coconut in a warm honey and cinnamon coating until golden and crunchy. Pressing it flat and letting it cool undisturbed creates big, snackable clusters that are perfect for munching. Dried cranberries stirred in at the end add a chewy, tart bite.
Ingredients
- 4 cups old fashioned rolled oats
- 1 cup chopped pecans or almonds
- 1/2 cup unsweetened coconut flakes
- 1/4 cup pumpkin seeds
- 1/3 cup packed brown sugar
- 1 teaspoon ground cinnamon
- 1/2 teaspoon kosher salt
- 1/2 cup honey
- 1/3 cup coconut oil or vegetable oil
- 2 teaspoons vanilla extract
- 1 cup dried cranberries or raisins
Instructions
- Heat the oven to 325F and line a large rimmed baking sheet with parchment paper.
- In a large bowl, stir together the oats, nuts, coconut, pumpkin seeds, brown sugar, cinnamon and salt. Break up any clumps of brown sugar with your fingers.
- Warm the honey and oil in a small saucepan or the microwave just until runny. Stir in the vanilla.
- Pour the warm honey mixture over the oat mixture and stir until everything is evenly coated and looks slightly damp.
- Spread the granola on the baking sheet in an even layer and press it down firmly with a spatula. Pressing helps it form big clusters.
- Bake for 25 to 30 minutes, rotating the pan halfway through, until golden brown. Do not stir if you want large clusters.
- Let the granola cool completely on the pan for at least 30 minutes, where it will crisp up. Break into clusters and stir in the dried cranberries.
Homemade granola costs much less than the fancy bags at the store and tastes so much better. My kids eat it with milk, over yogurt and straight from the jar.
Store granola in an airtight jar at room temperature for up to 3 weeks. Add the dried fruit after baking, since it turns hard if baked.
13) Make Ahead Breakfast Sandwiches
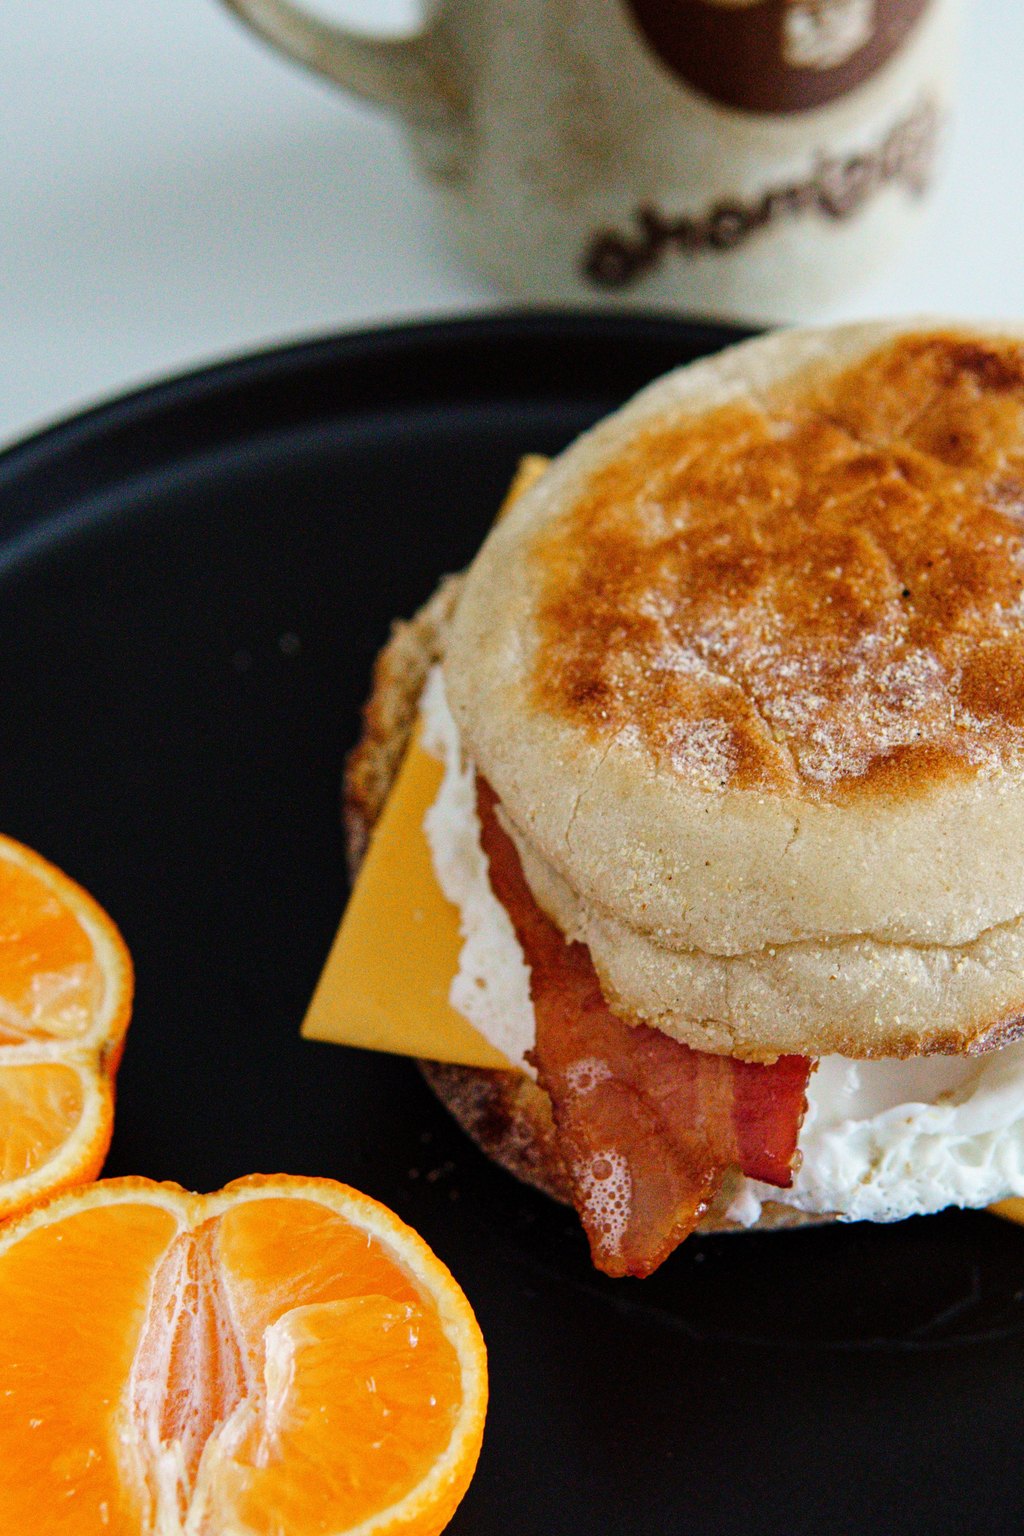
13) Make Ahead Breakfast Sandwiches
These sandwiches stack a sausage patty, fluffy baked egg and melty cheese on a toasted English muffin. Baking the eggs in one pan and cutting squares lets you build a whole batch at once. They taste just like the drive thru version but cost a fraction of the price.
Ingredients
- 8 English muffins, split
- 10 large eggs
- 1/3 cup milk
- 1/2 teaspoon kosher salt
- 1/4 teaspoon black pepper
- 8 precooked sausage patties
- 8 slices American or cheddar cheese
- 2 tablespoons butter, softened
- Nonstick cooking spray
- 1/4 teaspoon garlic powder
Instructions
- Heat the oven to 350F. Spray a 9×13 inch baking pan generously with cooking spray.
- Whisk the eggs, milk, salt, pepper and garlic powder in a large bowl until smooth. Pour into the pan.
- Bake for 18 to 22 minutes, until the eggs are set in the center and no longer wet. Let cool for 5 minutes, then cut into 8 squares.
- While the eggs bake, lightly butter the cut sides of the English muffins and toast them on a baking sheet in the oven for 5 to 6 minutes, until just golden.
- Warm the sausage patties according to the package directions.
- Build each sandwich with a muffin bottom, a sausage patty, an egg square and a slice of cheese, then the muffin top.
- To freeze, cool completely, wrap each sandwich in parchment and then foil and freeze for up to 2 months. Reheat from frozen by removing the foil, wrapping in a paper towel and microwaving for 1 1/2 to 2 minutes, flipping halfway, until hot in the center.
Having these in the freezer means I can hand everyone a hot breakfast in two minutes flat. They are a lifesaver on early sports mornings.
Use turkey sausage or Canadian bacon for a lighter option. Lightly toasting the muffins before freezing keeps them from turning soggy when reheated.
14) Peanut Butter Energy Bites
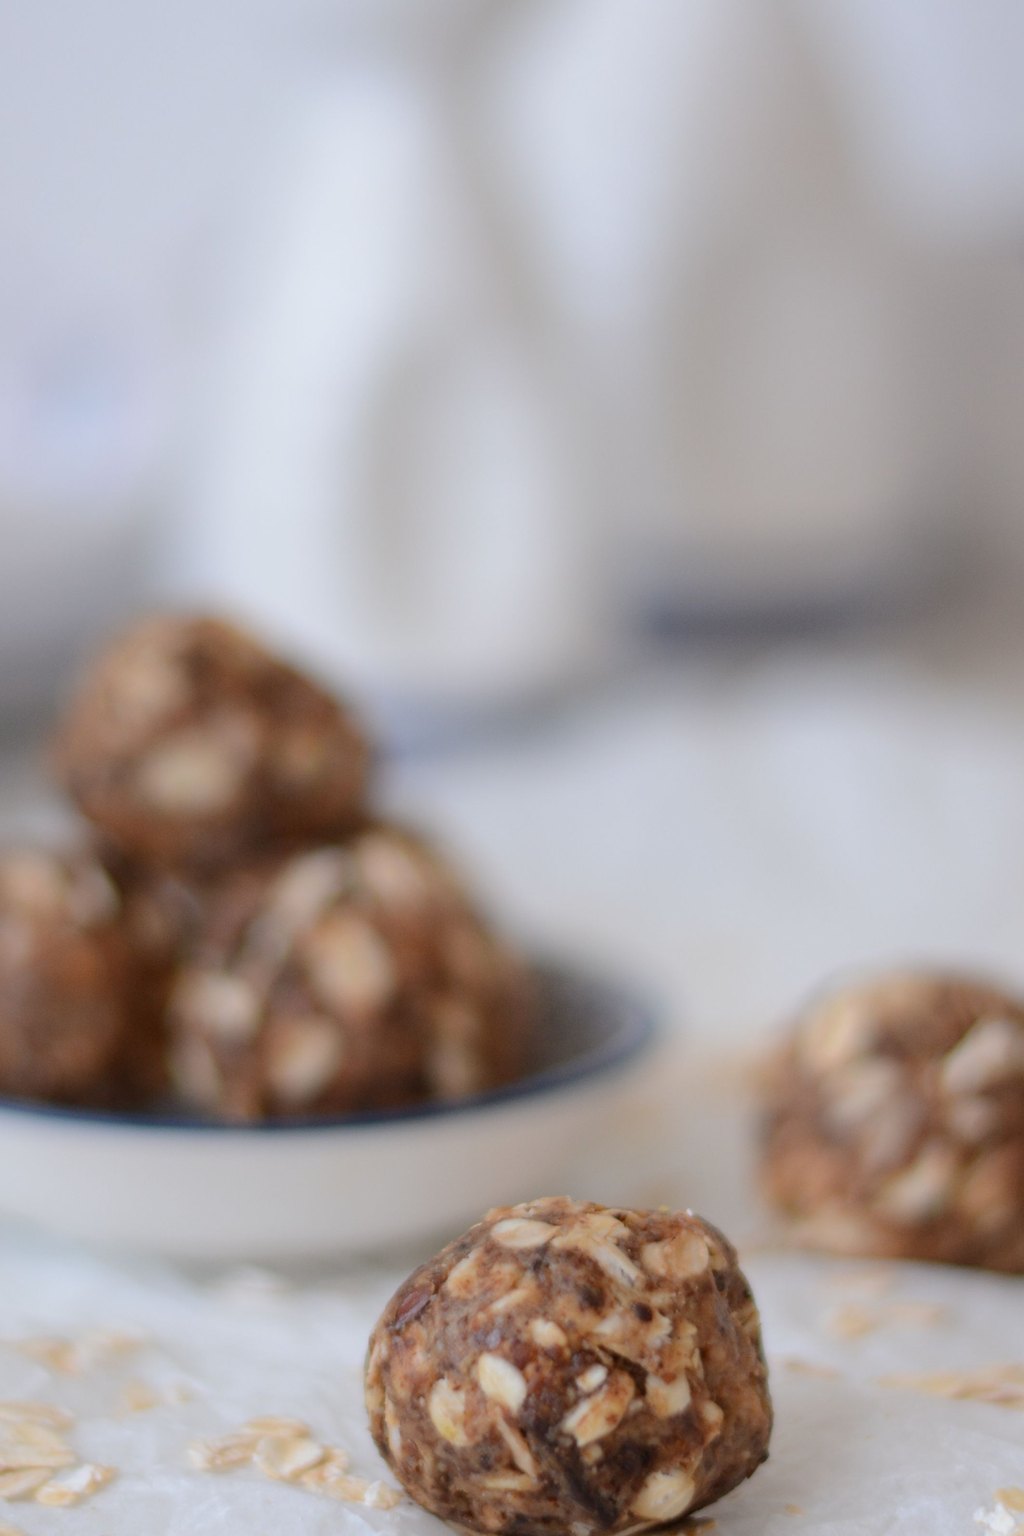
14) Peanut Butter Energy Bites
These no bake bites combine oats, peanut butter and honey with flax, chia and mini chocolate chips. They taste like cookie dough but are packed with fiber, protein and healthy fats to keep you going. A quick chill makes the mixture easy to roll into chewy little balls.
Ingredients
- 1 1/2 cups old fashioned rolled oats
- 2/3 cup creamy peanut butter
- 1/3 cup honey
- 1/2 cup mini chocolate chips
- 1/3 cup ground flaxseed
- 2 tablespoons chia seeds
- 1/4 cup unsweetened shredded coconut
- 1 teaspoon vanilla extract
- 1/4 teaspoon ground cinnamon
- 1 pinch kosher salt
Instructions
- In a large bowl, stir together the peanut butter, honey, vanilla, cinnamon and salt until smooth. If the peanut butter is very thick, warm it for 15 seconds in the microwave first.
- Add the oats, flaxseed, chia seeds and coconut and stir until everything is evenly coated.
- Fold in the mini chocolate chips. Mini chips spread through the mixture better than regular ones.
- Cover the bowl and refrigerate for 20 to 30 minutes. Chilling firms up the mixture so it is much easier to roll.
- Scoop out tablespoon sized portions and roll them between your palms into 1 inch balls. If the mixture sticks to your hands, dampen them lightly with water.
- If the mixture seems too dry to hold together, add another spoonful of peanut butter or honey. If it is too wet, add a few more oats.
- Place the bites in an airtight container, separating layers with parchment paper. Keep them refrigerated.
Energy bites are perfect for mornings when someone just wants to eat on the way out the door. Two or three with a glass of milk makes a decent breakfast in a pinch.
Keep them in the fridge for up to 1 week or freeze for up to 3 months. Use sunflower seed butter to make them safe for nut free school lunches.
15) Freezer French Toast Sticks
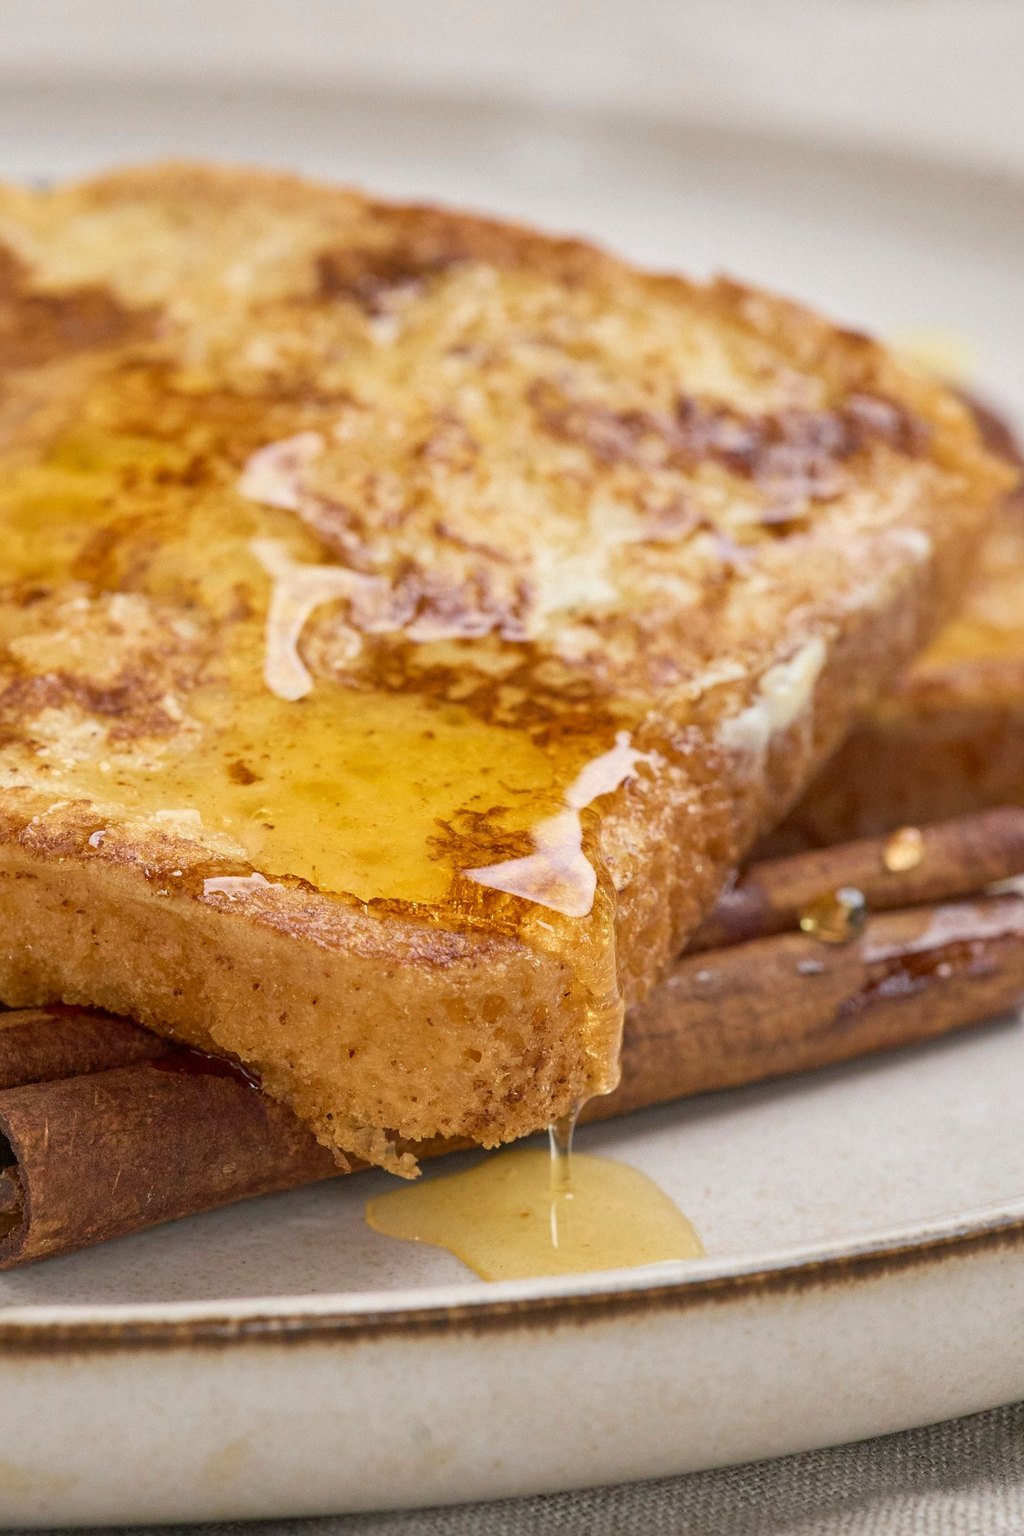
15) Freezer French Toast Sticks
Thick slices of bread are cut into sticks, dipped in a cinnamon vanilla custard and baked until golden. Baking instead of frying makes a big batch at once with no flipping at the stove. The outsides get lightly crisp while the centers stay soft and custardy.
Ingredients
- 8 thick slices brioche or Texas toast, a day old
- 4 large eggs
- 3/4 cup milk
- 2 tablespoons granulated sugar
- 1 teaspoon ground cinnamon
- 1 teaspoon vanilla extract
- 1 pinch kosher salt
- 2 tablespoons butter, melted
- Nonstick cooking spray
- Maple syrup, for dipping
Instructions
- Heat the oven to 400F. Line a large baking sheet with parchment paper and spray it with cooking spray.
- Cut each slice of bread into 3 sticks. Day old bread soaks up the custard without falling apart.
- Whisk the eggs, milk, sugar, cinnamon, vanilla, salt and melted butter in a shallow dish until well blended.
- Dip each stick into the egg mixture for 2 to 3 seconds per side, letting the extra drip off. Place the sticks on the baking sheet with space between them.
- Bake for 10 minutes, then flip each stick and bake for 8 to 10 minutes more, until golden brown and set in the center.
- Serve right away with warm maple syrup for dipping, or cool completely to freeze.
- To freeze, place the cooled sticks on a sheet pan and freeze for 1 hour, then move to a freezer bag for up to 3 months. Reheat from frozen in a 375F oven for 8 to 10 minutes or in the toaster.
These are a homemade version of the boxed kind my kids beg for in the freezer aisle. They dunk them in syrup and are happy every single time.
Flash freezing on a sheet pan first keeps the sticks from clumping together in the bag. You can pull out exactly how many you need each morning.
Before You Start Cooking
My favorite way to plan breakfasts is to pair one freezer recipe, like the burritos or sandwiches, with one fridge recipe, like overnight oats or egg cups. Label everything with the date, and you will always have two or three easy options ready when mornings get hectic.
I hope these recipes bring a little calm to your mornings and send everyone off with something good in their bellies. Even on the busiest days, a homemade breakfast is a small way to show your family you care.
Frequently Asked Questions
What is the best breakfast to make ahead for the week?
Egg muffin cups, overnight oats, baked oatmeal and chia pudding all keep well in the fridge for four to five days. For longer storage, freezer breakfast burritos, breakfast sandwiches and French toast sticks last up to three months. Making one fridge option and one freezer option on Sunday gives you enough variety to get through the whole week.
How do I reheat frozen breakfast burritos so they are not soggy?
Remove the foil, wrap the burrito in a damp paper towel and microwave for two to three minutes, flipping halfway. For a crispy outside, finish it in a dry skillet over medium heat for about a minute per side. You can also bake frozen burritos wrapped in foil at 375F for 25 to 30 minutes.
What can I eat for breakfast if I only have five minutes?
Overnight oats, chia pudding, yogurt parfaits made ahead in jars and energy bites are all grab and go. A smoothie takes about five minutes from start to finish, especially with prepped freezer packs. Any frozen breakfast sandwich, burrito or muffin can also be reheated in two minutes or less for a warm option.