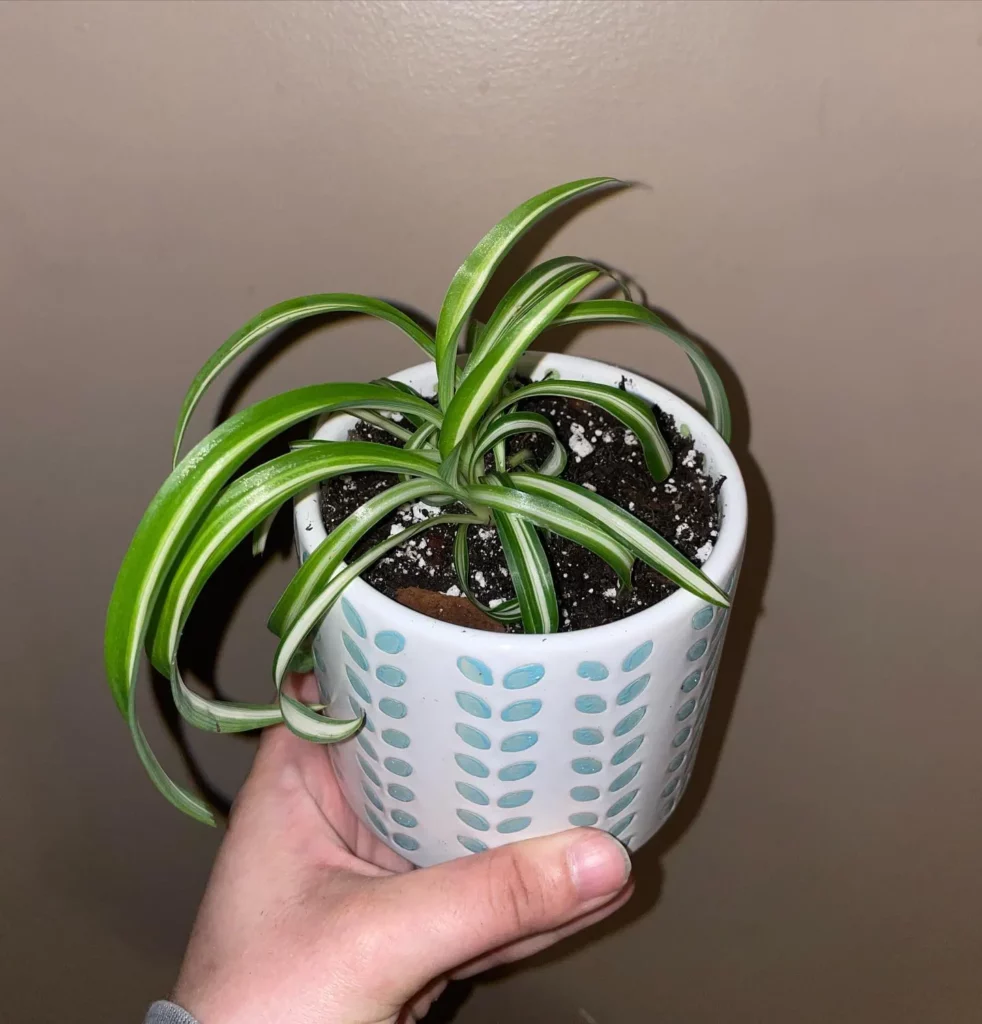
To propagate a spider plant, simply remove a spiderette from the mother plant and plant it in soil or water until it develops roots.
Are you looking to expand your plant collection without breaking the bank? Propagating spider plants is an easy and cost-effective way to multiply your greenery. Whether you’re a seasoned plant parent or just starting out, this guide will show you the various methods of spider plant propagation, so you can grow your own vibrant indoor garden.
Spider Plant Propagation: Growing Plantlets from Spider Plants
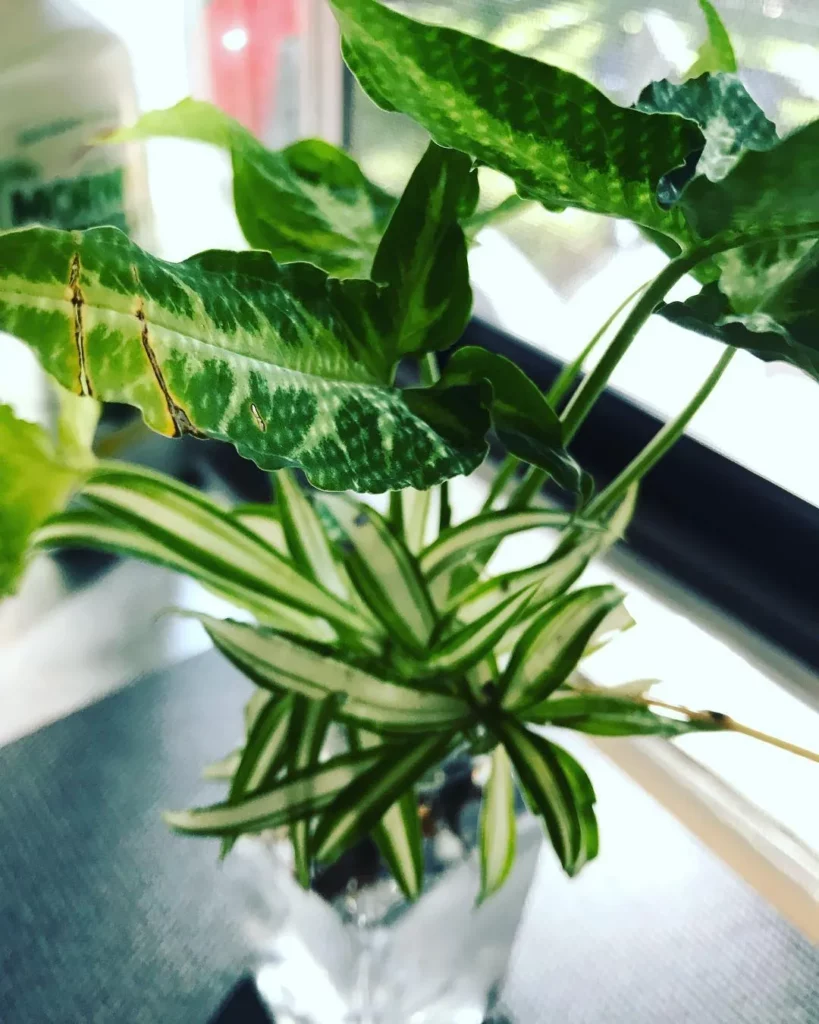
Spider plant propagation is an exciting way to expand your greenery collection. One of the methods involves growing plantlets, also known as spiderettes, from the mother plant. These small offshoots can be easily rooted in soil or water to create new spider plants.
To get started, carefully examine the base of each spiderette for knob-like protrusions and tiny roots. These are signs that the plantlet is ready for propagation. Then, prepare a pot filled with lightweight potting mix, ensuring it has proper drainage holes.
Place the spiderette into the pot, gently pressing it into the soil so that it remains secure. If you prefer, you can keep the spiderette attached to the parent plant until it establishes its own roots. Alternatively, you can separate it immediately from the parent plant by snipping the runner connecting them.
How to Root Spider Plantlets in Water
If you prefer a different method of propagating spider plants, you can try rooting spider plantlets in water before transferring them to soil. This water propagation method is a popular choice for many plant enthusiasts.
To begin, all you need is a glass of water and a healthy spiderette. Carefully remove the spiderette from the mother plant, ensuring it has well-developed roots. Place the spiderette in the glass of water, making sure that only the bottom portion is submerged. You can use a clear glass to monitor the root growth.
Let the spiderette sit in the water for about a week or two. During this time, roots will start to form and grow. You can change the water regularly to keep it fresh and oxygenated. It’s important to note that while water propagation is not necessary, some people enjoy the traditional method of rooting new plants in a glass on the windowsill.
Once the spiderette has developed a healthy root system, it’s time to transfer it to a pot with soil. Gently remove the spiderette from the water, being careful not to damage the roots. Plant it in a pot with lightweight potting mix, making sure the soil is well-drained. Place the pot in a location with indirect sunlight and water the plant as needed to keep the soil slightly moist.
This method of rooting spider plantlets in water is simple and effective, and it allows you to witness the growth of the roots before planting them in soil. Give it a try if you enjoy experimenting with different propagation techniques!
Caring for Spider Plant Babies
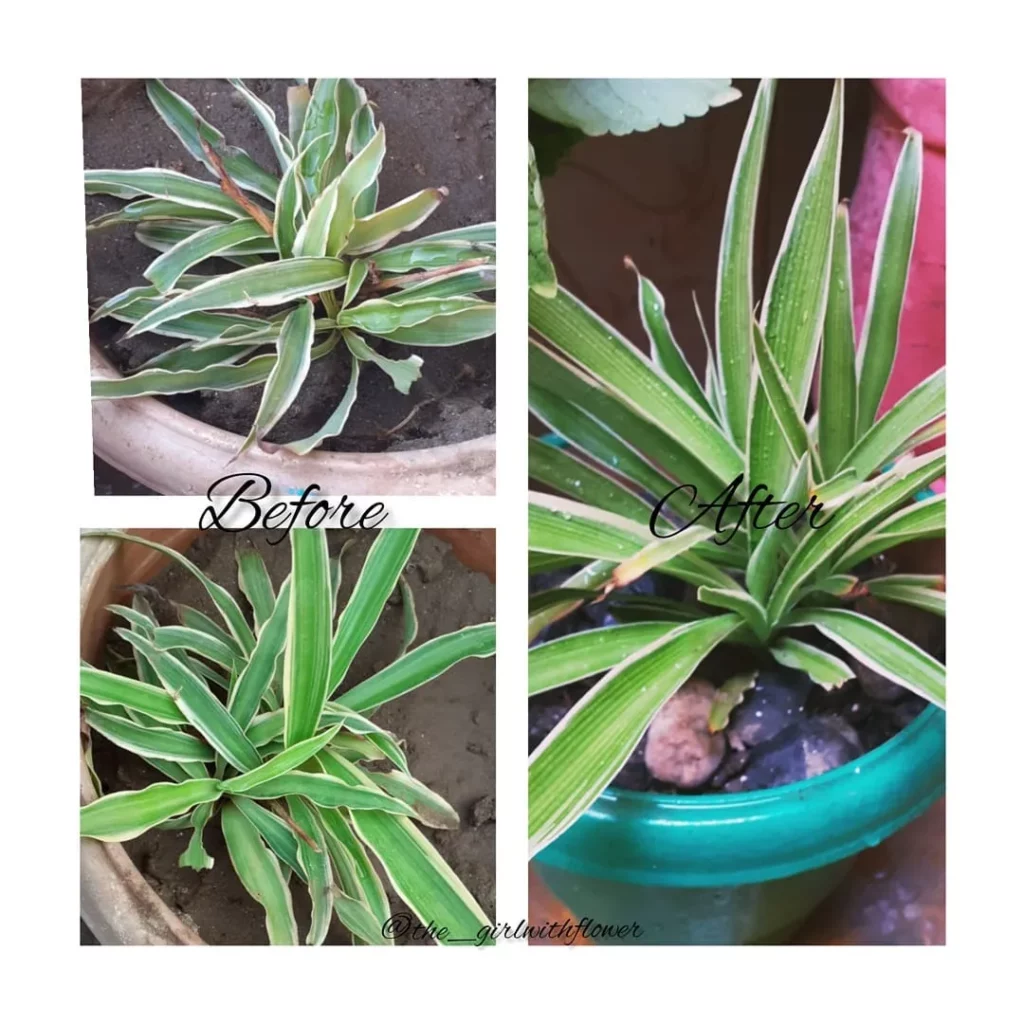
To ensure the healthy growth of spider plant babies, it’s important to provide proper care and attention. Here are some essential tips for caring for your spider plant babies:
- Watering: Water your spiderettes as needed to keep the soil slightly moist, but be careful not to overwater. Too much water can lead to root rot. Check the moisture level by inserting your finger into the soil up to the first knuckle. If it feels dry, it’s time to water.
- Potting: If you want a fuller plant, consider starting multiple spider plant babies in the same pot. This can create a lush and vibrant display of greenery. Alternatively, if your adult spider plant is not as full as you would like, plant a couple of spiderettes alongside it to fill in the gaps.
- Rooting: Once the new spider plants have rooted and established themselves, you can resume normal care for your spider plants. This includes providing them with regular light, watering, and occasional fertilization.
Propagating Spider Plants: Rewards and Ease of Maintenance

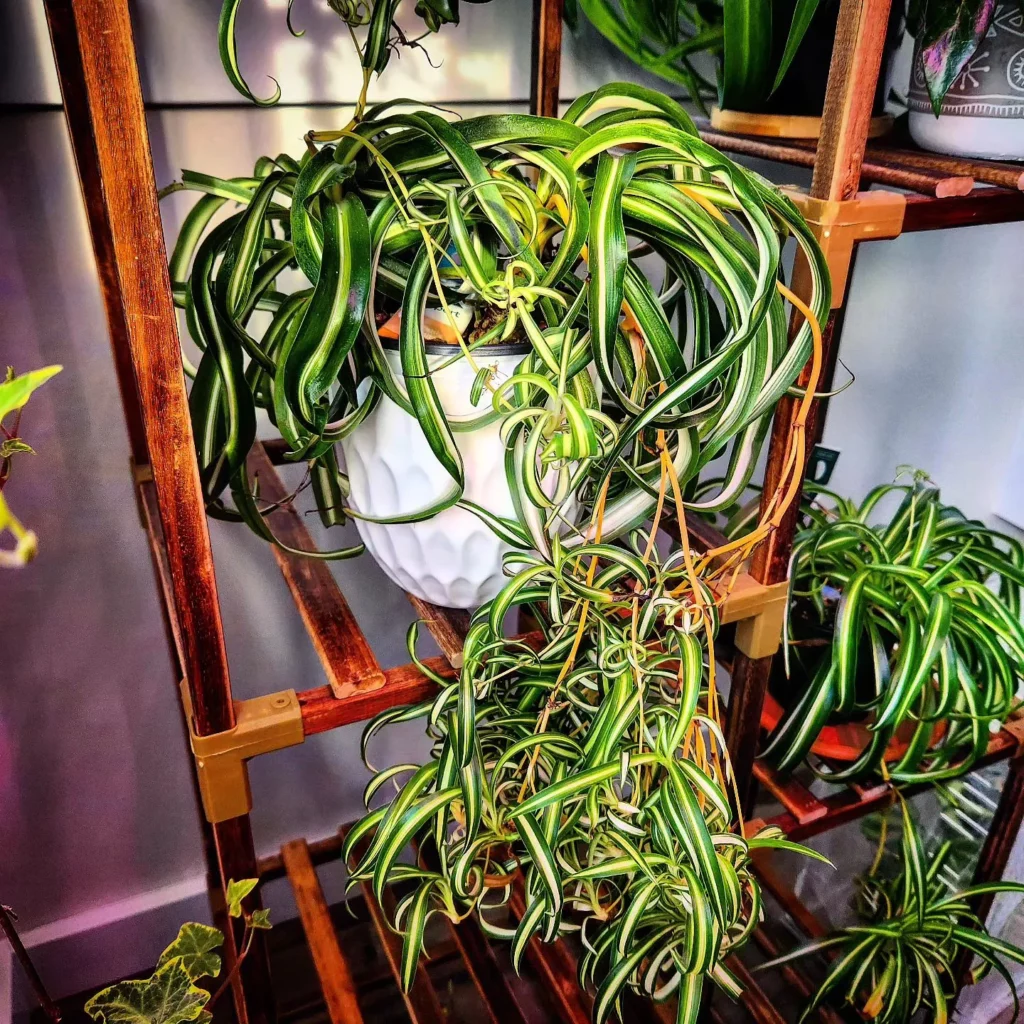
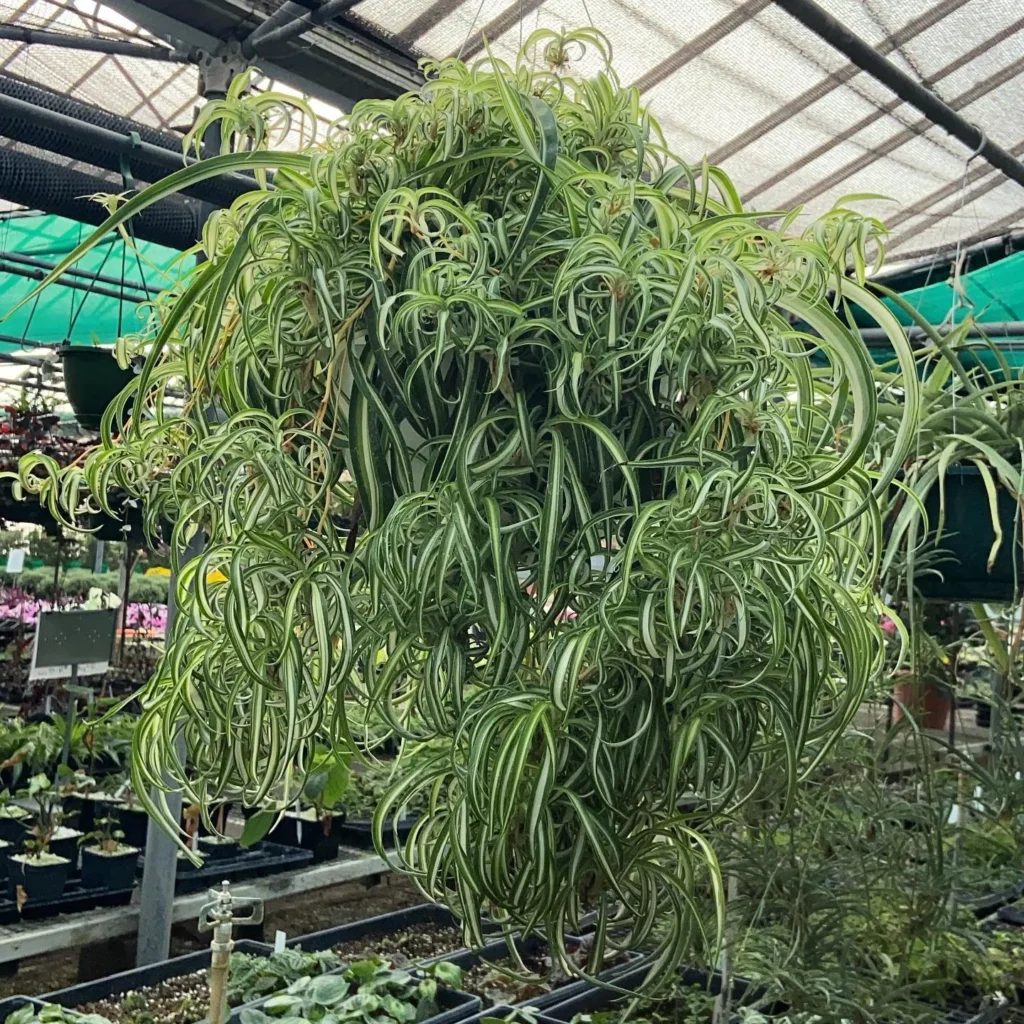
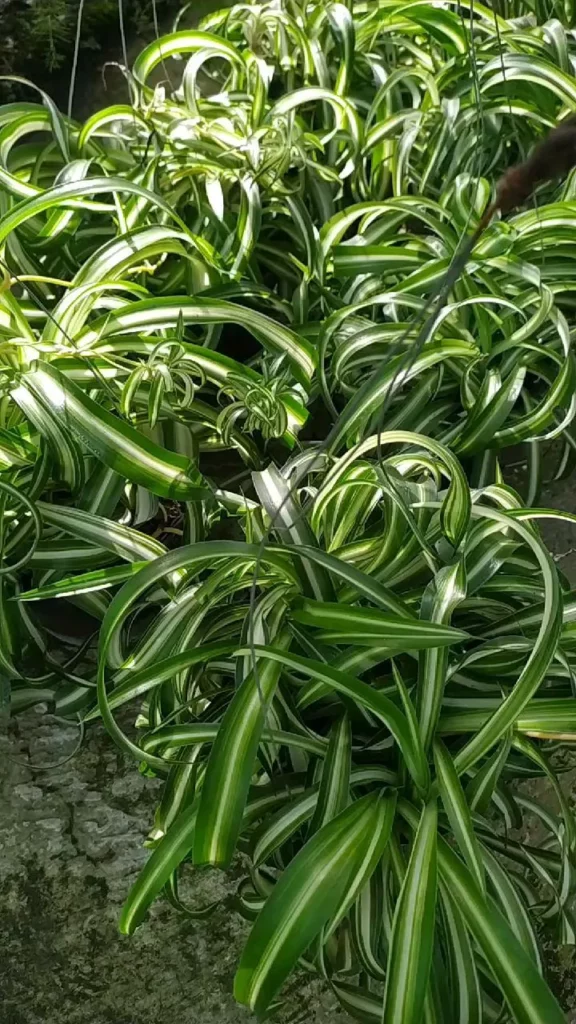
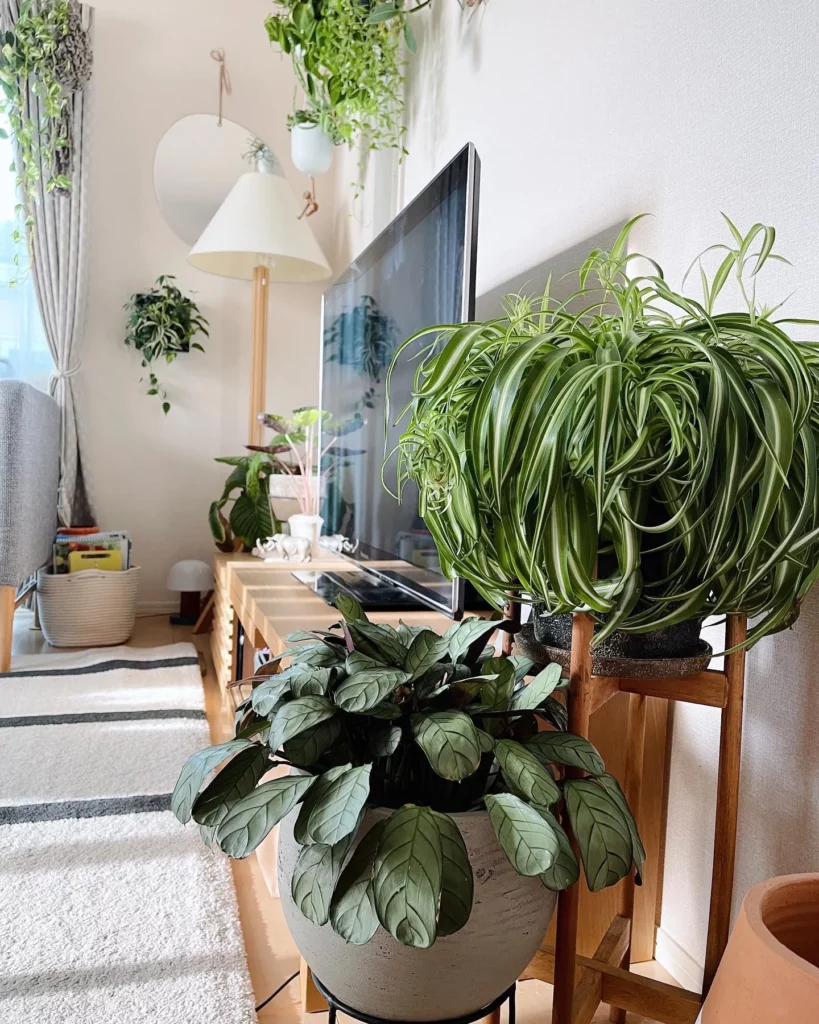
When it comes to propagating spider plants, the benefits are many. Not only can you multiply your plant collection with ease, but you can also enjoy the rewards of having lush greenery in your home. Spider plants are known for their attractive foliage and air-purifying properties, making them a popular choice for indoor gardening.
To successfully propagate spider plants, it’s important to provide them with the right conditions. They prefer well-drained soil, so make sure to use a lightweight potting mix. Spider plants thrive in indirect light, so find a suitable spot in your home where they can receive bright, indirect sunlight. When it comes to watering, aim for moderate moisture levels, allowing the top inch of soil to dry out between waterings.
Propagating spider plants not only allows you to expand your greenery, but it also gives you the opportunity to share these beautiful plants as gifts. Whether you choose to grow spiderettes in water or soil, or divide mature plants, the propagation process is relatively easy and can be a fun and rewarding experience.
Propagating Spider Plants by Cuttings: An Alternative Method
Another method of propagating spider plants is by taking cuttings. If your mother plant has baby plantlets, you can detach them from the stolon, the long stem the baby grows from, and root them. Simply cut the baby plantlet as close to the spiderette as possible, remove any unattractive yellowed stolon, and propagate them in water or plant them directly in soil. Rooting in water takes around 7 to 10 days, while soil propagation may take longer but results in stronger roots.
If you choose to propagate spider plant cuttings in water, fill a clean glass or jar with room temperature water. Place the cuttings in the water, ensuring that the cut end is fully submerged. Change the water every few days to provide oxygen and prevent bacteria growth. Keep the jar in a warm, well-lit area but away from direct sunlight. After about a week or two, you should start to see roots forming. Once the roots are well-developed, you can transfer the cuttings into pots filled with well-draining soil.
If you prefer to propagate spider plant cuttings by planting them directly in soil, prepare a small pot with lightweight potting mix. Make a small hole in the soil, insert the cutting, and gently firm the soil around it. Water the cutting lightly, making sure not to overwater. Place the pot in a warm location with indirect sunlight and maintain a consistent level of moisture in the soil. Within a few weeks, you should see the roots establishing and new growth emerging from the cutting.
Factors to Consider for Spider Plant Propagation Success

When propagating spider plants, there are several factors that contribute to successful propagation. Considering these factors can help ensure that your spider plant propagation efforts yield positive results.
Maturity of the Mother Plant
Before propagating spider plants, it’s important to consider the maturity of the mother plant. A mature spider plant is more likely to produce baby plantlets, which are essential for propagation. Younger plants may need more time to reach maturity and produce offspring, so be patient and allow them enough time to develop.
Container Size
The size of the container for the mother plant is also a crucial factor to consider. Larger pots, while beneficial for root growth, may prioritize root production over the production of baby plantlets. It’s recommended to use containers that are appropriate in size, allowing the plant to focus on reproduction as well.
Light Requirements
Spider plants have specific light requirements for successful propagation. They thrive in indirect light conditions, but too much light can interfere with the development of plantlets. It’s essential to provide your spider plants with the right amount of indirect light to ensure optimal growth and the successful production of baby plantlets.
Propagating Spider Plants: Best Time and Methods

The best time to propagate spider plants is during the spring and summer growing seasons. These seasons provide optimal conditions for successful propagation and ensure that the new plants have enough time to establish their roots and thrive.
Spider plants can be propagated through various methods, each with its own advantages and success rates:
- Division: Dividing mature spider plants is a popular and reliable method of propagation. To do this, carefully remove the root ball of the mother plant from its pot and clear away most of the soil from the roots. Untangle the roots and divide the plant into smaller individual plants by either pulling or cutting it apart with clean tools. Finally, plant the new individual plants in fresh soil and provide them with appropriate care.
- Cutting and Rooting Plantlets: Another common method for propagating spider plants is by taking cuttings of the plantlets, also known as spiderettes, that grow from the mother plant. To do this, simply cut the baby plantlet as close to the spiderette as possible and remove any unattractive yellowed stolon. Then, you can either root the cuttings in water or plant them directly in soil. Rooting in water typically takes around 7 to 10 days, while soil propagation may take longer but results in stronger roots.
- Seed Propagation: While less common and more complicated, spider plants can also be propagated from seeds. To propagate spider plants from seeds, collect the seeds from mature plants and plant them in a well-draining potting mix. Keep the soil consistently moist and provide a warm and bright environment for germination. It’s important to note that seed propagation requires more patience and effort compared to other methods, as it can take several weeks or even months for the seeds to germinate and grow into mature plants.
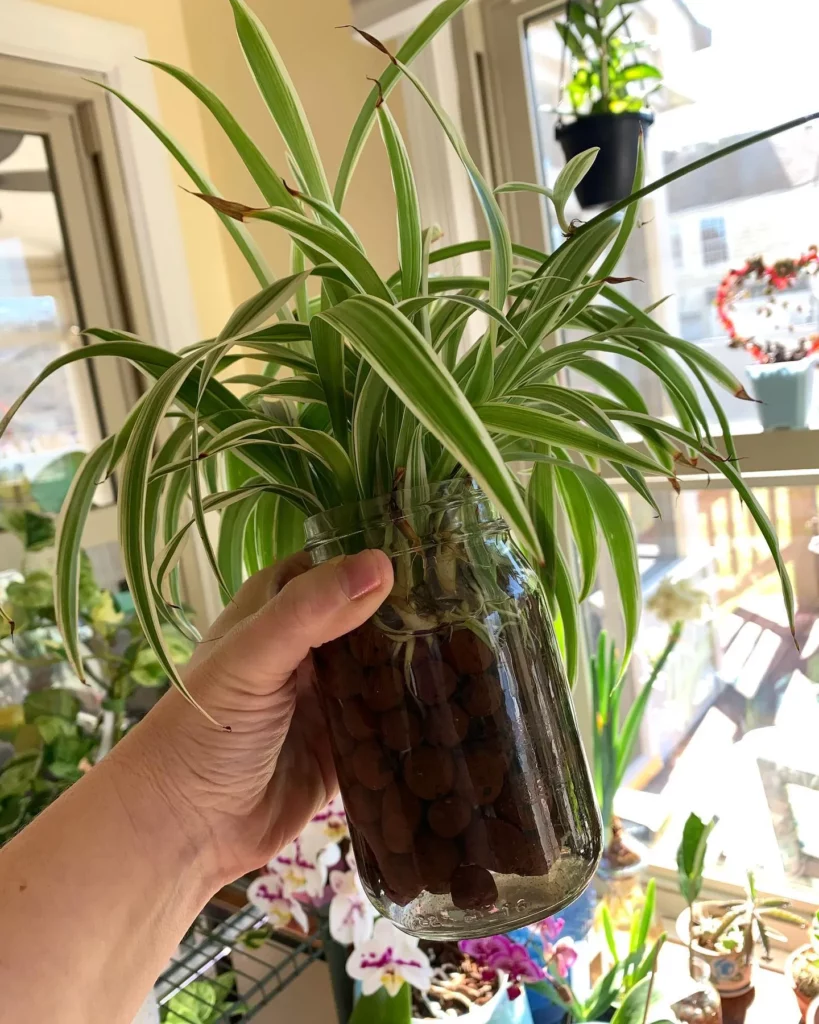
Propagating Spider Plants with Water: Step-by-Step Process
Water propagation is a popular method for propagating spider plants. It’s a simple and effective way to grow new spiderettes before transferring them to soil. Follow the step-by-step process below to successfully propagate your spider plants using the water propagation method.
Gather the Necessary Supplies
- A clean jar
- Room temperature water
- Spiderettes from the mother plant
Prepare the Jar
Start by filling the clean jar with room temperature water. Make sure the jar is large enough to accommodate the spiderettes and has enough space for the roots to develop.
Remove and Place Spiderettes
Carefully remove the spiderettes from the mother plant. Gently separate them from the runner or stolon, ensuring that the bottom portion with the tiny roots is intact. Place the spiderettes in the jar, submerging only the bottom portion in water. Avoid submerging the entire spiderette, as it may lead to rotting.
Change the Water Regularly
To maintain a clean and healthy environment for the developing roots, change the water in the jar regularly. Every few days, pour out the old water and replace it with fresh room temperature water. This helps prevent the growth of harmful bacteria and keeps the roots oxygenated.
Wait for Roots to Develop
Place the jar in a bright location, but avoid direct sunlight. Over time, you’ll start to see roots develop from the submerged portion of the spiderettes. Be patient, as it usually takes a few weeks for the roots to become well-established.
Transfer to Pots with Soil
Once the spiderettes have developed strong roots, it’s time to transfer them to pots with soil. Choose lightweight soil that drains well. Create a small hole in the soil and gently place the rooted spiderette in the hole. Cover the roots with soil and press lightly to secure the plantlet in place.
Taking Care of Spider Plants
Proper care is essential for the health and vitality of your spider plants. By following these spider plant care tips, you can ensure that your plants thrive and add a touch of natural beauty to your home.
Watering Frequency
Spider plants prefer moist but not soggy soil. Water your spider plants at least once a week, allowing the soil to dry slightly between waterings. Adjust the frequency during the colder months, as spider plants require less water during their dormant period. It’s important to strike a balance and avoid overwatering, as excessive moisture can lead to root rot.
Light Requirements
Spider plants are versatile when it comes to light. While they can tolerate a range of lighting conditions, they thrive in bright, indirect light. Place your spider plants near a window where they can receive dappled sunlight or in a well-lit room. Avoid placing them in direct sunlight, as intense light can scorch their delicate foliage.
Fertilizer for Spider Plants
Spider plants benefit from regular fertilization during the growing season. Use a balanced liquid fertilizer diluted to half strength and apply it monthly to provide essential nutrients for healthy growth. Be cautious not to over-fertilize, as this can damage the plants. Always follow the manufacturer’s instructions for proper application.
Additionally, spider plants may need to be repotted when their roots outgrow the container. Check for root-bound plants by gently loosening the root ball. If you see tangled roots and limited soil, it’s time to repot your spider plant into a slightly larger container with fresh, well-draining soil.
Tips for Successful Spider Plant Propagation
If you want to successfully propagate spider plants, here are some useful tips to follow:
- Consider using rooting hormone: To speed up the rooting process, you can use rooting hormone. While this step is optional, it can be beneficial for quicker and more successful propagation.
- Choose healthy plantlets: When selecting plantlets for propagation, make sure to choose ones that are healthy and have well-developed roots. Avoid using plantlets that show signs of damage or poor growth, as they may not thrive when propagated.
Spider Plant Propagation: An Easy and Versatile Process
Spider plant propagation is both easy and versatile. Whether you choose to propagate spiderettes in soil or water, or divide mature plants, you can enjoy multiplying your spider plant collection with minimal effort.
The variety of propagation methods available allows you to choose the one that suits your preferences and resources. The versatility of spider plant propagation ensures that you can propagate your plants using the method that works best for you.
If you prefer a simple and straightforward method, propagating spiderettes is the way to go. These tiny plantlets can be rooted in either soil or water, depending on your preference. Simply identify the spiderettes on the mother plant, and plant them in pots filled with lightweight potting mix or place them in a glass of water until roots develop.
Another option is to propagate spider plants through division. This involves carefully separating the mature plant into smaller sections, each with its own roots and foliage. Once divided, these sections can be potted individually to create new plants.
With the proper care and attention, your propagated spider plants will thrive and bring beauty to your home. Enjoy the rewards of spider plant propagation and expand your greenery collection effortlessly.
Spider Plant Propagation: FAQ
Frequently asked questions about spider plant propagation often revolve around whether to cut off spider plant babies and when to do so. While it’s perfectly fine to leave the babies attached to the mother plant, pruning them can make it easier to maintain the plant and prevent competition for resources.
Many gardeners wonder when is the right time to separate the spider plant babies from the parent plant. It is generally recommended to leave the babies attached until they have grown at least five leaves or are about 5 cm long. This allows them to develop enough to survive on their own.
If you decide to prune the spider plant babies, you can simply cut them off using clean and sharp gardening shears. Make sure to sterilize the shears to prevent the spread of any diseases. Once you have separated the babies, you can choose to propagate them immediately by rooting them in water or soil.
Conclusion: Propagate Spider Plants and Enjoy the Benefits
Propagating spider plants is a rewarding and enjoyable process that offers numerous benefits for both experienced and beginner plant enthusiasts. One of the greatest advantages of propagating spider plants is the ability to effortlessly increase your houseplant collection without incurring significant costs. Whether you choose to root spiderettes in soil or water, or divide mature plants, propagating spider plants allows you to expand your green oasis at home without breaking the bank.
By following the various propagation methods, you can witness the transformation of a single spider plant into a flourishing collection. Rooting spiderettes in soil or water is a simple and effective technique that allows you to cultivate multiple spider plants from one parent plant. Furthermore, dividing mature plants ensures optimal growth and the opportunity to have several plants thriving in different areas of your home.
The lush greenery provided by propagated spider plants adds beauty and vibrancy to any living space. Spider plants are known for their attractive foliage and air-purifying properties, making them a popular choice for indoor gardening. As you propagate spider plants and watch them flourish, you’ll enjoy the benefits of a greener home environment, improved air quality, and the satisfaction of nurturing your own thriving plant family.
FAQ
Should I cut off spider plant babies? When is the best time to do so?
While it’s okay to leave the babies attached to the mother plant, pruning them can make it easier to maintain the plant and prevent competition for resources. It is recommended to leave the babies attached until they have grown at least five leaves or are about 5 cm long. This allows them to develop enough to survive on their own.