15 Easy Side Dishes for Any Dinner
Fifteen easy side dishes, from crispy potatoes and glazed carrots to fluffy rice and warm biscuits, that round out any weeknight dinner without extra stress.
The main dish always gets the attention, but in my house the sides are what disappear first. These fifteen easy side dishes cover every base, with crispy and creamy potatoes, roasted and sauteed vegetables, fluffy rice, a couple of fresh salads and a basket of warm breads. Most come together in about thirty minutes with ingredients you probably already have. My best planning tip is to pick sides that use different parts of the kitchen, so one roasts in the oven while another simmers on the stove and nothing fights for space at the end.
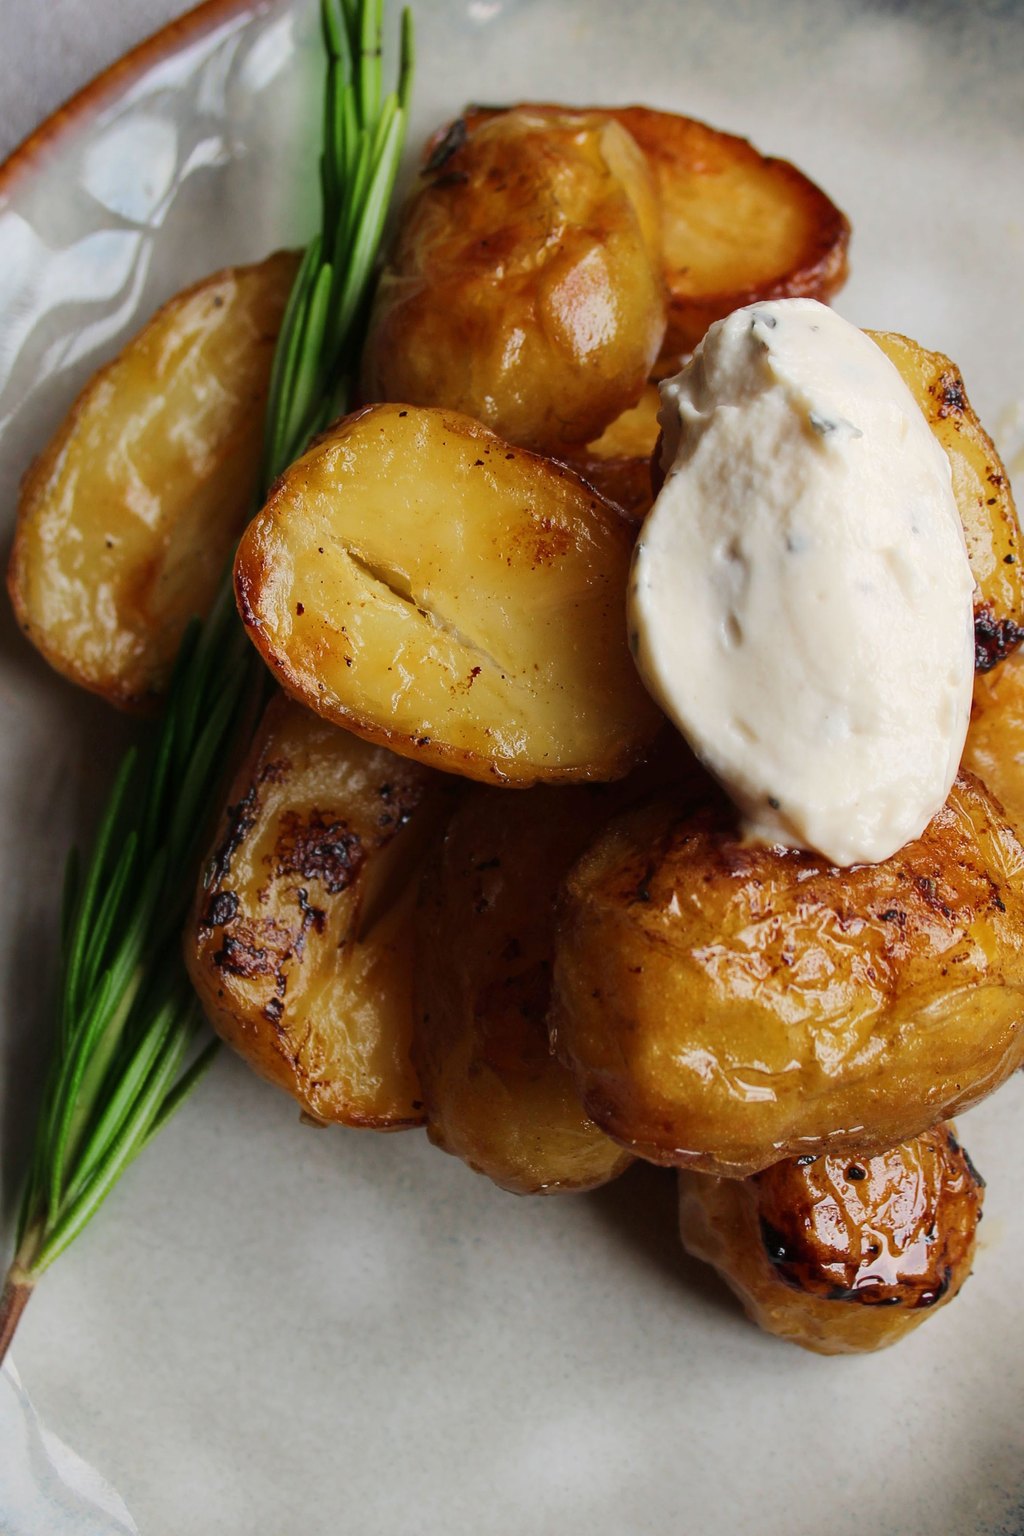
1) Crispy Smashed Potatoes
1) Crispy Smashed Potatoes
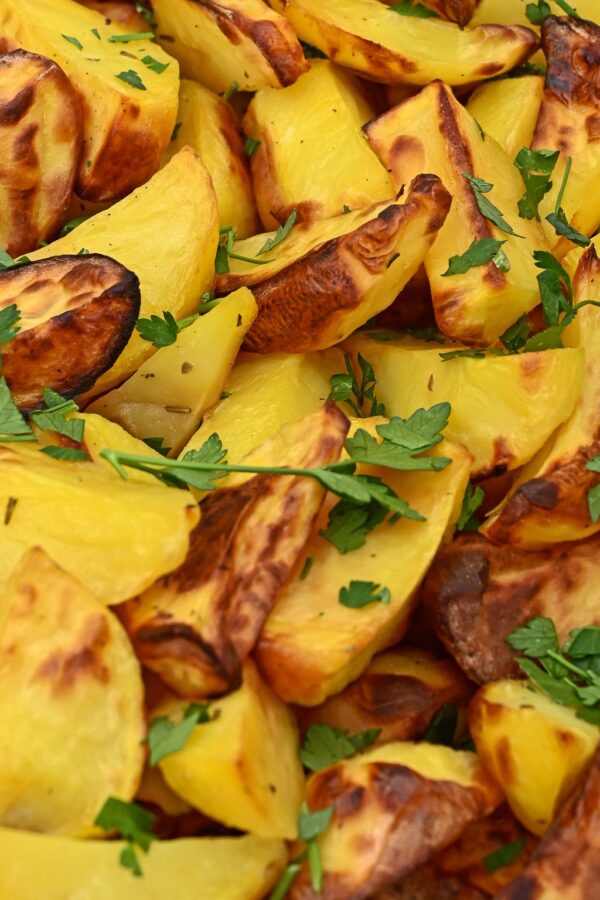
These potatoes are boiled until tender, pressed flat and roasted in a hot oven until the craggy edges turn crunchy. The insides stay creamy and soft, which makes every bite a mix of textures. Garlic butter and a final sprinkle of Parmesan give them a rich, savory finish that tastes like the best part of a french fry.
Ingredients
- 2 pounds baby gold potatoes
- 1 tablespoon kosher salt, for the cooking water
- 1/4 cup olive oil
- 2 tablespoons butter, melted
- 3 cloves garlic, minced
- 1/2 teaspoon kosher salt
- 1/4 teaspoon black pepper
- 1/2 teaspoon dried rosemary
- 1/3 cup grated Parmesan cheese
- 2 tablespoons chopped fresh parsley
- Flaky salt, for finishing
Instructions
- Place the potatoes in a large pot, cover with cold water by 1 inch and add the tablespoon of salt. Bring to a boil and cook for 15 to 20 minutes, until a fork slides into the center with no resistance.
- Drain the potatoes well and let them steam dry in the colander for 5 minutes. Dry potatoes crisp much better than wet ones.
- Heat the oven to 450F. Brush a large rimmed baking sheet with half of the olive oil and spread the potatoes out with space between them.
- Use the bottom of a sturdy glass or a potato masher to press each potato down until it is about 1/2 inch thick and the edges crack open.
- Stir the melted butter, remaining olive oil and garlic together and brush it over the tops. Sprinkle with the salt, pepper and rosemary.
- Roast for 20 to 25 minutes, until the edges are deep golden brown and crunchy. Scatter the Parmesan over the top during the last 5 minutes so it melts and turns lacy.
- Sprinkle with parsley and a pinch of flaky salt and serve right away while the edges are still crisp.
My kids call these potato cookies, and they are the first thing gone from the table every time. They look impressive but take almost no skill, which is my favorite kind of recipe.
You can boil the potatoes a day ahead and keep them in the fridge. Cold potatoes actually smash more cleanly, so just add a few extra minutes to the roasting time.
2) Creamy Mashed Potatoes
2) Creamy Mashed Potatoes
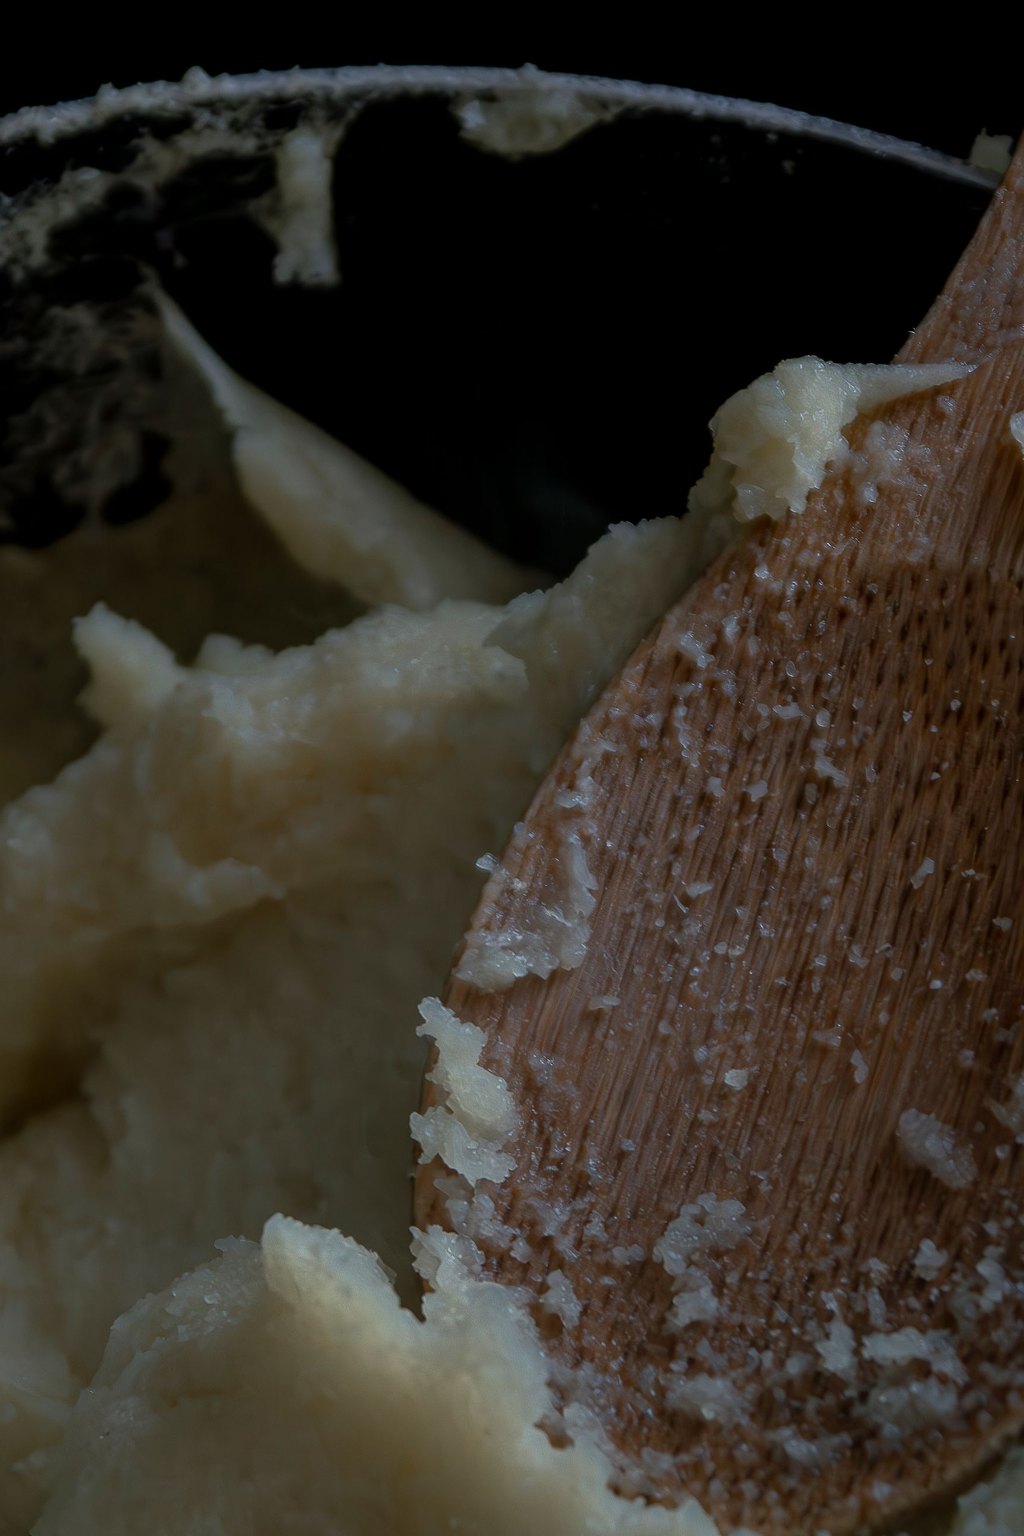
Yukon Gold potatoes give these mashed potatoes a naturally buttery flavor and a silky texture that never turns grainy. Warm milk, cream and a little cream cheese whip in smoothly for a rich, fluffy result. Drying the potatoes in the hot pot before mashing is the small step that keeps them light instead of watery.
Ingredients
- 3 pounds Yukon Gold potatoes, peeled and cut into 2 inch chunks
- 1 tablespoon kosher salt, for the cooking water
- 1/2 cup unsalted butter
- 3/4 cup whole milk
- 1/2 cup heavy cream
- 2 ounces cream cheese, softened
- 2 cloves garlic, smashed
- 1 teaspoon kosher salt
- 1/4 teaspoon black pepper
- 2 tablespoons chopped chives
Instructions
- Put the potato chunks in a large pot and cover with cold water by 1 inch. Add the tablespoon of salt and bring to a boil over high heat.
- Lower the heat to a steady simmer and cook for 15 to 18 minutes, until the potatoes break apart easily when pressed with a fork.
- While the potatoes cook, warm the butter, milk, cream and smashed garlic in a small saucepan over low heat until the butter melts. Do not let it boil. Remove the garlic.
- Drain the potatoes and return them to the hot pot. Set the pot over low heat for 1 to 2 minutes, shaking it gently, to cook off the extra moisture.
- Mash the potatoes with a hand masher or press them through a ricer until no big lumps remain. Avoid a blender or food processor, which turns them gluey.
- Add the cream cheese and pour in the warm milk mixture a little at a time, stirring until smooth and fluffy. Season with salt and pepper and taste.
- Spoon into a warm bowl, top with a pat of butter and the chives and serve.
Mashed potatoes go with pretty much every main dish I make, from meatloaf to roast chicken. This is the version I have made for years and I never get tired of it.
To make these ahead, spread them in a buttered baking dish, cover and chill for up to 2 days. Reheat covered at 350F for about 30 minutes, stirring once halfway through.
3) Baked Sweet Potato Fries
3) Baked Sweet Potato Fries
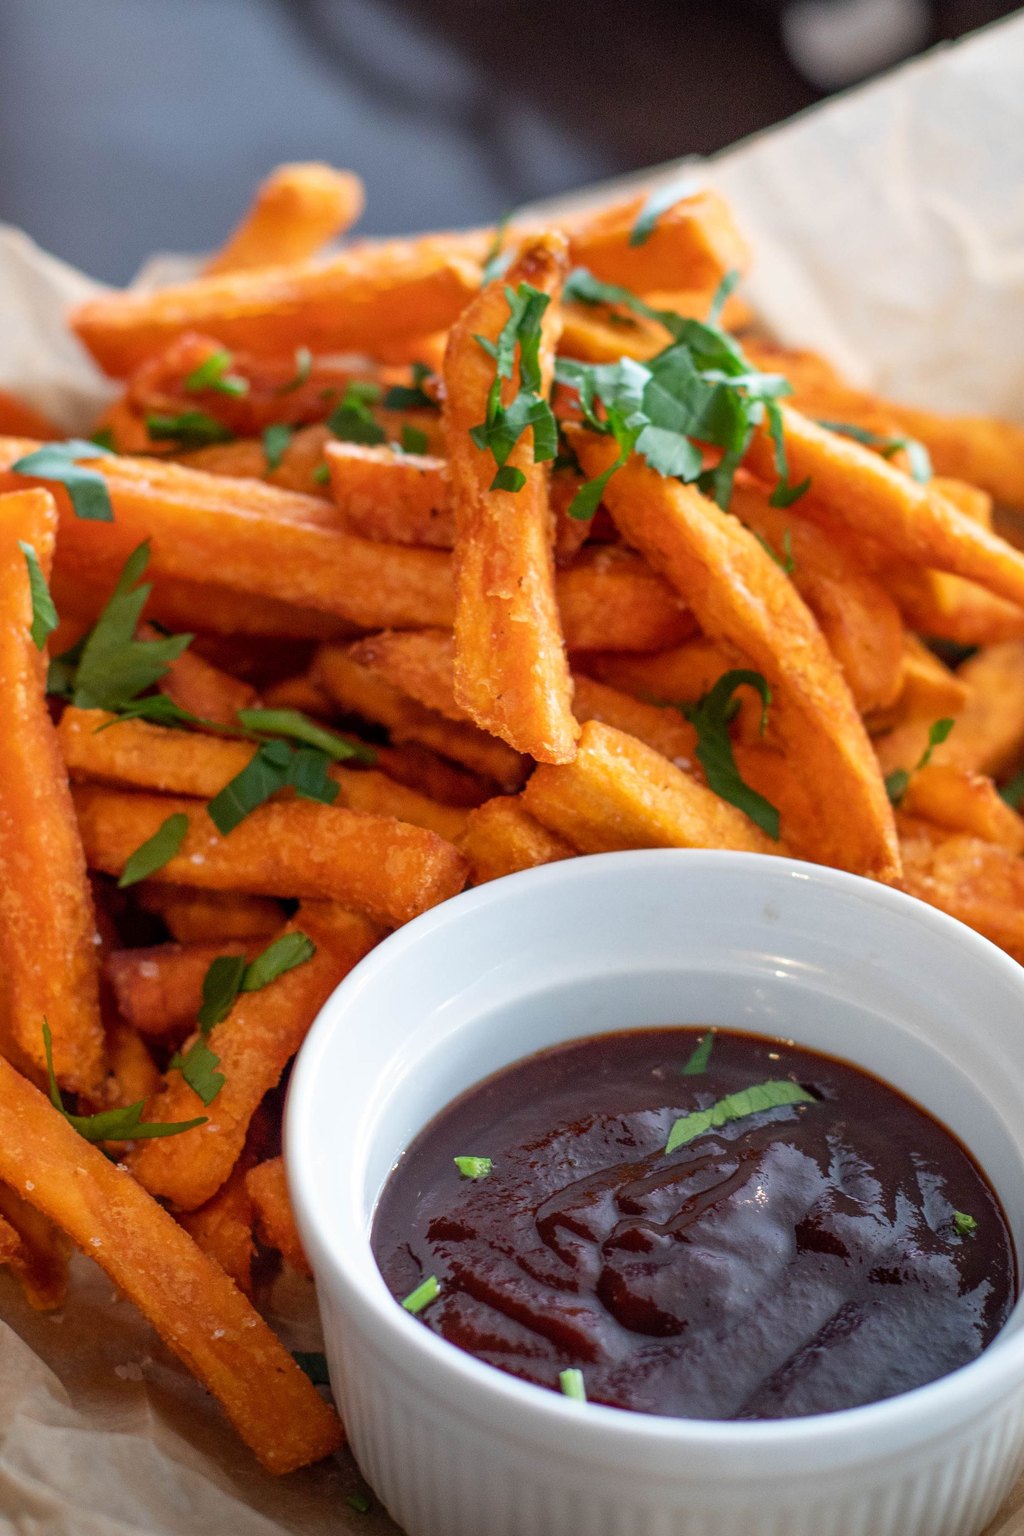
These fries are tossed in a little cornstarch before baking, which helps them crisp up in the oven without a deep fryer. Smoked paprika and a pinch of brown sugar bring out the natural sweetness of the potatoes. The edges caramelize while the centers stay soft and tender.
Ingredients
- 2 large sweet potatoes, about 2 pounds
- 1 tablespoon cornstarch
- 2 tablespoons olive oil
- 1 teaspoon smoked paprika
- 1/2 teaspoon garlic powder
- 1/2 teaspoon kosher salt
- 1/4 teaspoon black pepper
- 1 teaspoon brown sugar
- 1 tablespoon chopped fresh parsley
- Flaky salt, for finishing
Instructions
- Heat the oven to 425F and line two large rimmed baking sheets with parchment paper.
- Scrub the sweet potatoes and cut them into sticks about 1/4 inch thick. Try to keep them the same size so they bake evenly.
- Put the sticks in a large bowl and toss with the cornstarch until lightly coated. The cornstarch is the secret to a crisp outside.
- Drizzle with the olive oil and toss again. Sprinkle on the smoked paprika, garlic powder, salt, pepper and brown sugar and toss until every fry is coated.
- Spread the fries out on the two baking sheets in a single layer with space between them. Crowded fries steam and turn soft.
- Bake for 15 minutes, then flip the fries and switch the pans between racks. Bake 10 to 15 minutes more, until the edges are browned and the fries feel firm.
- Let them rest on the pans for 3 minutes to crisp up, then sprinkle with parsley and flaky salt and serve hot.
My kids will eat almost anything if it is shaped like a fry, so these show up with burgers, chicken and even breakfast for dinner. They feel like a treat but they are full of good stuff.
Leftovers reheat best in a 400F oven or an air fryer for 5 minutes. A quick dip of honey mustard or chipotle mayo turns them into a snack all on their own.
4) Roasted Broccoli with Parmesan
4) Roasted Broccoli with Parmesan
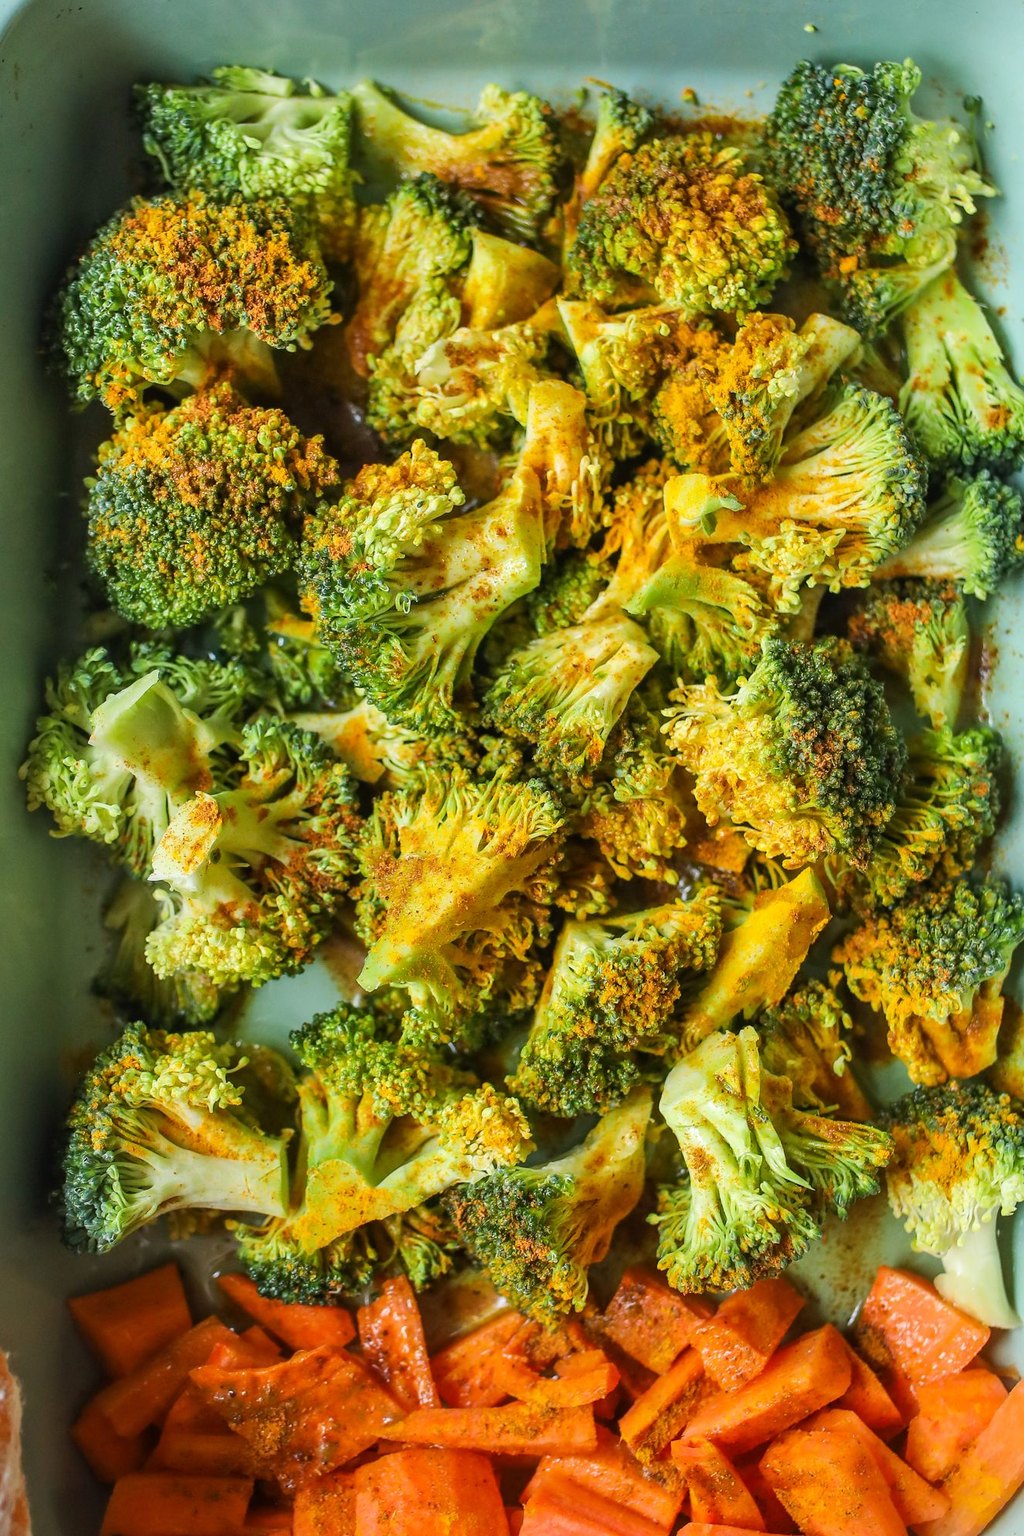
High heat turns plain broccoli into something nutty, sweet and crispy at the edges. A preheated pan helps the florets brown on contact instead of steaming. Parmesan melts into a savory crust in the last few minutes, and fresh lemon brightens everything right before it hits the table.
Ingredients
- 2 large heads broccoli, about 2 pounds
- 3 tablespoons olive oil
- 3 cloves garlic, thinly sliced
- 1/2 teaspoon kosher salt
- 1/4 teaspoon black pepper
- 1/4 teaspoon red pepper flakes
- 1/2 cup grated Parmesan cheese
- 1 lemon, zested
- 1 tablespoon fresh lemon juice
- 2 tablespoons toasted pine nuts, optional
Instructions
- Heat the oven to 425F and set a large rimmed baking sheet on the middle rack while it heats. A hot pan gives the broccoli a head start on browning.
- Cut the broccoli into florets with a flat side where you can. Peel the thick stems and slice them into coins so nothing goes to waste.
- Make sure the broccoli is completely dry, then toss it in a large bowl with the olive oil, garlic, salt, pepper and red pepper flakes.
- Carefully pull out the hot pan and spread the broccoli in a single layer, flat sides down. It should sizzle when it hits the pan.
- Roast for 15 minutes, until the bottoms are deep brown and the tips are crispy.
- Sprinkle the Parmesan over the broccoli and return it to the oven for 3 to 5 minutes more, until the cheese melts and turns golden.
- Finish with the lemon zest, a squeeze of lemon juice and the pine nuts if using. Serve warm.
This is the recipe that turned my family into broccoli fans. Even the pickiest kid at my table will pick the crispy little bits off the pan.
Frozen broccoli works in a pinch if you thaw it and pat it very dry first. Expect softer edges, so give it an extra 5 minutes in the oven.
5) Honey Glazed Carrots
5) Honey Glazed Carrots
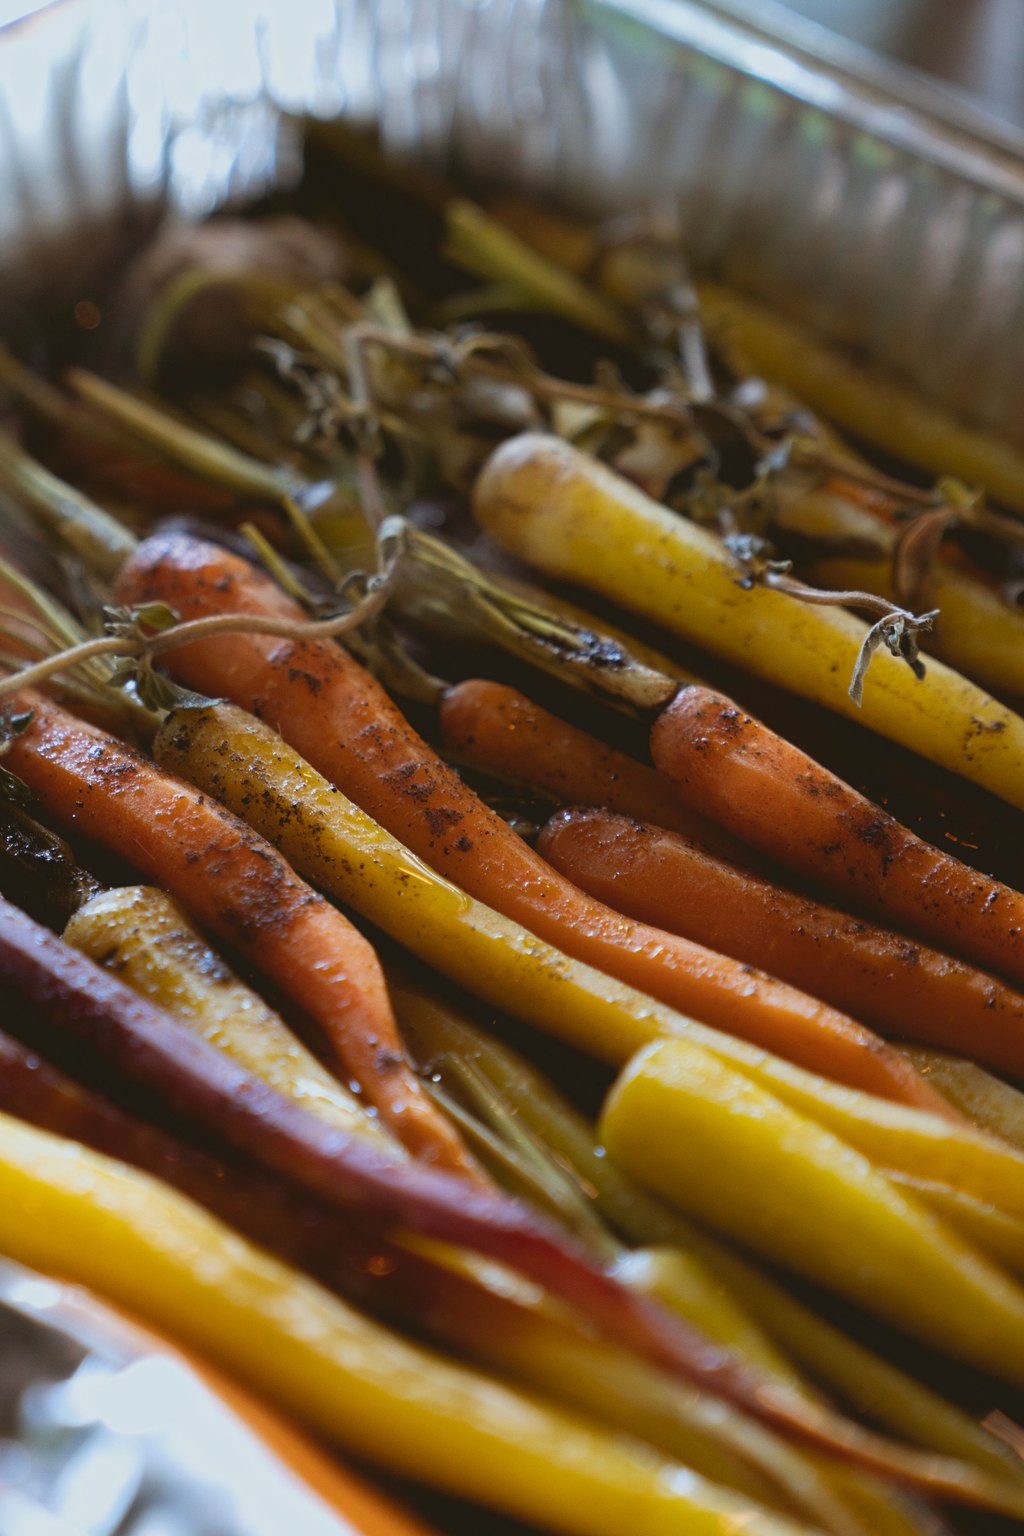
Carrots are simmered until tender and then tossed in a buttery honey glaze that cooks down to a shiny coating. A touch of cinnamon adds warmth while a squeeze of lemon keeps the sweetness in check. The whole thing is made in one skillet in less than half an hour.
Ingredients
- 2 pounds carrots, peeled
- 1/2 cup water
- 1/2 teaspoon kosher salt
- 3 tablespoons butter
- 3 tablespoons honey
- 1 tablespoon brown sugar
- 1/4 teaspoon ground cinnamon
- 1 teaspoon fresh lemon juice
- 1/4 teaspoon black pepper
- 1 tablespoon chopped fresh parsley
Instructions
- Slice the carrots on a slight angle into pieces about 1/4 inch thick. Keeping them even means they all finish cooking at the same time.
- Put the carrots, water and salt in a large skillet. Bring to a boil over medium high heat, then cover and cook for 5 to 7 minutes, until the carrots are just tender when pierced with a knife.
- Remove the lid and keep cooking until almost all of the water has evaporated, about 2 minutes.
- Lower the heat to medium and add the butter, honey, brown sugar and cinnamon. Stir until the butter melts and the mixture coats the carrots.
- Cook for 4 to 5 minutes, stirring often, until the glaze thickens and turns glossy and the carrots begin to caramelize at the edges.
- Stir in the lemon juice and pepper and taste for salt. The lemon keeps the glaze from tasting too sweet.
- Transfer to a serving bowl, spoon the extra glaze over the top and sprinkle with parsley.
Glazed carrots are my go to when I need a vegetable that every age group will happily eat. They look bright and pretty on the plate next to pork chops or a holiday ham.
Baby carrots work here too and save you the peeling and slicing. Leftovers keep for 4 days in the fridge and warm up in the microwave in about a minute.
6) Garlic Green Beans
6) Garlic Green Beans
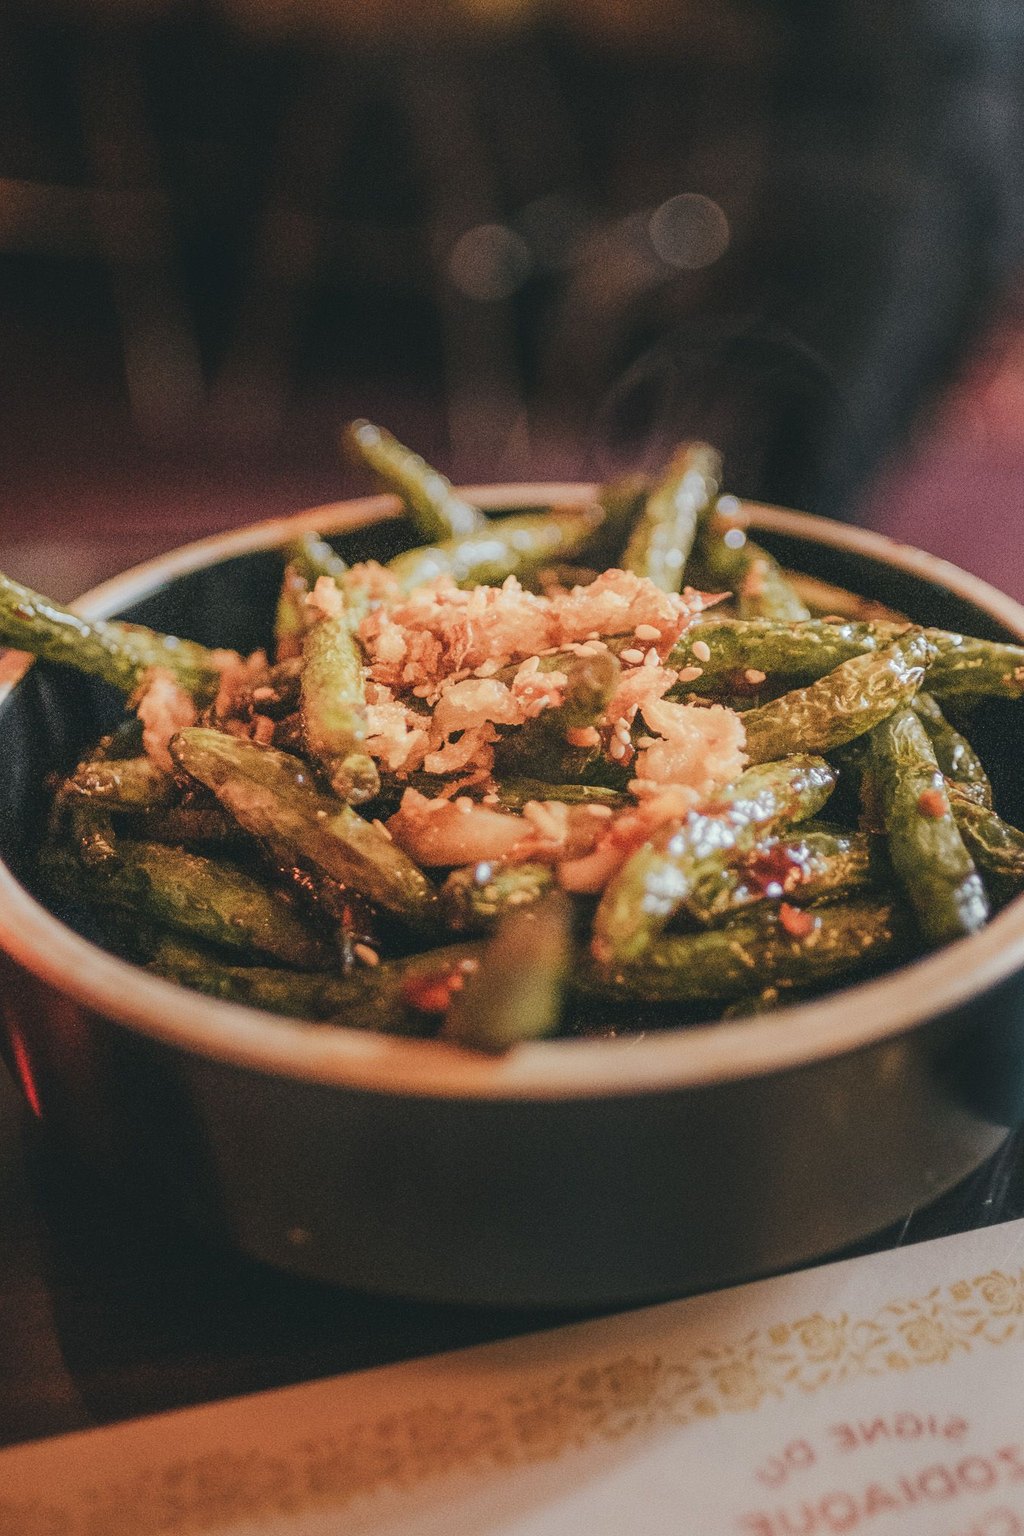
Green beans are blanched for a few minutes and shocked in ice water so they stay bright green and snappy. A quick toss in garlic butter adds big flavor without much fuss. Toasted almonds on top give a little crunch that makes this simple side feel special.
Ingredients
- 1 1/2 pounds fresh green beans, trimmed
- 1 tablespoon kosher salt, for the cooking water
- 2 tablespoons butter
- 1 tablespoon olive oil
- 4 cloves garlic, minced
- 1/4 teaspoon red pepper flakes
- 1/2 teaspoon kosher salt
- 1/4 teaspoon black pepper
- 1 teaspoon fresh lemon juice
- 2 tablespoons sliced almonds, toasted
Instructions
- Bring a large pot of water to a boil and add the tablespoon of salt. Fill a large bowl with ice water and set it next to the stove.
- Add the green beans to the boiling water and cook for 3 to 4 minutes, until they turn bright green and are crisp tender.
- Drain the beans and plunge them into the ice water to stop the cooking and lock in the color. After 2 minutes, drain again and pat them dry with a towel.
- Heat the butter and olive oil in a large skillet over medium heat. Add the garlic and red pepper flakes and cook for 30 to 60 seconds, stirring, until fragrant but not browned.
- Add the green beans to the skillet and toss to coat. Cook for 3 to 4 minutes, until heated through and lightly blistered in spots.
- Season with salt, pepper and lemon juice and toss once more.
- Pile the beans onto a platter and scatter the toasted almonds over the top. Serve right away.
I make these more than any other vegetable side because they go with absolutely everything. They are quick, colorful and a lot more exciting than plain steamed beans.
Blanch and chill the beans up to 2 days ahead and keep them in a zip top bag. On busy nights the skillet step takes only 5 minutes.
7) Roasted Brussels Sprouts with Bacon
7) Roasted Brussels Sprouts with Bacon
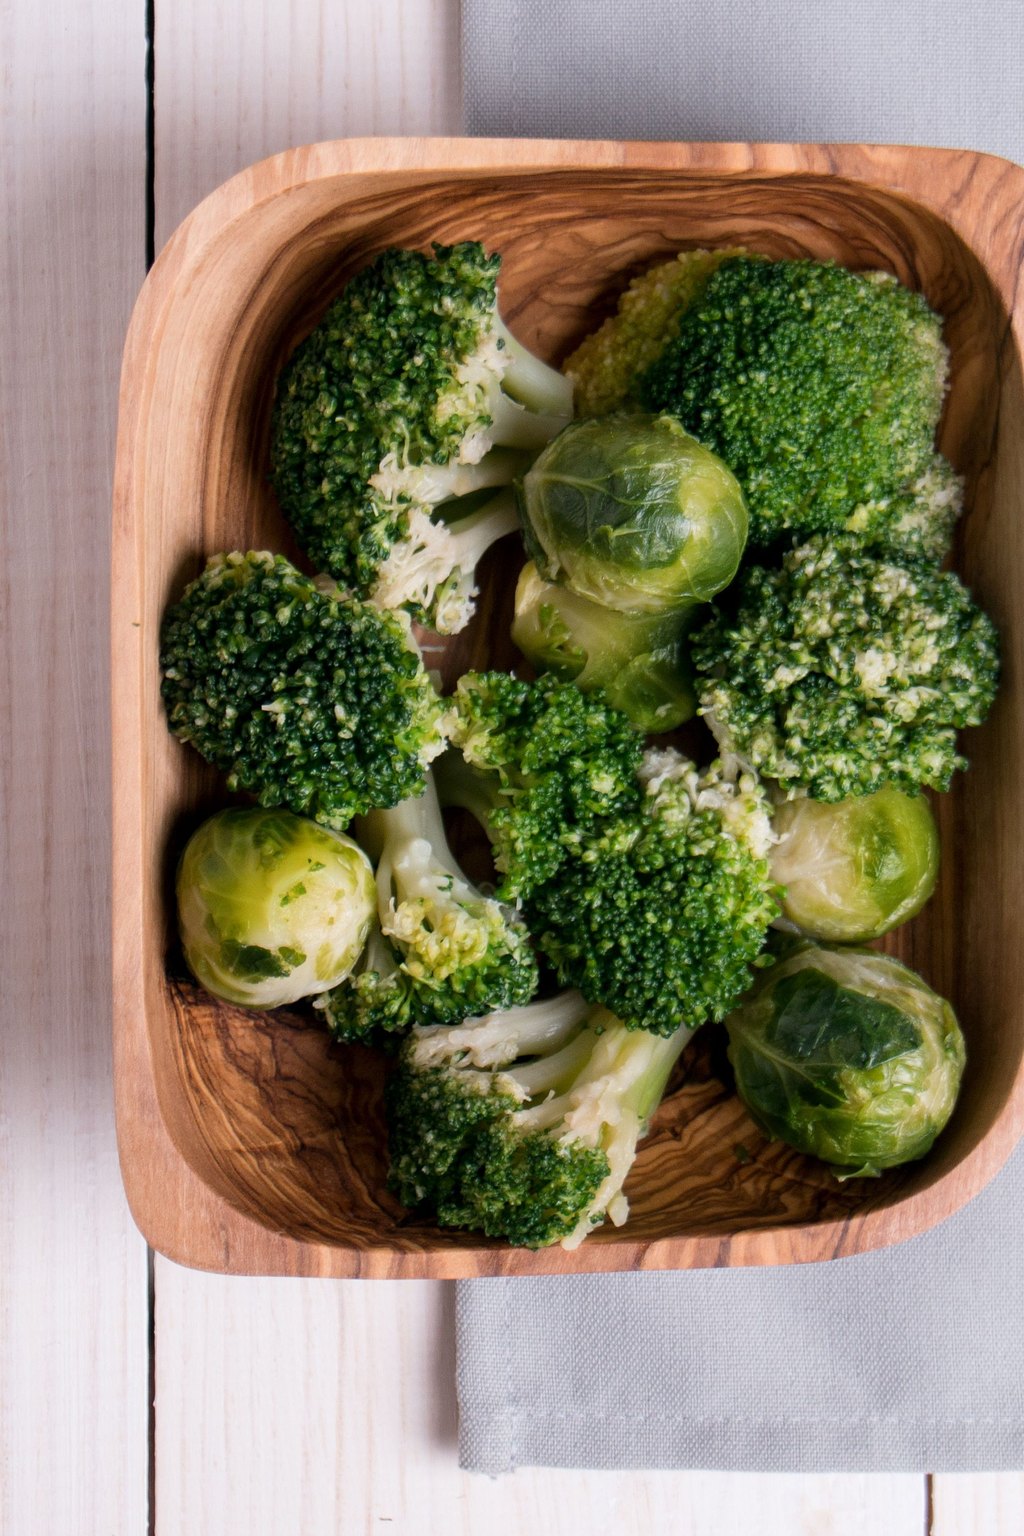
Brussels sprouts roast cut side down until they turn deeply caramelized and sweet. Chopped bacon cooks right on the same pan, so the sprouts soak up all of that smoky flavor. A drizzle of maple and balsamic at the end adds a sweet and tangy finish that balances the salty bacon.
Ingredients
- 1 1/2 pounds Brussels sprouts
- 4 slices thick cut bacon, chopped
- 2 tablespoons olive oil
- 1/2 teaspoon kosher salt
- 1/4 teaspoon black pepper
- 1/2 teaspoon garlic powder
- 1 tablespoon maple syrup
- 1 tablespoon balsamic vinegar
- 1/4 cup grated Parmesan cheese
- 1 tablespoon chopped fresh parsley
Instructions
- Heat the oven to 425F and line a large rimmed baking sheet with foil for easy cleanup.
- Trim the dry ends from the Brussels sprouts and pull off any yellow outer leaves. Cut each sprout in half from top to bottom. Leave very small ones whole.
- Toss the sprouts in a large bowl with the olive oil, salt, pepper and garlic powder.
- Spread the sprouts on the baking sheet and turn as many as you can cut side down. Scatter the chopped bacon evenly over and around them.
- Roast for 20 to 25 minutes, stirring once halfway through, until the cut sides are deep golden brown, the outer leaves are crispy and the bacon is cooked through and crisp.
- Whisk the maple syrup and balsamic vinegar together in a small bowl. Drizzle it over the hot sprouts and bacon right on the pan and toss to coat.
- Sprinkle with Parmesan and parsley and serve warm.
If anyone at your table claims to hate Brussels sprouts, this is the recipe that changes their mind. It happened to my husband, and now he asks for them by name.
Look for sprouts that are small, tight and bright green, since they are sweeter and cook more evenly. Leftovers crisp back up nicely in a hot skillet for a few minutes.
8) Sauteed Zucchini and Yellow Squash
8) Sauteed Zucchini and Yellow Squash
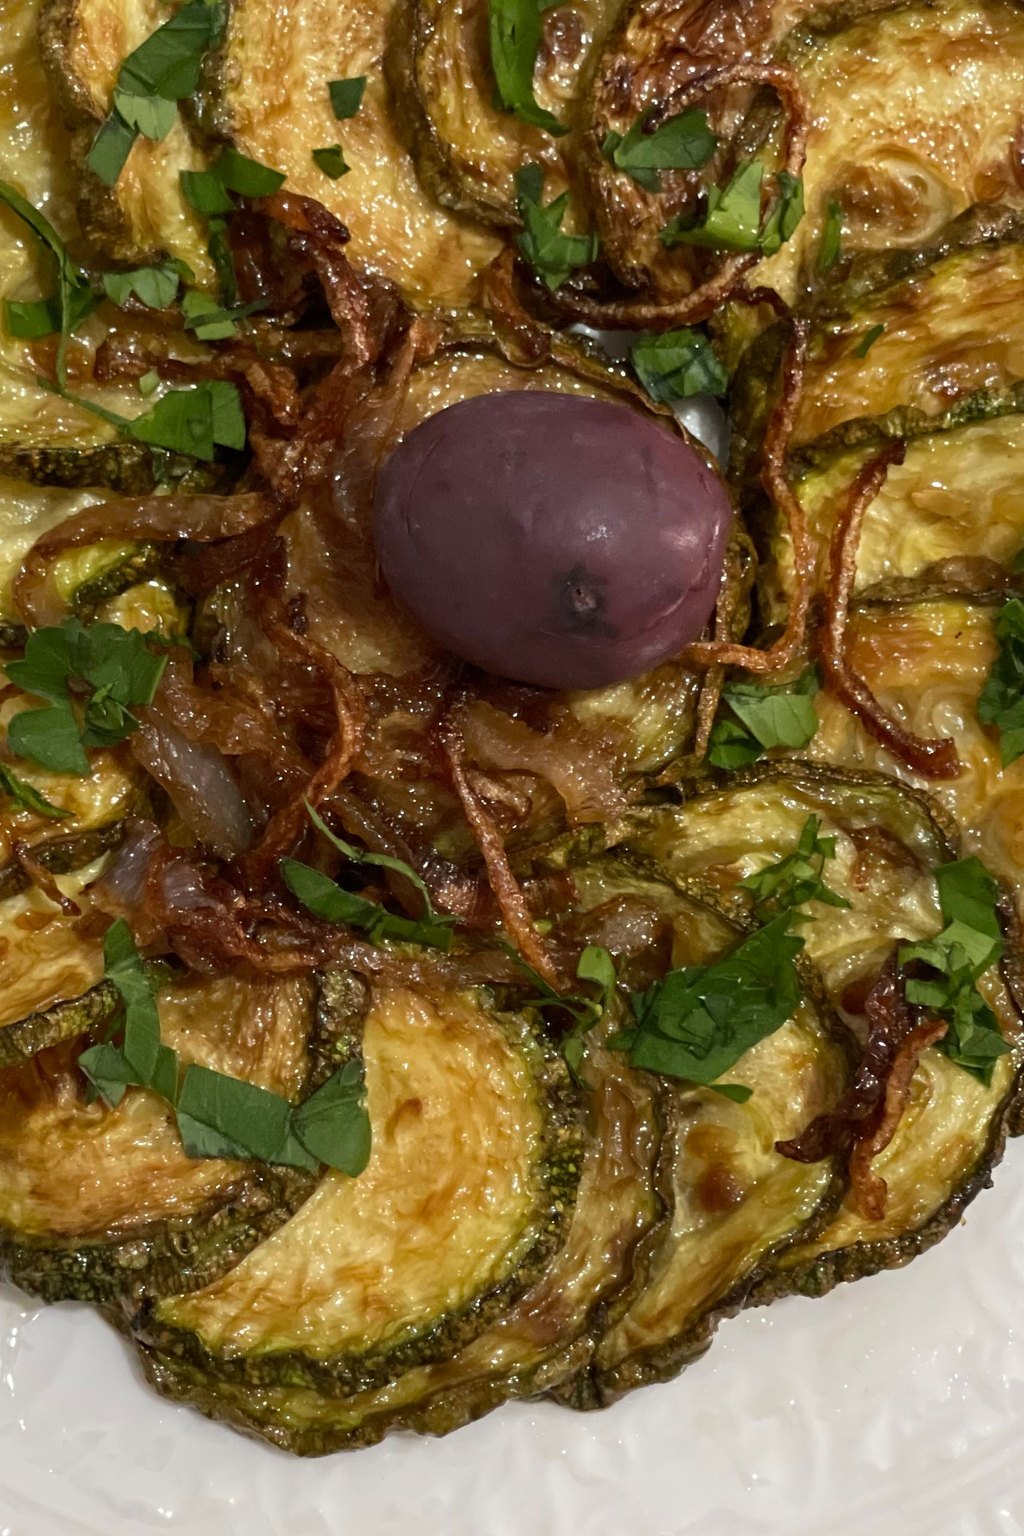
This colorful skillet side uses two summer squashes cooked quickly over high heat so they brown instead of steam. Onion and garlic build a savory base while Italian herbs keep it bright and fresh. A shower of Parmesan at the end melts slightly over the warm vegetables.
Ingredients
- 2 medium zucchini
- 2 medium yellow squash
- 2 tablespoons olive oil
- 1 tablespoon butter
- 1/2 small onion, thinly sliced
- 3 cloves garlic, minced
- 1/2 teaspoon dried Italian seasoning
- 1/2 teaspoon kosher salt
- 1/4 teaspoon black pepper
- 1/4 cup grated Parmesan cheese
- 1 tablespoon chopped fresh basil
Instructions
- Trim the ends from the zucchini and yellow squash. Cut them in half lengthwise and then into half moons about 1/2 inch thick.
- Heat the olive oil and butter in a large skillet over medium high heat until the butter foams.
- Add the onion and cook for 2 to 3 minutes, stirring, until it starts to soften.
- Add the zucchini and squash in an even layer. Let them cook without stirring for 2 minutes so they pick up some golden color on the bottom.
- Stir and continue cooking for 4 to 5 minutes more, until the squash is tender but still holds its shape. Avoid overcooking or it will turn mushy and watery.
- Add the garlic and Italian seasoning and cook for 1 minute, until fragrant. Season with the salt and pepper. Salting at the end keeps the squash from releasing too much liquid.
- Remove the pan from the heat, sprinkle with Parmesan and basil and serve right away.
When my garden or the farm stand is overflowing with squash, this is what I make several nights a week. It is ready in the time it takes the main dish to rest.
Use the largest skillet you own, or cook in two batches, so the pieces have room to brown. A crowded pan gives you soft, soupy squash.
9) Cilantro Lime Rice
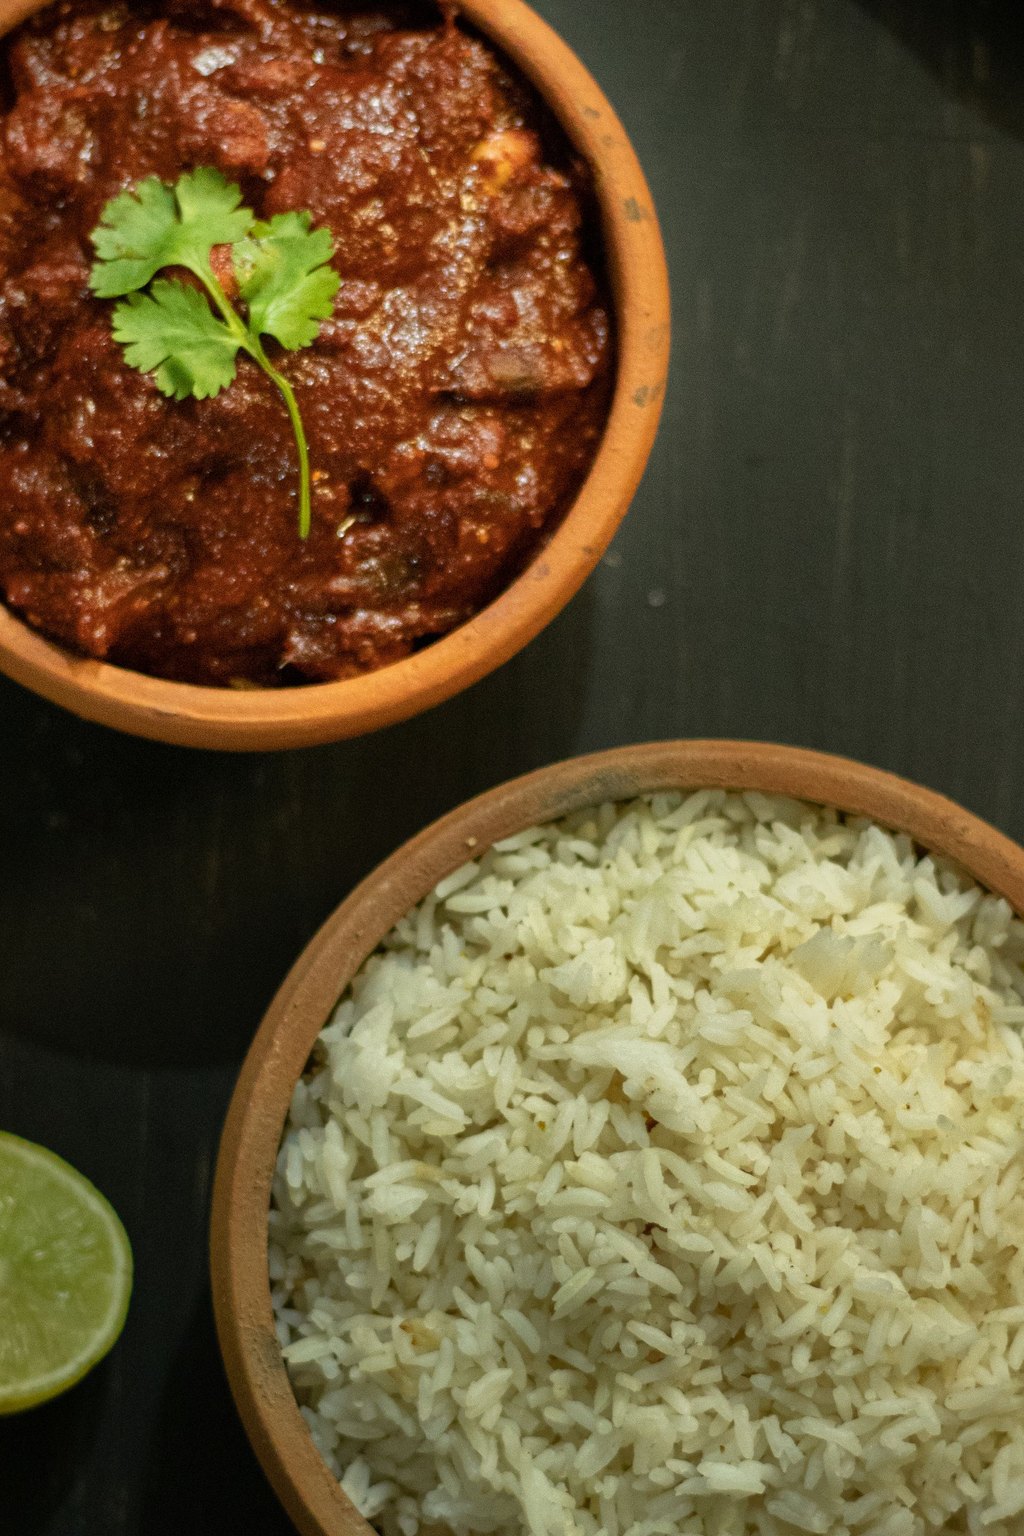
9) Cilantro Lime Rice
Fluffy long grain rice is toasted in butter before simmering, which gives it a nutty flavor and keeps the grains separate. Fresh lime zest and juice are folded in at the end so the citrus stays bright. Plenty of chopped cilantro makes it fresh and fragrant, just like the rice at a favorite burrito spot.
Ingredients
- 1 1/2 cups long grain white rice
- 1 tablespoon olive oil
- 1 tablespoon butter
- 2 cloves garlic, minced
- 2 1/4 cups water
- 1 teaspoon kosher salt
- 1 bay leaf
- 1 lime, zested
- 3 tablespoons fresh lime juice
- 1/2 cup chopped fresh cilantro
Instructions
- Rinse the rice in a fine mesh strainer under cold water, shaking it, until the water runs mostly clear. This removes extra starch so the grains stay fluffy and separate.
- Heat the olive oil and butter in a medium saucepan over medium heat. Add the rice and stir for 2 minutes, until the grains look glossy and smell lightly toasted.
- Add the garlic and stir for 30 seconds, then pour in the water and add the salt and bay leaf. Bring to a boil.
- Cover with a tight lid, reduce the heat to low and cook for 18 minutes without lifting the lid.
- Turn off the heat and let the rice sit, still covered, for 5 minutes so it finishes steaming.
- Remove the bay leaf and fluff the rice with a fork. Gently fold in the lime zest, lime juice and cilantro.
- Taste and add a little more salt or lime juice if needed, then serve warm.
This rice turns taco night, burrito bowls and grilled chicken into something that feels like takeout. I make a big pot and use the leftovers for lunches all week.
Cooked rice freezes beautifully in flat zip top bags for up to 3 months. Reheat with a splash of water and add fresh cilantro and lime after warming.
10) Easy Rice Pilaf
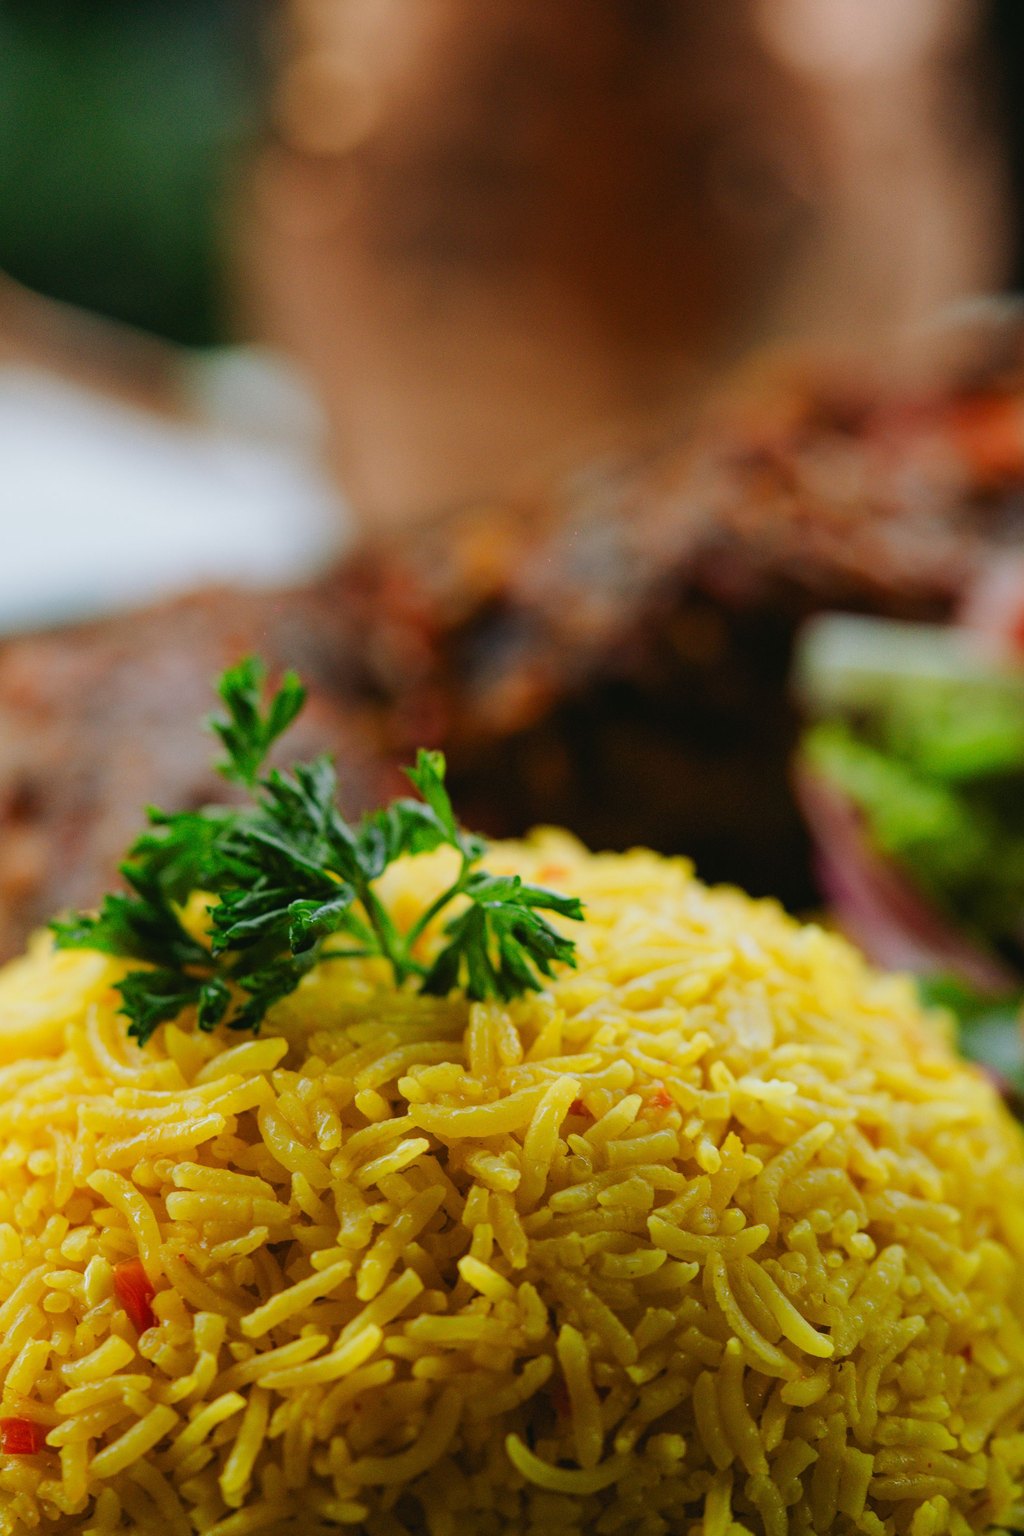
10) Easy Rice Pilaf
This pilaf toasts rice and broken pasta in butter until golden before simmering them in chicken broth. That toasting step adds a deep, nutty flavor you just do not get from plain boiled rice. Onion, garlic and thyme round it out for a savory side that feels homemade in the best way.
Ingredients
- 2 tablespoons butter
- 1/2 cup broken thin spaghetti or orzo
- 1/2 small onion, finely diced
- 2 cloves garlic, minced
- 1 1/2 cups long grain white rice
- 3 cups chicken broth
- 1/2 teaspoon kosher salt
- 1/4 teaspoon black pepper
- 1/2 teaspoon dried thyme
- 2 tablespoons chopped fresh parsley
Instructions
- Melt the butter in a large saucepan with a tight fitting lid over medium heat.
- Add the broken pasta and cook, stirring often, for 2 to 3 minutes, until it turns a deep golden brown. Watch closely because it can go from golden to burned quickly.
- Add the onion and cook for 3 minutes, stirring, until soft. Stir in the garlic and cook for 30 seconds.
- Add the rice and stir for 2 minutes, until every grain is coated in butter and lightly toasted.
- Pour in the chicken broth and add the salt, pepper and thyme. Bring to a boil, then cover, lower the heat to low and simmer for 18 minutes, until the liquid is absorbed and the rice is tender.
- Remove the pan from the heat and let it sit covered for 5 minutes.
- Fluff with a fork, stir in the parsley and taste for seasoning before serving.
This is the from scratch version of the boxed rice I grew up on, and it is just as easy. It goes with chicken, fish, pork chops and anything with a sauce.
Use vegetable broth to make it meatless, or stir in a handful of frozen peas during the 5 minute rest. The steam warms them through perfectly.
11) Classic Creamy Coleslaw
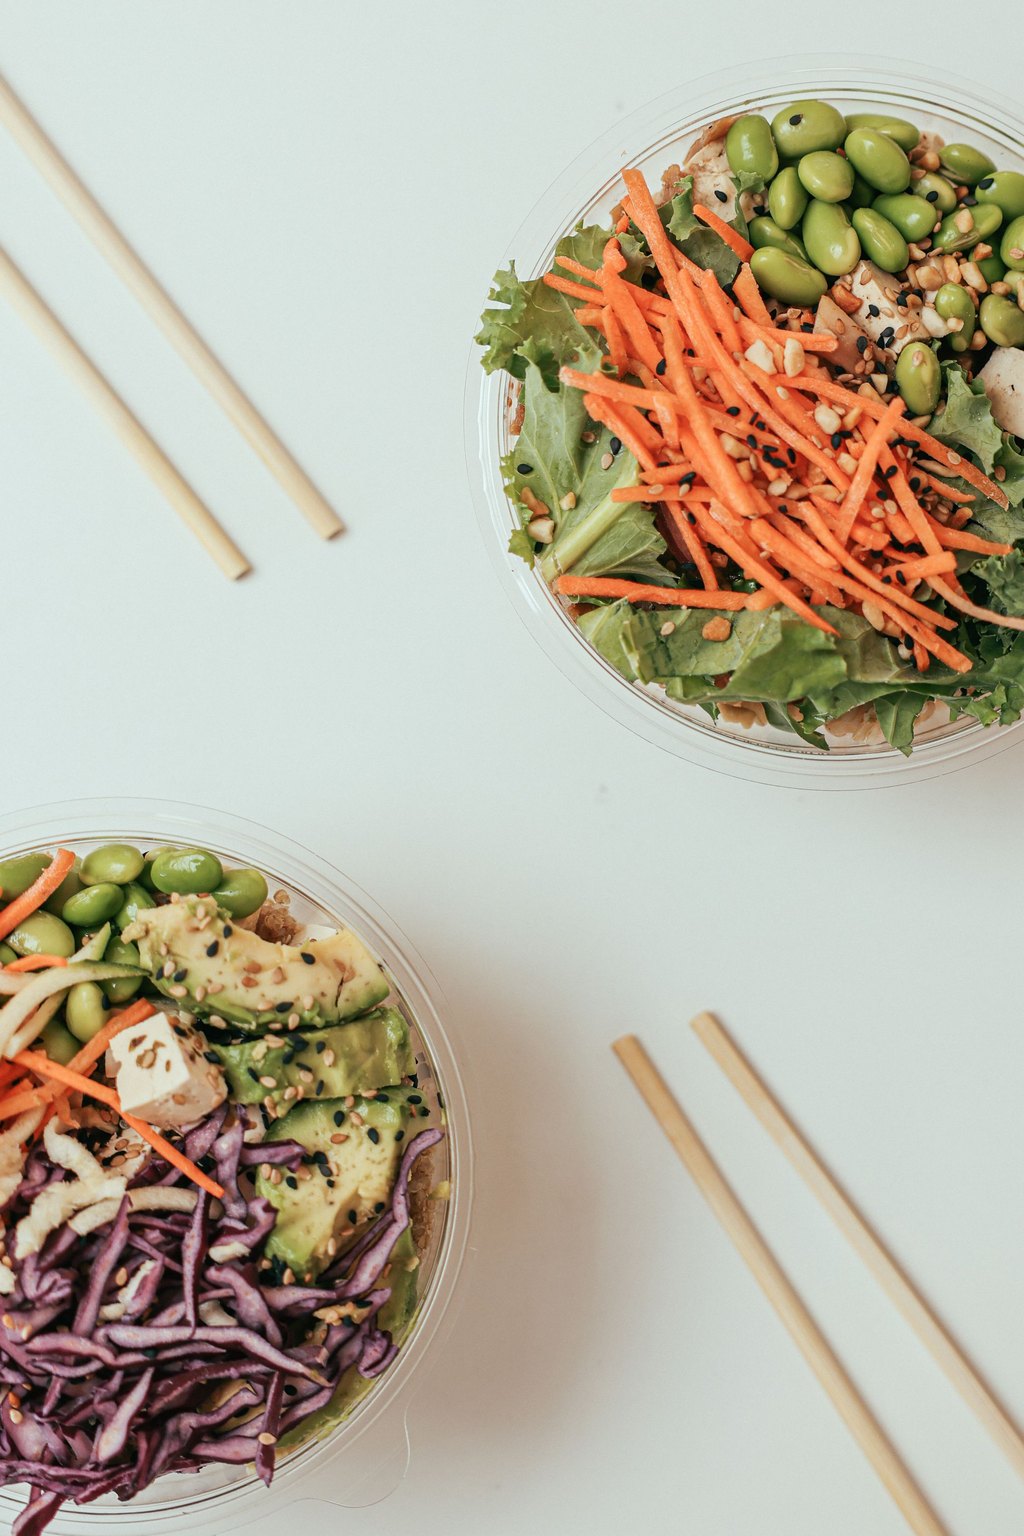
11) Classic Creamy Coleslaw
This classic coleslaw mixes crunchy green and red cabbage with sweet grated carrots for plenty of color and crunch. The creamy dressing balances mayonnaise and sour cream with tangy cider vinegar and a little sugar. Celery seed is the old fashioned ingredient that gives it that true deli counter flavor.
Ingredients
- 1 small head green cabbage, finely shredded, about 6 cups
- 2 cups shredded red cabbage
- 2 large carrots, grated
- 3/4 cup mayonnaise
- 2 tablespoons sour cream
- 2 tablespoons apple cider vinegar
- 1 tablespoon granulated sugar
- 1 teaspoon Dijon mustard
- 1/2 teaspoon celery seed
- 1/2 teaspoon kosher salt
- 1/4 teaspoon black pepper
Instructions
- Put the green cabbage, red cabbage and carrots in a large bowl and toss them together with your hands.
- In a medium bowl, whisk the mayonnaise, sour cream, vinegar, sugar, mustard and celery seed until smooth.
- Add the salt and pepper to the dressing and taste it. It should taste a little stronger than you think, since the cabbage will mellow it out.
- Pour the dressing over the cabbage and toss until every shred is lightly coated. It will look a bit dry at first but the cabbage releases moisture as it sits.
- Cover the bowl and refrigerate for at least 1 hour so the cabbage softens slightly and the flavors blend together.
- Toss the coleslaw again right before serving, since some dressing settles to the bottom. Taste and add a pinch more salt or a splash more vinegar if needed.
- Serve cold alongside barbecue, fried chicken, fish or sandwiches.
No cookout or fish fry feels complete without a big bowl of slaw. I like that it can be made before company comes and only gets better as it chills.
To save time, swap the cabbage and carrots for a 14 ounce bag of shredded coleslaw mix. Keep the slaw in the fridge for up to 3 days.
12) Mexican Street Corn Salad
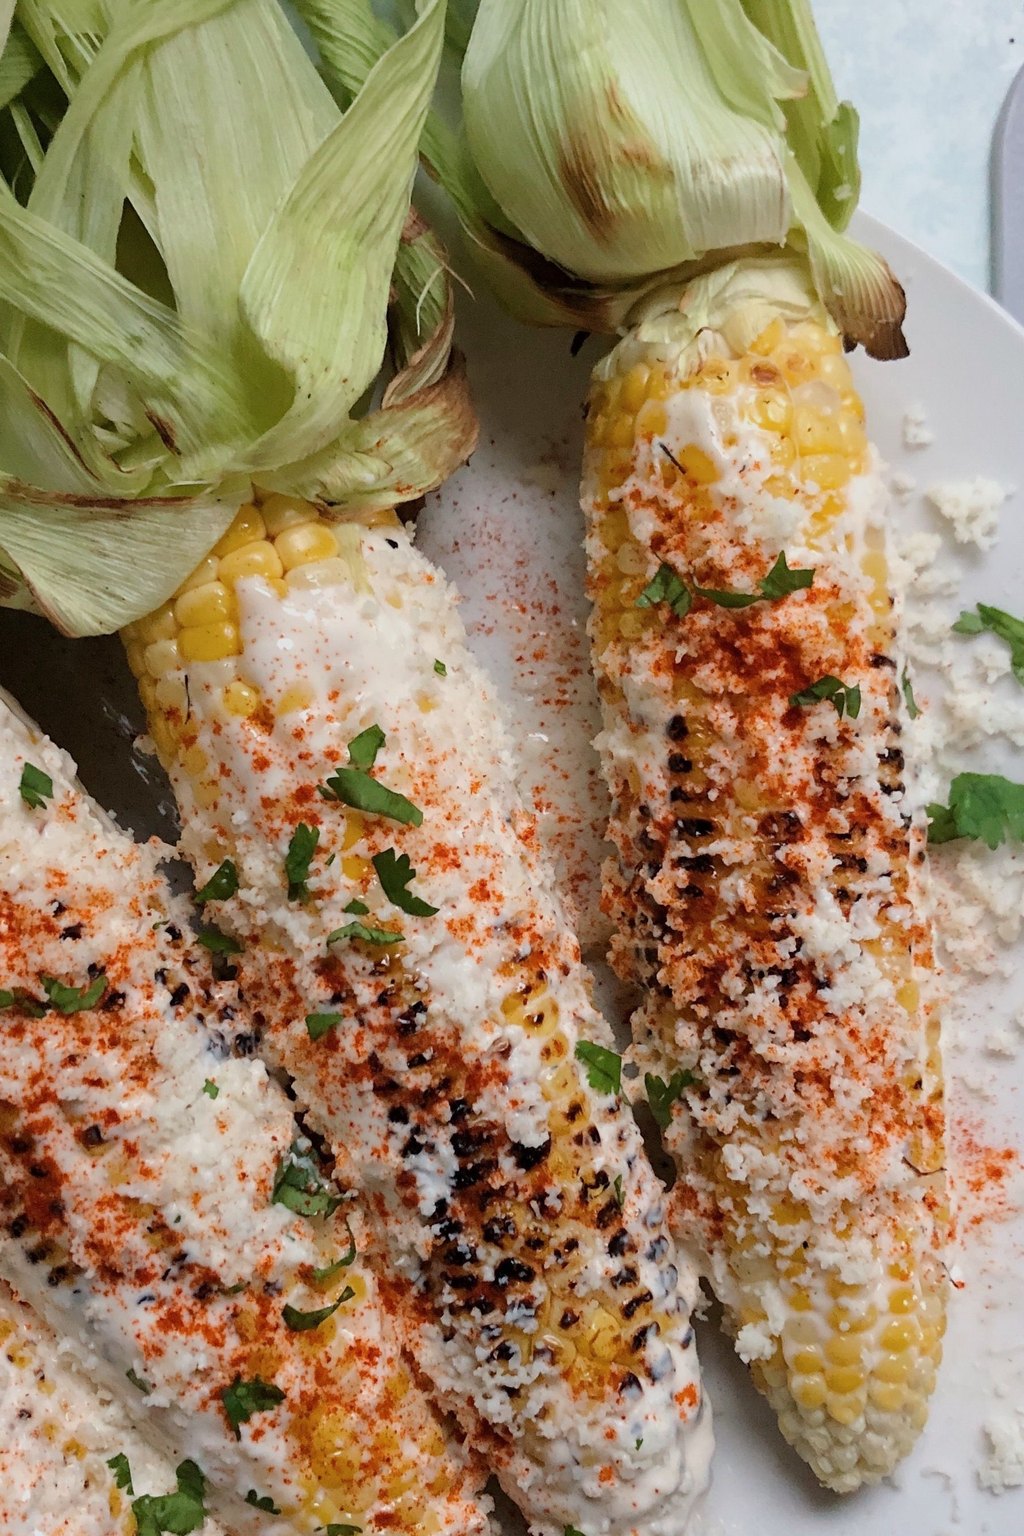
12) Mexican Street Corn Salad
This salad has all the flavors of grilled street corn without the mess of eating it off the cob. Charring the kernels in a hot skillet adds a smoky sweetness that pairs perfectly with the creamy lime dressing. Salty cotija, crunchy onion and fresh cilantro make every spoonful bright and bold.
Ingredients
- 5 cups corn kernels, fresh or thawed frozen
- 1 tablespoon olive oil
- 1/4 cup mayonnaise
- 1/4 cup sour cream
- 1 clove garlic, minced
- 1/2 teaspoon chili powder
- 1/4 teaspoon smoked paprika
- 2 tablespoons fresh lime juice
- 1/2 cup crumbled cotija cheese
- 1/4 cup finely diced red onion
- 1 jalapeno, seeded and minced
- 1/3 cup chopped fresh cilantro
- 1/2 teaspoon kosher salt
Instructions
- Pat the corn kernels dry with paper towels so they can char instead of steaming.
- Heat the olive oil in a large cast iron skillet over medium high heat. Add the corn in an even layer and let it cook without stirring for 3 to 4 minutes, until charred in spots.
- Stir and cook for another 3 to 4 minutes, until most of the kernels have golden brown spots. Work in two batches if your skillet is small.
- Transfer the corn to a large bowl and let it cool for 5 minutes so the dressing does not turn oily.
- Whisk the mayonnaise, sour cream, garlic, chili powder, smoked paprika and lime juice together in a small bowl.
- Add the cotija, red onion, jalapeno and cilantro to the corn. Pour in the dressing and stir gently until everything is coated.
- Season with salt to taste and sprinkle a little extra cotija and chili powder on top. Serve warm, at room temperature or chilled.
This is my most requested side for summer cookouts and taco nights. It works with frozen corn, so I can make it any time of year.
If you cannot find cotija, crumbled feta is a great swap. The salad keeps for 3 days in the fridge and is delicious scooped up with tortilla chips.
13) Cheesy Garlic Bread

13) Cheesy Garlic Bread
Crusty bread gets a thick layer of homemade garlic butter mixed with fresh garlic, dried herbs and a pinch of chili flakes. A blanket of mozzarella and Parmesan melts into a bubbly, golden top. The edges turn crisp while the center stays soft and tender enough to pull apart by hand.
Ingredients
- 1 large loaf French or Italian bread
- 1/2 cup salted butter, softened
- 4 cloves garlic, finely minced
- 1/2 teaspoon garlic powder
- 1/2 teaspoon dried Italian seasoning
- 1/4 teaspoon red pepper flakes
- 2 tablespoons chopped fresh parsley
- 1/4 cup grated Parmesan cheese
- 1 cup shredded mozzarella cheese
- 1/4 teaspoon kosher salt
Instructions
- Heat the oven to 400F and line a large baking sheet with foil.
- Slice the bread in half lengthwise with a serrated knife and set both halves cut side up on the baking sheet.
- In a small bowl, mash the softened butter with the minced garlic, garlic powder, Italian seasoning, red pepper flakes, salt and half of the parsley until well blended.
- Spread the garlic butter evenly over the cut sides of the bread, going all the way to the edges so the crust gets golden too.
- Bake for 8 minutes, until the butter melts and the edges start to toast.
- Sprinkle the Parmesan and mozzarella evenly over both halves and bake for 5 to 7 minutes more, until the cheese is melted and bubbly. For extra browning, broil for 1 to 2 minutes, watching closely.
- Let it cool for 2 minutes, sprinkle with the remaining parsley and cut into thick slices with a serrated knife.
Pasta night is not pasta night at my house without a tray of this garlic bread. I usually make one loaf for the table and another for the kids to fight over.
Make the garlic butter up to a week ahead and keep it in the fridge. You can also assemble the bread, wrap it in foil and freeze it for up to 2 months, then bake from frozen for a few minutes longer.
14) Easy Buttermilk Biscuits

14) Easy Buttermilk Biscuits
These biscuits use cold butter and cold buttermilk to create pockets of steam that puff them up tall in a hot oven. A few quick folds of the dough build the flaky, peel apart layers everyone loves. A brush of honey butter on top makes them golden and just a little sweet.
Ingredients
- 2 1/2 cups all purpose flour, plus more for dusting
- 1 tablespoon baking powder
- 1/2 teaspoon baking soda
- 1 teaspoon granulated sugar
- 1 teaspoon kosher salt
- 1/2 cup cold unsalted butter, cubed
- 1 cup cold buttermilk
- 2 tablespoons butter, melted, for brushing
- 1 teaspoon honey, optional
- Flaky salt, for finishing
Instructions
- Heat the oven to 450F and line a baking sheet with parchment paper.
- Whisk the flour, baking powder, baking soda, sugar and salt together in a large bowl.
- Add the cold butter cubes and cut them in with a pastry cutter or two forks until the mixture looks like coarse crumbs with a few pea sized pieces of butter left.
- Pour in the cold buttermilk and stir with a fork just until a shaggy dough forms. Do not overmix or the biscuits will be tough.
- Turn the dough onto a floured counter and pat it into a 1 inch thick rectangle. Fold it in half, pat it out again and repeat two more times to create flaky layers.
- Cut out biscuits with a floured 2 1/2 inch round cutter, pressing straight down without twisting. Place them on the baking sheet so they just touch, which helps them rise tall.
- Bake for 12 to 15 minutes, until tall and golden brown. Brush the hot tops with melted butter mixed with honey, sprinkle with flaky salt and serve warm.
Warm biscuits make any simple dinner, like soup or fried chicken, feel like Sunday supper. These come together in one bowl with no special equipment.
Freeze unbaked biscuits on a sheet pan, then store them in a freezer bag for up to 3 months. Bake straight from frozen, adding 3 to 5 minutes to the time.
15) Sweet Skillet Cornbread
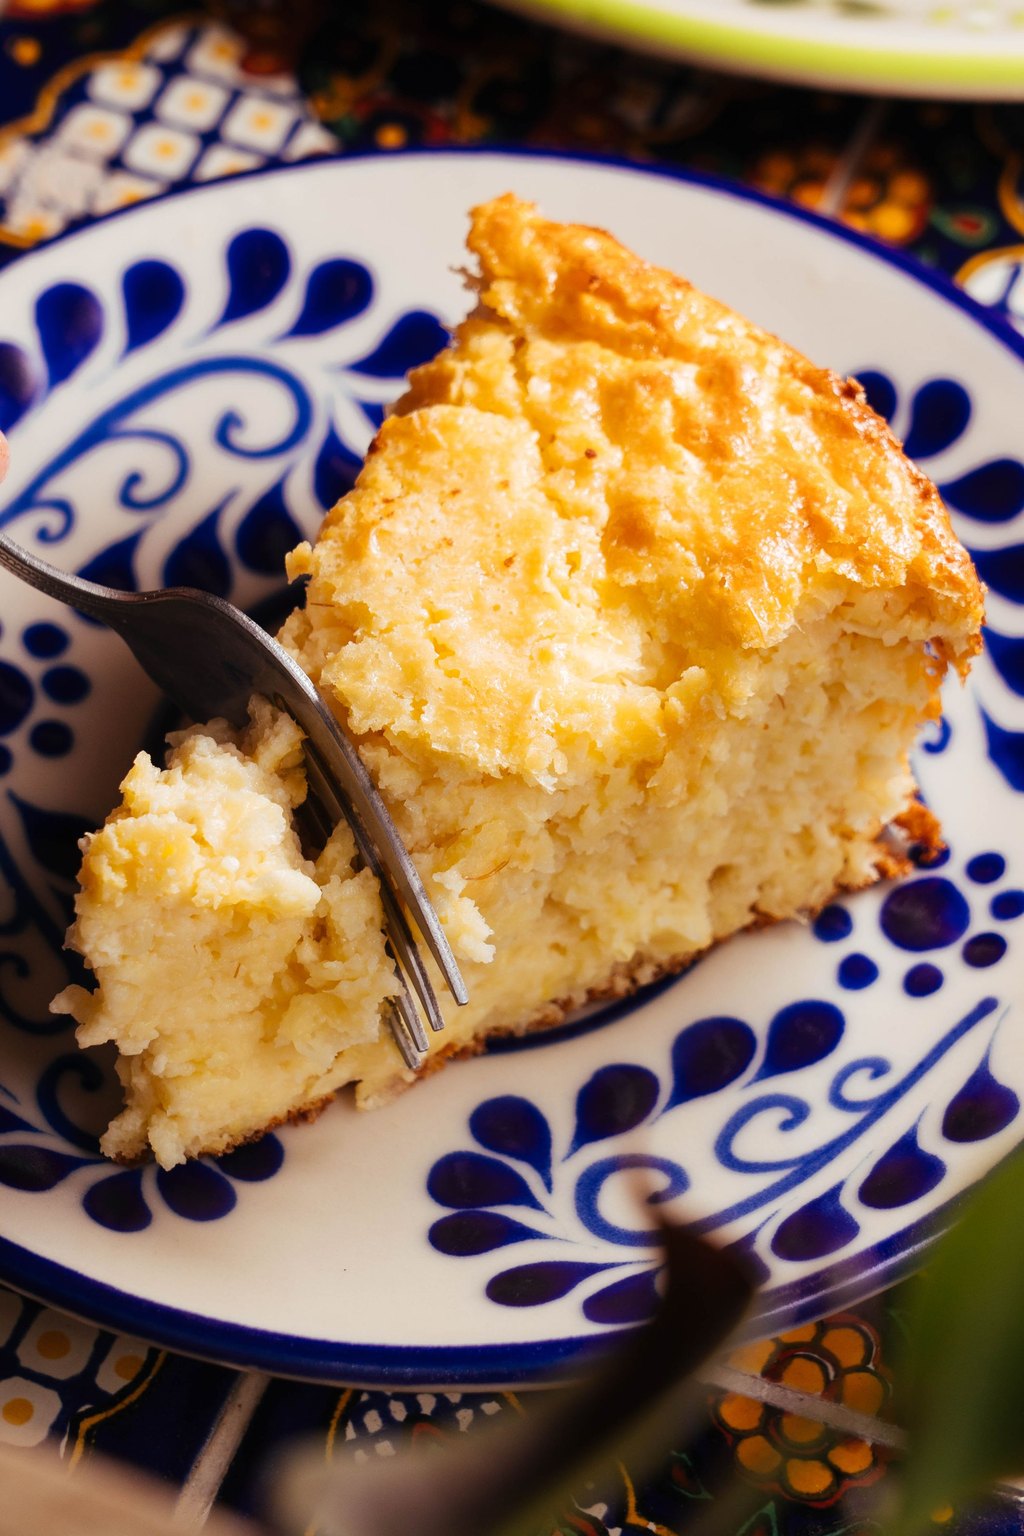
15) Sweet Skillet Cornbread
This cornbread bakes in a preheated cast iron skillet, giving it buttery, crunchy edges and a soft, tender middle. Buttermilk keeps the crumb moist while a little sugar and honey give it a gentle sweetness. It sits right between a dry southern style cornbread and a cakey northern one.
Ingredients
- 1 cup yellow cornmeal
- 1 cup all purpose flour
- 1/3 cup granulated sugar
- 1 tablespoon baking powder
- 1/2 teaspoon baking soda
- 1 teaspoon kosher salt
- 1 1/4 cups buttermilk
- 2 large eggs
- 1/2 cup unsalted butter, melted and divided
- 2 tablespoons honey
Instructions
- Place a 10 inch cast iron skillet in the oven and heat the oven to 400F. Heating the skillet is what gives cornbread its crisp, golden edges.
- Whisk the cornmeal, flour, sugar, baking powder, baking soda and salt together in a large bowl.
- In another bowl, whisk the buttermilk, eggs, honey and 6 tablespoons of the melted butter until smooth.
- Pour the wet ingredients into the dry ingredients and stir with a spatula just until no dry streaks remain. A few lumps are fine.
- Carefully remove the hot skillet and add the remaining 2 tablespoons of butter, swirling to coat the bottom and sides. Pour in the batter. It should sizzle around the edges.
- Bake for 20 to 25 minutes, until the top is golden and a toothpick inserted in the center comes out clean.
- Let the cornbread cool in the skillet for 10 minutes before slicing into wedges. Serve warm with butter and an extra drizzle of honey.
Cornbread is my answer to chili night, barbecue and big pots of beans. It bakes while the main dish finishes, so it never adds time to dinner.
No cast iron? Use a greased 8 inch square baking pan and bake for 22 to 28 minutes. Wrap leftovers tightly and they stay moist for 2 days on the counter.
Before You Start Cooking
When planning a dinner, I like to pair one starchy side with one green vegetable and let the main dish do the rest. Most of these sides keep well in airtight containers for 3 to 4 days, so a double batch on Sunday can cover several weeknight meals.
I hope these sides take a little pressure off your dinner routine and bring a few new favorites to your table. Simple food made with care is always worth gathering around, and I am so glad you are cooking along with me.
Frequently Asked Questions
How many side dishes should I serve with dinner?
For a regular weeknight, one or two sides is plenty. I usually choose one starch, like potatoes, rice or bread, and one vegetable. For holidays or company, plan on three to five sides so there is something for everyone, and pick a mix of hot dishes and make ahead salads so you are not juggling the oven at the last minute.
Which side dishes can I make ahead of time?
Coleslaw, street corn salad, rice pilaf and mashed potatoes all hold well when made a day or two ahead. Biscuit dough and garlic bread can be frozen before baking. Green beans can be blanched ahead and finished in the skillet in minutes. Roasted vegetables taste best fresh, but you can wash and chop them in advance to save time.
How do I keep roasted vegetables crispy instead of soggy?
Start with very dry vegetables, use a hot oven of at least 425F and spread everything out in a single layer with space in between. Crowding the pan traps steam, which makes vegetables soft. Using a preheated pan or two separate pans helps a lot, and waiting to salt watery vegetables until the end also keeps them from turning limp.