14 Easy Valentine’s Day Desserts
Fourteen easy Valentine's Day desserts with chocolate, strawberries and red velvet, all simple enough for a home cook to make on a busy weeknight.
Valentine’s Day at our house is less about fancy reservations and more about a sweet treat we make together after dinner. This list covers fourteen easy desserts built around the flavors everyone craves in February, from rich chocolate and juicy strawberries to tangy red velvet. You will find quick bites, cookies, cakes, chilled cups and a few showstoppers that look harder than they are. My best planning tip is to pick one dessert you can make the day before, so the evening itself stays relaxed and you are not washing bowls at bedtime.
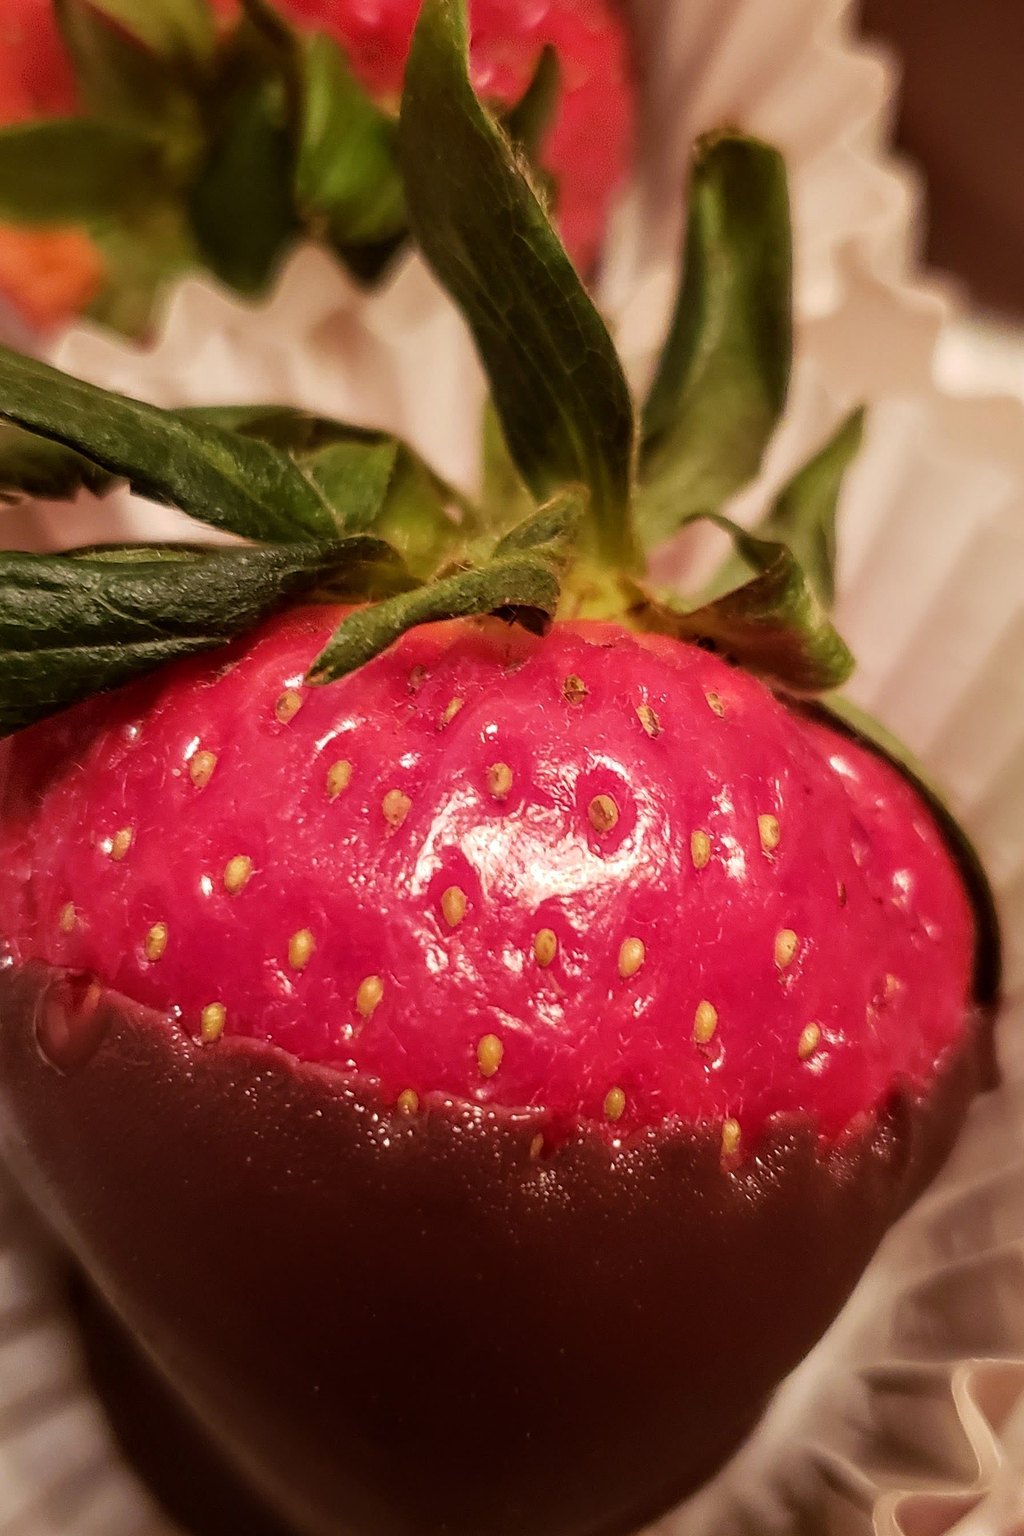
1) Chocolate Covered Strawberries
1) Chocolate Covered Strawberries
These berries pair juicy, slightly tart fruit with a crisp shell of semisweet chocolate that snaps when you bite in. A spoonful of coconut oil keeps the chocolate glossy and easy to dip without tempering. The white chocolate drizzle and a few crunchy toppings make a simple platter look like it came from a candy shop.
Ingredients
- 1 pound fresh strawberries with stems
- 8 ounces semisweet chocolate, chopped
- 2 ounces white chocolate, chopped
- 1 teaspoon coconut oil
- 1/2 teaspoon coconut oil for the white chocolate
- 2 tablespoons red or pink sprinkles
- 2 tablespoons finely chopped toasted almonds
- 2 tablespoons crushed graham crackers
- 1 pinch flaky sea salt
- Parchment paper for the tray
Instructions
- Rinse the strawberries and dry them completely with paper towels, then let them sit on a towel for 15 minutes. Any water left on the berries will make the chocolate seize, so be patient here.
- Line a rimmed baking sheet with parchment paper and set out small bowls of sprinkles, almonds and graham cracker crumbs.
- Melt the semisweet chocolate with 1 teaspoon coconut oil in a microwave safe bowl in 30 second bursts, stirring well after each, until smooth and glossy. This usually takes about 90 seconds total.
- Hold each berry by the stem and dip it about three quarters of the way into the chocolate. Let the extra drip off, then roll the bottom in a topping or leave it plain and set it on the parchment.
- Melt the white chocolate with the remaining coconut oil the same way. Spoon it into a small zip top bag, snip a tiny corner and drizzle thin lines over the plain berries. Add a pinch of flaky salt to a few.
- Chill the tray for 15 to 20 minutes, just until the chocolate is firm. Serve the same day for the best texture.
This is the dessert my kids ask to help with every single year, and it is almost impossible to mess up. It feels special without any baking at all.
Make them no more than 8 hours ahead and keep them uncovered in the fridge. Covering them traps moisture, and the berries start to weep under the chocolate.
2) Red Velvet Cupcakes
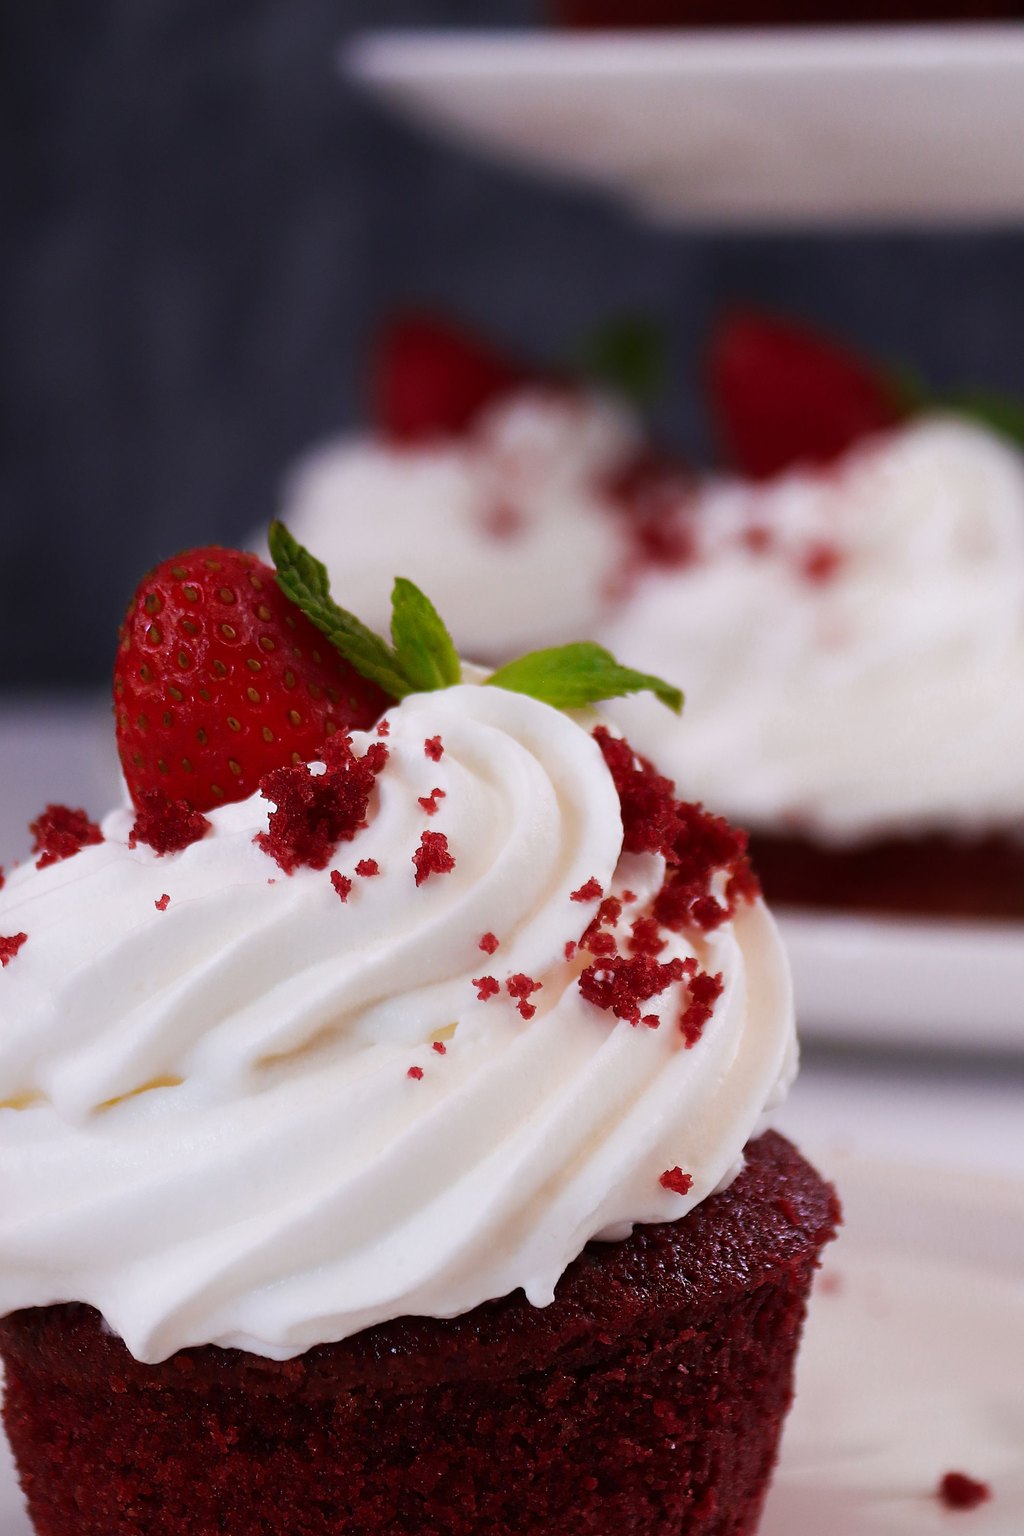
2) Red Velvet Cupcakes
Red velvet has a gentle cocoa flavor with a soft, tender crumb thanks to buttermilk and oil. A little vinegar reacts with the baking soda for extra lift and that classic slight tang. Tangy cream cheese frosting balances the sweetness and makes these feel like a bakery treat.
Ingredients
- For the cupcakes
- 1 1/4 cups all purpose flour
- 1 tablespoon unsweetened cocoa powder
- 1/2 teaspoon baking soda
- 1/2 teaspoon salt
- 3/4 cup granulated sugar
- 1/2 cup vegetable oil
- 1 large egg, room temperature
- 1/2 cup buttermilk, room temperature
- 1 tablespoon red food coloring
- 1 teaspoon white vinegar
- For the frosting
- 8 ounces cream cheese, softened
- 1/4 cup unsalted butter, softened
- 2 cups powdered sugar
Instructions
- Heat the oven to 350F and line a 12 cup muffin pan with paper liners.
- Whisk the flour, cocoa powder, baking soda and salt in a medium bowl. In a large bowl, whisk the sugar, oil and egg until smooth, then whisk in the buttermilk, food coloring and vinegar.
- Add the dry ingredients to the wet ingredients and stir with a spatula just until no streaks of flour remain. Overmixing makes the crumb tough.
- Divide the batter among the liners, filling each about two thirds full. Bake 18 to 20 minutes, until the tops spring back when pressed and a toothpick in the center comes out with a few moist crumbs.
- Cool the cupcakes in the pan for 5 minutes, then move them to a wire rack and cool completely, about 45 minutes.
- Beat the cream cheese and butter on medium speed until creamy, about 2 minutes. Add the powdered sugar and a splash of vanilla if you like and beat until fluffy. Pipe or swirl the frosting onto the cooled cupcakes.
I make these for school parties and for our family dinner on the same day, so one batch does double duty. Kids love the bright red color, and grownups love the frosting.
Store frosted cupcakes in a covered container in the fridge for up to 3 days. Let them sit out for 20 minutes before serving so the cake softens again.
3) Chocolate Lava Cakes
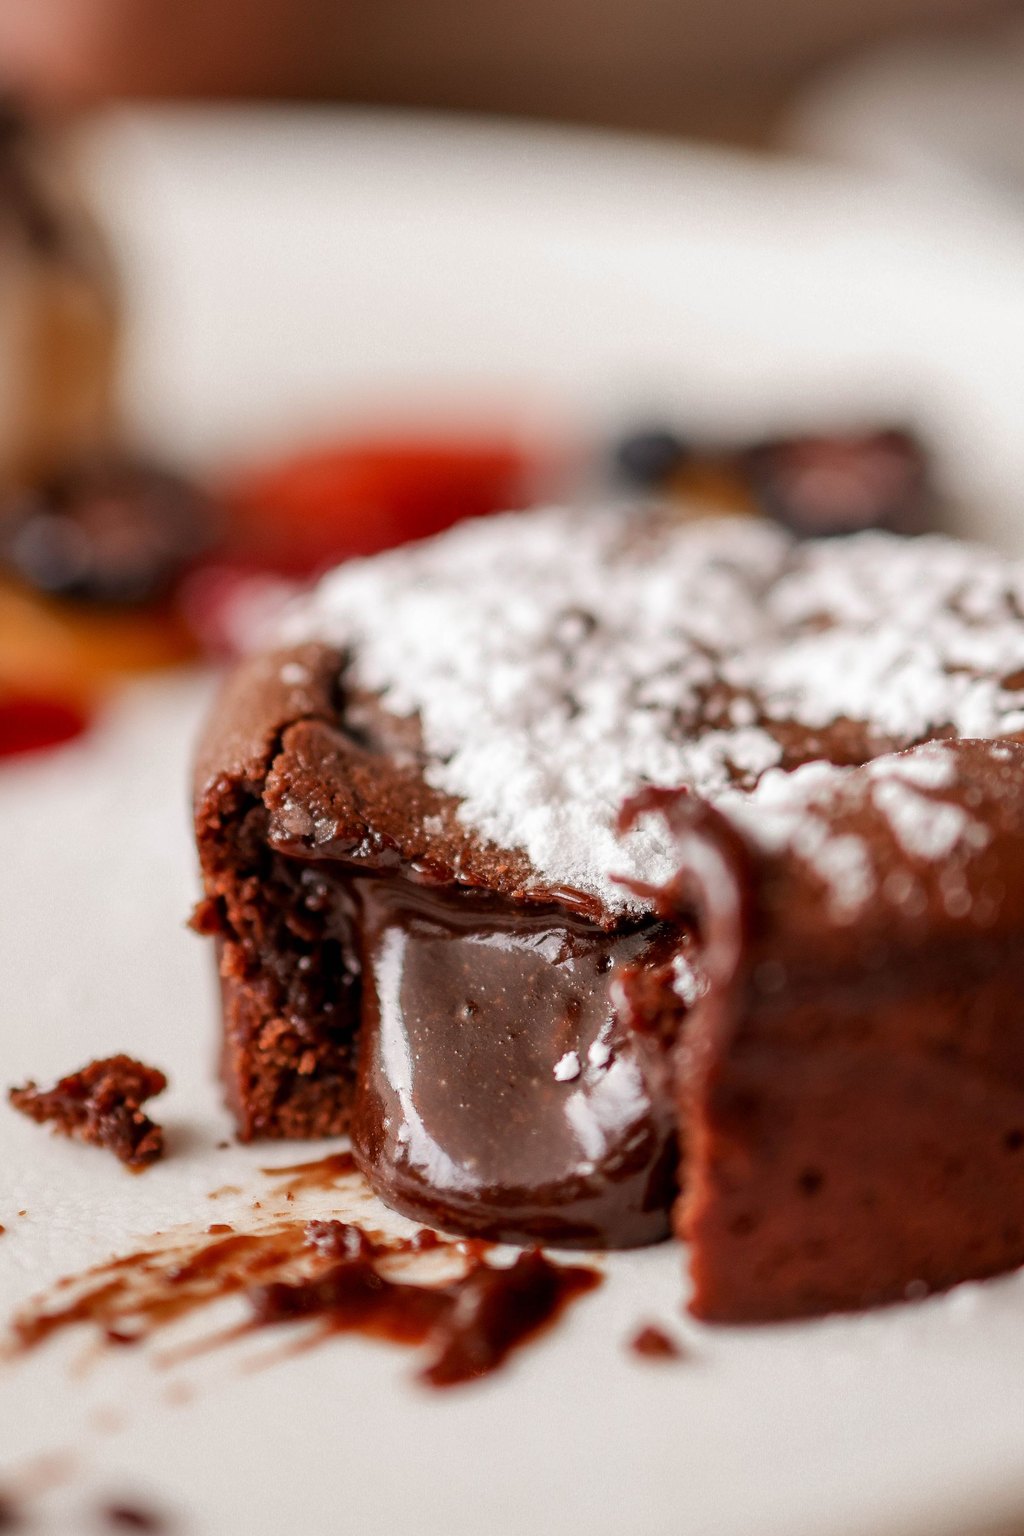
3) Chocolate Lava Cakes
Lava cakes have a thin cake shell around a warm, flowing chocolate center that spills out onto the plate. The trick is pulling them from a hot oven while the middle is still underbaked. Extra egg yolks make the inside silky and rich, so a small cake feels truly indulgent.
Ingredients
- 1/2 cup unsalted butter, plus more for the ramekins
- 4 ounces semisweet chocolate, chopped
- 2 large eggs
- 2 large egg yolks
- 1/4 cup granulated sugar
- 1/8 teaspoon salt
- 2 tablespoons all purpose flour
- 1 teaspoon vanilla extract
- 1 tablespoon unsweetened cocoa powder for dusting
- Powdered sugar for serving
- Fresh raspberries for serving
Instructions
- Heat the oven to 425F. Butter four 6 ounce ramekins generously and dust them with cocoa powder, tapping out the extra. Set them on a rimmed baking sheet.
- Melt the butter and chocolate together in a microwave safe bowl in 30 second bursts, stirring until smooth. Let it cool for 2 minutes while you prepare the eggs so it does not scramble them.
- Whisk the eggs, egg yolks, sugar and salt in a bowl until pale and slightly thick, about 1 minute. Whisk in the vanilla.
- Fold the chocolate mixture into the eggs, then fold in the flour just until combined. Divide the batter among the ramekins.
- Bake 12 to 14 minutes. The edges should look set and firm while the centers still jiggle a little when you nudge the pan.
- Let the cakes rest 1 minute, run a thin knife around the edges and invert each onto a plate. Dust with powdered sugar and serve right away with raspberries.
This is the dessert that makes my husband think I spent all afternoon in the kitchen. It takes about half an hour start to finish, which is my kind of fancy.
You can fill the ramekins up to a day ahead, cover them and refrigerate. Add 2 to 3 minutes to the bake time when they go straight from the fridge into the oven.
4) Strawberry Shortcake
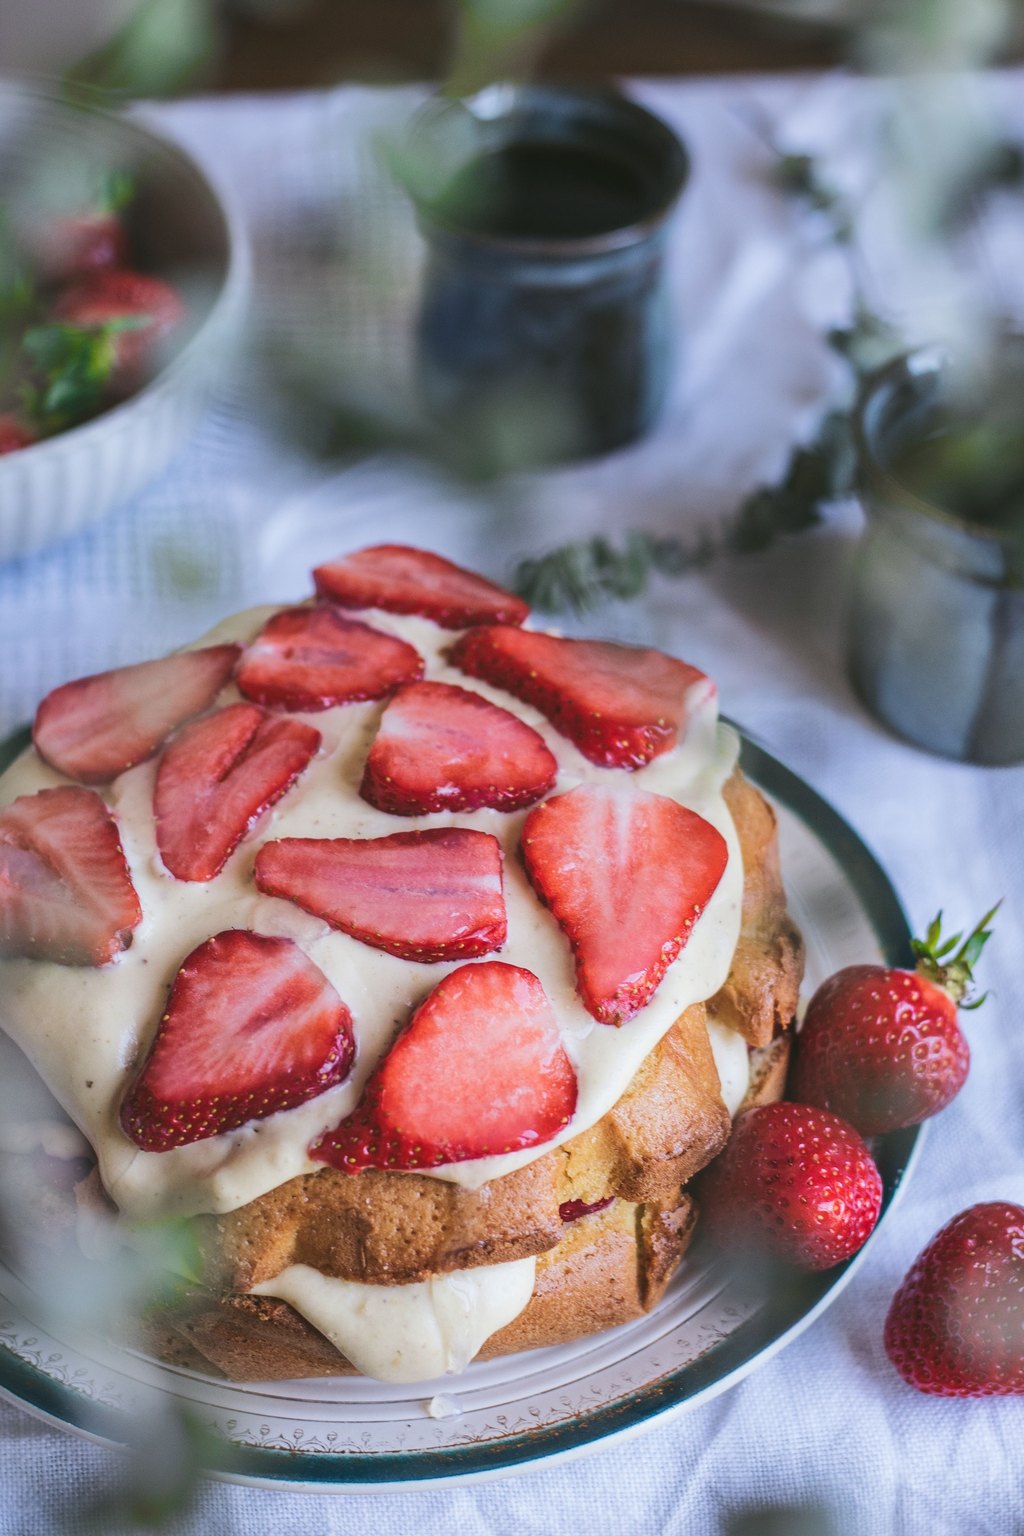
4) Strawberry Shortcake
Classic shortcake uses tender, slightly sweet cream biscuits with a crisp sugary top rather than sponge cake. Macerating the strawberries in sugar pulls out a bright red syrup that soaks into the biscuit. A cloud of lightly sweetened whipped cream ties the warm, crisp and juicy layers together.
Ingredients
- For the biscuits
- 2 cups all purpose flour
- 3 tablespoons granulated sugar
- 1 tablespoon baking powder
- 1/2 teaspoon salt
- 1/2 cup cold unsalted butter, cubed
- 3/4 cup heavy cream, plus 2 tablespoons for brushing
- For the berries and cream
- 1 1/2 pounds fresh strawberries, hulled and sliced
- 1/4 cup granulated sugar for the berries
- 1 cup heavy whipping cream
- 2 tablespoons powdered sugar
- 1 teaspoon vanilla extract
Instructions
- Toss the sliced strawberries with 1/4 cup sugar in a bowl and set aside for at least 30 minutes so they release their juices.
- Heat the oven to 425F and line a baking sheet with parchment. Whisk the flour, sugar, baking powder and salt in a large bowl.
- Cut in the cold butter with a pastry cutter or your fingertips until the pieces are the size of small peas. Stir in 3/4 cup cream just until a shaggy dough forms.
- Pat the dough into a 1 inch thick round on a floured counter and cut 8 biscuits with a 2 1/2 inch cutter, pressing straight down without twisting. Brush the tops with cream and sprinkle with a little sugar.
- Bake 14 to 16 minutes, until golden on top and bottom. Cool for 10 minutes.
- Whip the cream, powdered sugar and vanilla to soft peaks. Split each biscuit, spoon berries and juice over the bottom, add whipped cream and top with the lid.
Strawberry shortcake was my grandmother’s go to celebration dessert, and it still feels like love on a plate to me. It is also easy to set up as a build your own bar for the kids.
Bake the biscuits the morning of and keep them in a paper bag at room temperature. Warm them for 5 minutes at 300F just before assembling so they taste fresh baked.
5) Easy Chocolate Mousse
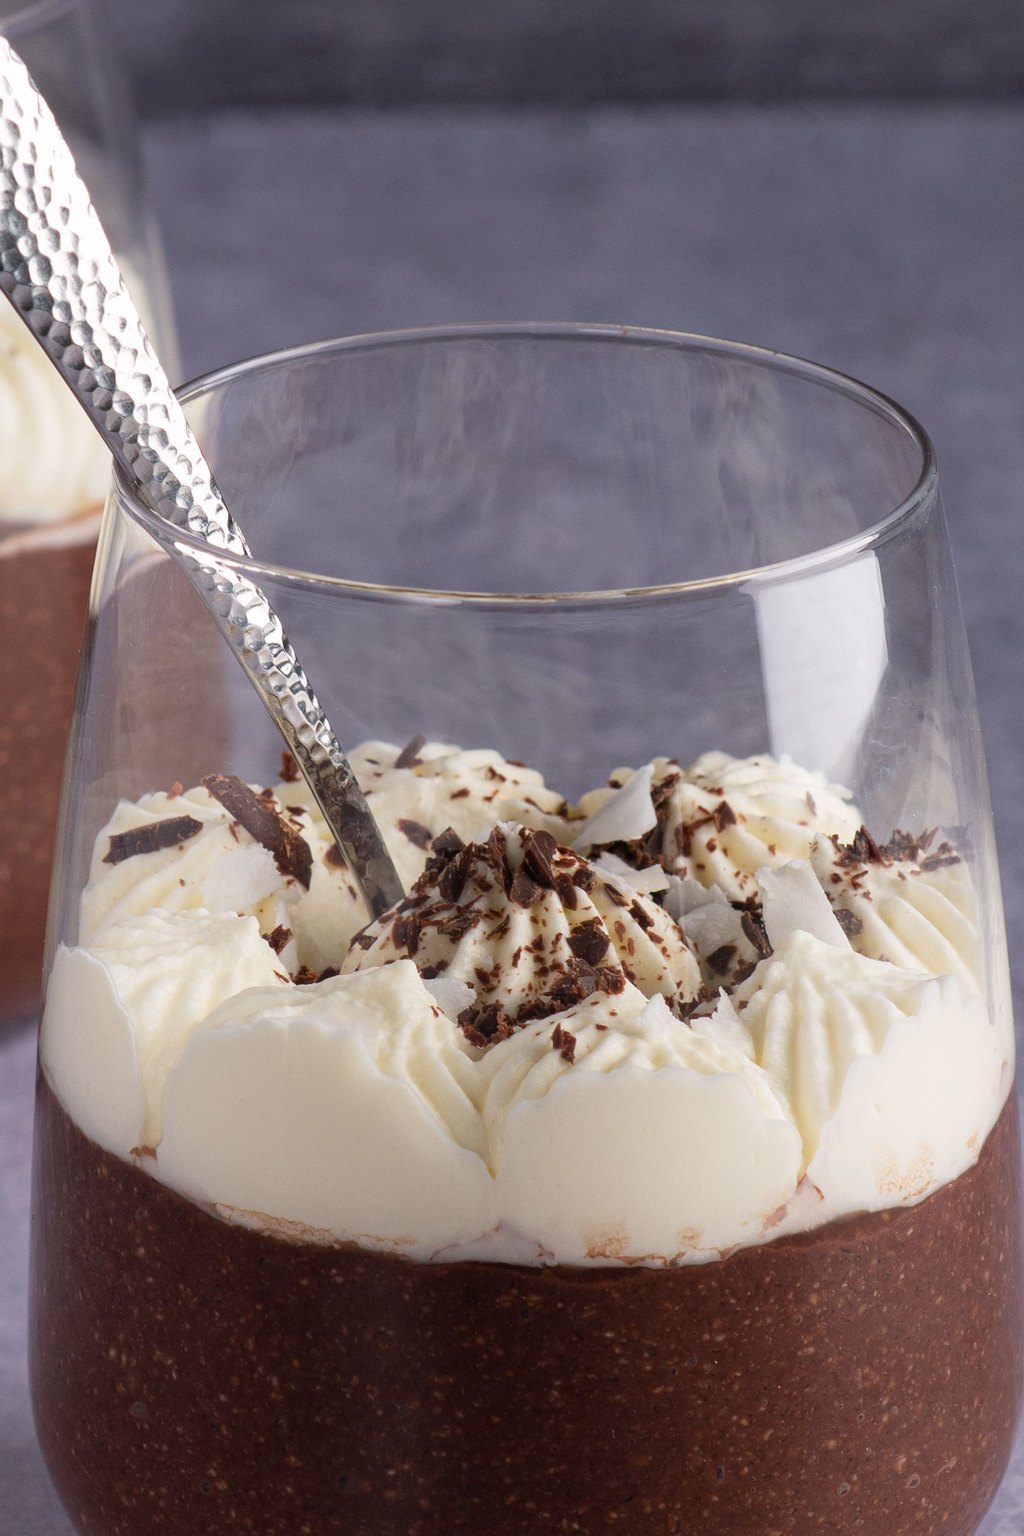
5) Easy Chocolate Mousse
This mousse is airy and light on the spoon but deeply chocolatey on the tongue. Cooking the yolks into a quick custard makes it safe and gives it a silky body. A splash of coffee does not make it taste like coffee, it just makes the chocolate taste richer.
Ingredients
- 6 ounces bittersweet chocolate, chopped
- 2 tablespoons unsalted butter
- 3 tablespoons strong brewed coffee
- 1 1/2 cups heavy whipping cream, divided
- 3 large egg yolks
- 3 tablespoons granulated sugar
- 1/8 teaspoon salt
- 1 teaspoon vanilla extract
- Whipped cream for topping
- Chocolate shavings for topping
Instructions
- Place the chopped chocolate, butter and coffee in a large heatproof bowl.
- Heat 1/2 cup of the cream in a small saucepan over medium heat until steaming. Whisk the egg yolks, sugar and salt in a separate bowl, then slowly whisk in the hot cream.
- Pour the mixture back into the saucepan and cook over low heat, stirring constantly, until it thickens slightly and reaches 160F on an instant read thermometer, about 3 minutes.
- Pour the hot custard over the chocolate and let it sit 1 minute, then whisk until smooth. Stir in the vanilla and cool to room temperature, about 15 minutes.
- Whip the remaining 1 cup cream to soft peaks. Stir one third of it into the chocolate to lighten it, then gently fold in the rest until no white streaks remain.
- Spoon into 6 small glasses or jars, cover and chill at least 2 hours, until set. Top with whipped cream and chocolate shavings before serving.
Mousse sounds intimidating, but this version uses one saucepan and one mixing bowl. Serving it in little jars makes a weeknight Valentine’s dinner feel like a date night.
Make the mousse up to 2 days ahead and keep it covered in the fridge. Add the whipped cream topping right before serving so it stays fluffy.
6) Red Velvet Crinkle Cookies
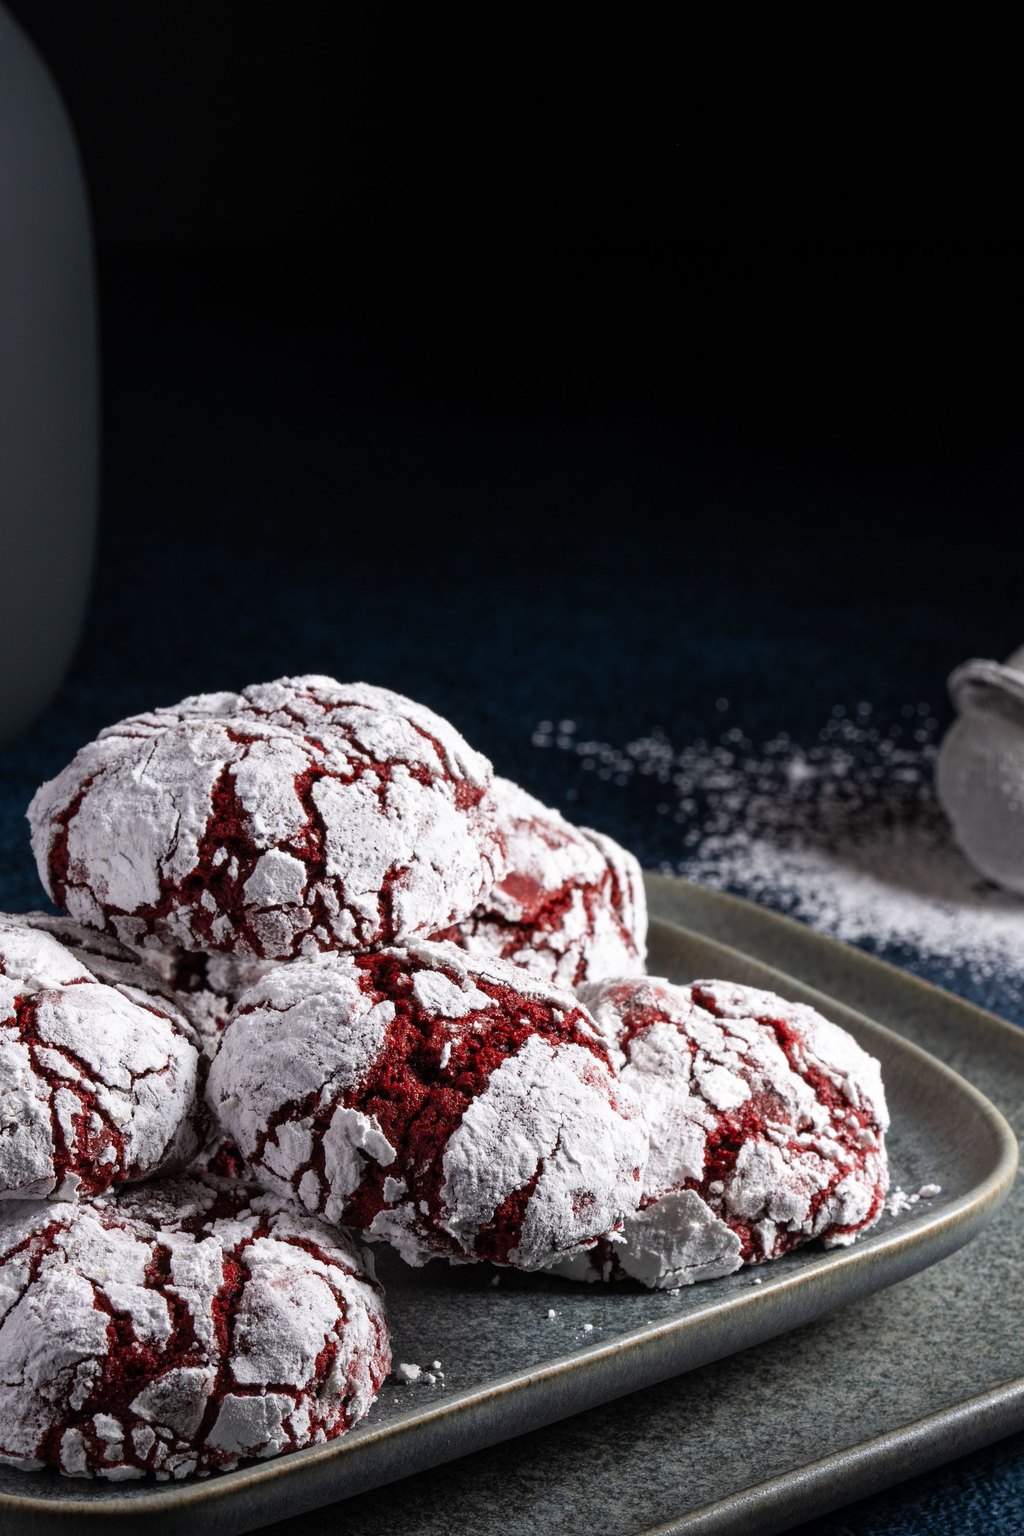
6) Red Velvet Crinkle Cookies
These cookies bake up soft and fudgy in the middle with a crackled, snowy white surface. Rolling the dough in granulated sugar before the powdered sugar keeps the coating bright instead of melting into the cookie. The deep red interior peeking through the cracks makes them look gorgeous on a plate.
Ingredients
- 1 1/2 cups all purpose flour
- 1/4 cup unsweetened cocoa powder
- 1 teaspoon baking powder
- 1/4 teaspoon salt
- 1/2 cup unsalted butter, softened
- 1 cup granulated sugar
- 1 large egg
- 1 tablespoon milk
- 1 teaspoon vanilla extract
- 1 tablespoon red gel food coloring
- 1/2 cup powdered sugar for rolling
- 1/4 cup granulated sugar for rolling
Instructions
- Whisk the flour, cocoa powder, baking powder and salt in a bowl.
- Beat the butter and 1 cup sugar on medium speed until light and fluffy, about 2 minutes. Beat in the egg, milk, vanilla and food coloring until the color is even.
- Add the dry ingredients on low speed and mix just until combined. Cover the bowl and chill the dough for 1 hour so it is firm enough to roll.
- Heat the oven to 350F and line two baking sheets with parchment. Put the granulated sugar and powdered sugar in two separate shallow bowls.
- Scoop the dough into 1 tablespoon balls. Roll each ball in granulated sugar first, then coat it heavily in powdered sugar. Place 2 inches apart on the sheets.
- Bake 10 to 12 minutes, until the cookies have spread and cracked and the edges are set. The centers will look soft. Cool on the pan 5 minutes, then move to a rack.
Crinkle cookies are my favorite cookie for gifting because they look impressive with zero decorating. My kids love rolling the dough balls in the sugar.
The dough keeps in the fridge for up to 3 days, which makes it easy to bake fresh cookies on the holiday itself. Baked cookies stay soft in an airtight container for 4 days.
7) Raspberry Swirl Cheesecake Bars
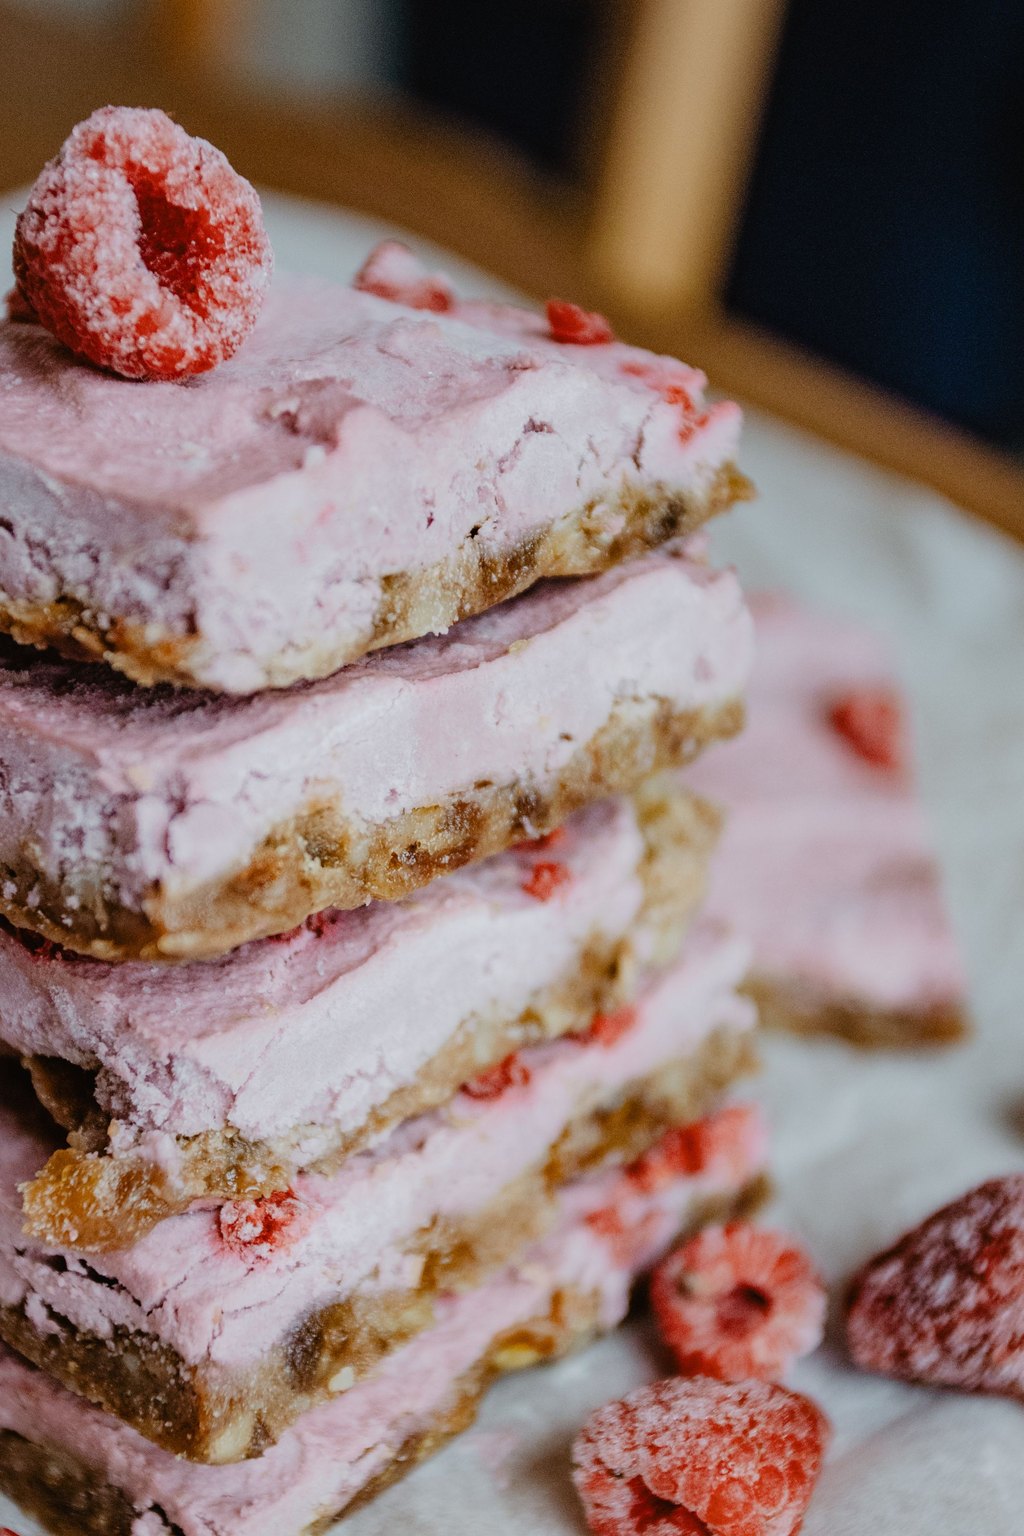
7) Raspberry Swirl Cheesecake Bars
These bars give you creamy, tangy cheesecake in an easy square pan with no water bath. A quick homemade raspberry sauce swirls through the top for bright, tart flavor and a pretty pink marbled look. The buttery graham crust holds everything together so the bars are easy to pick up.
Ingredients
- For the crust
- 1 1/2 cups graham cracker crumbs
- 6 tablespoons unsalted butter, melted
- 2 tablespoons granulated sugar
- For the filling
- 16 ounces cream cheese, softened
- 1/2 cup granulated sugar
- 2 large eggs, room temperature
- 1/2 cup sour cream
- 1 teaspoon vanilla extract
- 1 tablespoon all purpose flour
- 1 cup fresh or frozen raspberries
- 2 tablespoons granulated sugar for the sauce
- 1 teaspoon lemon juice
Instructions
- Heat the oven to 325F and line an 8 inch square pan with parchment, leaving an overhang on two sides.
- Stir the graham cracker crumbs, melted butter and 2 tablespoons sugar together, press firmly into the pan and bake 10 minutes.
- Simmer the raspberries, 2 tablespoons sugar and lemon juice in a small saucepan over medium heat for 5 minutes, mashing the berries. Press through a fine strainer to remove the seeds and cool.
- Beat the cream cheese and 1/2 cup sugar on medium low until smooth. Beat in the eggs one at a time, then the sour cream, vanilla and flour, mixing just until combined.
- Pour the filling over the crust. Drop spoonfuls of raspberry sauce on top and drag a butter knife through to make swirls.
- Bake 30 to 35 minutes, until the edges are set and the center has a slight wobble. Cool in the pan 1 hour, then chill at least 2 hours before slicing with a hot knife.
I love cheesecake but rarely want to fuss with a springform pan, so these bars are my shortcut. They slice neatly for a party tray or a lunchbox surprise.
These bars freeze beautifully for up to 2 months. Wrap the chilled slab tightly in plastic and foil, and thaw overnight in the fridge before cutting.
8) Chocolate Fondue
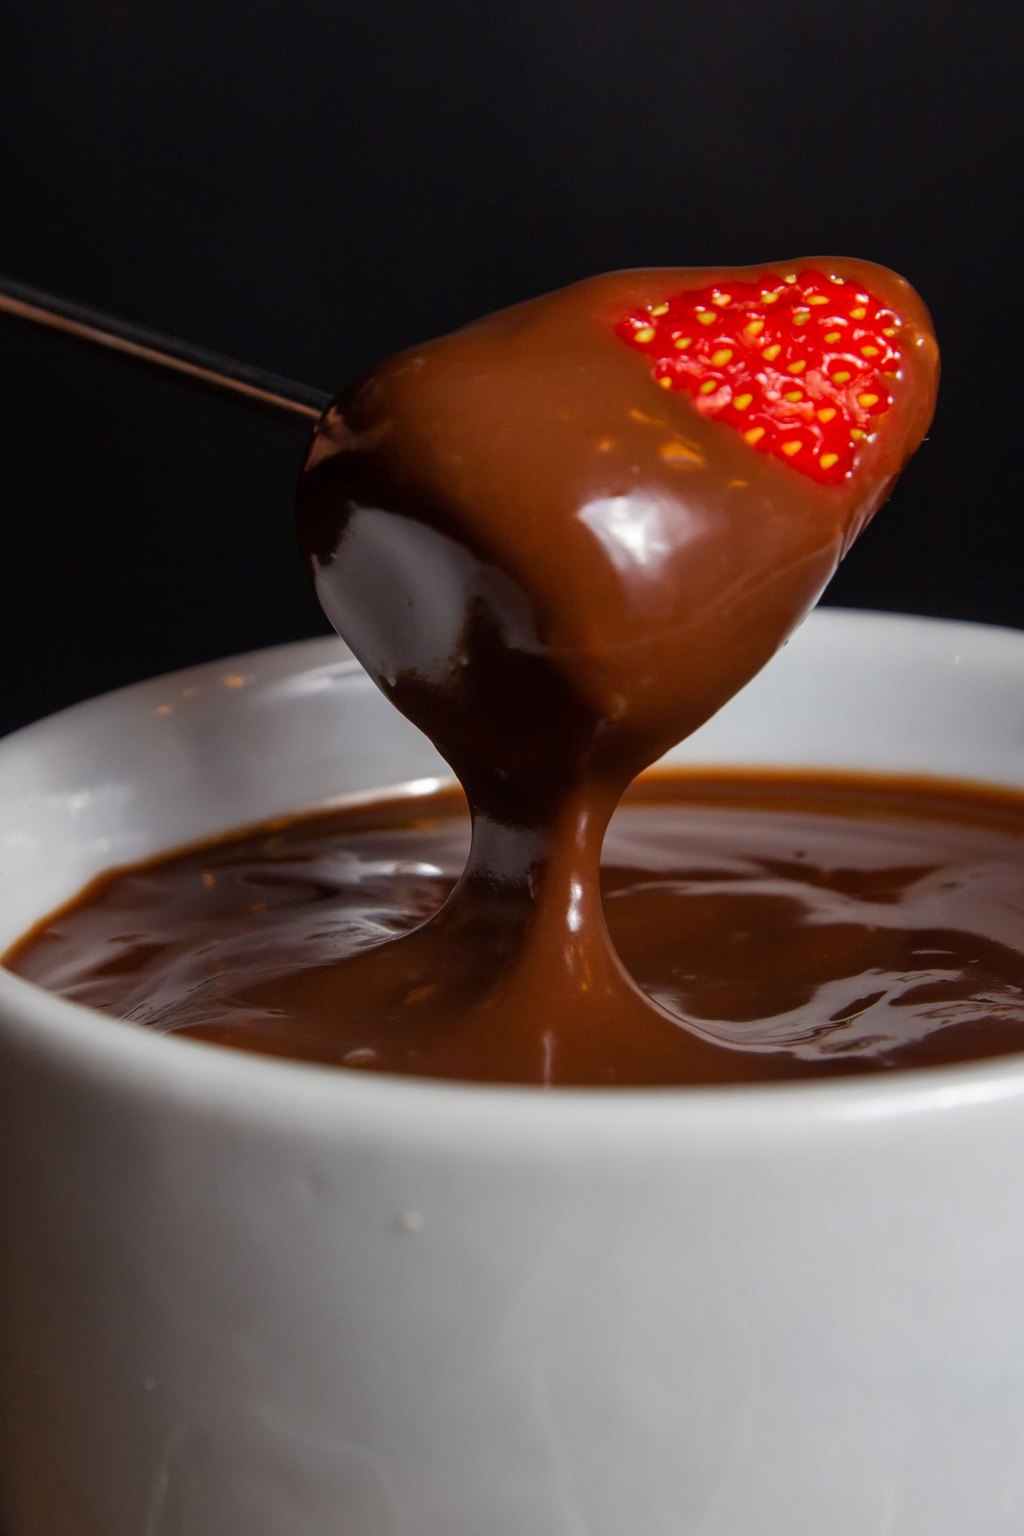
8) Chocolate Fondue
Chocolate fondue is a warm, silky chocolate sauce made for dunking fruit, cake and salty snacks. A mix of semisweet and milk chocolate keeps it rich but still friendly for kids. Gentle heat is the key technique, since chocolate turns grainy if the cream boils.
Ingredients
- 8 ounces semisweet chocolate, chopped
- 2 ounces milk chocolate, chopped
- 3/4 cup heavy cream
- 1 tablespoon unsalted butter
- 1 teaspoon vanilla extract
- 1 pinch salt
- 1 pound strawberries
- 2 bananas, sliced
- 2 cups cubed pound cake
- 2 cups large marshmallows
- 1 cup pretzel rods, broken in half
Instructions
- Wash and dry the strawberries completely, slice the bananas and cut the pound cake into 1 inch cubes. Arrange all the dippers on a large platter.
- Heat the cream in a small heavy saucepan over medium low heat until small bubbles form around the edge, about 4 minutes. Do not let it boil hard.
- Remove the pan from the heat and add both chocolates and the butter. Let it sit for 2 minutes without stirring so the chocolate softens.
- Whisk slowly from the center outward until the fondue is completely smooth and glossy. Stir in the vanilla and a pinch of salt.
- Pour the fondue into a fondue pot over a low flame or a small slow cooker set to warm. Serve right away with skewers or forks for dipping, and set the platter of dippers within easy reach of everyone at the table.
- If the fondue thickens as it sits, stir in 1 to 2 tablespoons of warm cream to loosen it.
Fondue night is one of our favorite family traditions in February because everyone gathers around the same pot. It turns dessert into an activity.
Leftover fondue keeps covered in the fridge for up to 5 days. Rewarm it in short bursts in the microwave and use it as a sauce over ice cream.
9) Chocolate Truffles
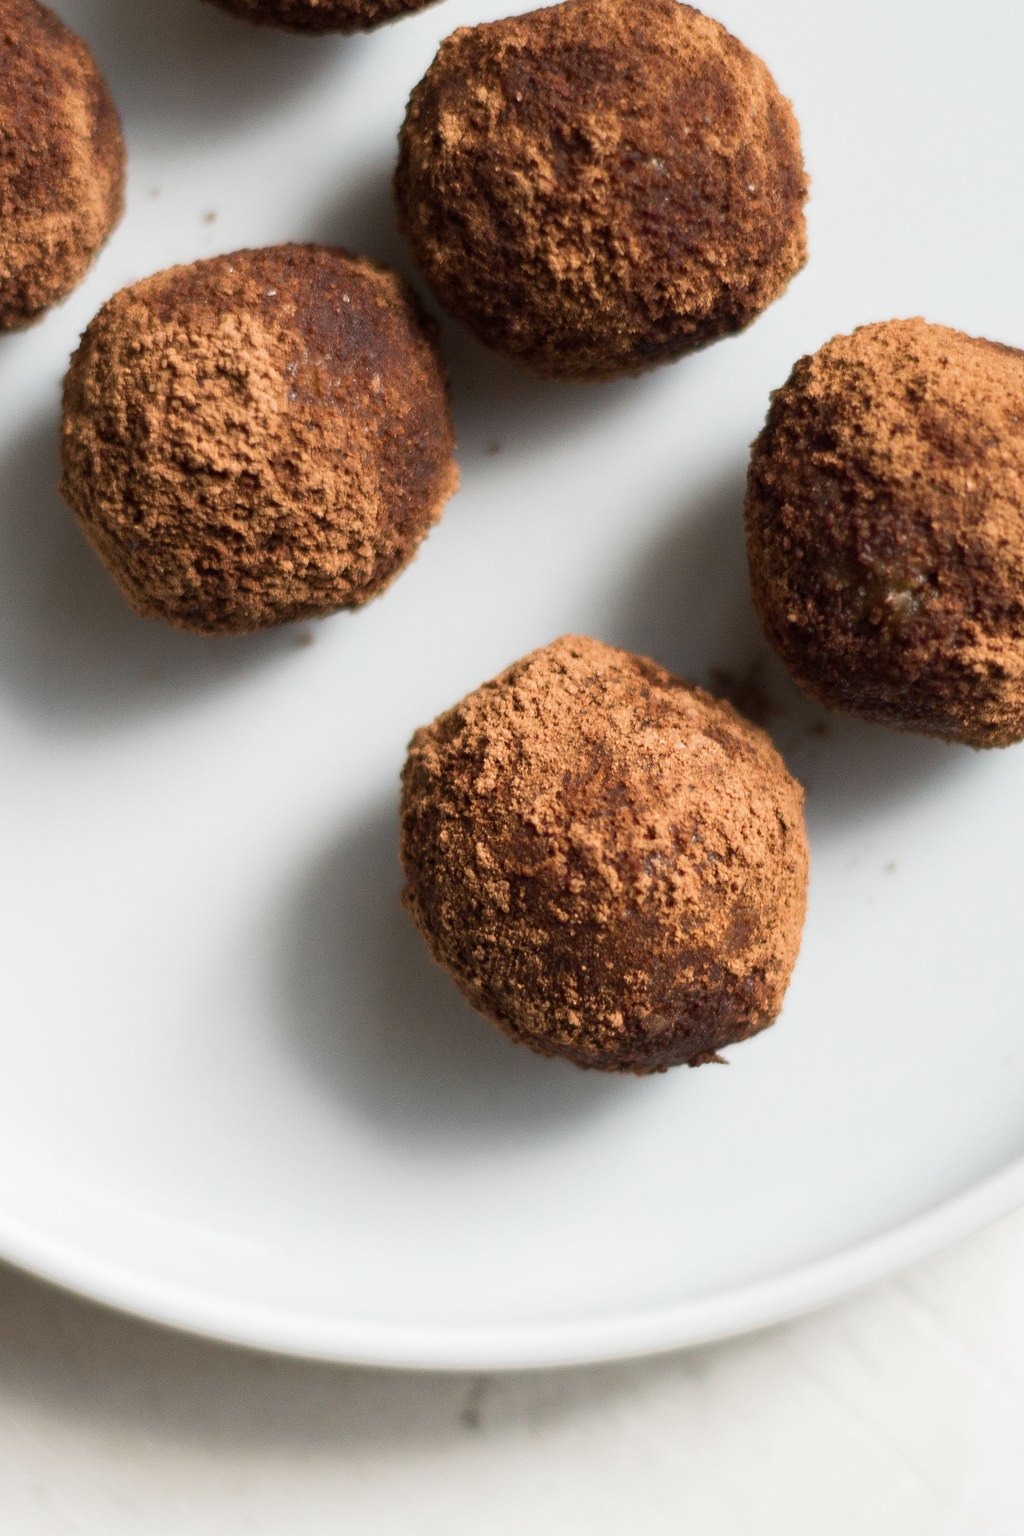
9) Chocolate Truffles
Homemade truffles are just a two ingredient ganache rolled into bite size balls. Good bittersweet chocolate and warm cream give a smooth, melt in your mouth center. Rolling them in different coatings adds texture and makes a mixed box look like it came from a chocolate shop.
Ingredients
- 8 ounces bittersweet chocolate, finely chopped
- 1/2 cup heavy cream
- 2 tablespoons unsalted butter, softened
- 1 teaspoon vanilla extract
- 1 pinch salt
- 1/4 cup unsweetened cocoa powder for rolling
- 1/4 cup finely chopped pistachios for rolling
- 1/4 cup shredded coconut for rolling
- 2 tablespoons red sprinkles for rolling
- Mini paper candy cups
Instructions
- Place the chopped chocolate in a medium heatproof bowl.
- Heat the cream in a small saucepan over medium heat just until it starts to simmer at the edges. Pour it over the chocolate and let it sit for 3 minutes.
- Stir gently from the center until smooth, then stir in the butter, vanilla and salt until the ganache is glossy.
- Cover the bowl and chill for about 2 hours, until the ganache is firm enough to scoop but not rock hard.
- Line a baking sheet with parchment. Use a small cookie scoop or teaspoon to portion the ganache, then roll quickly between your palms into 1 inch balls. If it gets too soft, chill the tray for 10 minutes.
- Roll each truffle in cocoa powder, pistachios, coconut or sprinkles and set it in a paper candy cup. Keep chilled in a covered container and serve slightly cool so the centers are creamy but still hold their shape.
A small box of homemade truffles is my favorite Valentine’s gift for teachers and neighbors. They cost far less than store bought and taste better.
Truffles keep in an airtight container in the fridge for up to 2 weeks. Let them sit out for 10 minutes before serving so the centers turn creamy.
10) Red Velvet Brownies
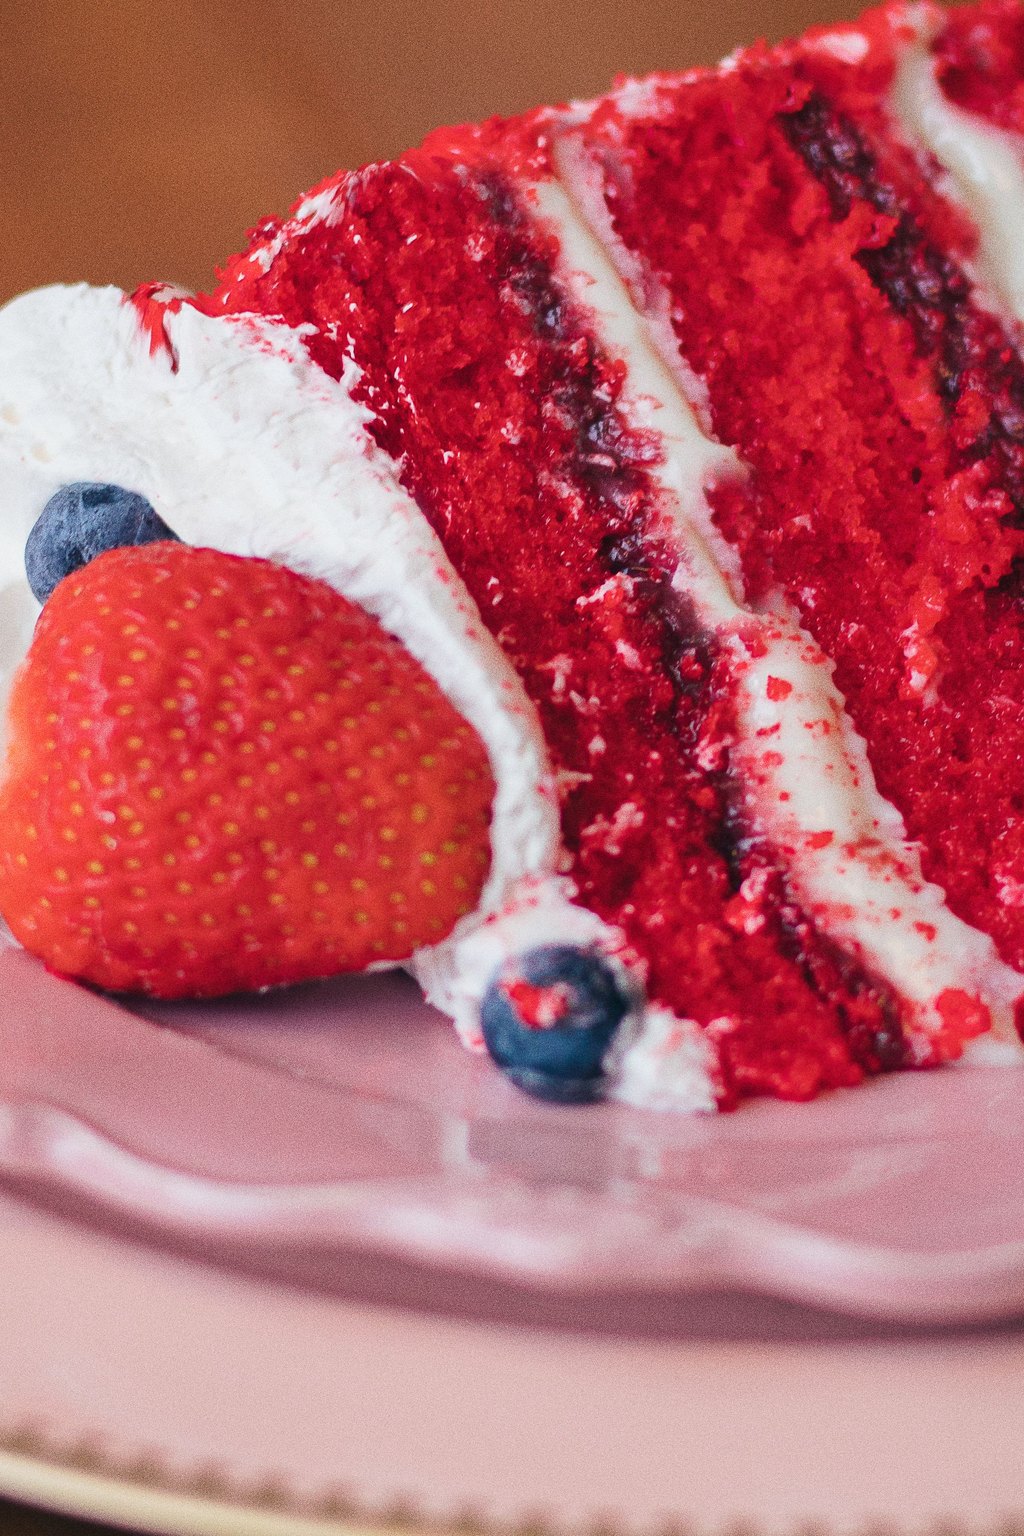
10) Red Velvet Brownies
These brownies are dense and fudgy like a classic brownie but carry the mild cocoa and tangy notes of red velvet cake. A cheesecake swirl on top adds creaminess and a beautiful red and white marble. Everything mixes in one bowl, so cleanup is quick.
Ingredients
- 1/2 cup unsalted butter, melted
- 1 cup granulated sugar
- 2 tablespoons unsweetened cocoa powder
- 1 tablespoon red food coloring
- 1 teaspoon vanilla extract
- 1 teaspoon white vinegar
- 2 large eggs
- 3/4 cup all purpose flour
- 1/4 teaspoon salt
- 6 ounces cream cheese, softened
- 1/4 cup granulated sugar for the swirl
- 1 large egg yolk for the swirl
Instructions
- Heat the oven to 350F and line an 8 inch square baking pan with parchment.
- Whisk the melted butter, 1 cup sugar, cocoa powder, food coloring, vanilla and vinegar in a large bowl. Whisk in the 2 eggs until glossy.
- Stir in the flour and salt just until combined. Spread all but 1/2 cup of the batter in the pan.
- Beat the cream cheese, 1/4 cup sugar and egg yolk until smooth. Dollop it over the batter in about 9 spots, add spoonfuls of the reserved red batter in between, and drag a butter knife through both in a figure eight pattern to swirl. Do not overswirl or the colors will turn muddy.
- Bake 28 to 32 minutes, until the edges are set and a toothpick in the center shows moist crumbs but no wet batter.
- Cool completely in the pan, about 1 hour, then lift out and cut into 16 squares.
When I want the red velvet flavor without frosting a cake, I make these. They travel well, so they are my pick for office parties and class treats.
Keep the brownies covered in the fridge for up to 4 days because of the cream cheese layer. They also slice more cleanly when cold.
11) Strawberry Pretzel Salad
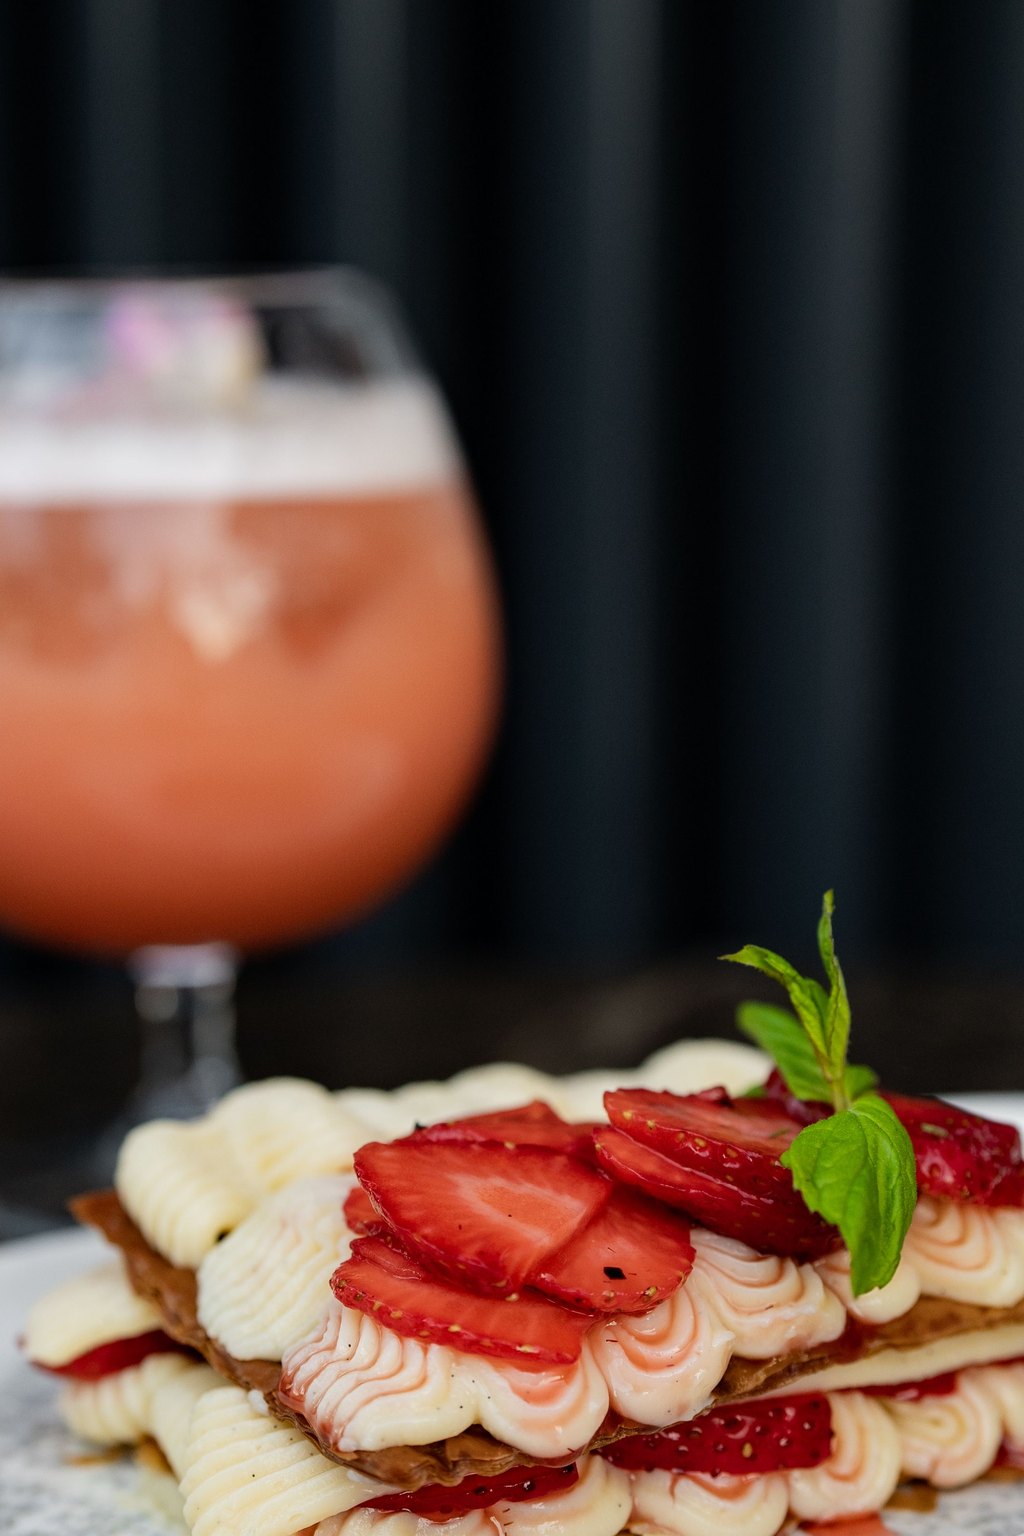
11) Strawberry Pretzel Salad
This retro favorite stacks a salty, buttery pretzel crust, a sweet cream cheese layer and a sparkling strawberry gelatin top. The contrast of crunchy, creamy and fruity is what makes people go back for seconds. Sealing the cream layer to the edges keeps the crust from getting soggy.
Ingredients
- For the crust
- 2 cups crushed pretzels
- 3/4 cup unsalted butter, melted
- 3 tablespoons granulated sugar
- For the layers
- 8 ounces cream cheese, softened
- 1 cup granulated sugar
- 8 ounces frozen whipped topping, thawed
- 6 ounce box strawberry gelatin
- 2 cups boiling water
- 1 1/2 cups cold water
- 4 cups sliced fresh strawberries
Instructions
- Heat the oven to 350F. Stir the crushed pretzels, melted butter and 3 tablespoons sugar together and press into a 9×13 inch baking dish.
- Bake the crust 10 minutes, then cool completely on a rack, about 30 minutes.
- Beat the cream cheese and 1 cup sugar until smooth, then fold in the whipped topping. Spread it over the cooled crust all the way to the edges to seal it, and refrigerate.
- Whisk the gelatin into the boiling water until fully dissolved, about 2 minutes. Stir in the cold water and refrigerate until it is the thickness of egg whites, about 1 hour.
- Stir the strawberries into the thickened gelatin and gently pour it over the cream cheese layer, spreading it with the back of a spoon so the berries are evenly spaced.
- Refrigerate at least 3 hours, until the top is completely set and no longer sticky when touched. Cut into squares with a sharp knife and serve cold.
This is the dessert my mother in law brings to every holiday, and I finally asked for the recipe. The pink layer looks so festive for Valentine’s Day.
Make it the day before so the gelatin has plenty of time to set. Leftovers keep covered in the fridge for 2 days, though the crust softens a bit after that.
12) Valentine’s Snack Mix
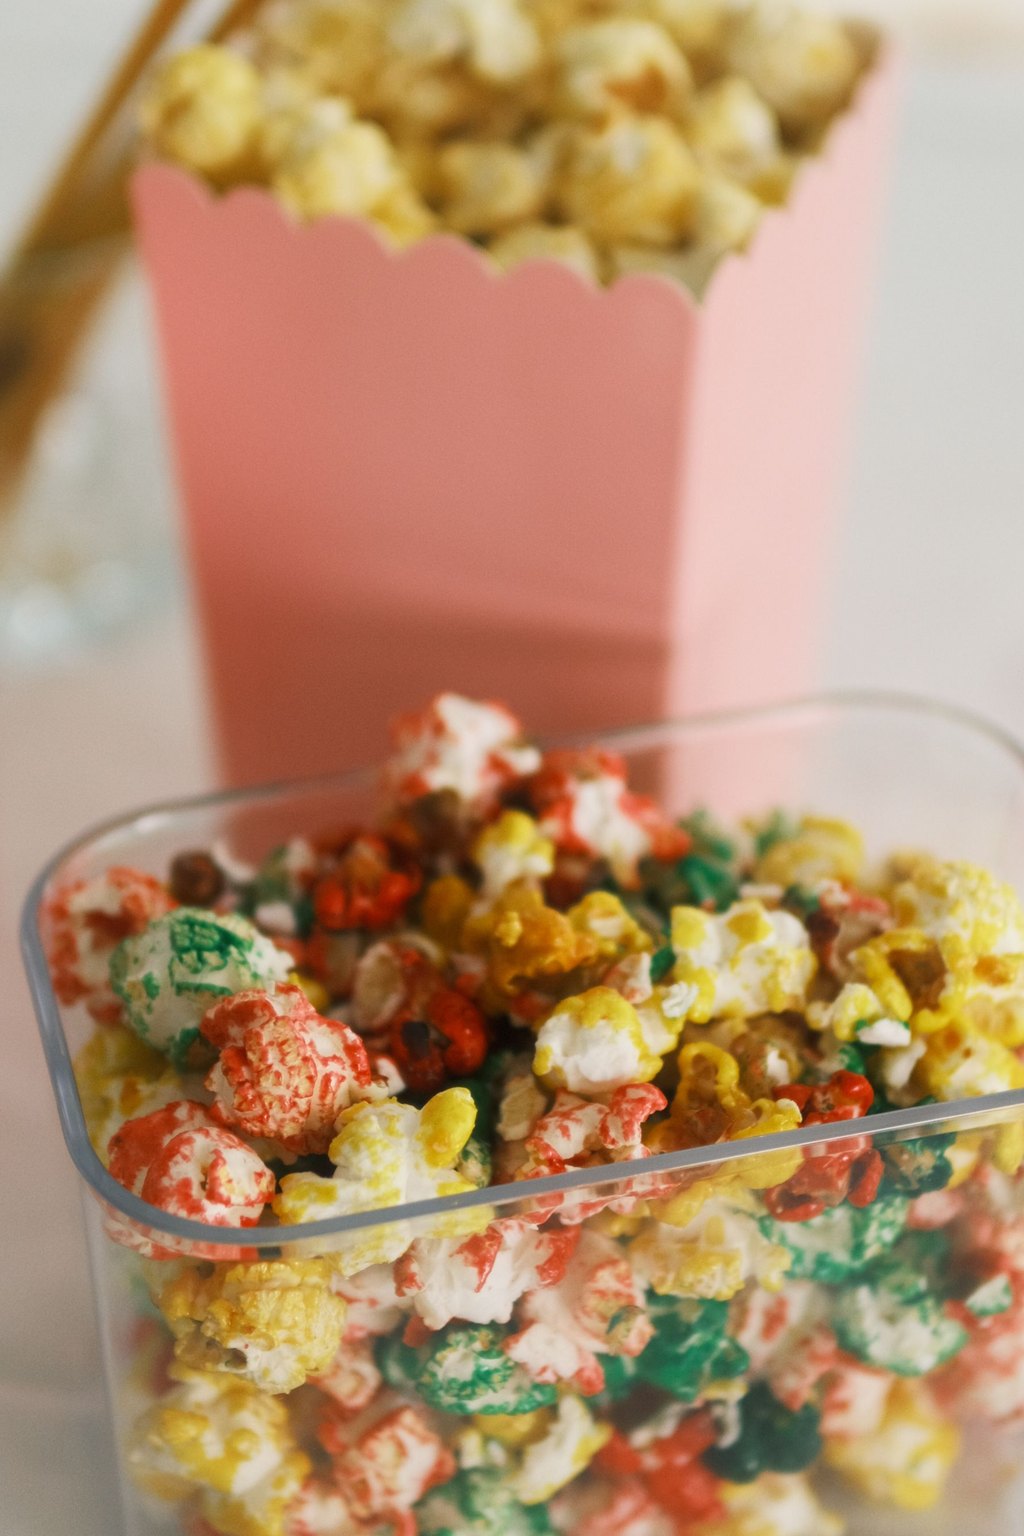
12) Valentine’s Snack Mix
This snack mix is a sweet snack mix of crunchy cereal coated in chocolate peanut butter and a snowy layer of powdered sugar. Adding red and pink candies and sprinkles turns it into a cheerful Valentine’s treat. It is salty, sweet and completely addictive by the handful.
Ingredients
- 9 cups crispy rice cereal squares
- 1 cup semisweet chocolate chips
- 1/2 cup creamy peanut butter
- 1/4 cup unsalted butter
- 1 teaspoon vanilla extract
- 1 1/2 cups powdered sugar
- 1 cup candy coated chocolate pieces in red and pink
- 1/2 cup white chocolate chips, melted
- 2 tablespoons Valentine sprinkles
- 1/4 teaspoon salt
Instructions
- Measure the cereal into a very large bowl, bigger than you think you need, so you have plenty of room to fold without crushing the pieces.
- Melt the chocolate chips, peanut butter and butter together in a microwave safe bowl in 30 second bursts, stirring each time, until smooth, about 90 seconds. Stir in the vanilla and salt.
- Pour the chocolate mixture over the cereal and fold gently with a spatula until every piece is evenly coated.
- Pour the coated cereal into a large zip top bag or lidded container, add the powdered sugar, seal it and shake until fully coated.
- Spread the mix on a parchment lined baking sheet. Drizzle the melted white chocolate over it and scatter the sprinkles on top while the drizzle is wet.
- Let it set at room temperature for 30 minutes, then break into clusters and toss with the candy pieces once the drizzle is fully firm.
This is the easiest thing on the list and the one that disappears the fastest. I scoop it into little cellophane bags for my kids to hand out to friends.
Store it in an airtight container at room temperature for up to 1 week. For a nut free version, swap the peanut butter for sunflower seed butter.
13) Flourless Chocolate Cake
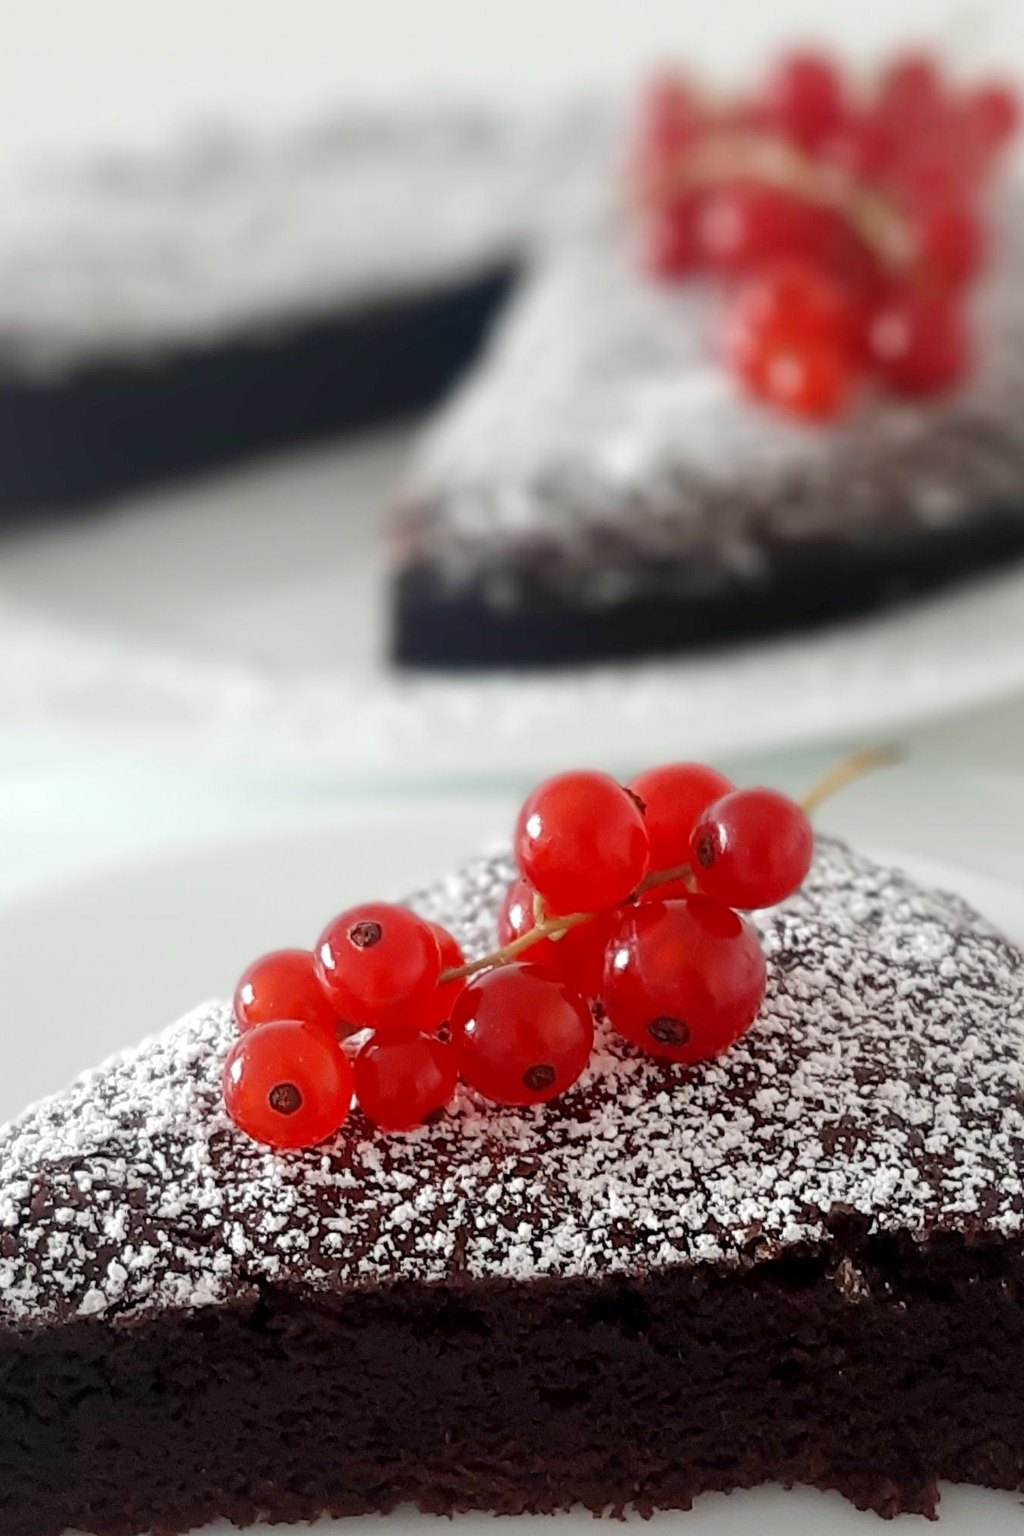
13) Flourless Chocolate Cake
This cake is dense, moist and intensely chocolatey, closer to a truffle than a sponge cake. With no flour at all it is naturally gluten free. A thin crackly top gives way to a fudgy center that needs nothing more than whipped cream and berries.
Ingredients
- 8 ounces bittersweet chocolate, chopped
- 1/2 cup unsalted butter, cubed
- 3/4 cup granulated sugar
- 1/4 teaspoon salt
- 1 teaspoon vanilla extract
- 1 teaspoon instant espresso powder
- 3 large eggs, room temperature
- 1/2 cup unsweetened cocoa powder
- Butter for the pan
- Powdered sugar for dusting
- Whipped cream for serving
- Fresh raspberries for serving
Instructions
- Heat the oven to 375F. Butter an 8 inch round cake pan, line the bottom with a parchment circle and butter the parchment.
- Melt the chocolate and butter in a large microwave safe bowl in 30 second bursts, stirring until smooth.
- Whisk in the sugar, salt, vanilla and espresso powder. Whisk in the eggs one at a time until the batter is thick and shiny.
- Sift the cocoa powder over the batter and whisk just until no dry spots remain. Spread it evenly in the prepared pan and tap the pan on the counter twice to release any large air bubbles.
- Bake 22 to 25 minutes, until the top forms a thin crust and the center registers about 200F. The middle will still look slightly soft.
- Cool in the pan 10 minutes, run a knife around the edge and invert onto a plate. Cool at least 1 hour, dust with powdered sugar and serve with whipped cream and berries.
I keep this recipe in my back pocket for friends who avoid gluten, because nobody misses the flour. It looks elegant with only a dusting of powdered sugar.
The cake tastes even better the next day. Wrap it well and keep it at room temperature for 2 days or in the fridge for up to 5 days.
14) Strawberry Panna Cotta
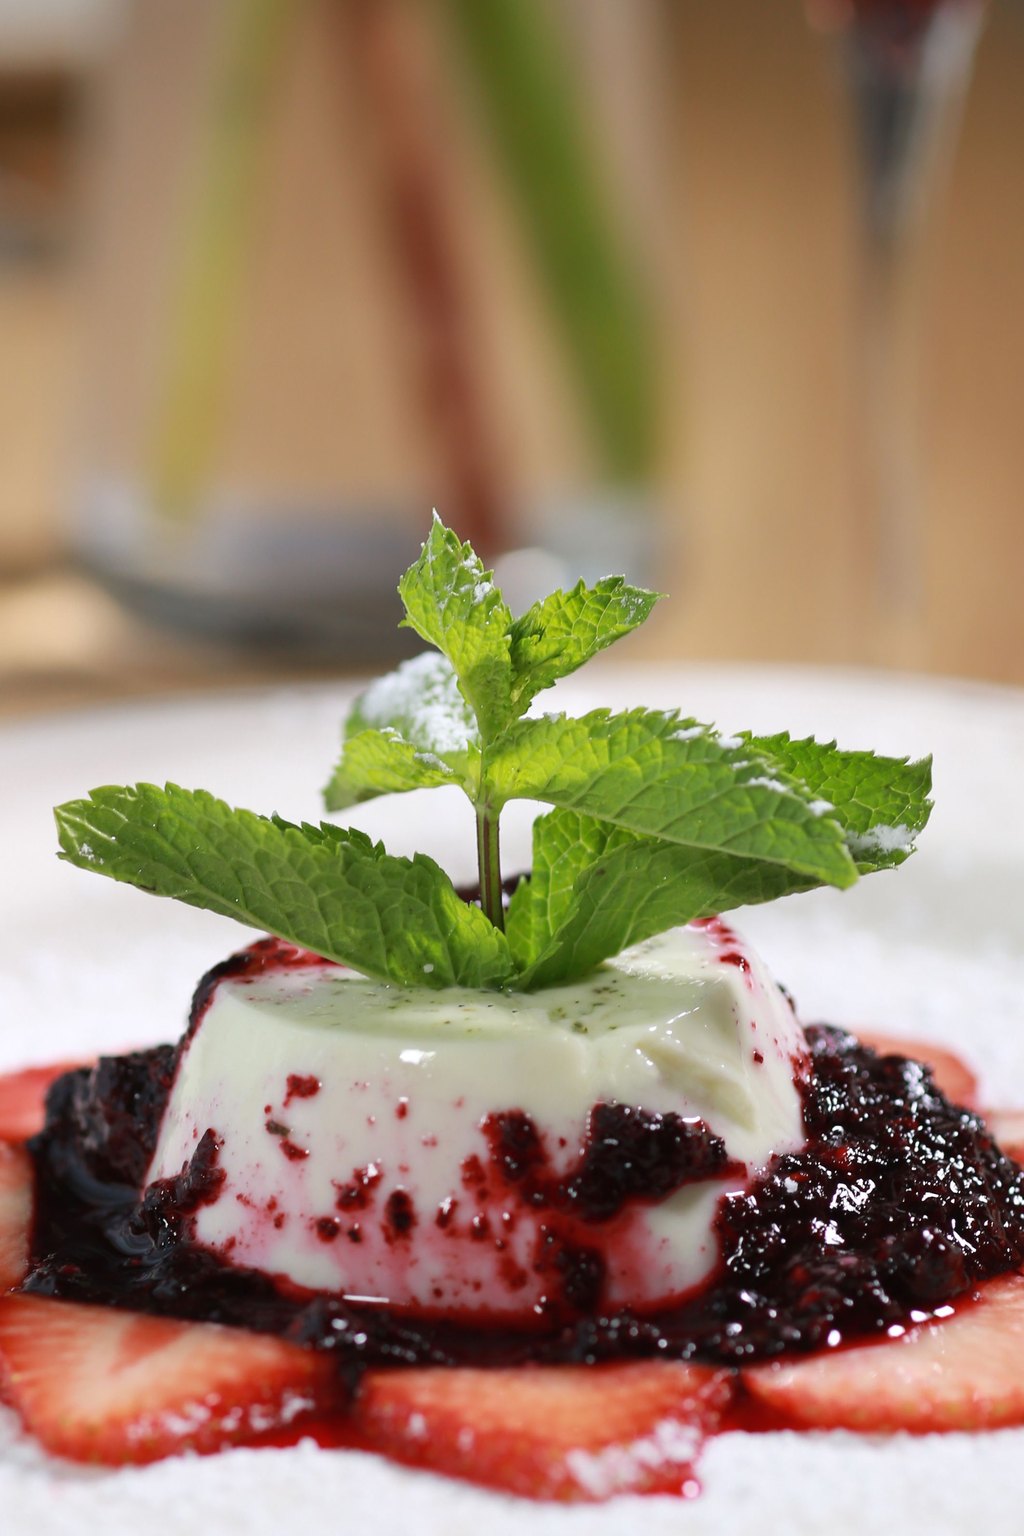
14) Strawberry Panna Cotta
Panna cotta is an Italian dessert of sweetened cream set with a little gelatin until it barely holds its shape. The texture is cool, silky and delicate, almost like a soft custard. A quick cooked strawberry topping adds bright color and a fresh tart contrast.
Ingredients
- For the panna cotta
- 1 envelope unflavored gelatin, about 2 1/4 teaspoons
- 3 tablespoons cold water
- 2 cups heavy cream
- 1 cup whole milk
- 1/2 cup granulated sugar
- 1 teaspoon vanilla extract
- For the strawberry topping
- 2 cups chopped fresh strawberries
- 3 tablespoons granulated sugar
- 1 tablespoon lemon juice
- Fresh mint leaves for garnish
Instructions
- Sprinkle the gelatin over the cold water in a small bowl and let it bloom for 5 minutes, until it looks spongy and has absorbed all the water.
- Heat the cream, milk and 1/2 cup sugar in a saucepan over medium heat, stirring, until the sugar dissolves and the mixture is steaming, about 5 minutes. Do not let it boil.
- Remove the pan from the heat, add the bloomed gelatin and stir until completely dissolved, about 1 minute. Stir in the vanilla.
- Divide the mixture among 6 small glasses or ramekins. Cover and refrigerate at least 4 hours, until set with a gentle wobble.
- For the topping, simmer the strawberries, 3 tablespoons sugar and lemon juice in a small saucepan over medium heat for 6 to 8 minutes, until the berries soften and the juices turn syrupy. Cool completely.
- Spoon the strawberry topping over the set panna cotta and garnish with mint just before serving.
This is my favorite make ahead dessert because the whole thing is done in about 20 minutes of hands on time. It feels like something from a restaurant menu.
Panna cotta keeps covered in the fridge for up to 3 days. Store the topping separately and add it at the last minute so the layers stay clean.
Before You Start Cooking
If you want to make more than one of these, plan around your fridge. The truffles, panna cotta, mousse and cheesecake bars can all be made a day or two early, which leaves the lava cakes or fondue as your easy fresh finish on the night itself.
However you celebrate this year, I hope one of these sweet treats brings your people around the table together. Whether it is a candlelit dinner for two or a messy fondue night with the kids, the sweetest part is the time spent together. Happy Valentine’s Day from my kitchen to yours.
Frequently Asked Questions
What is the easiest Valentine's Day dessert to make with kids?
Chocolate covered strawberries and Valentine's snack mix are the easiest to make with kids. Neither needs an oven, and little hands can dip, roll, shake and sprinkle. Red velvet crinkle cookies are another good choice since kids love rolling the dough balls in sugar, and an adult can handle the hot baking sheets.
Can I make Valentine's desserts the day before?
Yes, many of them are better made ahead. Chocolate mousse, panna cotta, truffles, cheesecake bars and strawberry pretzel salad all need time in the fridge to set, so making them the day before is ideal. Chocolate covered strawberries are best made the same day, and lava cakes should be baked right before serving.
What gives red velvet its flavor?
Red velvet gets its flavor from a small amount of cocoa powder combined with tangy buttermilk and a splash of vinegar. That mix gives a mild chocolate taste with a slight tang, rather than the deep chocolate of a regular chocolate cake. Cream cheese frosting is the classic pairing because its tang matches the cake.